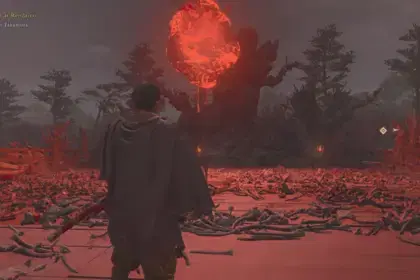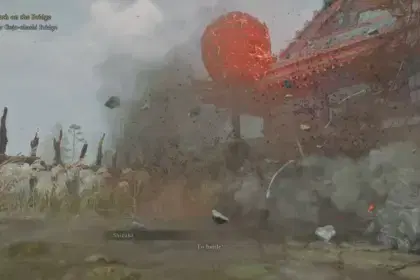

The King’s Crypt is a trap-laden dungeon in Mortal Shell 2 located in Blackridge Pass. Full of explosive pots, tripwires, and volatile Kamikaze Wretches, this dungeon has you put your steps with care to explore safely and leave in one piece. Completing the crypt will net you key upgrade materials and unlock the Veteran’s Battle Axe, a formidable two-handed strength weapon.
The King’s Crypt Location

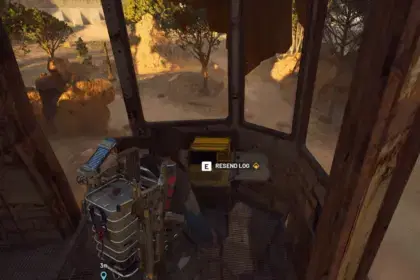
The King’s Crypt is found in the Blackridge Pass, down the cliff northwest of the Shattered Beacon where you find the Proxima Shell, or directly north of the Blackridge Pass Beacon. From the Beacon, follow the path through the Blackridge Cliffs towards the dungeon entrance shown in the image above.
Mortal Shell 2 The King’s Crypt Dungeon Walkthrough

Take the wooden elevator down to the underground and proceed into the hallway. Watch the floor closely here, because there are pressure plates in the middle that will trigger wall-mounted poison darts and arrows if you press on them. Instead of trying to disarm them or rolling past the two knaves roaming the corridor, bait their aggro and backpedal. Let them march right over the plates so the wall traps take care of them, and you kill two birds with one stone.

Next, continue into the room where a swordsman will ambush you, so keep your guard up as you round the turn. Wooden crates block the way to the corridor, flanked by volatile toxic barrels. Avoid wide melee swings to never trigger a point-blank blast, and destroy the barrels from a safe distance with a ranged shot, or bait your swings clear of them.

Right when you break open the path and try to enter the next hallway, an explosive Infested Wretch will charge. Backpedal quickly to let him pop outside blast range. Hug the left wall of this corridor to bypass a bear trap on the ground.
Drop down from the hole to the lower level and smash the wooden plank wall in front of you.
Caution: This chamber has another suicide bomber right by the wall along with explosive pots. The second the planks shatter, dodge backward into the room where you dropped and let the beast blow himself up against the doorway.

Now enter this large candlelit room where you’ll duel an Armed Knave wielding a halberd that will march down the middle staircase.
- Avoid fighting him on the lower floor, as multiple pressure plates are found there.
- Pull him onto the stairs to fight on clean footing and parry his long thrusts for a riposte or stagger him with heavy combos.
- Watch the landing above the stairs: a tripwire is rigged to fire a volley of wall arrows. Trigger it from an angle or roll past it.

Go upstairs to deal with a pack of Infested Wretches clustered right past the opening. Step forward just enough to aggro the enemies and trigger their fuses, then back down the steps. The whole group will funnel into the doorway and chain-detonate what wiped them all when I played through this part.

Before you enter the corridor through the stairs, check the nook on the left and blast the explosive barrels to reveal a white bone branch, then attack it to get Laterite. Continue upstairs into the hall, but go around the bear trap planted in the threshold, and just before the ground opening, find a switch plate on the left wall. Hit it to open a stone partition that gives you a shortcut looping right back to the dungeon’s entry corridor. Now drop down through the floor chute past the switch to the final chamber below.

You’ll land right in a flooded crypt face-to-face with a second Halberd Knight. Use your Harden ability to absorb his wide sweeping slashes, or—well, if you have weapon abilities or lightning coatings charged up, unload them here to burn his health bar down in no time. Parry his telegraphed overheads to finish him off.

Once the knight is down, check the stone pillar on the side of the room to grab the Dorsalite. Finally, approach the large sarcophagus at the back and take the Veteran’s Battle Axe weapon off the corpse. To leave the dungeon, interact with the white glowing teleporter rune to warp back to The King’s Crypt entrance, where you can take the lift back up into the open world.