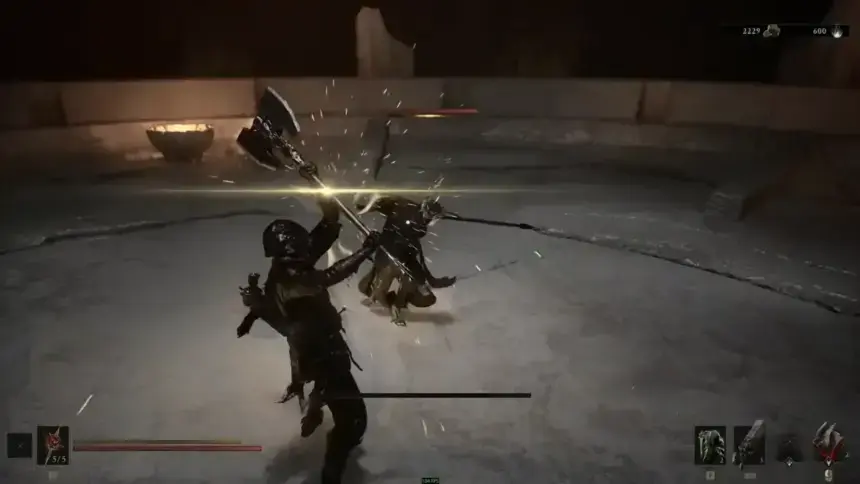
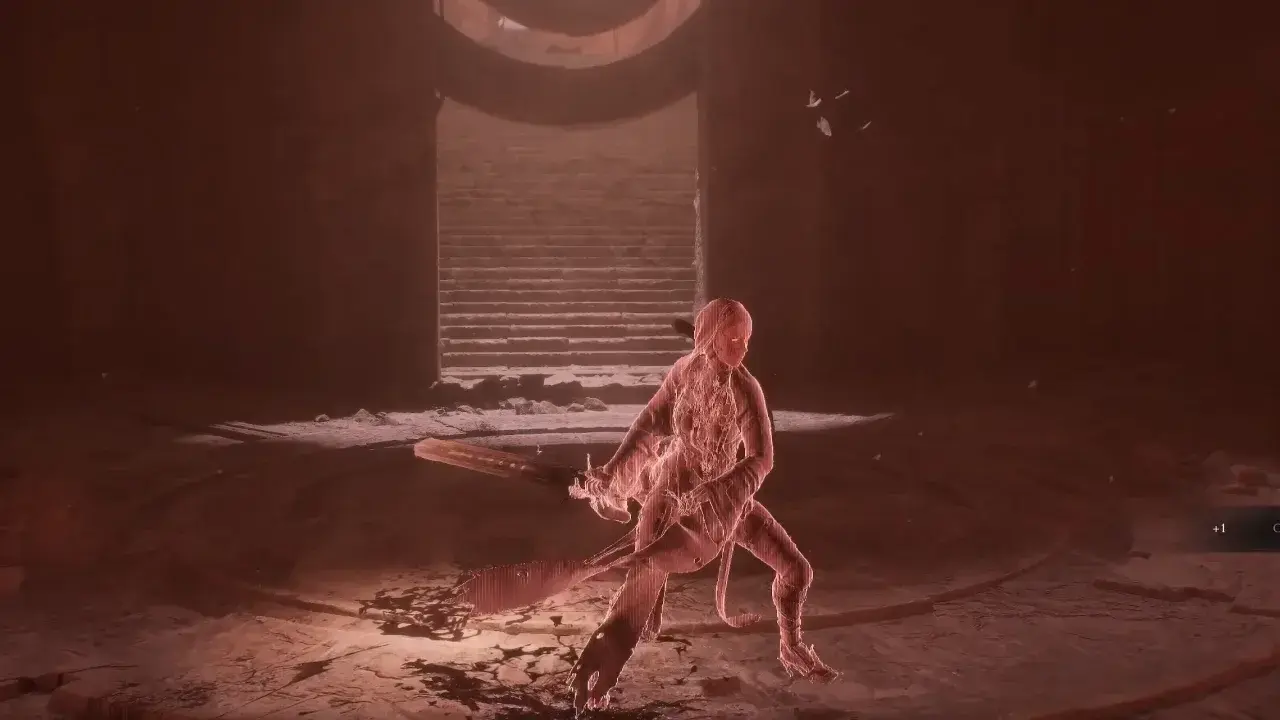
Clockwork Scythe is a wooden-handled weapon in Mortal Shell 2 with a long, thorned curved blade that can tear through enemies. It’s a boss drop from Sariel, the Endless, guarding the Chamber of Becoming deep in the Ruins of Mammon. Merrick at Marrow Keep also sells the weapon’s map for 3000 Coins if you’d rather skip the trek.
Because the path takes you into the far southern reaches of the map against tough enemies, do this run in the mid-game once your gear has a few upgrades under the belt. This guide explains how to get the Clockwork Scythe, its upgrade materials, and every compatible Tarstone.
This article is a part of our Mortal Shell 2 Walkthrough and Guides Wiki hub.
Where to Find the Clockwork Scythe in Mortal Shell 2
Reach the Outskirts of Mammon Beacon
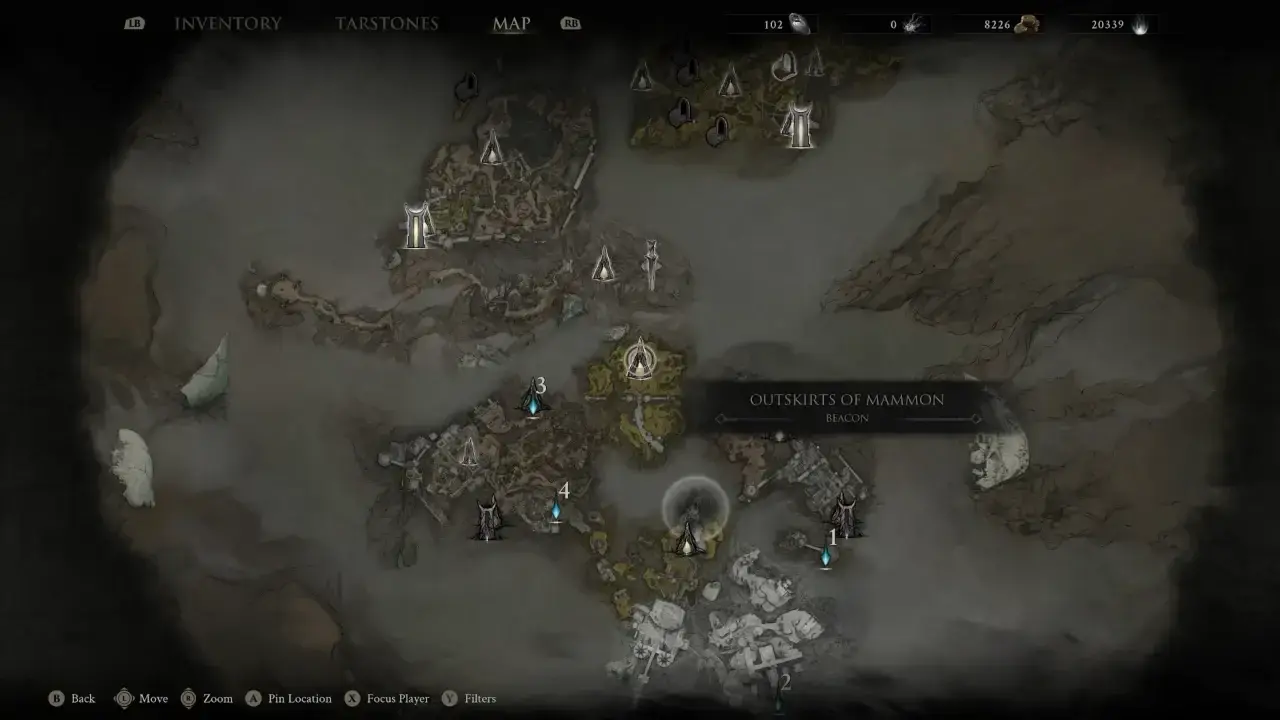
From the top of Marrow Keep, take the southern transporter to teleport to the Outskirts of Mammon Beacon. Follow the central path south down through the Road of Absolution.
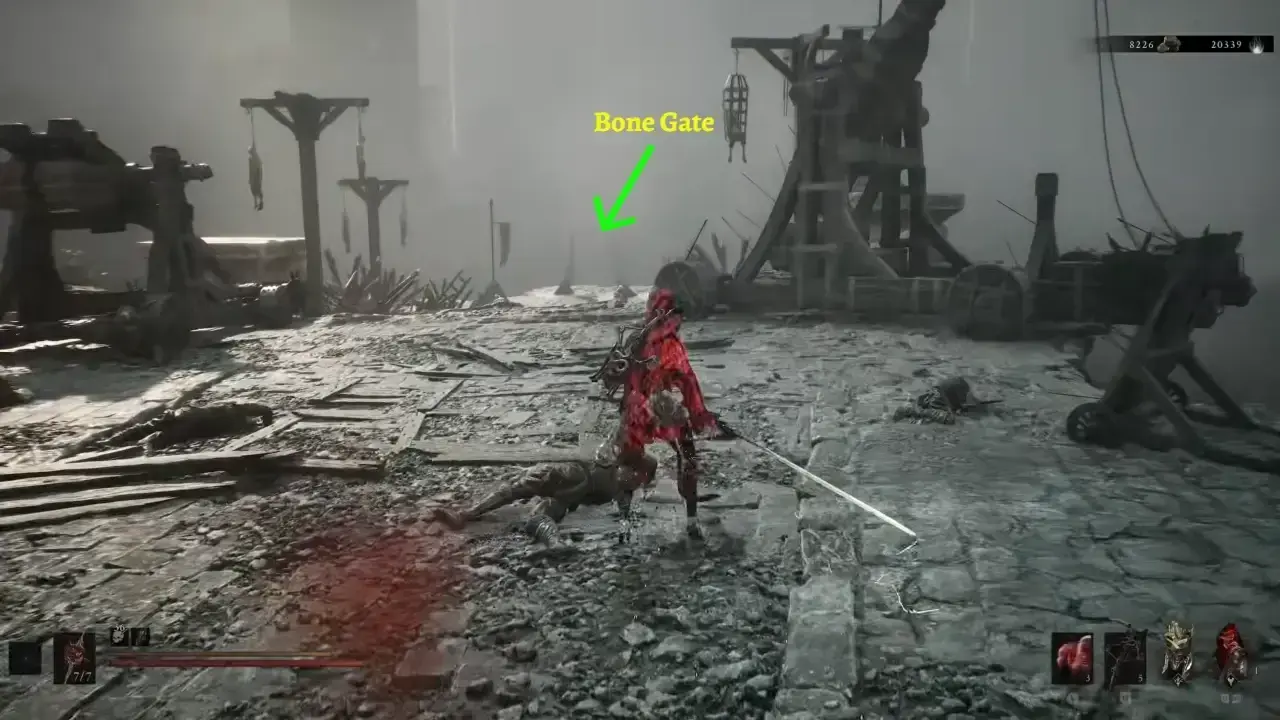
At the end of it, interact with the Bone Gate to teleport to Castigator’s Keep. Enter through the main gate, then turn right beside Foul Knight and go upstairs to reach the Castigator’s Keep Beacon at the top. Activate it to set a new fast travel checkpoint.
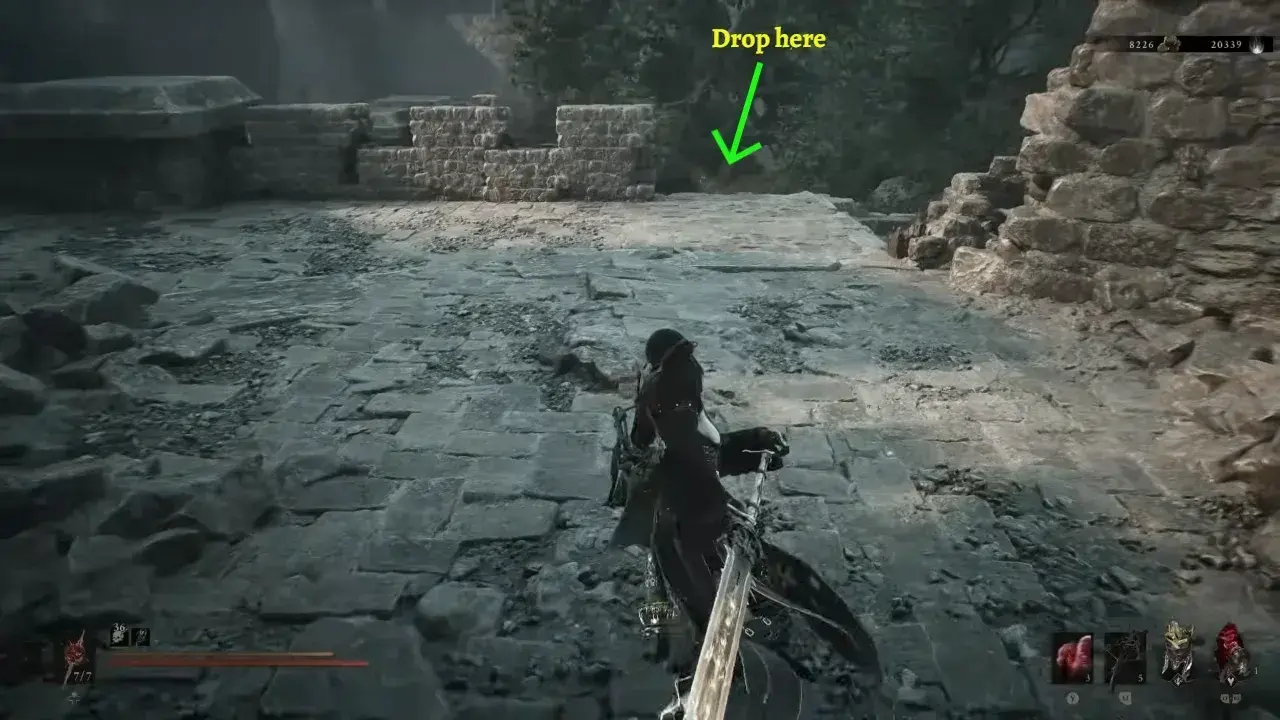
Next, turn around with the beacon on the back and drop down from the front ledge to the left side of the keep.
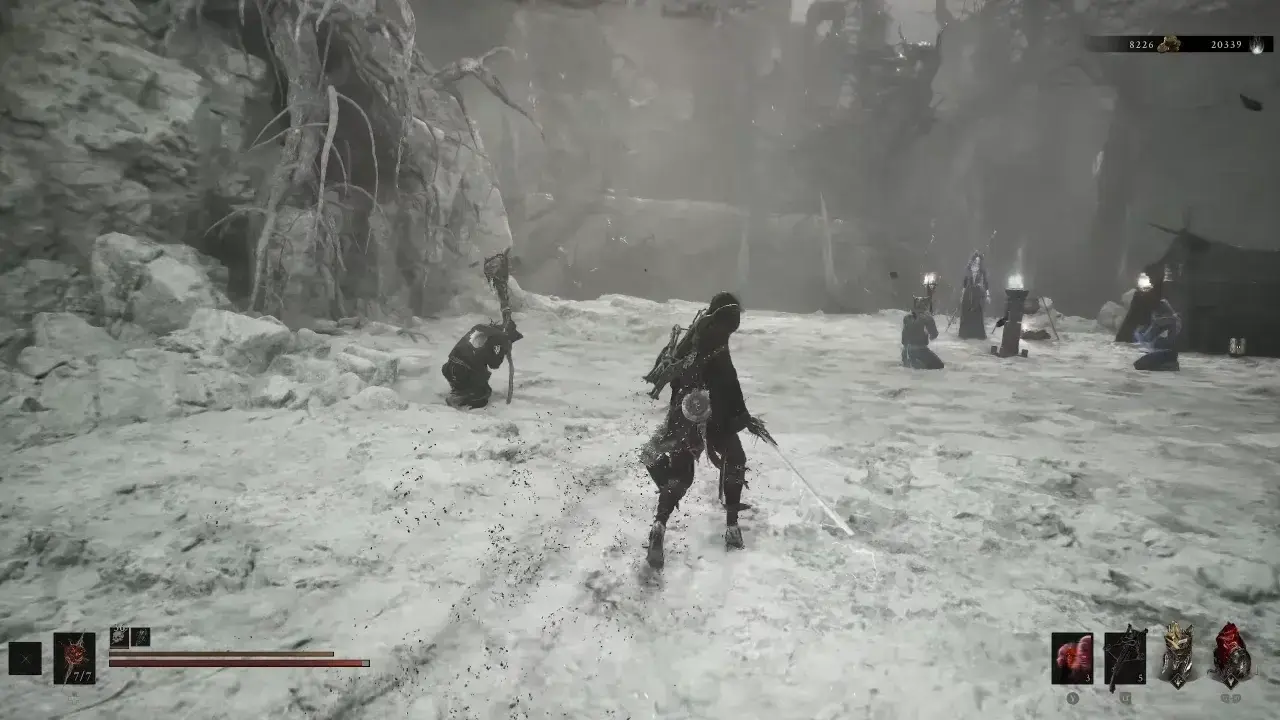
Follow the path through the wooden walkway, cross the bridge, and you will encounter Knight of Mammon and other enemies on the other side. You can run past them and quickly interact with the second Bone Gate before they can attack.
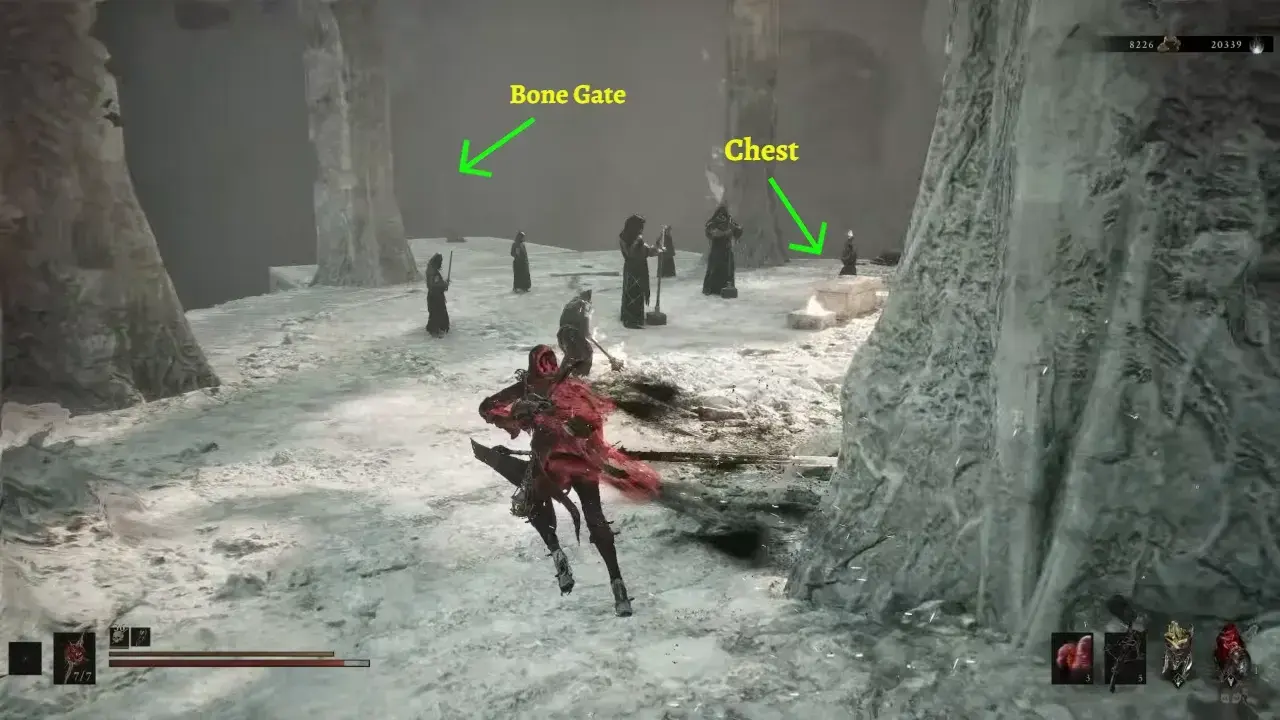
In the next area, turn left and stand inside the left lift/geyser to launch up to the higher platform. Follow the path to the right leading downward and jump down past the enemies into the wide area. You can open the chest there to obtain a Colossus Stone.
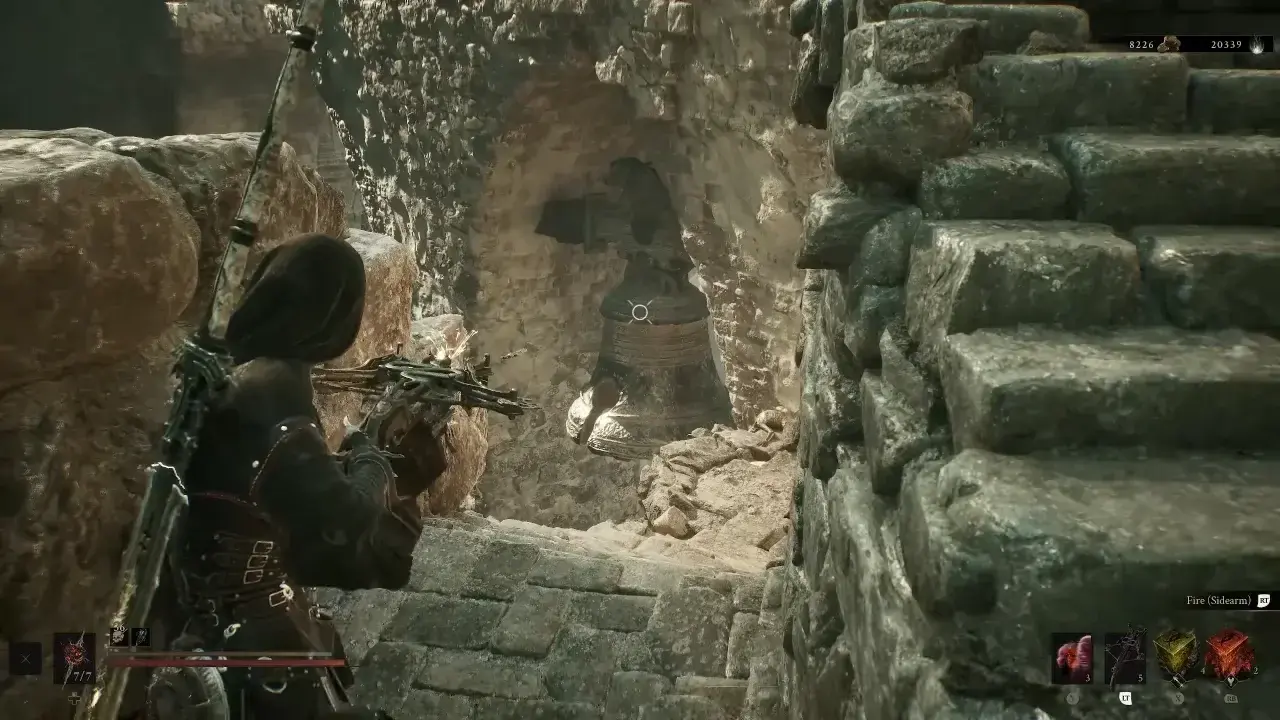
Go to the Bone Gate past the enemies to reach the Forgotten Tower. Collect the Revered Gland on the main floor of the tower and head upstairs. Shoot the bell with your sidearm to raise the path over to the next tower.
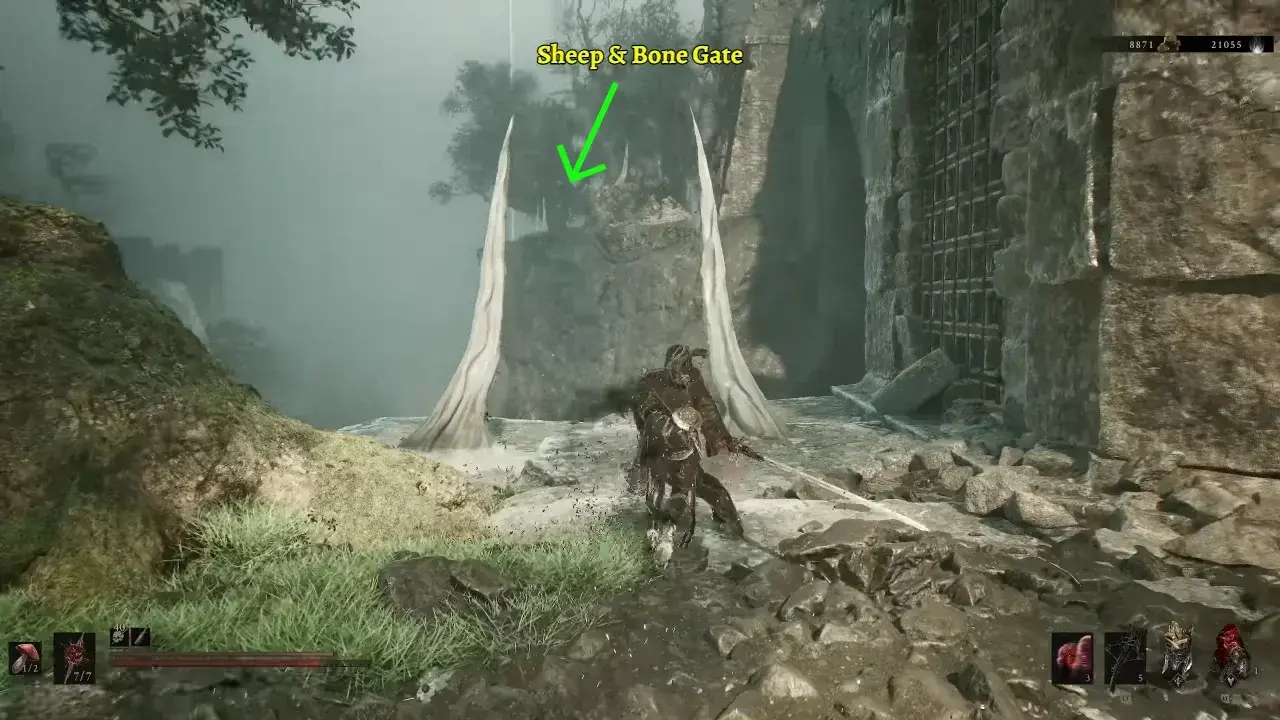
Explore the Forgotten Tower if you want, then use the Bone Gate to jump to the next area. Once there, kill the sheep to get Sheephead Totem, then use another transporter beside the sheep to reach the next place.
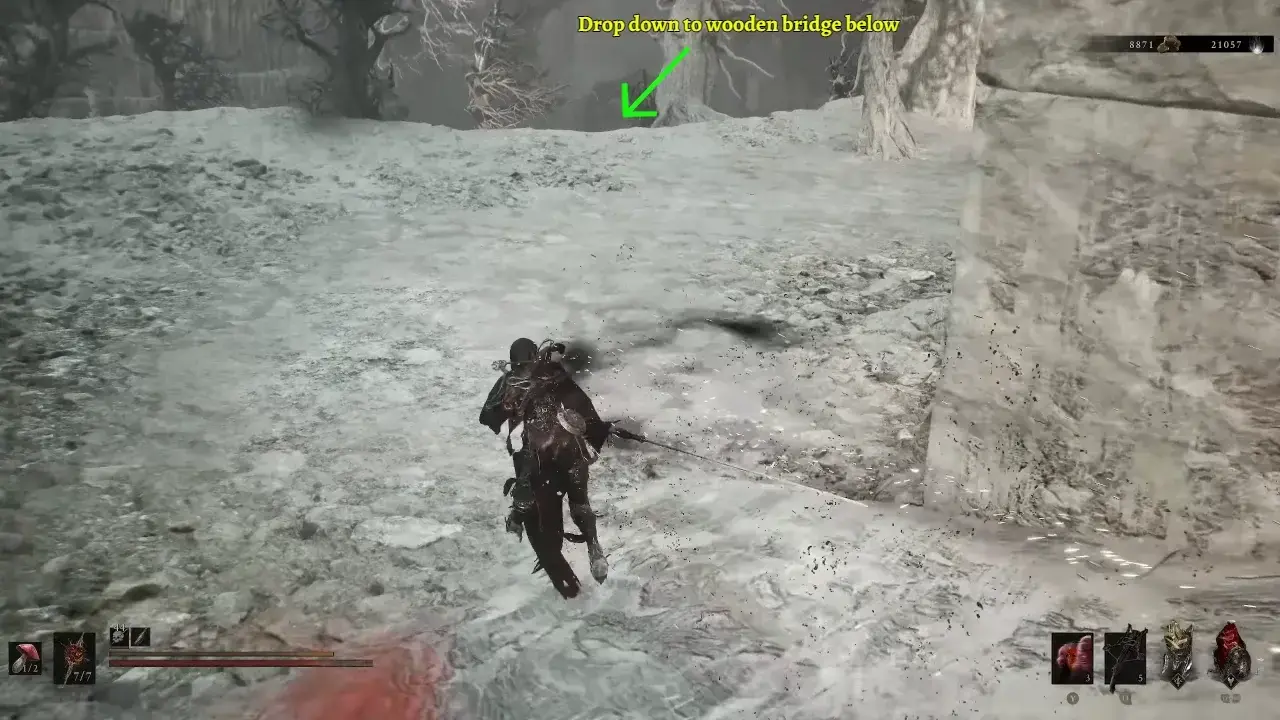
Follow the elevated stone walkway past the kneeling cultists and drop off the end onto the long wooden bridge below.
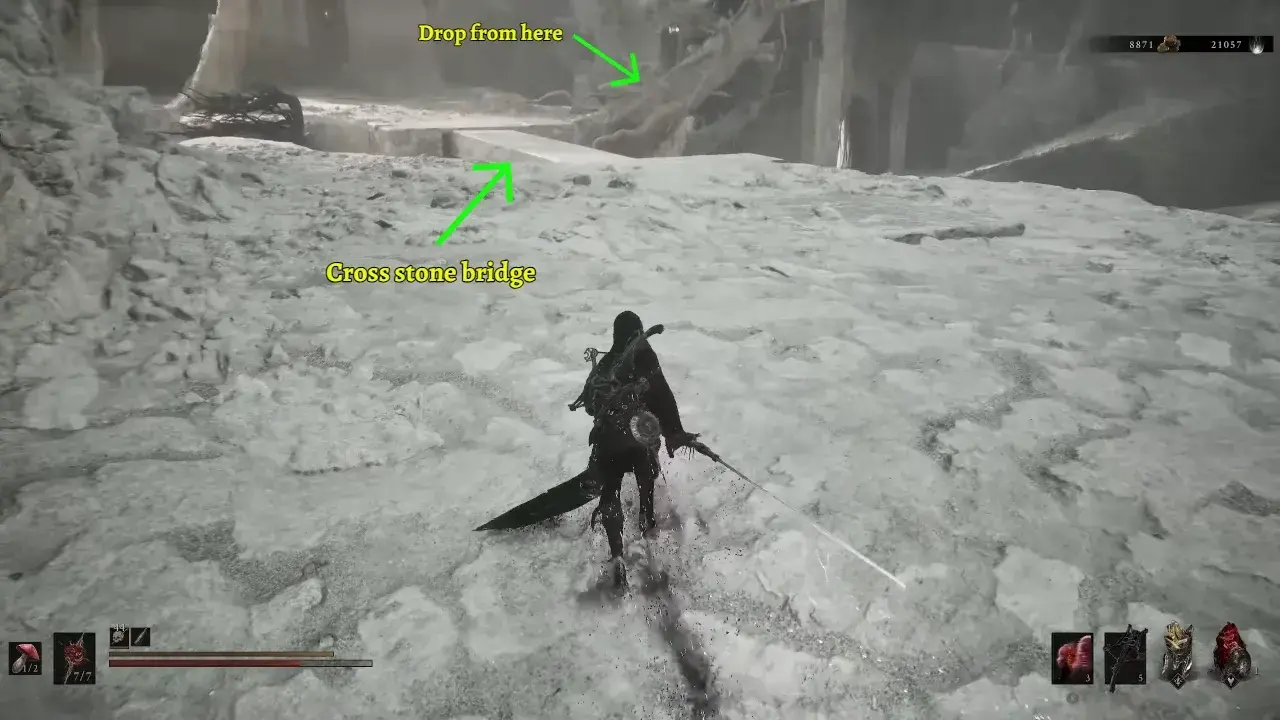
Cross the wooden bridge, dodging or sprinting past the spider enemy, and continue straight across the narrow stone beam toward the large white tree. Turn right from the bridge toward the tree at the cliff edge and drop down to the lower rock ledge below.
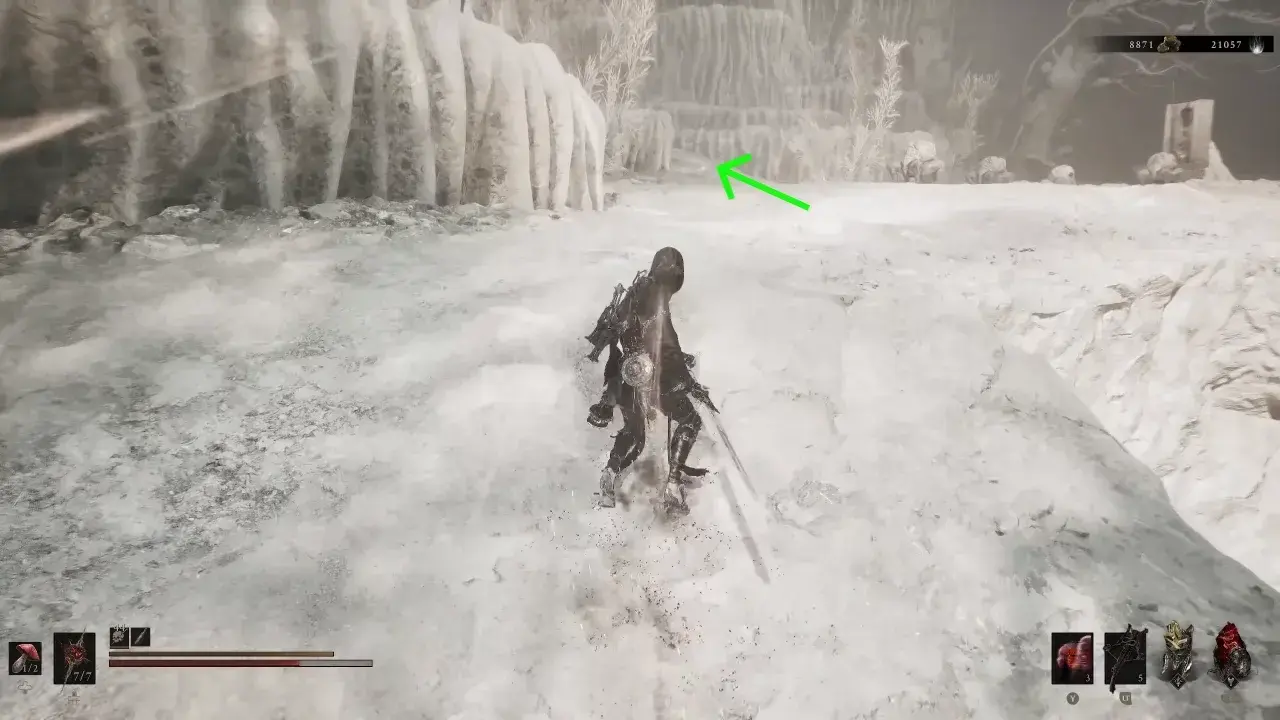
Run past the armored enemy near the wooden post, follow the path up to the right past the crawling mob, and take the left fork up the sloped rocky passage.
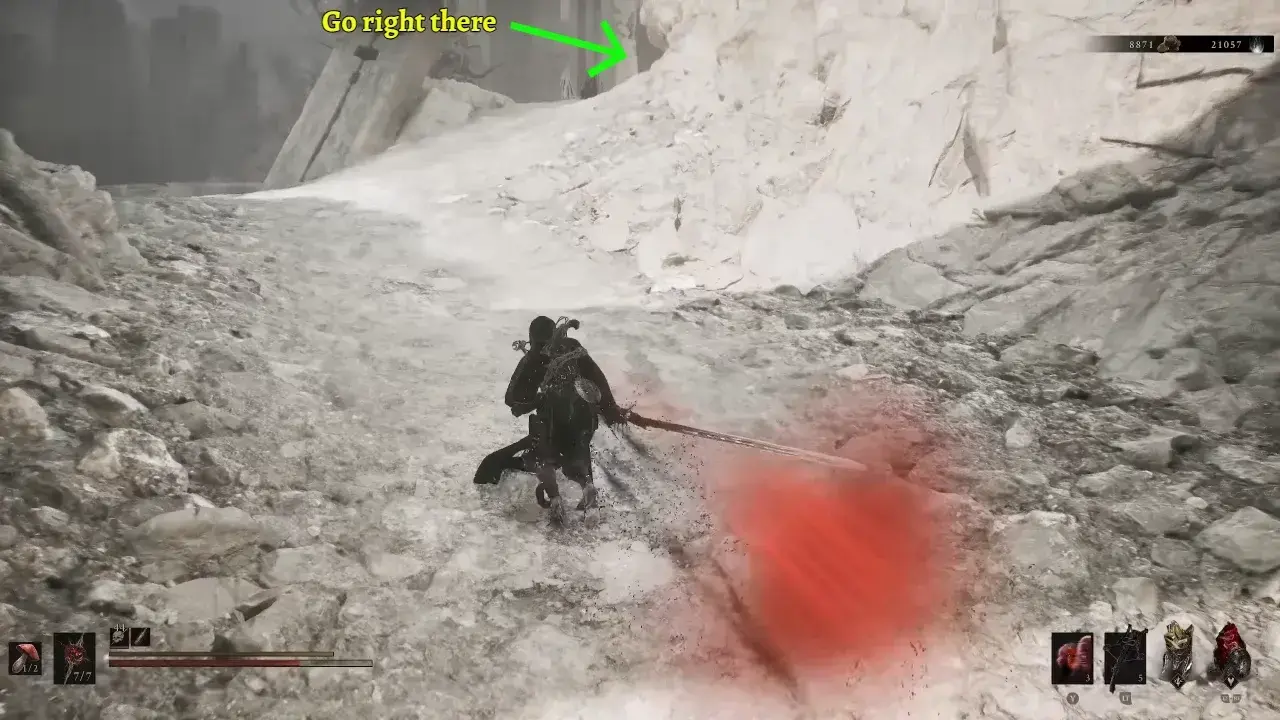
At the top of the incline, pass the large tilted stone pillar on your left into The Silent Steps.
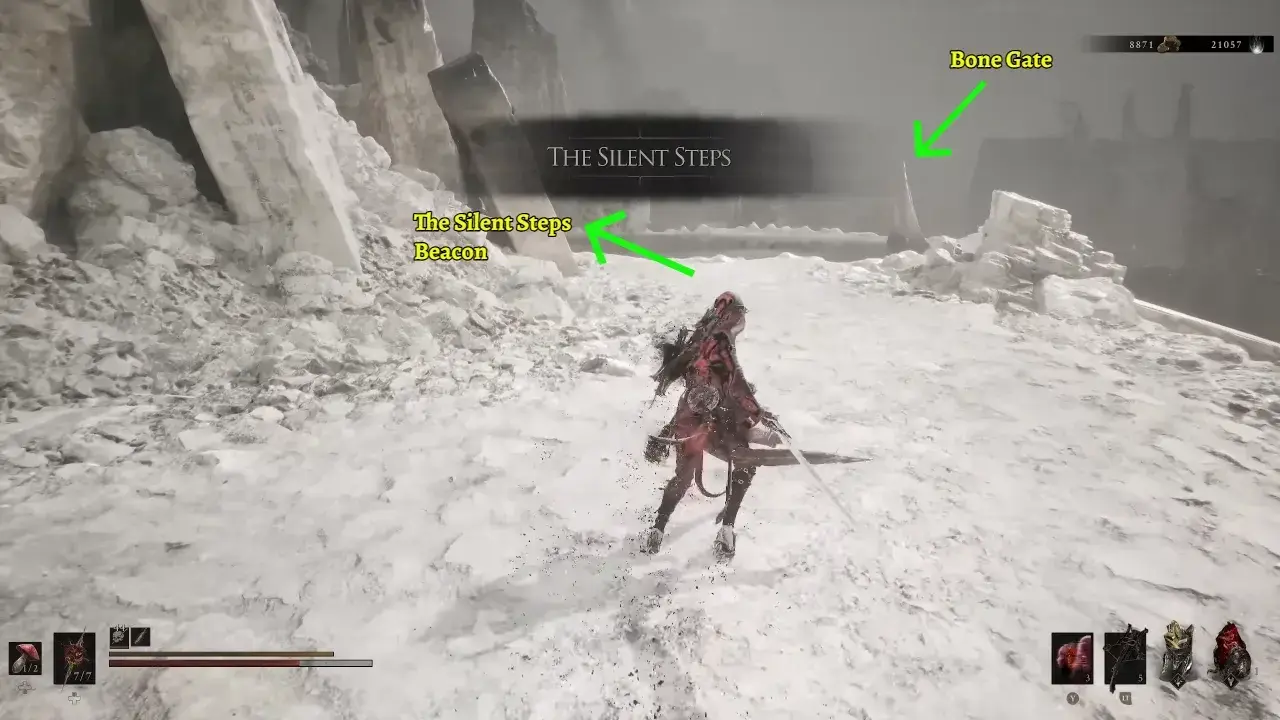
Ahead, the Silent Steps Beacon is on the left that you should first activate for a checkpoint before proceeding through the nearby Bone Gate on the right.
Sariel the Endless Boss Fight
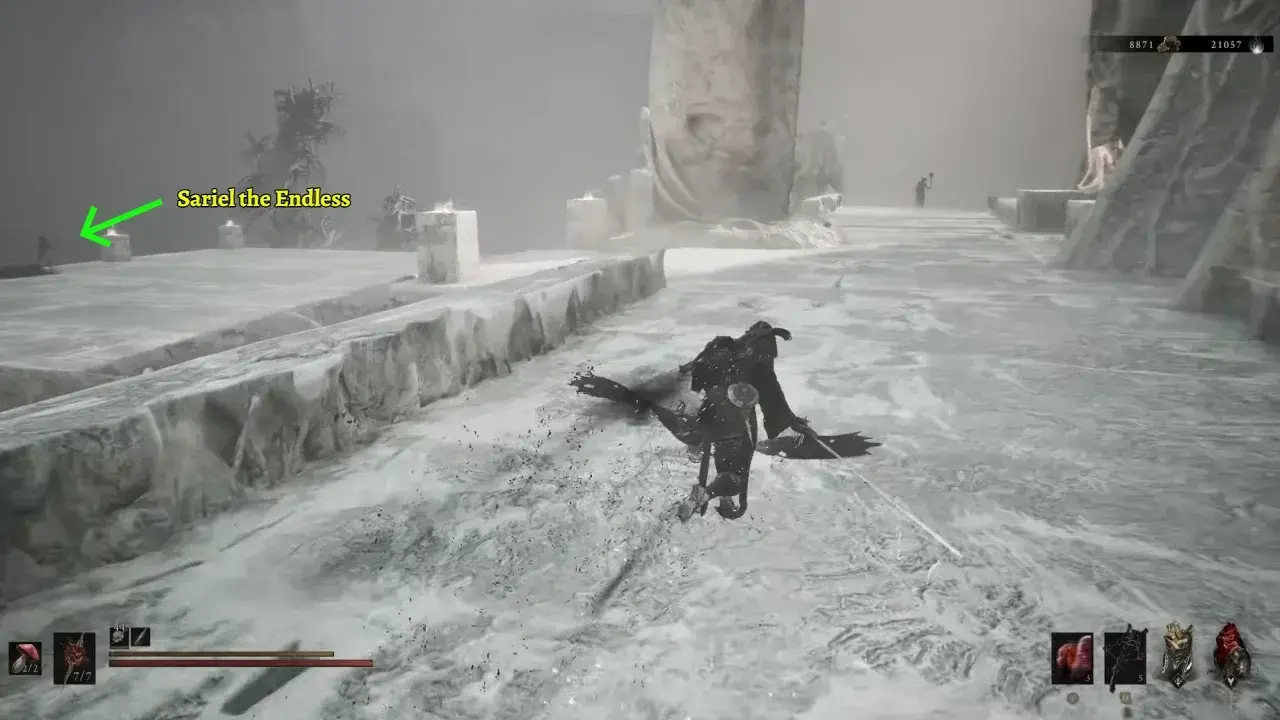
From the Silent Steps Beacon, use the nearby Bone Gate and follow the elevated stone path out into the open courtyard on the left to confront Sariel, the Endless.
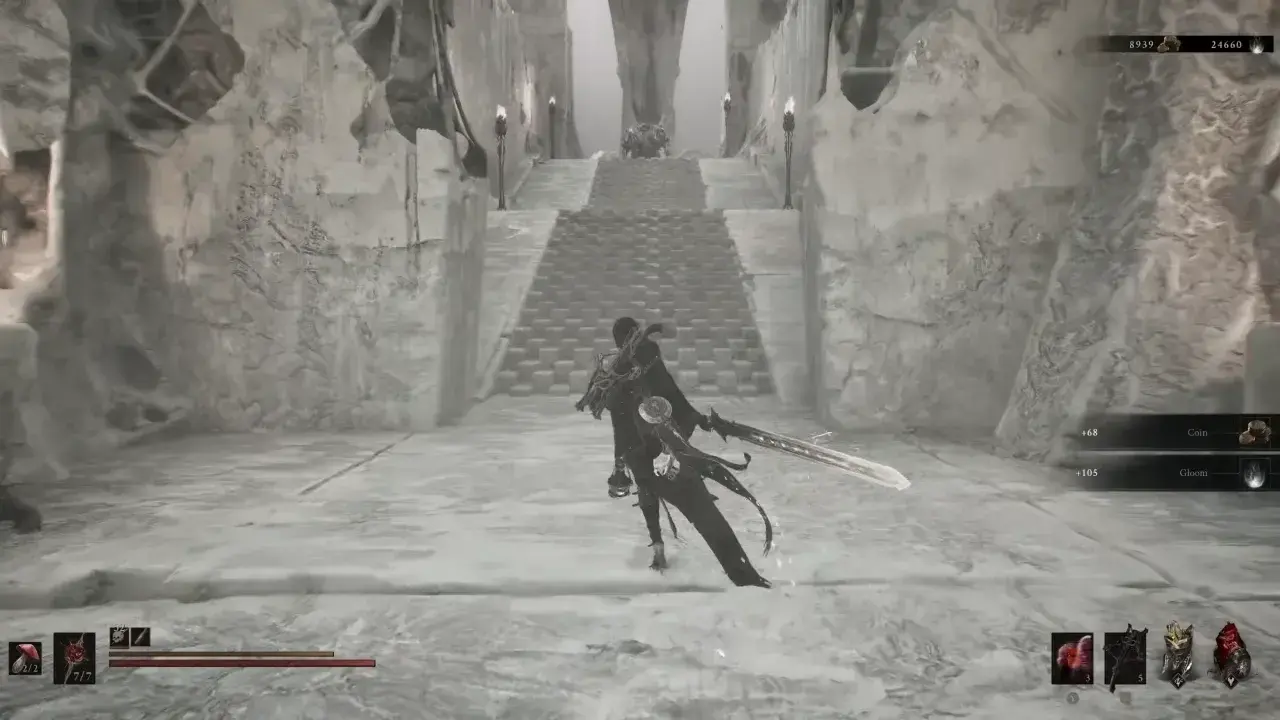
Once the boss is defeated, turn toward the newly opened stone entrance, take the stairs past the large statue, and head straight up the opposite staircase past the Knight of Mammon guardian.
Chamber of Becoming Walkthrough
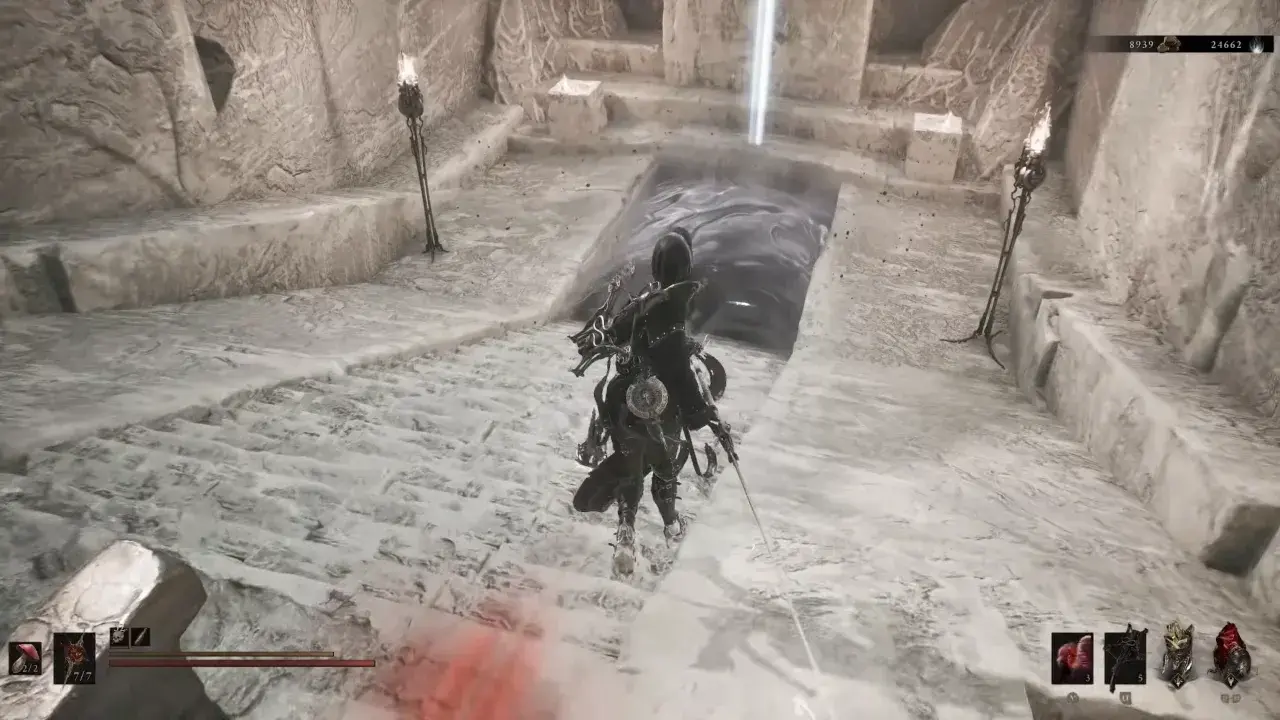
Step into the black glowing hole at the platform’s back to enter the dungeon. Take the elevator down to the Chamber of Becoming. Descend the stone and wooden staircases until you reach the main lower level of the chamber, where Sariel, the Endless will ambush you again. Attack Sariel to deplete his health bar, forcing him to retreat to the lower arena pit.
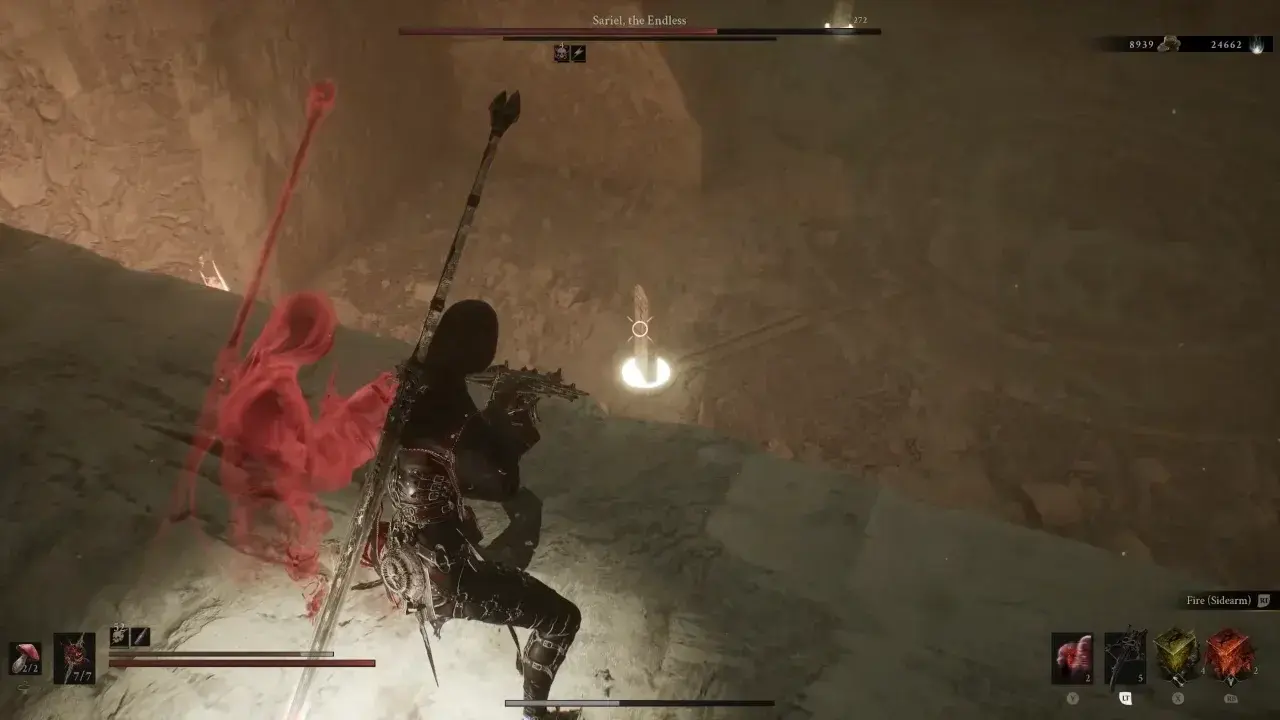
Before dropping down, draw your ranged sidearm (balistazooka/ballista) and shoot the four glowing totems along the upper ledge of the pit to destroy them.
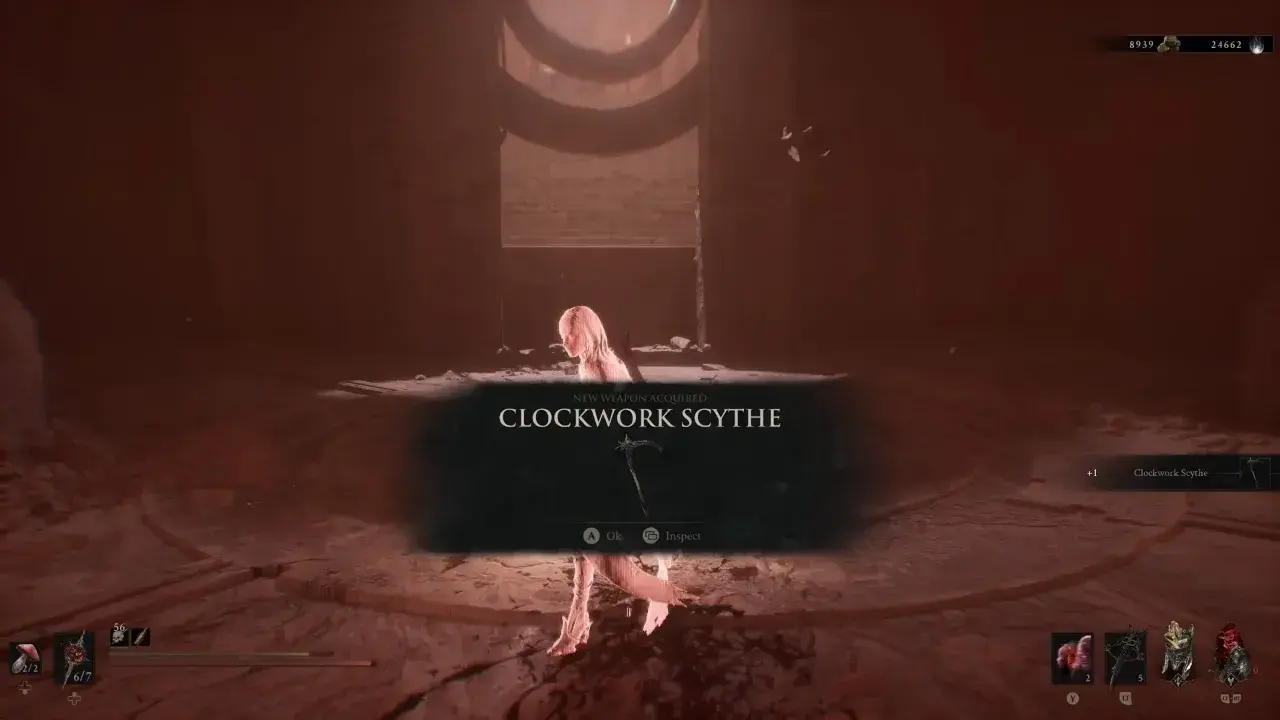
Drop into the arena pit and beat Sariel in the final fight to claim the Clockwork Scythe. You can also get Sariel’s shell by interacting with his body, which will trigger a small cutscene.
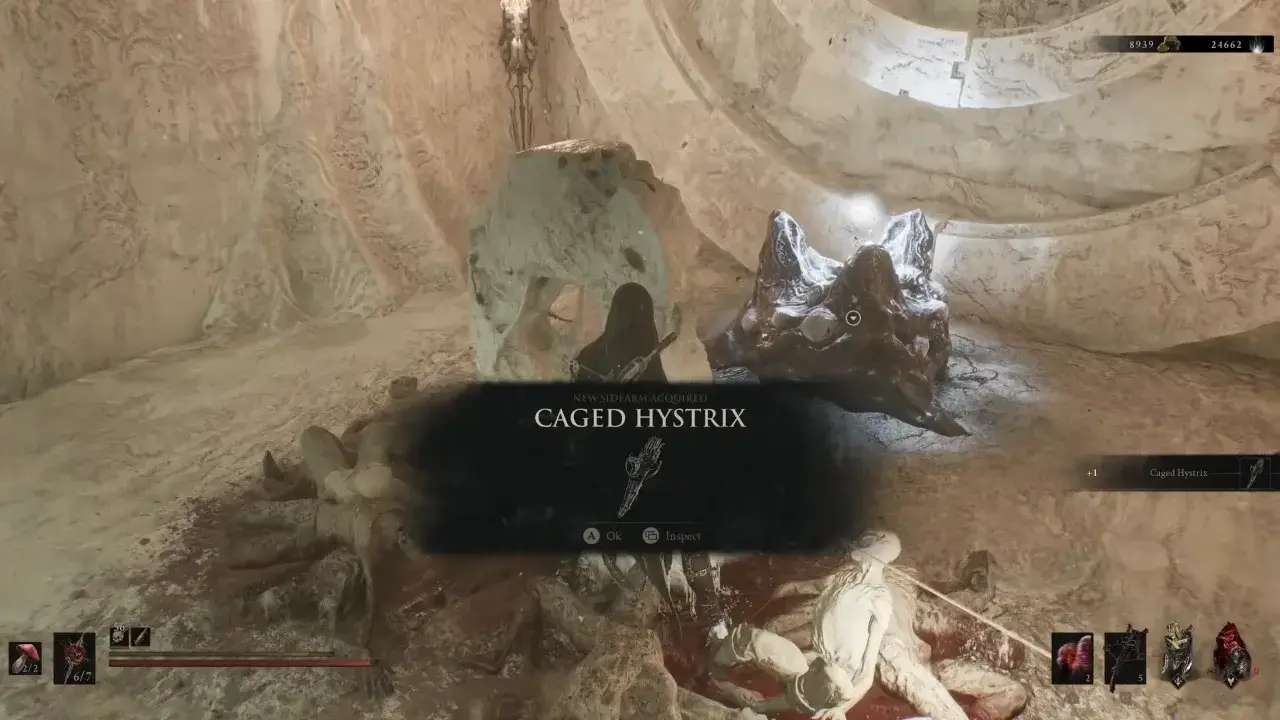
Go up the stone stairs leading out of the arena to find the sidearm pedestal and collect the Caged Hystrix sidearm before exiting through the archway.
Clockwork Scythe Weapon Details
The Clockwork Scythe uses a long curved blade mounted on a wooden handle and plays much more aggressively than the heavy weapons found around Mammon. Its unique weapon ability is Clockwork Chainsaw, which lets you turn the Scythe into a sustained chainsaw attack by spending Resolve.
That ability is the main reason to build around Resolve generation. The Scythe already has good offensive pressure, and its Tarstone options can push that playstyle further.


Clockwork Scythe Upgrade Materials
| Weapon Level | Upgrade Material | Amount | Coin Cost | Damage |
|---|---|---|---|---|
| +1 | Ventrium | 2 | 100 | 105% |
| +2 | Ventrium | 2 | 100 | 110% |
| +3 | Ventrium | 4 | 300 | 115% |
| +4 | Ventrium | 9 | 500 | 120% |
| +5 | Ventrium | 13 | 1,000 | 125% |
| +6 | Ventrium | 18 | 1,250 | 130% |
| +7 | Laterite | 2 | 2,750 | 135% |
| +8 | Laterite | 4 | 2,750 | 140% |
| +9 | Laterite | 9 | 3,500 | 145% |
| +10 | Laterite | 13 | 4,250 | 150% |
| +11 | Laterite | 18 | 5,000 | 155% |
| +12 | Dorsalite | 2 | 5,750 | 160% |
| +13 | Dorsalite | 4 | 6,500 | 165% |
| +14 | Dorsalite | 9 | 7,250 | 170% |
| +15 | Dorsalite | 13 | 8,000 | 175% |
| +16 | Dorsalite | 18 | 8,750 | 180% |
Clockwork Scythe Compatible Tarstones
The Clockwork Scythe has a particularly good set of Tarstones because many options directly support its chainsaw ability, while others improve Resolve generation, Critical attacks, or weapon utility.
| Tarstone | Type | Main Effect |
|---|---|---|
| Acolyte’s Stone | Ability | Adds a charged Light Attack that uses Resolve |
| Arbiter’s Prize | Infusion | Infuses the weapon with Bloodcurse |
| Clerik’s Stone | Combat | Adds a Heavy Combo Finisher with bonus Critical Chance |
| Clockwork Shardstone | Ability | Activates the chainsaw and adds repeated weapon-based damage hits |
| Deadman’s Stone | Combat/Support | Compatible Tarstone for the Clockwork Scythe |
| Devout Stone | Support | Generates Resolve from Sidearm kills |
| Grudge Stone | Combat | Builds toward guaranteed Critical Hits |
| Headman’s Stone | Support | Increases melee Critical Damage |
| Magdalena’s Memento | Support | Compatible Tarstone for the weapon |
| Parasitic Stone | Support | Compatible Tarstone for the weapon |
| Retribution Stone | Support | Improves Riposte damage |
| Scholar’s Wormstone | Ability | Enhances attacks with repeated chainsaw spins |
| Shattering Stone | Support | Improves melee Stagger Damage |
| Shrike Stone | Support | Compatible Tarstone for the weapon |
| Stillblade’s Stone | Combat | Adds a Light Combo Finisher with Break Damage |
| Thief’s Stone | Combat | Builds Warp stacks from successful strikes |
| Tyrant’s Stone | Combat | Adds a Heavy Combo Finisher that inflicts Weak |
| Unwieldly Stone | Ability | Adds a Resolve-powered Charged Heavy Attack |
| Voltaic Crown | Infusion | Infuses the weapon with Lightning |
| Wounding Stone | Combat | Adds Perforation to melee attacks |
| Zealot’s Stone | Combat | Adds a Light Combo Finisher that generates Resolve |