
Flooded Village is an optional dungeon northwest of Blackridge Pass and north of Widow’s Overlook in Mortal Shell 2. The entrance is concealed behind an illusion, and the dungeon leads to an optional boss encounter that drops flask-enhancing upgrade materials and a powerful sidearm (that completely outperforms the starter Naylshotte) worth investing your time and, of course, effort. Follow our Flooded Village walkthrough below to learn where to find the dungeon entrance, how to complete it, beat the Grisha boss, and what rewards you’ll get.
How to Unlock the Flooded Village Entrance

Start from the Widow’s Overlook Beacon or go north from Blackridge Pass Beacon toward the Corrupted Statue. If you are following Gorf the Toad’s questline, pay him a visit before you enter the Flooded Village dungeon. He will ask for a Common Moonshine, so hand one over to him to advance his dialogue and pocket a Marsh Pearl.

From Gorf’s location, head west down the trail and cross the first wooden bridge, taking down the Shield Brigand (this is the overlook where you obtained Ruk’s Map of Fainweald). Follow down across the second suspension bridge on the right.

You will reach an open area guarded by Frog Cultists and a Neophyte Sester. Wipe out the enemies, then open the stone sarcophagus in the middle for a Ventrium.

Head past the broken cart toward the stone dais on the far side of the clearing. Eliminate the two Cultists, collect the 3x Weltcaps growing along the rockface, and open the platform’s sarcophagus to claim a Laterite.

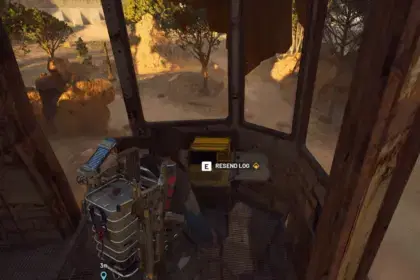
Return to the spot near the first Neophyte Sester where a sunken shed structure is built into the ground. Walk behind it and strike the rear timber with a melee swing to break the boards. Shattering the wood will expose an illusory stone archway, and passing through the opening dissolves the stone wall blocking the adjacent masonry crypt.

Go inside the unsealed doorway and step into the fog gate.


Mortal Shell 2 Flooded Village Walkthrough

Take the elevator platform down into the catacombs. At the bottom of the stairs, you will face a spellcasting Neophyte Sester teamed up with a Cannibal Knight. The Knight’s lunging grab attack is completely unblockable and ignores active Harden, so dodge sideways or backstep as soon as he winds up.
Once both enemies are dead, smash the wooden crates against the left wall to expose a gate switch. Interact with it to lift open the iron portcullis at the far end of the hall. Walk through the gate and step onto the next elevator. Halfway down the shaft, the lift will falter and crash into the murky cavern below. Now you have entered the main Flooded Village!

Immediately draw your weapon to kill the Mycellian Skulk and the Leechtongue worm that ambush you at the crash site. Look toward the water pool on your right where the Leechtongue emerged. Destroy the thick Gloom Tentacle rooted in the muck to bank over 3,000 Gloom. Walk onto the sunken hut roof straight ahead and break the bone totem on the shingles to loot a Laterite.

Turn back toward the collapsed elevator. In the tight alleyway to your right, break through the wooden crates, kill the three Frog Cultists lying in wait, and pick up the Ventrium. Head back out, smash the wooden crates blocking the side corridor, and drop off the ledge into the flooded pit boss arena below.
Defeat the Grisha
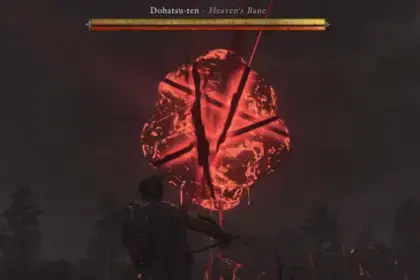
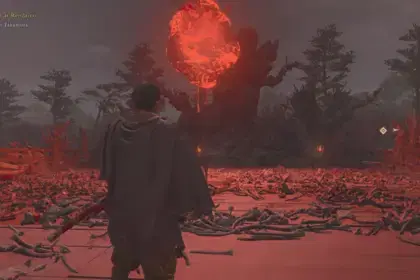
The lower pool is the arena for an upgraded Grisha. While this variant has a larger health pool and deals more damage than the early-game encounter in Mushroom Village, its moveset is not different, so you’ll not find it hard if you already fought Grisha previously.

- Parry the Claw Chains: Keep the Untarnished Seal active. Grisha frequently opens with a normal three-claw swipe combo. The attacks have short, readable windups; parrying these attacks quickly stacks Break Damage and leaves the boss open to a front Riposte.
- Evade Red Attack Indicators: Whenever the Grisha flashes red, back off or roll sideways immediately. These heavy overhead slams and lunges bypass parries and punch straight through your hardened state.
- Punish Stagger Windows: When a Riposte knocks the Grisha flat, dump your stamina bar into heavy weapon combos, then retreat to recharge.
- Keep Pressure: Pepper the boss with quick sidearm shots between attacks to keep its poise from resetting.
Upon defeat, the Grisha drops a Synaptic Vessel (slot this at any Beacon to permanently increase your healing flask’s HP recovery) and a Grisha Remnant. The Grisha Remnant passive grants a chance on melee hits to summon a ghostly Grisha to give helping hands in fights. The summon chance increases as you find more Remnants.
Retrieve the Damp Key

After defeating the boss, use the vertical air updraft in the arena’s corner to launch back up to the upper walkways. Clear the stone ritual ring of Cultists and the Sester. Once they fall, a Foul Knight will spawn in the center of the ring. Stagger it quickly with sidearm shots or heavy attacks before it can corner you. Look at the masonry wall on your right to spot a bone carving; smash it to pocket a Dorsalite.

Advance down the walkway across the roofs, taking out the crawling Skulks and ranged cultists. Backtrack slightly and scramble up the sloped shingle roof beside the second bridge. Cross over the elevated plank bridge toward the lone wooden hut on the higher plateau across the water.

Wrap around the left outer deck of this hut to collect the Damp Key resting on the floorboards.
Get the Forgotten Crossbow

Double back across the bridge, drop off the roofs into the shallow water, and make your way to the multi-story chapel. Fight through the Skulks if you encounter any on the way to the stone staircase. Interact with the chained double doors at the landing and use the Damp Key to open them.

Enter the chapel hall and sprint up the steps to the altar to take the Forgotten Crossbow from the table, which also unlocks the “Old School” Trophy / Achievement. This sidearm holds a 5-round magazine and has a quick rate of fire, pinpoint accuracy, and a flat bolt trajectory. Forgotten Crossbow completely replaces the Naylshotte as your primary ranged tool to make short work of airborne Netopyrs and distant spellcasters throughout the rest of the game.
To leave, interact with the glowing white teleport orb in the center of the chapel floor. This will transport you back to the dungeon’s entrance, where you can take the elevator up to return to the open world.