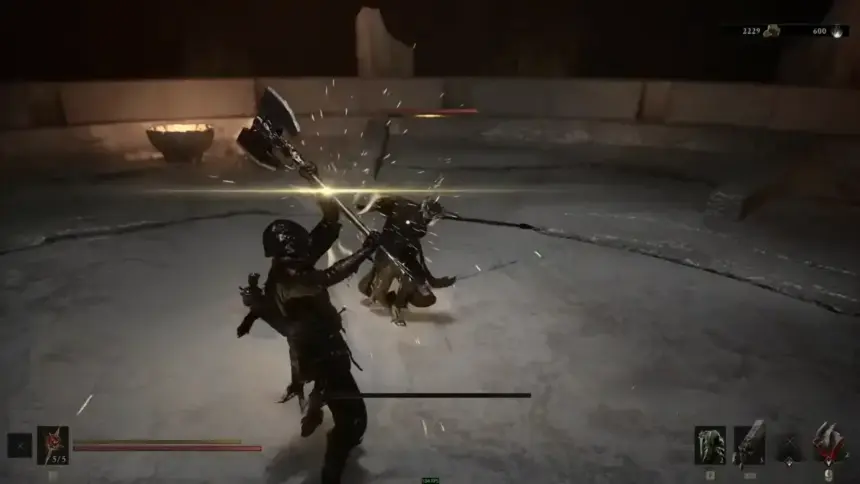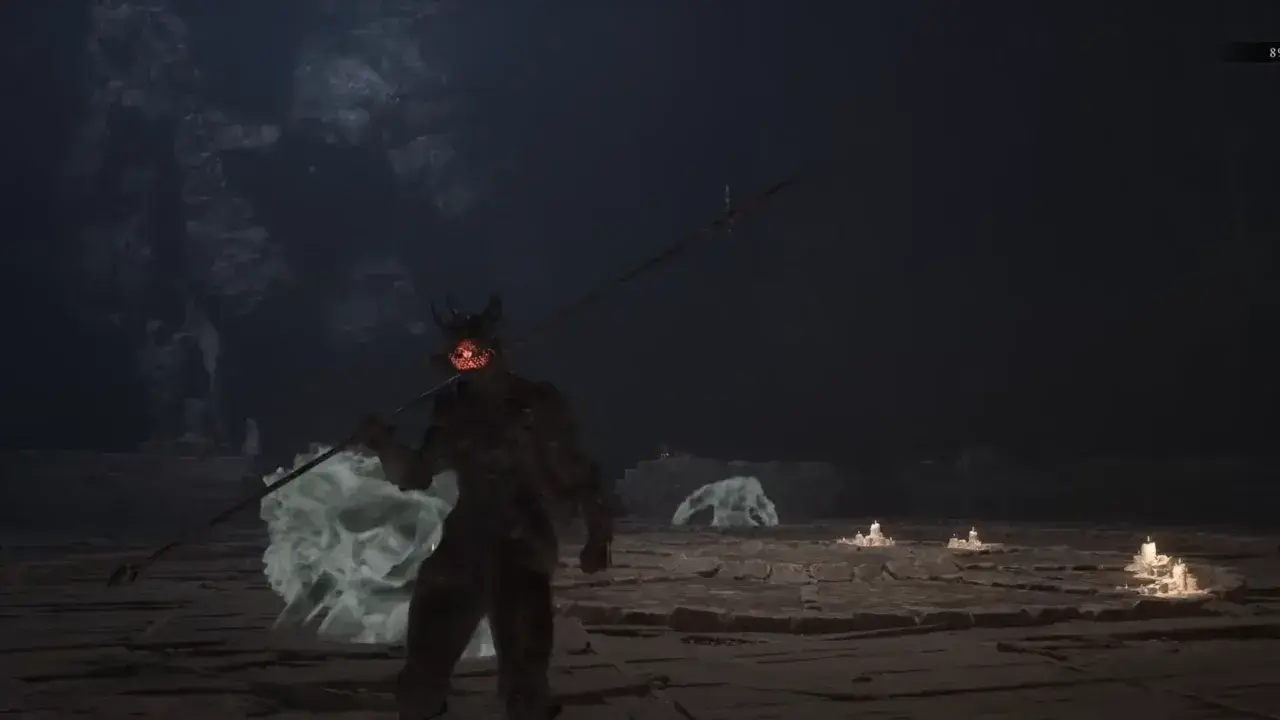
Stolen from the Twiceborn, the Black Needle is a long spear weapon in Mortal Shell 2 that delivers rapid thrusts with great melee reach. It’s found in Sester’s Bastion dungeon in the southeastern Mammon region near Sester’s Gate Beacon. Push through the dungeon, activate the bells to rebuild the broken bridges, then defeat the minibosses Twin Sesters and Stray Sesters. The latter is the tougher enemy, and beating the final encounter rewards you with the Black Needle.
Note: You’ll want to be in the mid to late game for this journey since the enemies are hard and you can’t skip the fights. Further, make sure to have a ranged firearm equipped with enough Resolve (or use the Resolve replenish tree inside the dungeon) to solve the bell ringing puzzles.
Mortal Shell 2 Black Needle Location
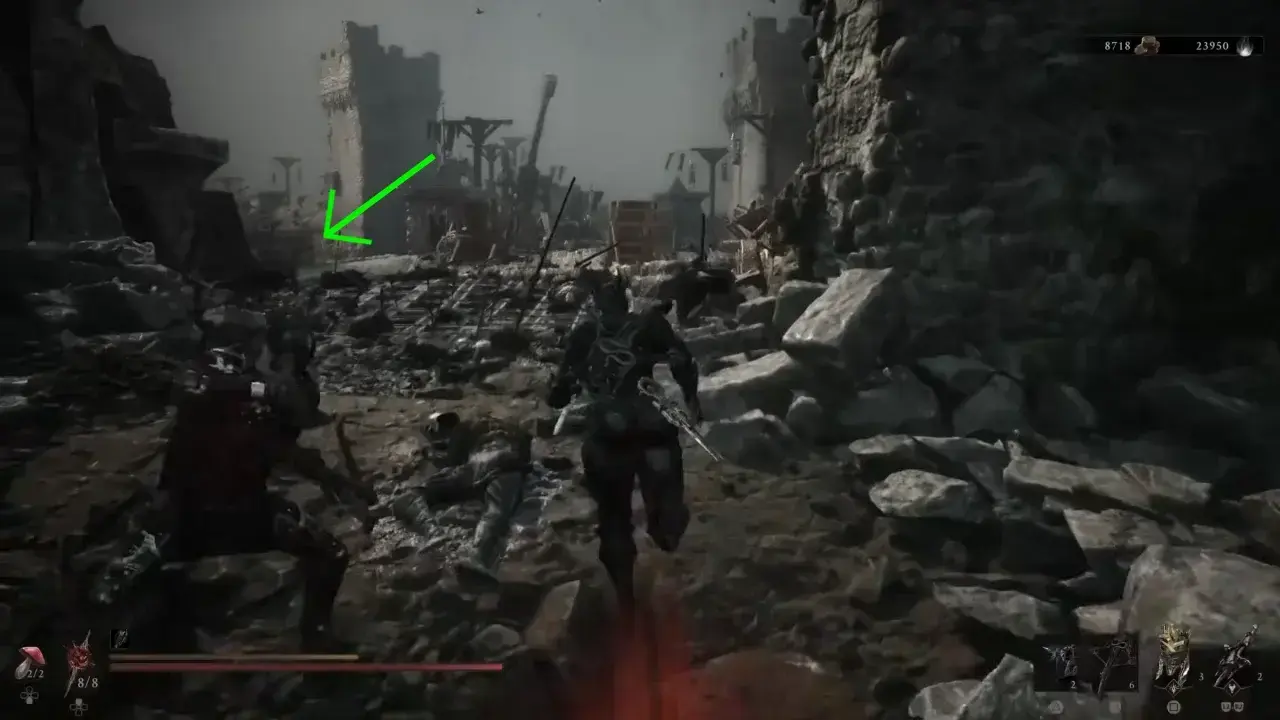
From the Outskirts of Mammon Beacon, head south toward the Road of Absolution between the two broken castle towers ahead. Sprint past the enemies through the ruins, and just before you enter the Road of Absolution, turn left at the broken stone bridge and drop down off the cliff into the brush below.

Move straight ahead through the stone archway guarded by a Grisha Hunter (defeat or run past). Follow the path downhill to the right until you reach Bone Gate. Use the transporter to jump to the next area.
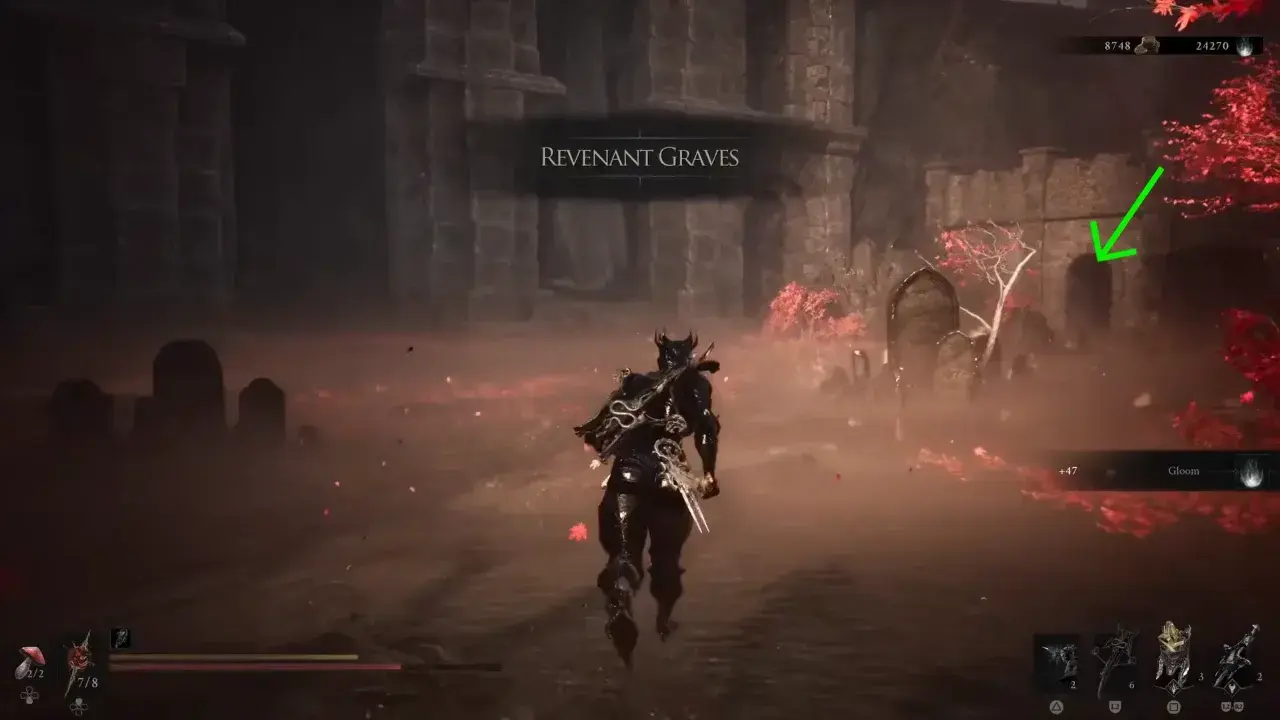
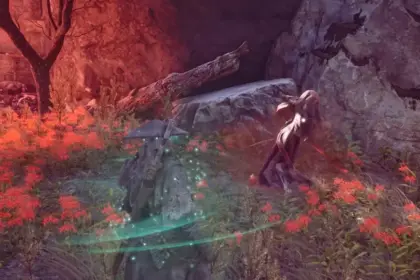
From there, climb the stairs all the way up to enter Revenant Graves (the mist-filled area covered in red flowers). Continue to the center of the area, then take a right through the stone alcove archway.
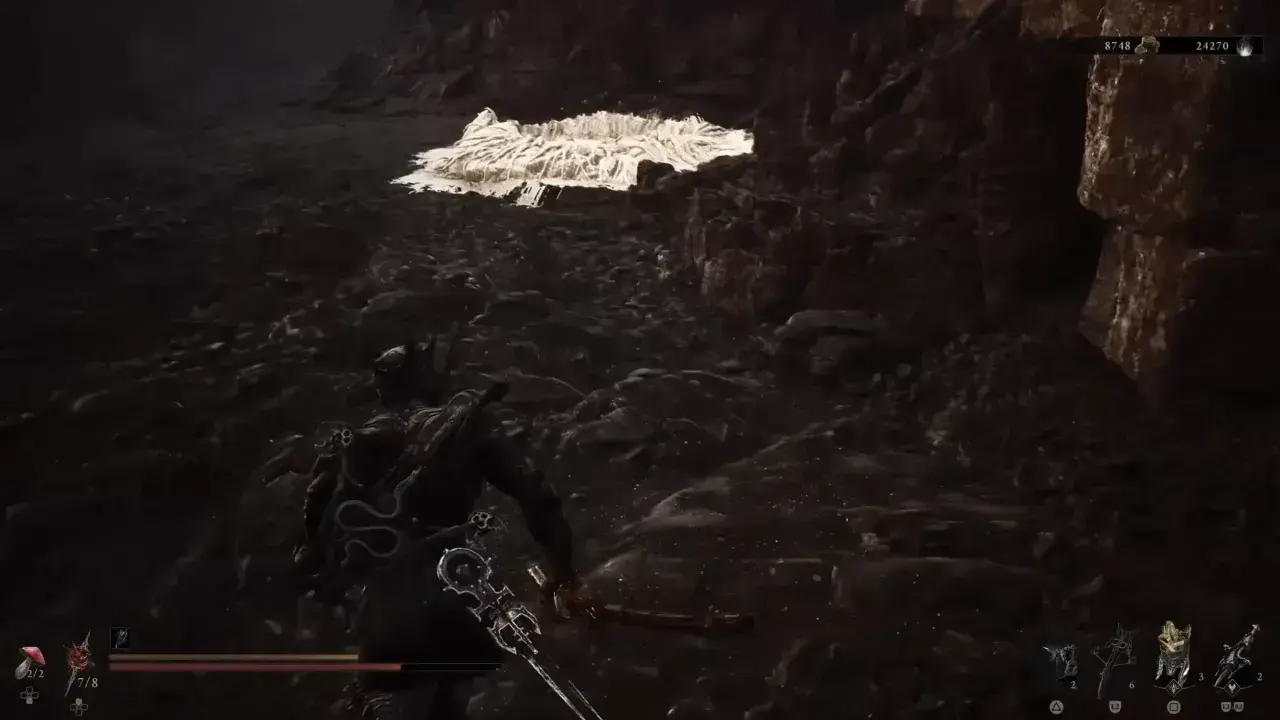
Next, take a sharp right to find a launch geyser and stand on it to launch to the upper ledge.
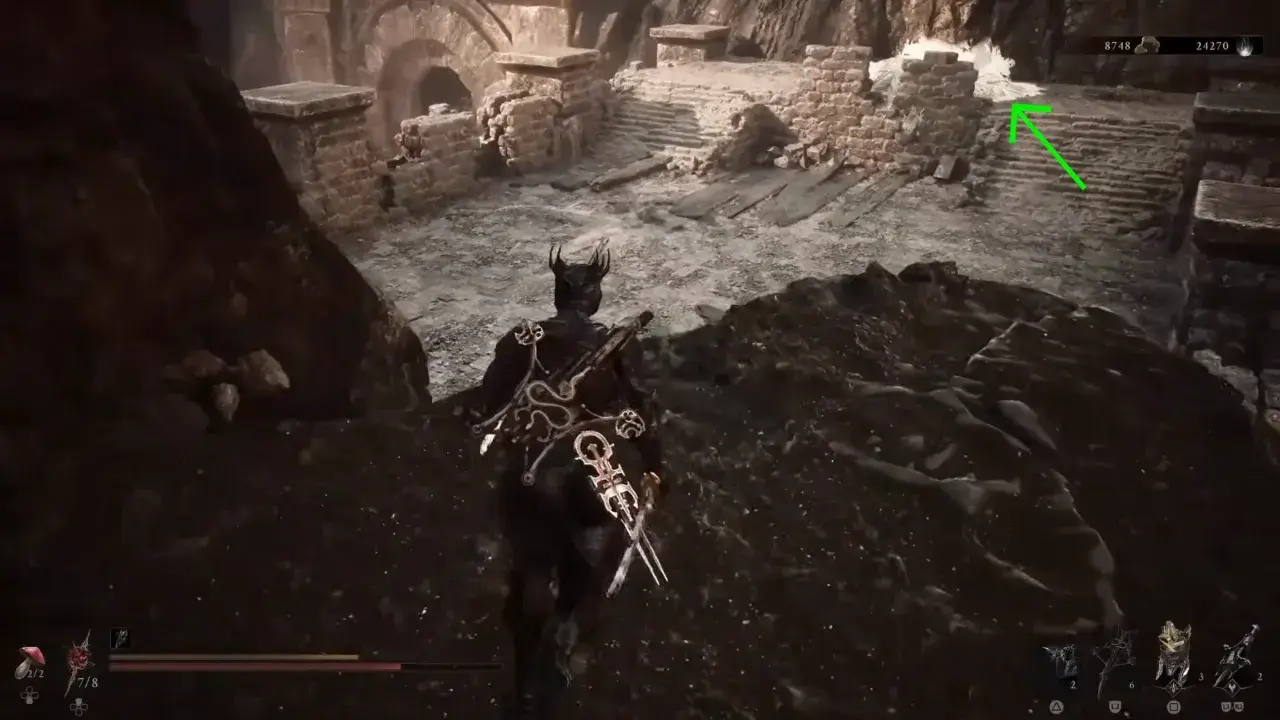
Turn right again, drop down from the edge, and use the second launch pad visible in front along the cliffside.
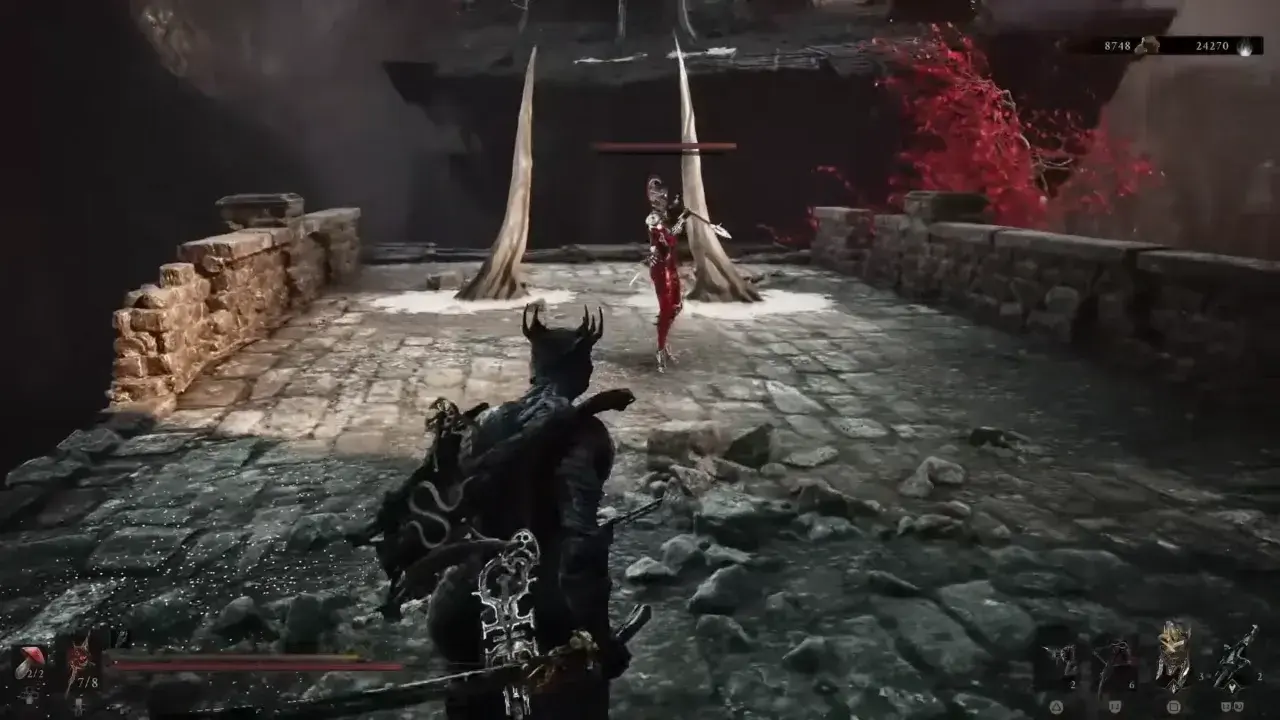
Hug the left wall and use the third launch pad to vault onto the ruined upper battlement. Up there, defeat or ignore the spear wielding Sester on the parapet.
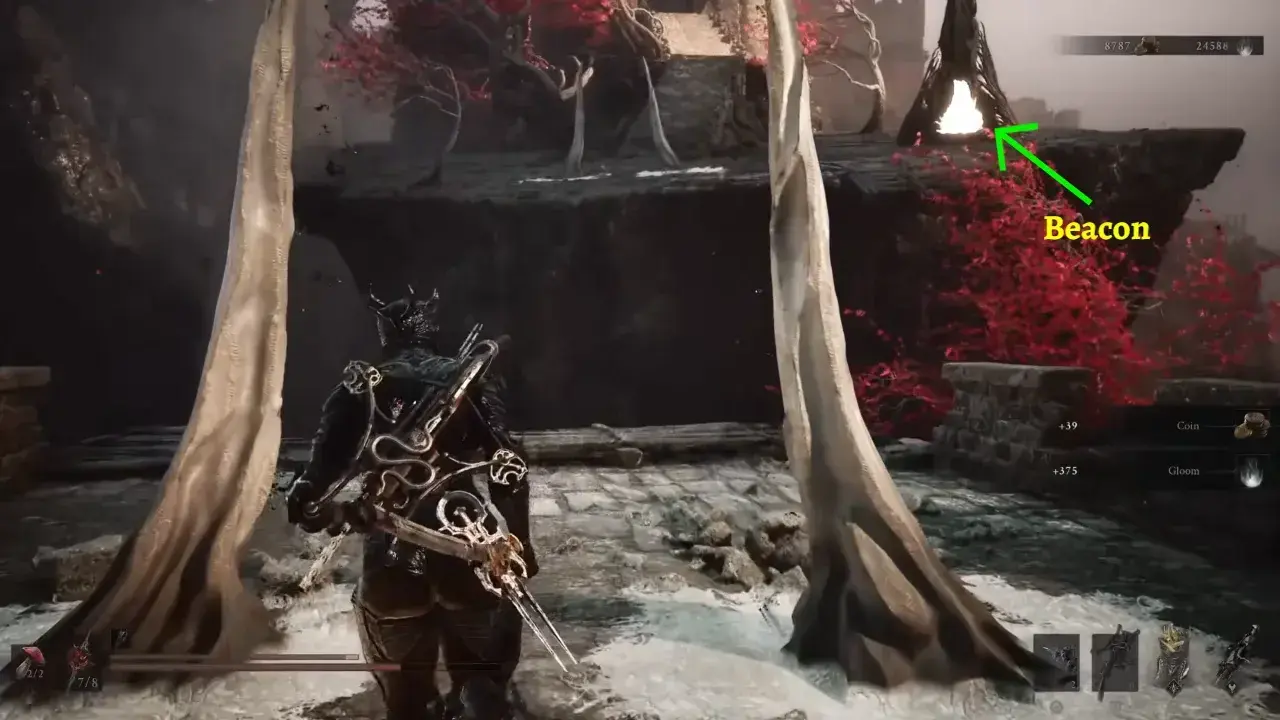
Use the Bone Gate there to launch across the gap. Immediately to your right, interact with the Abbey Entrance Beacon to set your checkpoint.
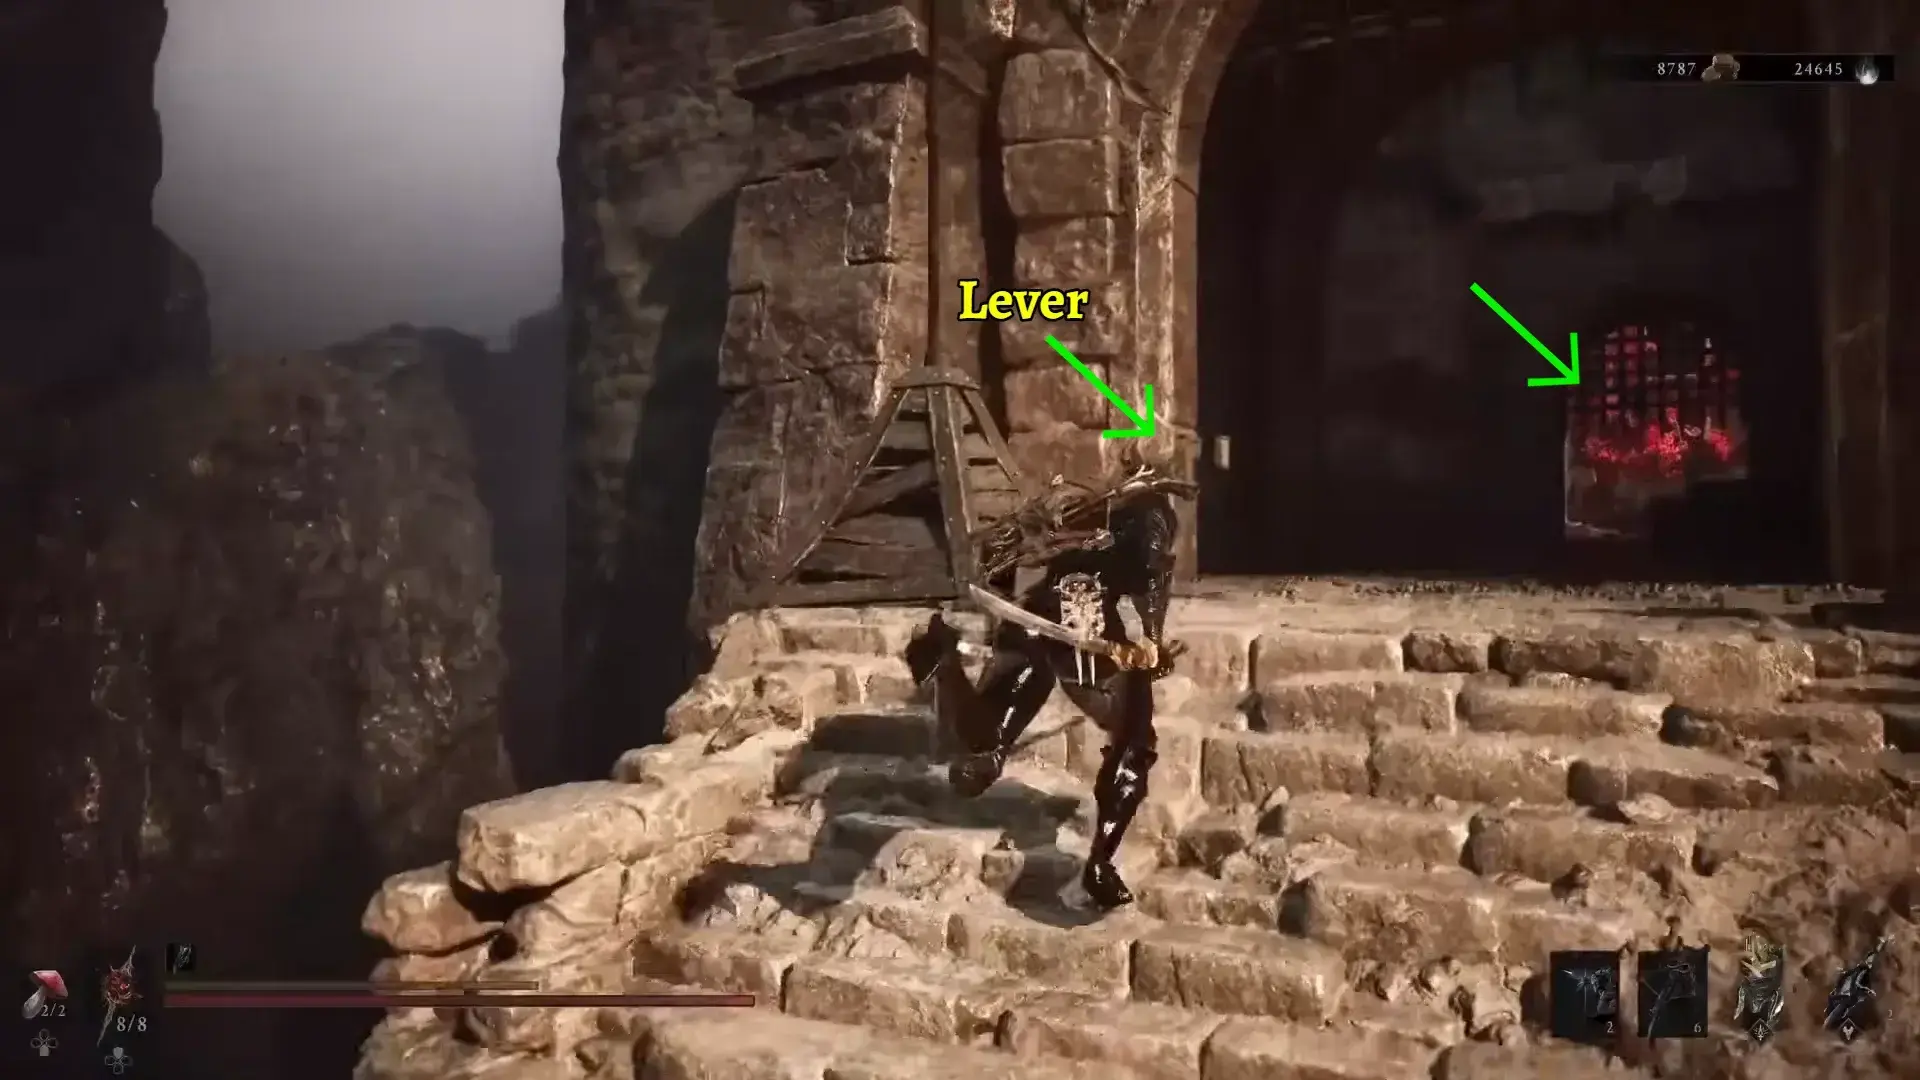
Go up the long staircase leading into the fortress entrance. To the left of the closed portcullis, interact with the wall switch to open the gate. Inside the corridor, two Sublime Sesters will spawn, and the gates behind will remain locked. You must defeat both enemies to unlock the exit.
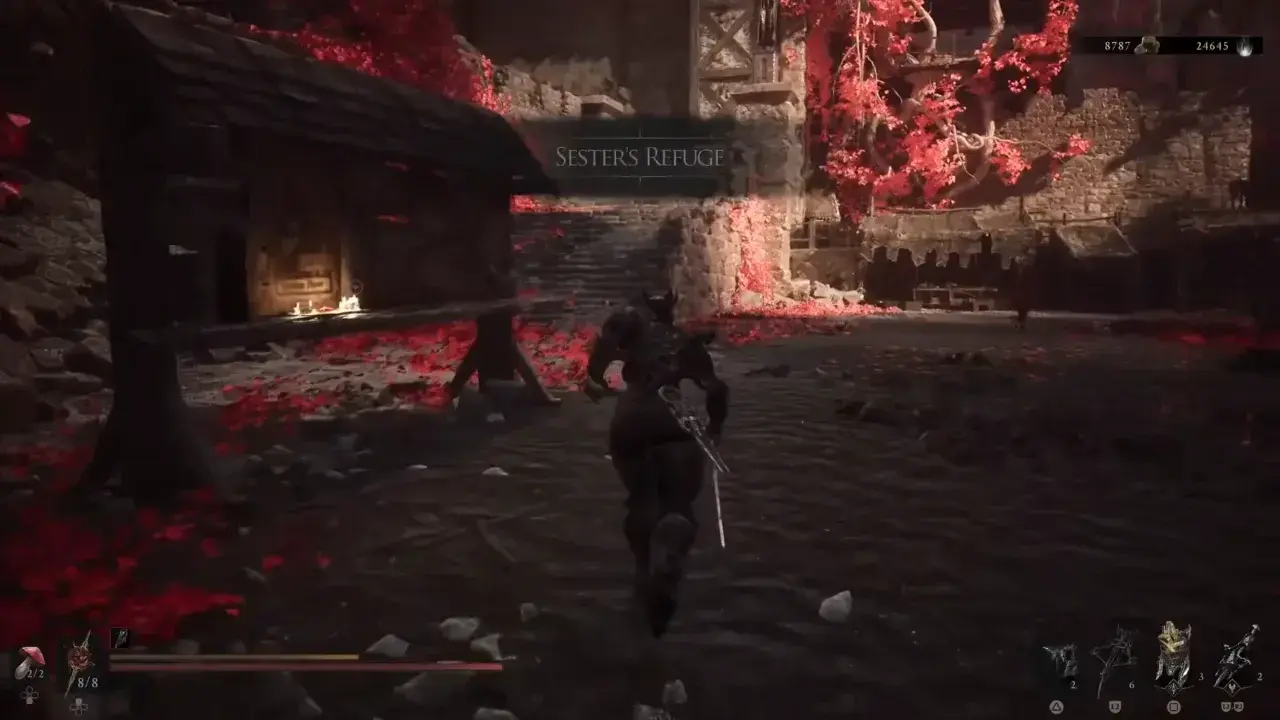
Pass through the gate into Sester’s Refuge, turn left up the staircase, and curve around the rampart.
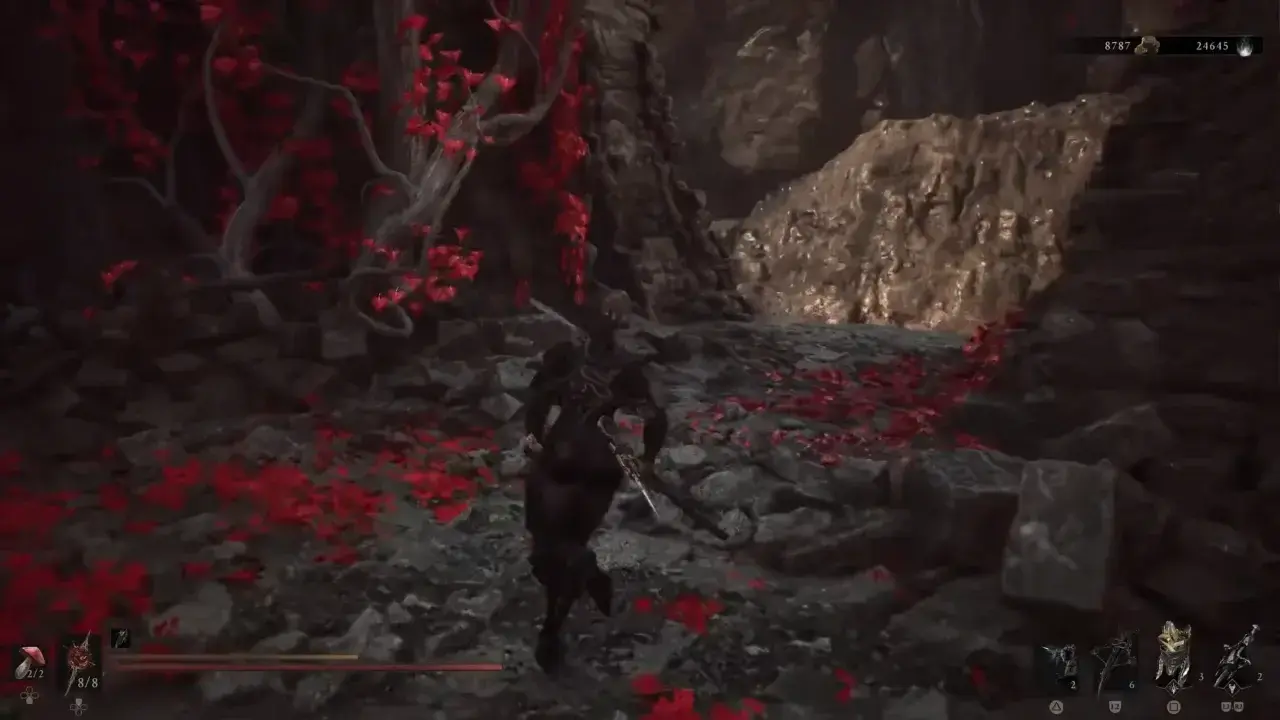
Near the red-leafed tree on the right, drop down off the ledge into the dark trench below.
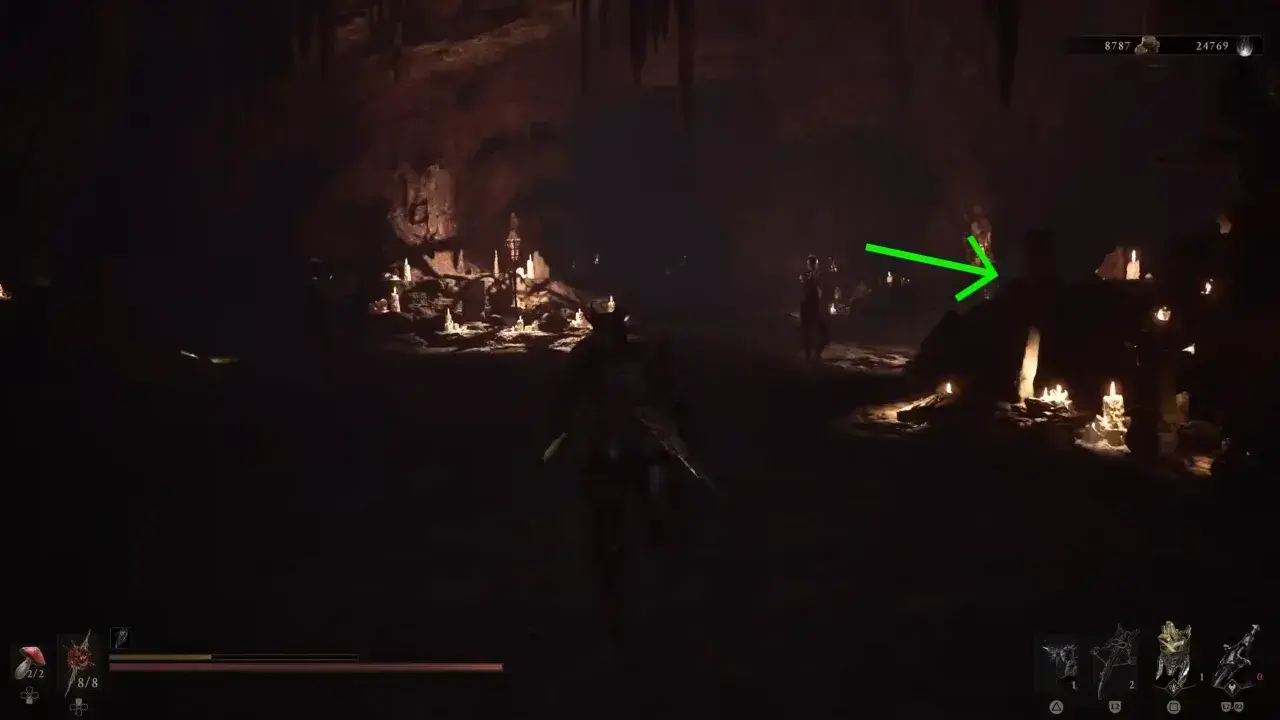
Deal with or run past the small exploding crawlers and continue straight down the ravine. At the torchlit area, find the geyser on the right to jump up onto the top beside wooden scaffolding.
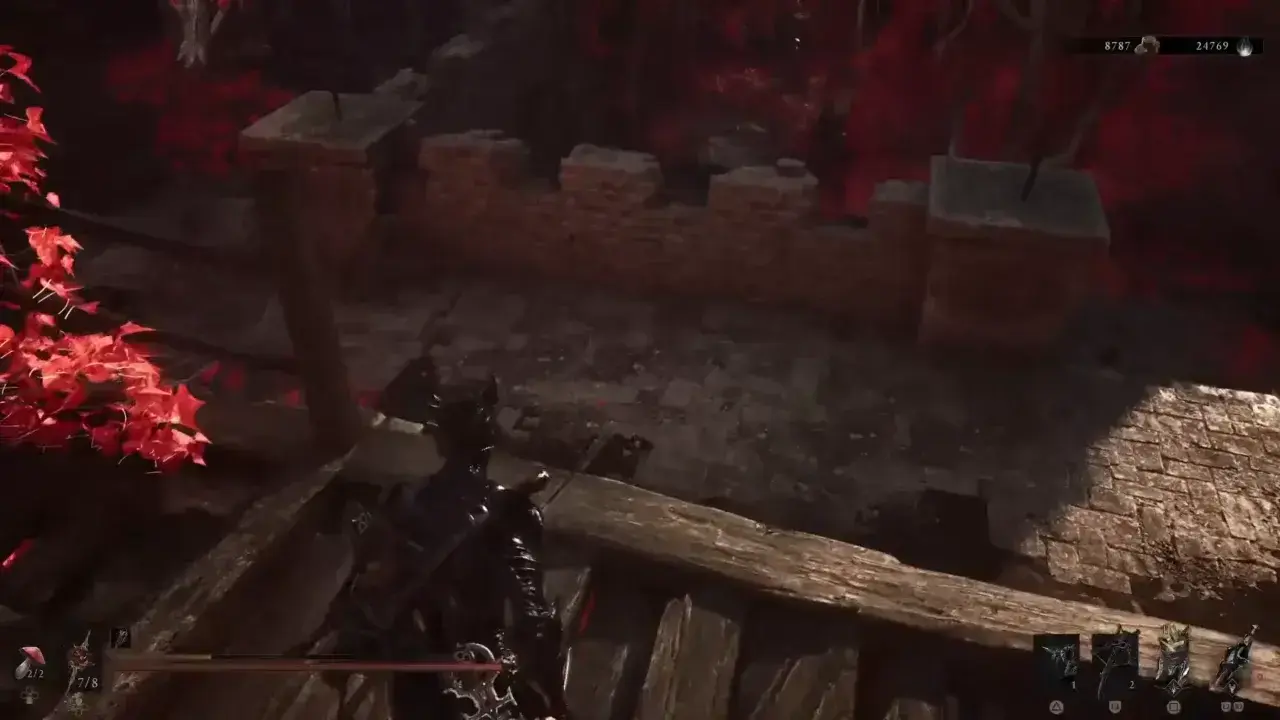
Move up from the steps and drop down into the courtyard strewn with red petals.
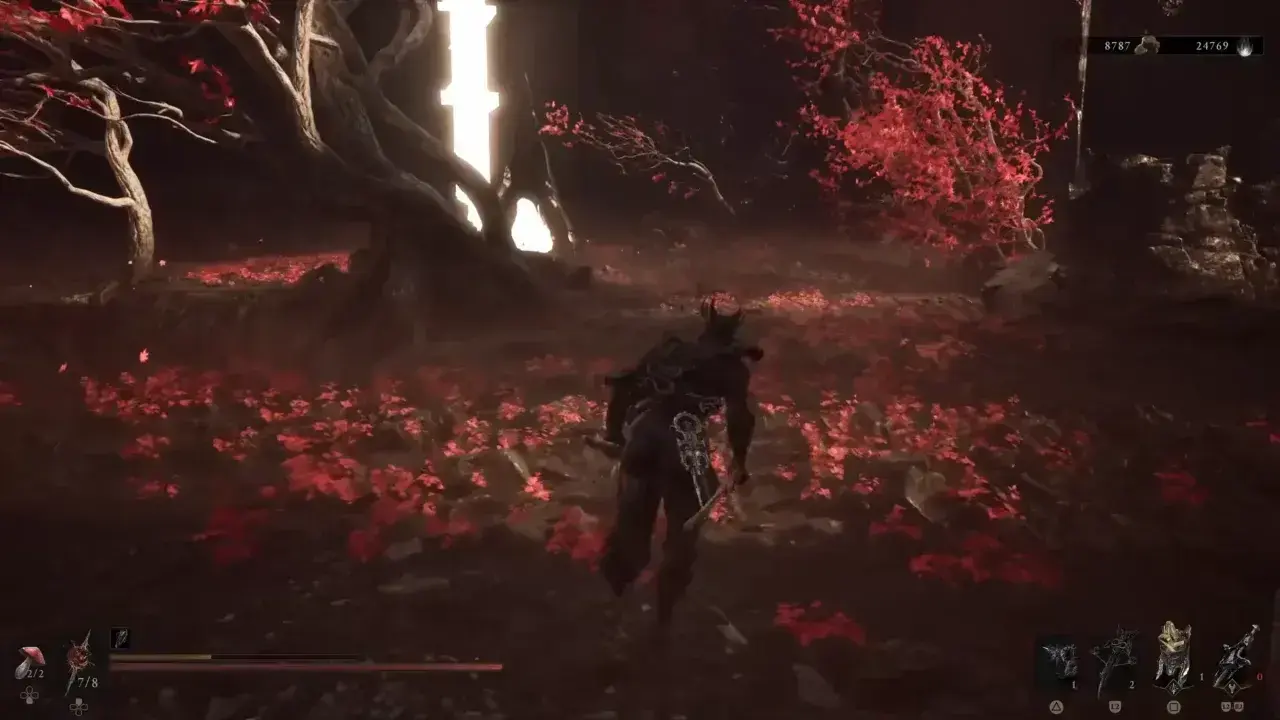
Head left behind the enemies, then turn right, move down the short staircase, and take another left to reach the Sester’s Gate Beacon.
Sester’s Bastion Dungeon
Rest at the Beacon and then enter the dungeon. Go through the archway into the central chamber, take the passage to the left, and pull the lever inside the cage elevator to descend into Sester’s Bastion.
Exit the elevator (watch out for wall-clinging bats).
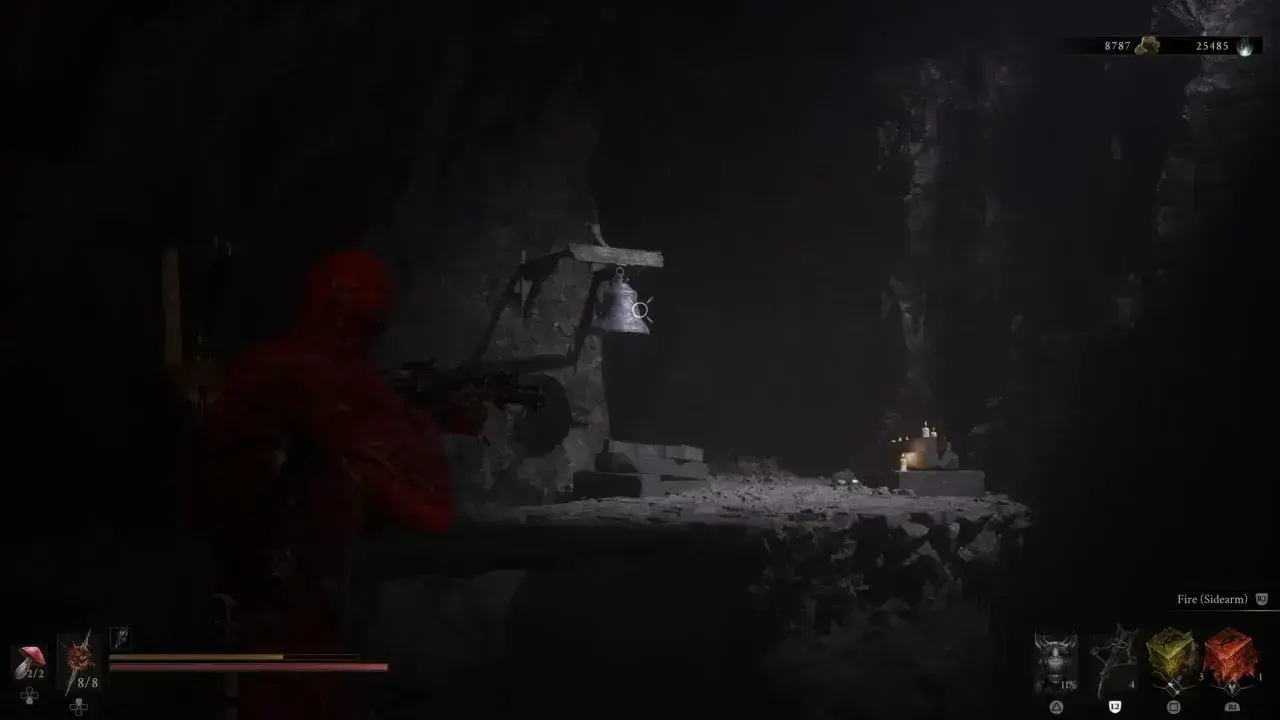
- Bell 1: Hit the large bell on the left to raise the first bridge.
- Bell 2: Shoot the second bell hanging on the wall across the chasm to raise the other bridge segment, then cross to the other side.
Follow the path to the main cavern and first take down the Faceless Cleric wielding a hammer to avoid trouble later.
Note: If you run out of Resolve to fire your sidearm, attack the glowing tree on the upper ledge to replenish it.
The long, broken bridge near the enemy’s position requires you to ring three bells to complete the crossing:
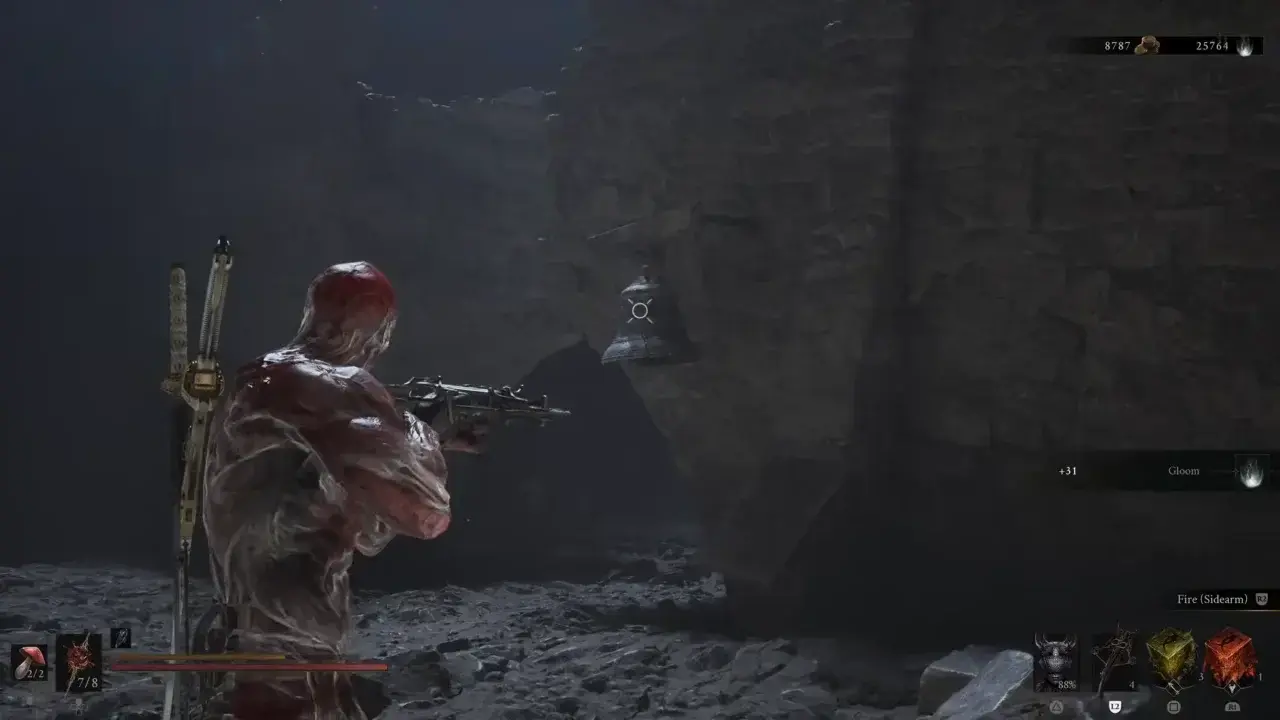
Bell 1: Go past the bridge to the left and look to the right wall above the start of the bridge; shoot the bell with a firearm.
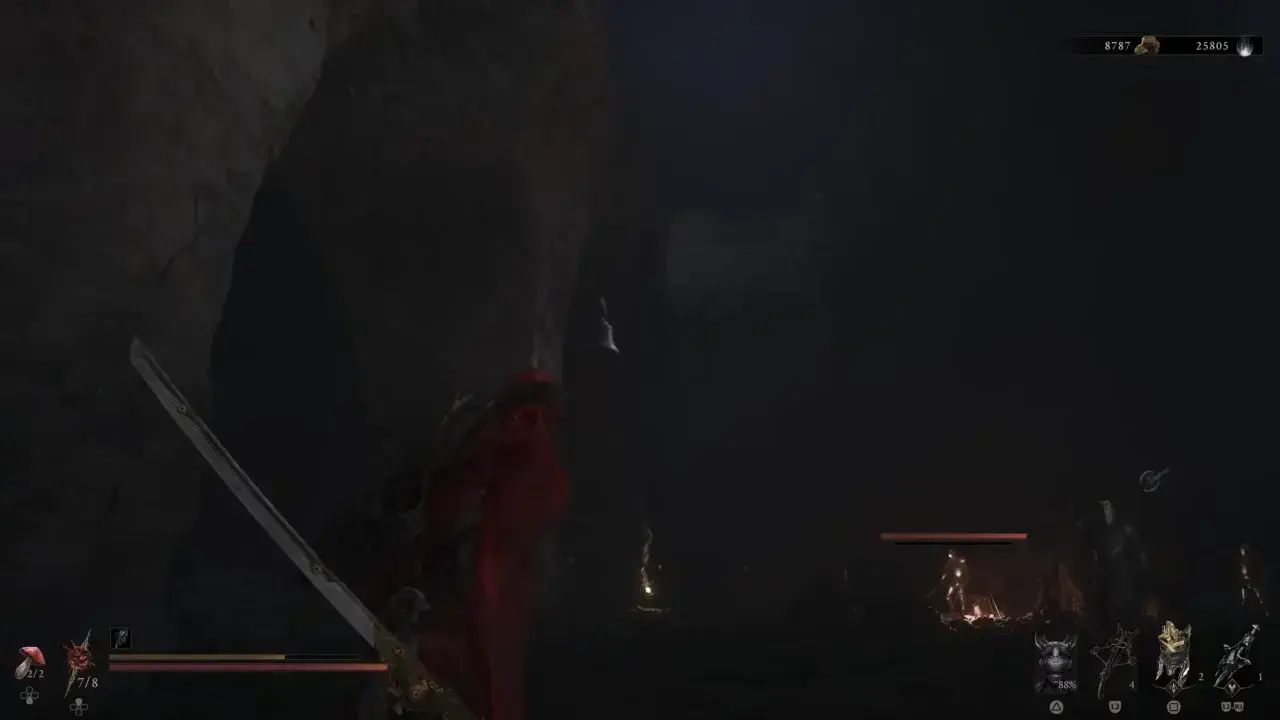
Bell 2: Drop down into the lower level. See toward the high central rock pillar and shoot the bell hanging from its upper ledge.
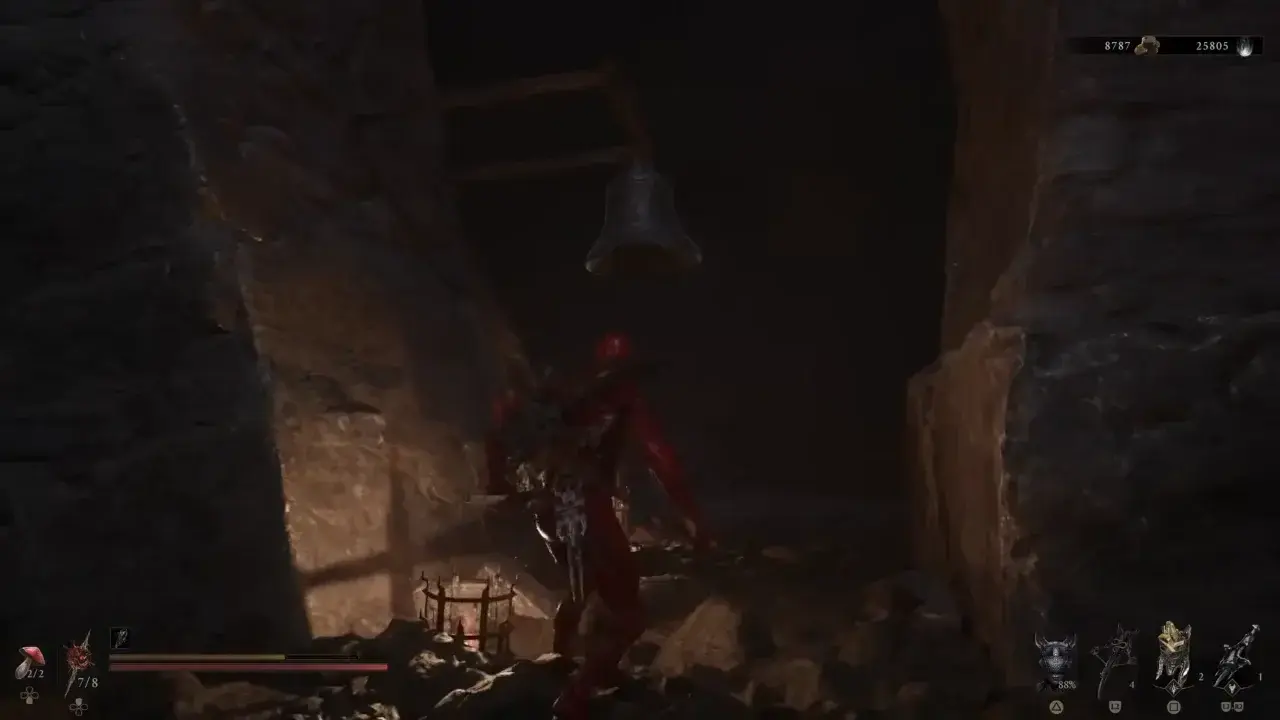
Bell 3: Run to the far back left corner of the lower cavern (past the crates and lantern) and shoot the third bell hanging in the alcove.
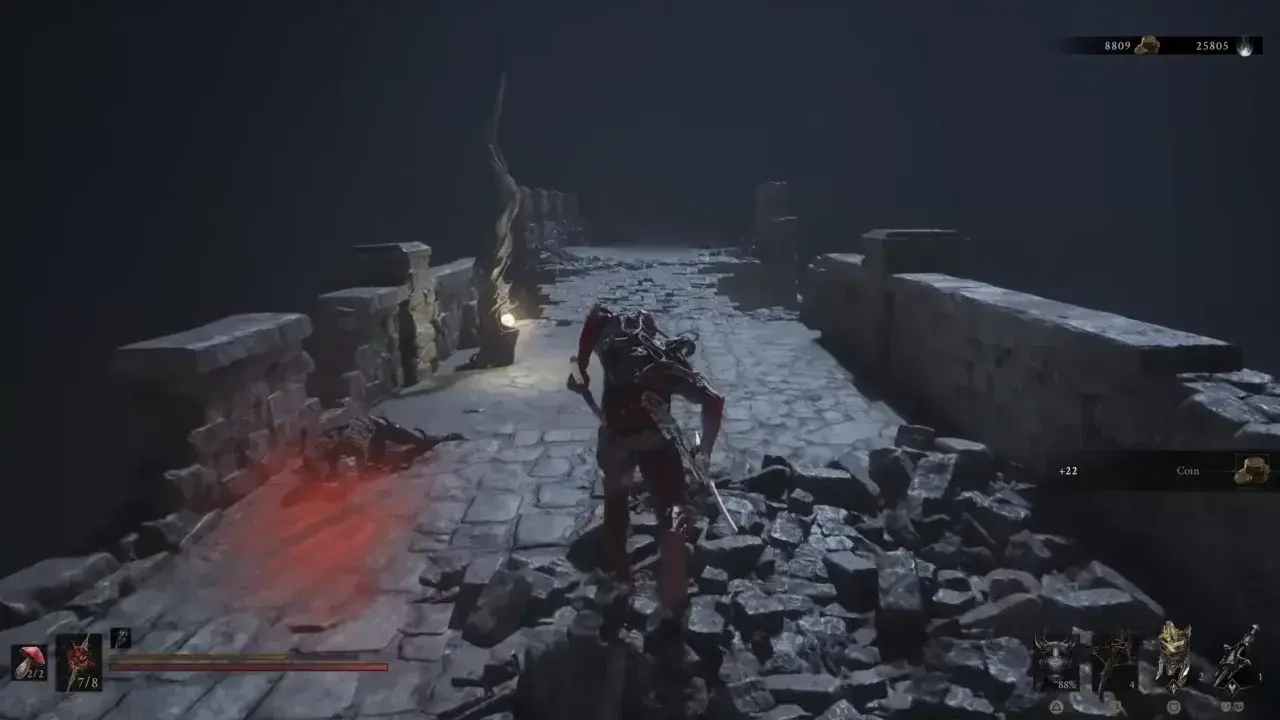
Return to the bridge, which is now repaired to be crossed. Reach the other side through it, dealing with or bypassing the Sester enemy, and use the geyser to launch yourself up into the final battle arena.
Defeat the Twin Sesters
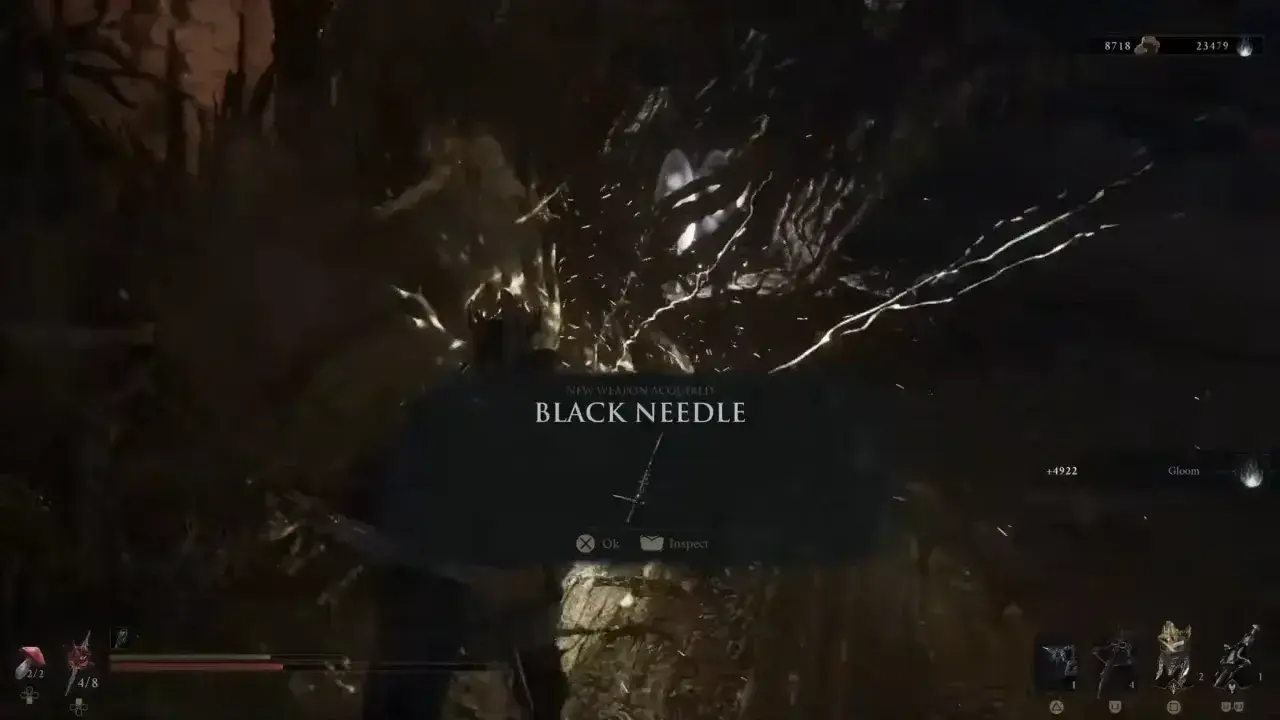
You will face the Twin Sesters at once. Keep them both in your field of view to avoid surprise lunges. Dodge their sweeping spear strikes and punish them after their combos finish. After the twins fall, the Stray Sesters will spawn. Watch for wide-area jumping slams and delayed spear thrusts. Maintain spacing, bait whiffs, and counterattack.
Once the Stray Sesters is defeated, you will collect the Black Needle along with the Sester’s Crest and Glimpse.
Black Needle Weapon Details

The Black Needle is a fast thrusting weapon. It hits targets from further away than you would expect given how compact it looks. The weapon’s Needle Storm ability gives you an offensive option that goes beyond the normal thrusts. Black Needle’s horizontal heavy attacks are slow, so use the quick strikes to keep pressure on your opponent and save the heavy swings for when you have a clear opening to punish them.


Black Needle Upgrade Materials
The Black Needle follows the standard weapon upgrade path. The early levels use Ventrium, while the higher upgrades switch to Laterite and Dorsalite.
| Weapon Level | Material | Amount | Coins | Damage Increase |
|---|---|---|---|---|
| +1 | Ventrium | 2 | 100 | 105% |
| +2 | Ventrium | 2 | 100 | 110% |
| +3 | Ventrium | 4 | 300 | 115% |
| +4 | Ventrium | 9 | 500 | 120% |
| +5 | Ventrium | 13 | 1,000 | 125% |
| +6 | Ventrium | 18 | 1,250 | 130% |
| +7 | Laterite | 2 | 2,750 | 135% |
| +8 | Laterite | 4 | 2,750 | 140% |
| +9 | Laterite | 9 | 3,500 | 145% |
| +10 | Laterite | 13 | 4,250 | 150% |
| +11 | Laterite | 18 | 5,000 | 155% |
| +12 | Dorsalite | 2 | 5,750 | 160% |
| +13 | Dorsalite | 4 | 6,500 | 165% |
| +14 | Dorsalite | 9 | 7,250 | 170% |
| +15 | Dorsalite | 13 | 8,000 | 175% |
| +16 | Dorsalite | 18 | 8,750 | 180% |
Black Needle Compatible Tarstones
| Tarstone Name | Type | Level 1 Effect | Level 2 Effect | Level 3 Effect | Level 4 Effect |
|---|---|---|---|---|---|
| Acolyte’s Stone | Ability | Consume 15 Resolve to perform a Charged Light Attack | Charged light attack gains +15% Critical Chance | Charged light attack deals +150% Critical Damage | Resolve cost reduced to 10 |
| Auspicious Stone | Support | Improves overall melee Critical Chance | Melee attacks gain +10% Critical Chance | Melee attacks gain +15% Critical Chance | Melee attacks gain +18% Critical Chance |
| Berserker’s Stone | Support | Increases melee damage at lower Health levels | +130% melee damage when Health is at or below 35% | +140% melee damage when Health is at or below 40% | +165% melee damage when Health is at or below 50% |
| Clerik’s Stone | Combat | Unlocks a special Heavy Combo Finisher | Heavy finisher gains +20% Critical Chance | Heavy finisher gains +25% Critical Chance | Heavy finisher gains +30% Critical Chance |
| Conqueror’s Reward | Ability | Consume 100 Resolve to perform a forward multi-thrust attack | Each strike deals 200% damage | Delivers 4 additional thrust strikes | Resolve cost reduced to 75 |
| Deadman’s Stone | Support | Grants stat bonuses when health drops below critical thresholds | Increases attack damage when wounded | Increases defense when wounded | Grants massive damage and speed boost when near death |
| Devout Stone | Support | Killing an enemy with your Sidearm generates Resolve | Sidearm kills generate 7 Resolve | Sidearm kills generate 14 Resolve | Sidearm kills generate 21 Resolve |
| Grudge Stone | Combat | Weapon deals a guaranteed Critical Hit periodically | Guaranteed Critical Hit every 10 attacks | Guaranteed Critical Hit every 7 attacks | Guaranteed Critical Hit every 5 attacks |
| Headman’s Stone | Support | Improves overall melee Critical Damage | Melee attacks deal +50% Critical Damage | Melee attacks deal +80% Critical Damage | Melee attacks deal +100% Critical Damage |
| Infused Stone | Ability | Consume Resolve to throw weapon, striking targets before returning | Each throw strike inflicts 3 Perforation stacks | Thrown weapon strikes up to 4 targets | Each strike deals 150% damage |
| Magdalena’s Memento | Support | Grants unique health leech on critical hits | Increases leech percentage on heavy attacks | Restores bonus health when striking bleeding targets | Converts excess health gained into a temporary guard shield |
| Nightgrasp Stone | Infusion | Infuses weapon with Phantom element | Infusion lasts for 4 strikes | Infusion lasts for 8 strikes | Infusion becomes permanent |
| Parasitic Stone | Support | Melee attacks leech health from target | Increases health leech per hit | Striking bleeding foes drains stamina | Converts leech effects into bonus Resolve |
| Retribution Stone | Support | Improves Riposte damage | Riposte damage increased by +10% | Riposte damage increased by +15% | Riposte damage increased by +20% |
| Serpent Stone | Infusion | Consume 15 Resolve to infuse weapon with Poison | Infusion lasts for 4 strikes | Infusion lasts for 8 strikes | Infusion becomes permanent |
| Shattering Stone | Support | Improves melee Stagger Damage | Melee attacks deal 150% Stagger Damage | Melee attacks deal 200% Stagger Damage | Melee attacks deal 220% Stagger Damage |
| Shrike Stone | Combat | Increases physical damage of piercing attacks | Adds bonus poise damage to forward lunges | Piercing strikes bypass a portion of enemy armor | Critical piercing hits trigger bleed damage |
| Stillblade’s Stone | Combat | Unlocks a special Light Combo Finisher | Light finisher deals 10 Break Damage | Light finisher deals 15 Break Damage | Light finisher deals 25 Break Damage |
| Thief’s Stone | Combat | Striking foes grants Warp stacks | Gain 1 Warp stack per strike | Gain 2 Warp stacks per strike | Gain 3 Warp stacks per strike |
| Tyrant’s Stone | Combat | Unlocks a special Heavy Combo Finisher | Heavy finisher inflicts 4 Weak stacks | Heavy finisher inflicts 5 Weak stacks | Heavy finisher inflicts 6 Weak stacks |
| Unwieldy Stone | Ability | Consume 25 Resolve to perform a Charged Heavy Attack | Charged heavy attack grants 2 Leech stacks on kill | Charged heavy grants 3 Leech stacks and restores 20 Health on kill | Charged heavy grants 5 Leech stacks and restores 25 Health on kill |
| Unyielding Stone | Combat | Weapon light attack combo grants Stagger Immunity | Stagger immunity applies to first attack | Stagger immunity applies to first and second attacks | Stagger immunity applies to all light combo attacks |
| Wounding Stone | Combat | Melee attacks inflict Perforation | Inflicts 2 Perforation stacks per strike | Inflicts 4 Perforation stacks per strike | Inflicts 7 Perforation stacks per strike |
| Zealot’s Stone | Combat | Unlocks a special Light Combo Finisher | Light finisher generates +40% Resolve | Light finisher generates +70% Resolve | Light finisher generates +150% Resolve |
Looking for more weapons, bosses, and location guides? Check out our complete Mortal Shell 2 Guides & Walkthrough Hub for all collectible locations and build strategies.