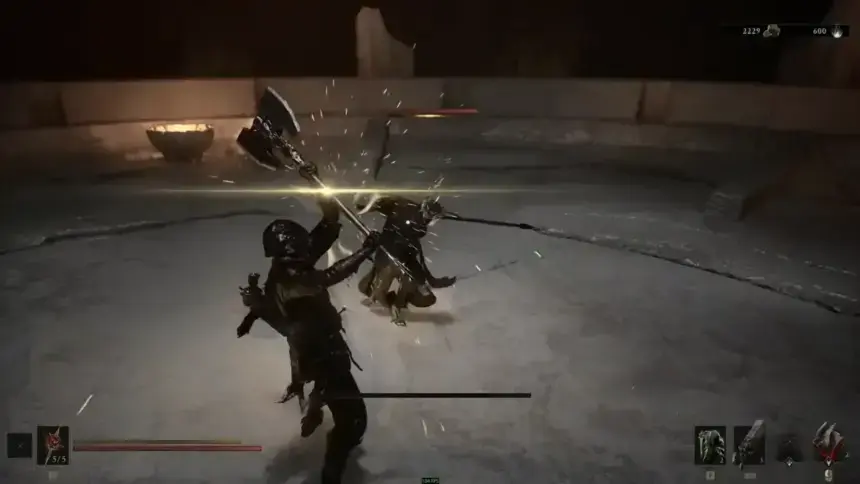

The Iconoclast is an early two-handed sword weapon you’ll get your hands on in Mortal Shell 2, and it comes packaged right into the story rather than requiring any detours. Here’s how to get The Iconoclast, what it costs to upgrade, its stats, and which Tarstones work with it.
This article is a part of our Mortal Shell 2 Walkthrough and Guides Wiki hub.
How to Get Mortal Shell 2’s The Iconoclast
You receive The Iconoclast automatically as part of the tutorial. Progress through the Prologue until you encounter the UnderMether. After that, continue the sequence and equip Harros the Vassal when the game prompts you. Once you have the weapon, equip it from your inventory, and you can start upgrading it as you collect the required materials.
The Iconoclast Weapon Overview
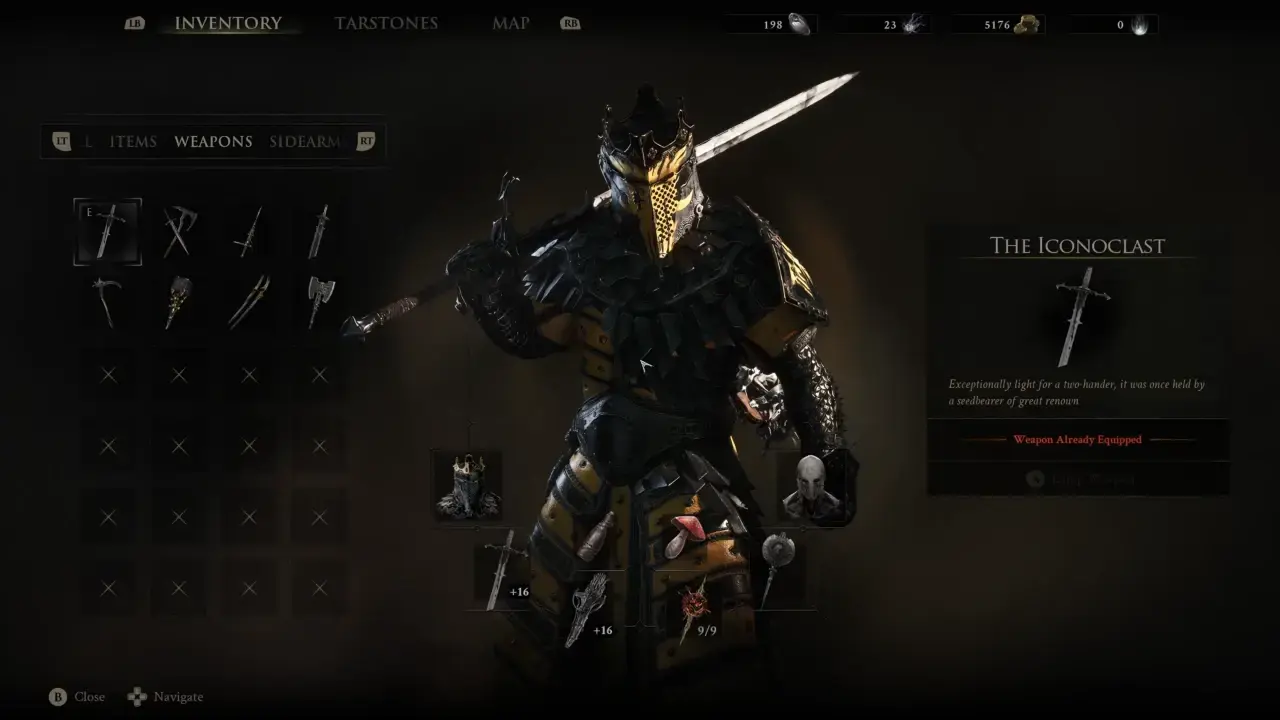
The Iconoclast is a two-handed sword designed around strong melee attacks while remaining unusually light for a weapon of its size. It has both Light and Heavy attacks and gains weapon abilities as you upgrade it. The primary weapon skill is Plummet Strike, which gives the sword an additional offensive option beyond its normal attack strings. I prefer this weapon early on because it offers the range and damage of a heavy hitter without feeling like you are wading through mud.



Iconoclast Upgrade Materials
Upgrading the Iconoclast increases its damage and improves its Guard Meter. The material cost gets pretty steep, so be careful. Don’t waste your rare materials on early upgrades until you confirm what else you might want to improve.
| Level | Damage | Upgrade Material | Coins |
|---|---|---|---|
| +1 | 105% | Ventrium x2 | 100 |
| +2 | 110% | Ventrium x2 | 100 |
| +3 | 115% | Ventrium x4 | 300 |
| +4 | 120% | Ventrium x9 | 500 |
| +5 | 125% | Ventrium x13 | 1,000 |
| +6 | 130% | Ventrium x18 | 1,250 |
| +7 | 135% | Laterite x2 | 2,750 |
| +8 | 140% | Laterite x4 | 2,750 |
| +9 | 145% | Laterite x9 | 3,500 |
| +10 | 150% | Laterite x13 | 4,250 |
| +11 | 155% | Laterite x18 | 5,000 |
| +12 | 160% | Dorsalite x2 | 5,750 |
| +13 | 165% | Dorsalite x4 | 6,500 |
| +14 | 170% | Dorsalite x9 | 7,250 |
| +15 | 175% | Dorsalite x13 | 8,000 |
| +16 | 180% | Dorsalite x18 | 8,750 |
At maximum upgrade level, the Iconoclast reaches 180% damage and a 125% Guard Meter.
The material tiers are straightforward: Ventrium handles the early upgrades, Laterite takes over from +7, and Dorsalite is required for the final stretch.
Best Tarstones for the Iconoclast
The Iconoclast works with a large selection of Tarstones so that you can tune the weapon around your build.
| Tarstone | Type | Main Effect |
|---|---|---|
| Zealot’s Stone | Combat | Unlocks a special Light Combo Finisher. Higher levels increase Resolve generation, up to +150% Resolve at Level 4. |
| Wounding Stone | Combat | Melee attacks inflict Perforation. Reaches 7 stacks per strike at Level 4. |
| Unyielding Stone | Combat | Grants Stagger immunity during the Light Combo. At Level 4, all attacks in the combo get immunity. |
| Unwieldly Stone | Ability | Costs 25 Resolve for a Charged Heavy Attack. At Level 4, kills grant 5 Leech stacks and restore 25 Health. |
| Tyrant’s Stone | Combat | Adds a special Heavy Combo Finisher. At Level 4, the finisher applies 6 Weak stacks. |
| Thief’s Stone | Combat | Striking enemies provides Warp stacks that reach 3 stacks per strike at Level 4. |
| Stillblade’s Stone | Combat | Adds a special Light Combo Finisher that deals up to 25 Break Damage at Level 4. |
| Shrike Stone | Ability | Costs Resolve for a plunging attack. Higher levels add a shockwave, reduce the cost, and deal 100 Break Damage nearby. |
| Shattering Stone | Support | Increases melee Stagger Damage, reaching 220% at Level 4. |
| Retribution Stone | Support | Increases Riposte damage by up to 20% at Level 4. |
| Parasitic Stone | Combat | Killing enemies generates Leech stacks, reaching 3 stacks per kill at Level 4. |
| Headman’s Stone | Support | Improves melee critical damage, reaching +100% Critical Damage at Level 4. |
| Grudge Stone | Combat | Grants a guaranteed Critical Hit at set attack intervals that improve to every 5 attacks at Level 4. |
| Devout Stone | Support | Killing an enemy with your Sidearm generates Resolve that reaches 21 Resolve per kill at Level 4. |
| Curseblood Stone | Infusion | Spends 30 Resolve to infuse the Iconoclast with Curse. At Level 4, the infusion becomes permanent. |
| Clerik’s Stone | Combat | Adds a special Heavy Combo Finisher with up to +30% Critical Chance at Level 4. |
| Berserker’s Stone | Support | Increases melee damage as Health falls, reaching up to 165% melee damage at Level 4 when Health is low. |
| Auspicious Stone | Support | Improves melee Critical Chance that reaches +18% Critical Chance at Level 4. |
| Arbiter’s Prize | Infusion | Spends 30 Resolve to infuse the Iconoclast with Bloodcurse. At Level 4, the infusion becomes permanent. |
| Acolyte’s Stone | Ability | Costs Resolve for a Charged Light Attack. At Level 4, the Resolve cost falls to 10. |
Best Infusions for the Iconoclast
For Infusions, I would consider Curseblood Stone and Arbiter’s Prize first. Both let you spend Resolve to infuse the Iconoclast with a weapon curse effect. You get a few strikes at first, but the effect gets better as you level the Tarstone, receiving permanent status at level 4. These are great picks for an offensive build that already generates plenty of Resolve and wants the weapon to carry an extra damage effect.