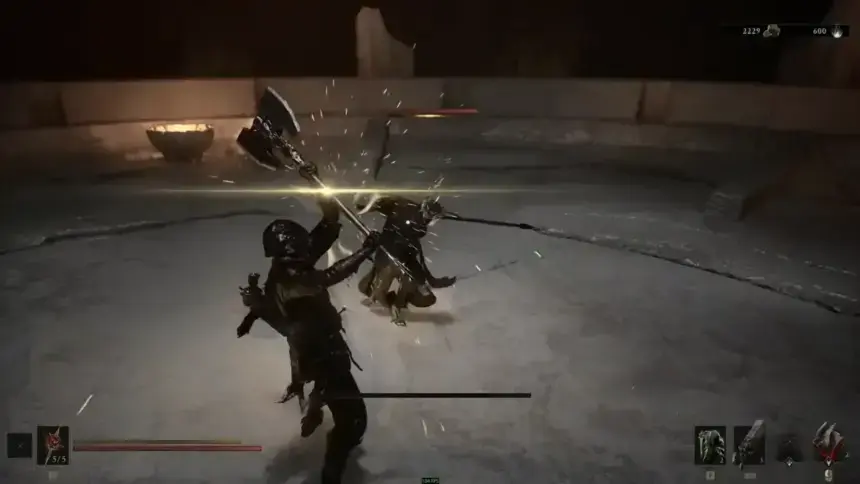
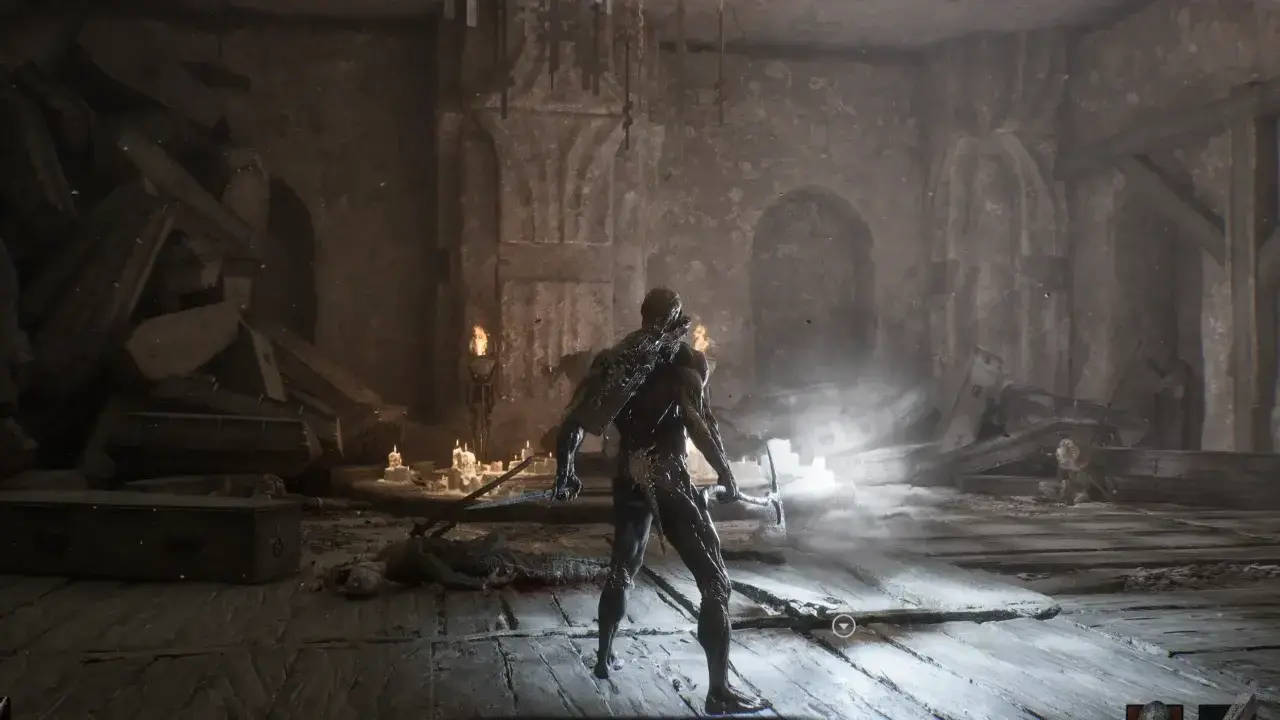
The Axe and Dagger is the first weapon you can get in Mortal Shell 2 after the sword, The Iconclast, is handed to you early in the Prologue. This usual weapon pair is located inside the Shrine of Trials in Mushroom Village. Getting to its place requires you to find the Chapel Key to unlock the entry to the dungeon, and solve an illusion and two rooms of moving-statue puzzles before you can get the Axe and Dagger in Mortal Shell 2. Don’t worry, we will explain everything in this guide.
This article is a part of our Mortal Shell 2 Walkthrough and Guides Wiki hub.
Mortal Shell 2 Axe and Dagger Location
Reach Mushroom Village
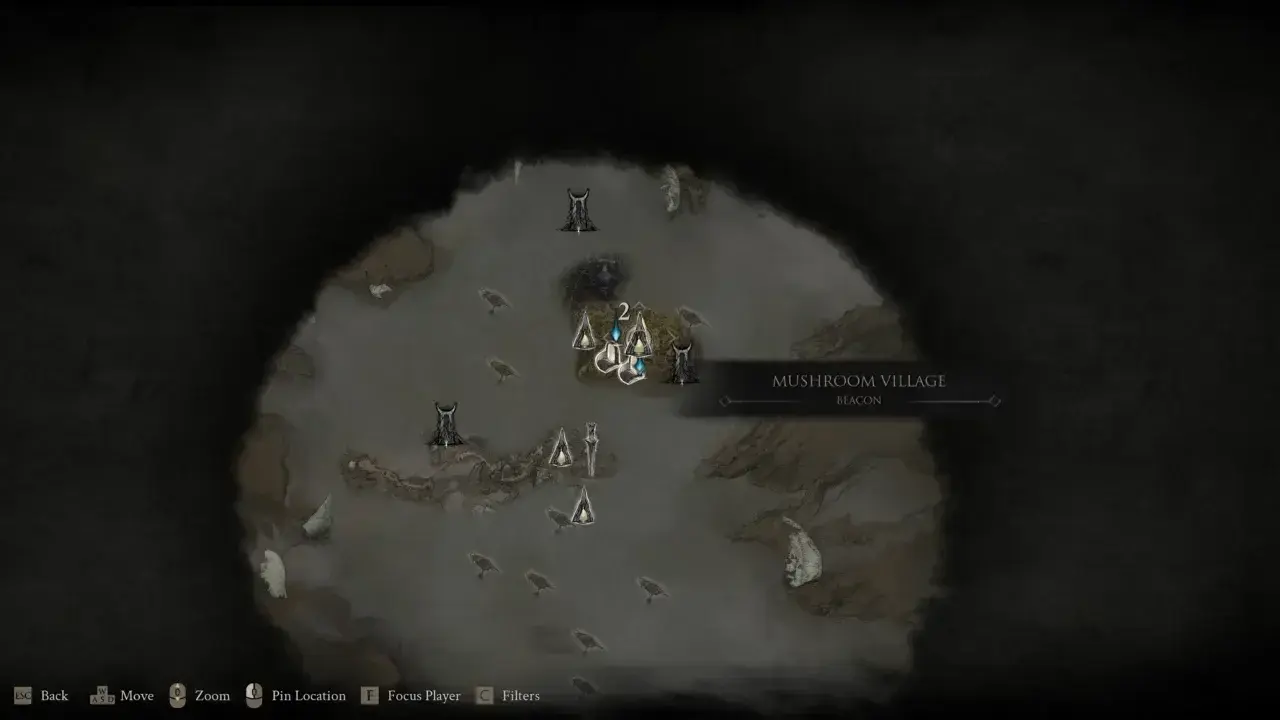
Travel to the Mushroom Village Beacon. From the beacon, head across the nearby bridge where you will run into a group of Babkas around the bonfire. Defeat the enemies first, as they can easily interrupt the puzzle setup, and there is no reason to make the key hunt harder than it already is.
Find the Chapel Key
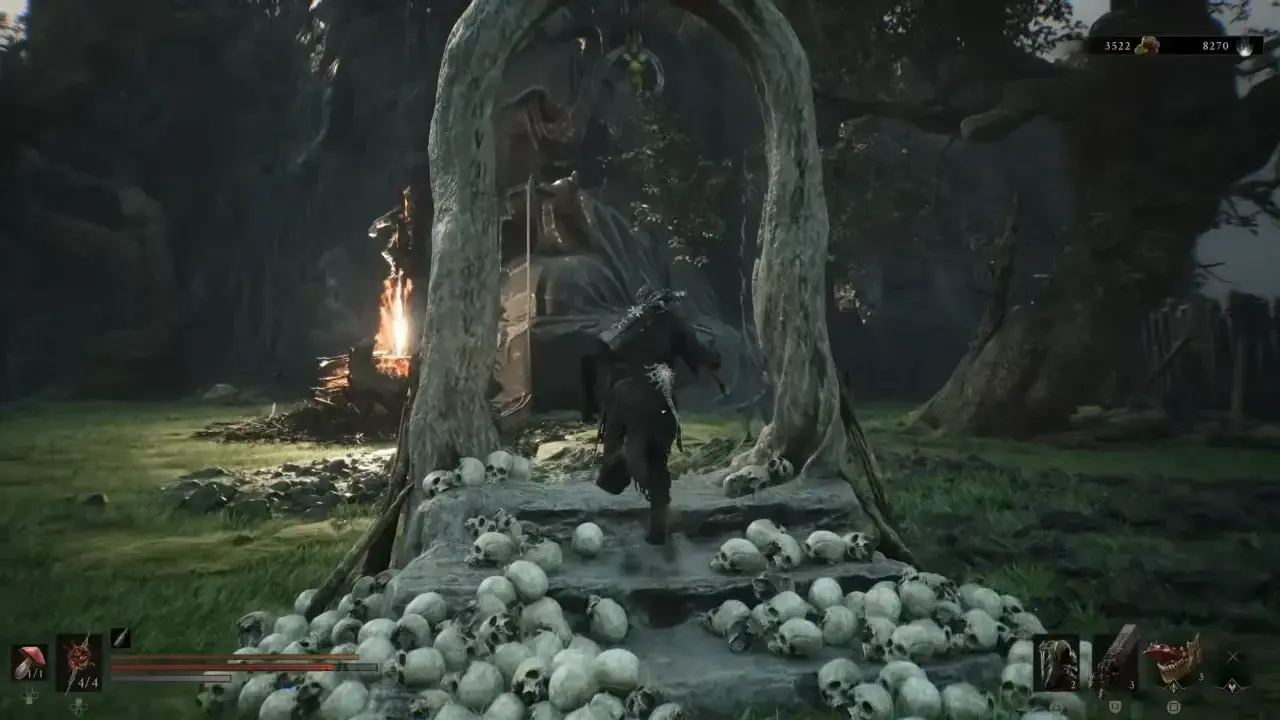
Find the archway near the bonfire which is part of an illusion. Walk behind it and peer through the frame. Once you circle around to face the bonfire from the other side, a large statue will appear that you could not see before.
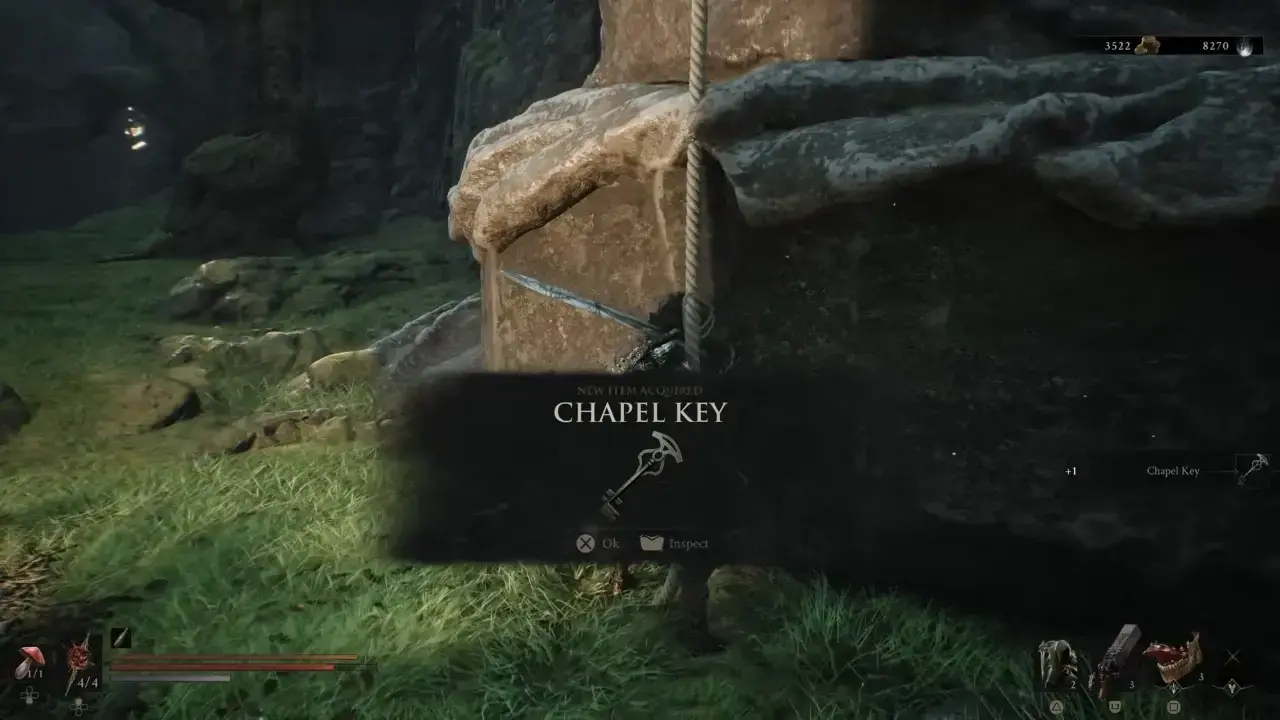
Walk through the archway toward the statue and interact with the rope hanging off the statue to collect the Chapel Key.
Open the Chapel
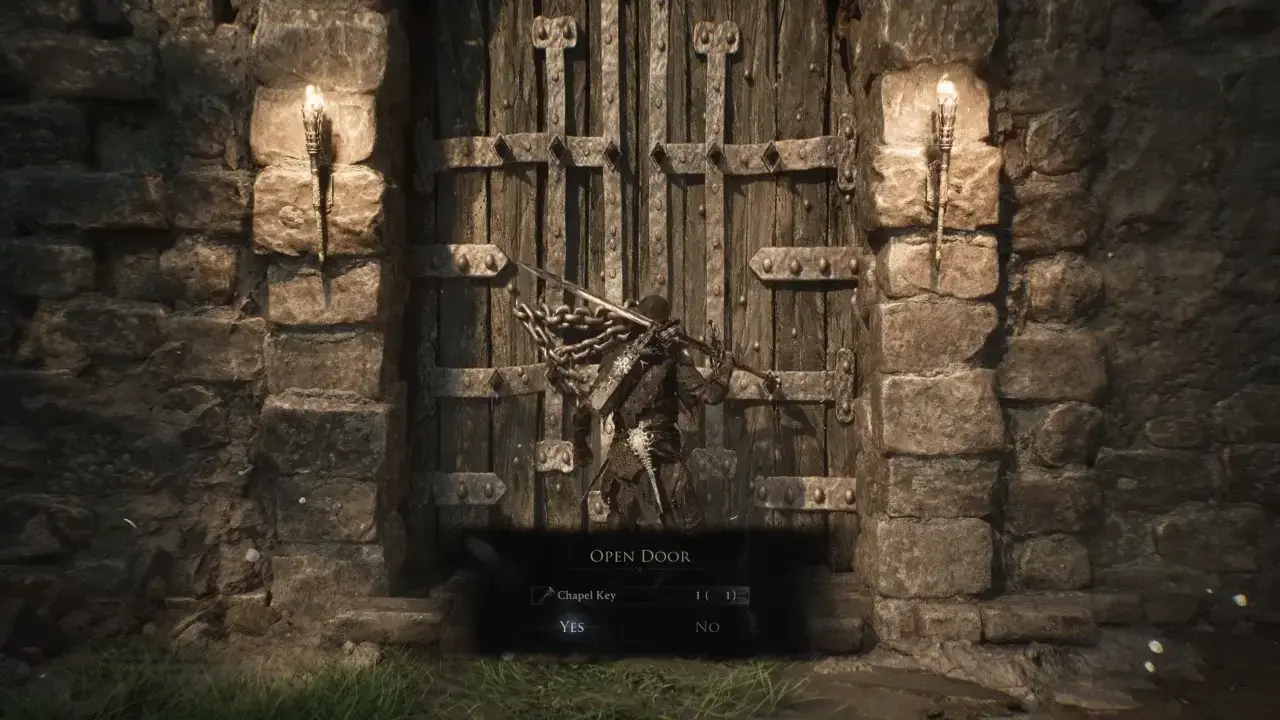
Take the Chapel Key to the Chapel near Grisha Hunter’s camp on the western side of Mushroom Village. Use the key on the locked door to get into the Chapel that leads to the Shrine of Trials dungeon. Go down the stairs until you reach the wooden platform elevator, which will take you down into the dungeon.
Solve the First Statue Puzzle
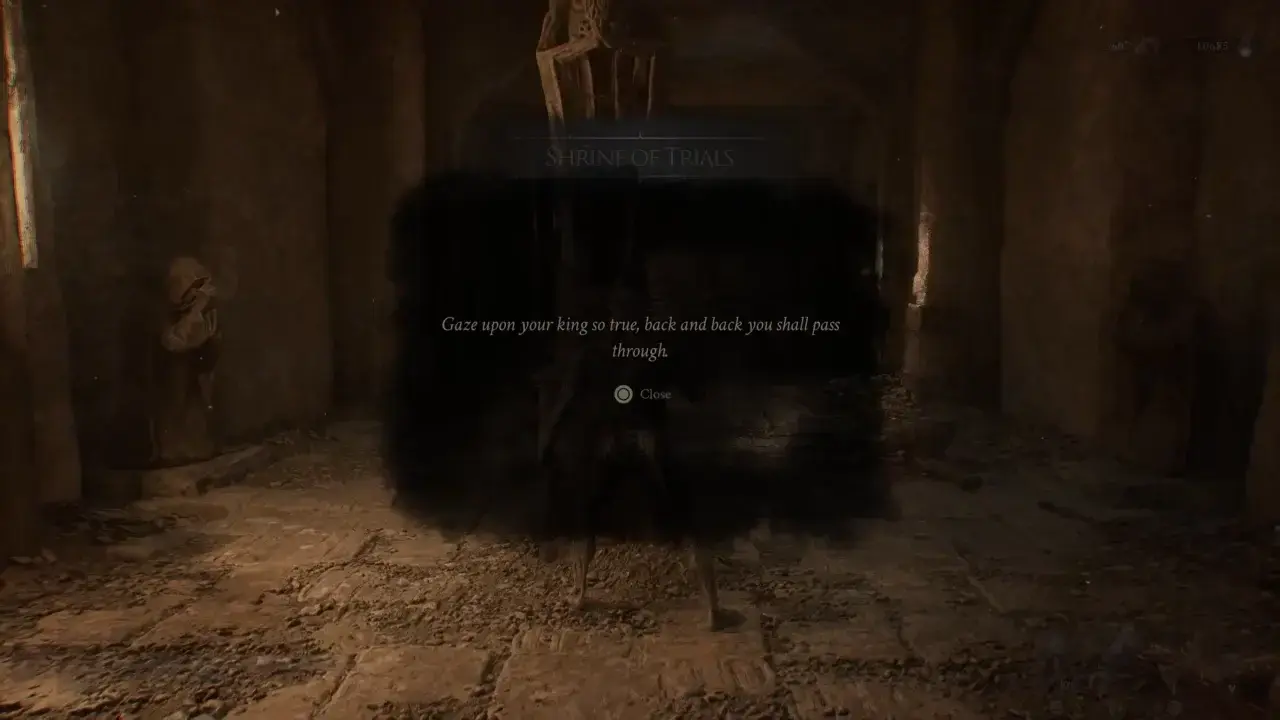
Once there, deal with the enemies in the opening room, then inspect the statue in the middle that says: “Gaze upon your king so true, back and back you shall pass through.” The clue tells you to face the statue and move backward. Turn so your character is looking directly at the statue, then walk backward into the wall. The illusion will let you pass through.
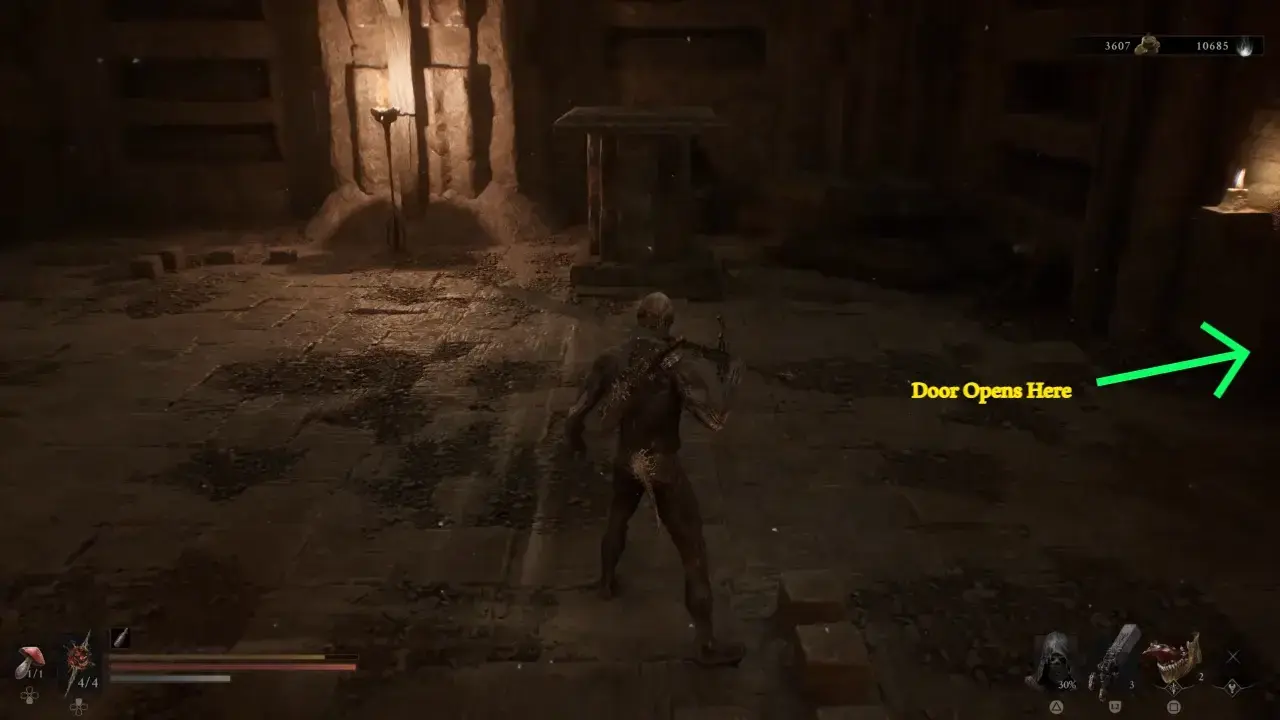
In the next room, you will have to deal with enemies, a statue, and a pressure plate. Attack the statue to move it across the room. Your job is to place the statue above the pressure plate to open the doorway.
Solve the Two Statue Puzzle
The next room takes the same idea and makes it slightly more annoying by giving you two statues and two pressure plates. Both statues must sit on the plates at the same time.
This is how you can solve this challenge:
- Stand behind the left statue and hit it forward so it moves toward the middle.
- Move beside it and strike it toward the left pressure plate.
- Return behind the second statue.
- Hit the second statue toward the middle.
- Line it up with the remaining pressure plate and move it into position.
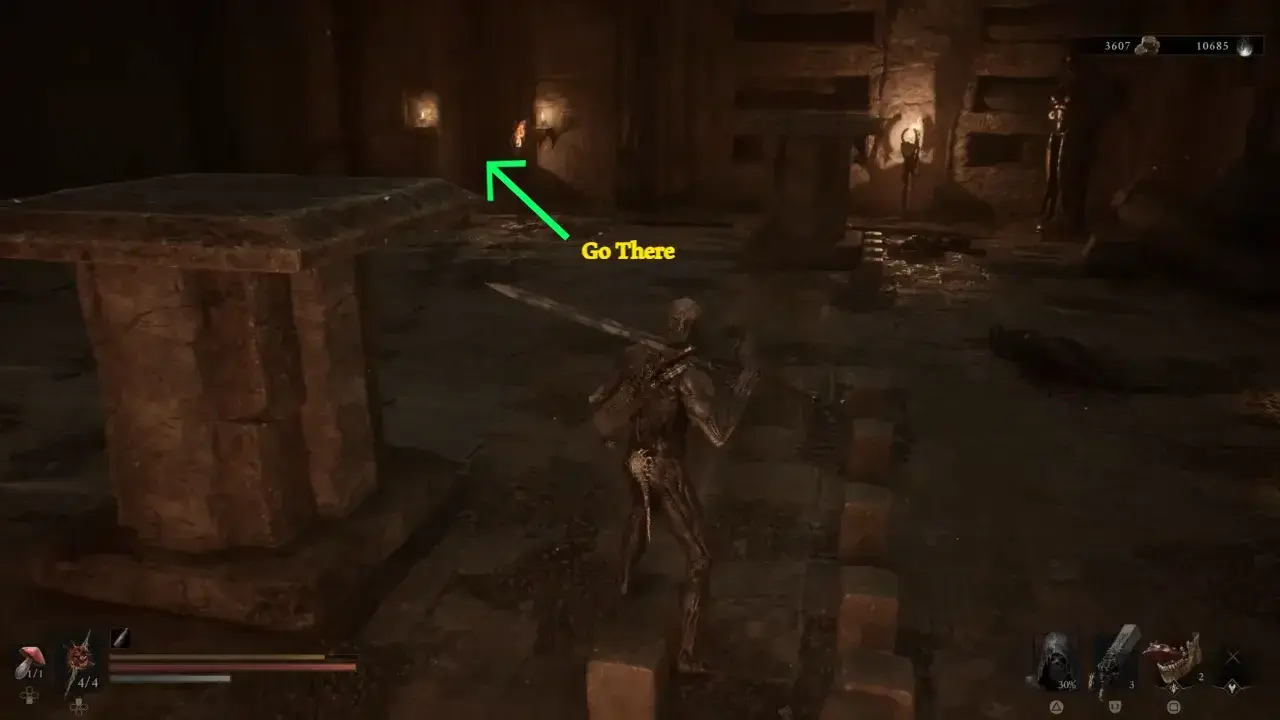
Use the torch near the entrance as a visual reference for the intended route. The puzzle isn’t hard when you stop trying to brute force it and treat each statue like a block you can slide around.
Get the Axe and Dagger
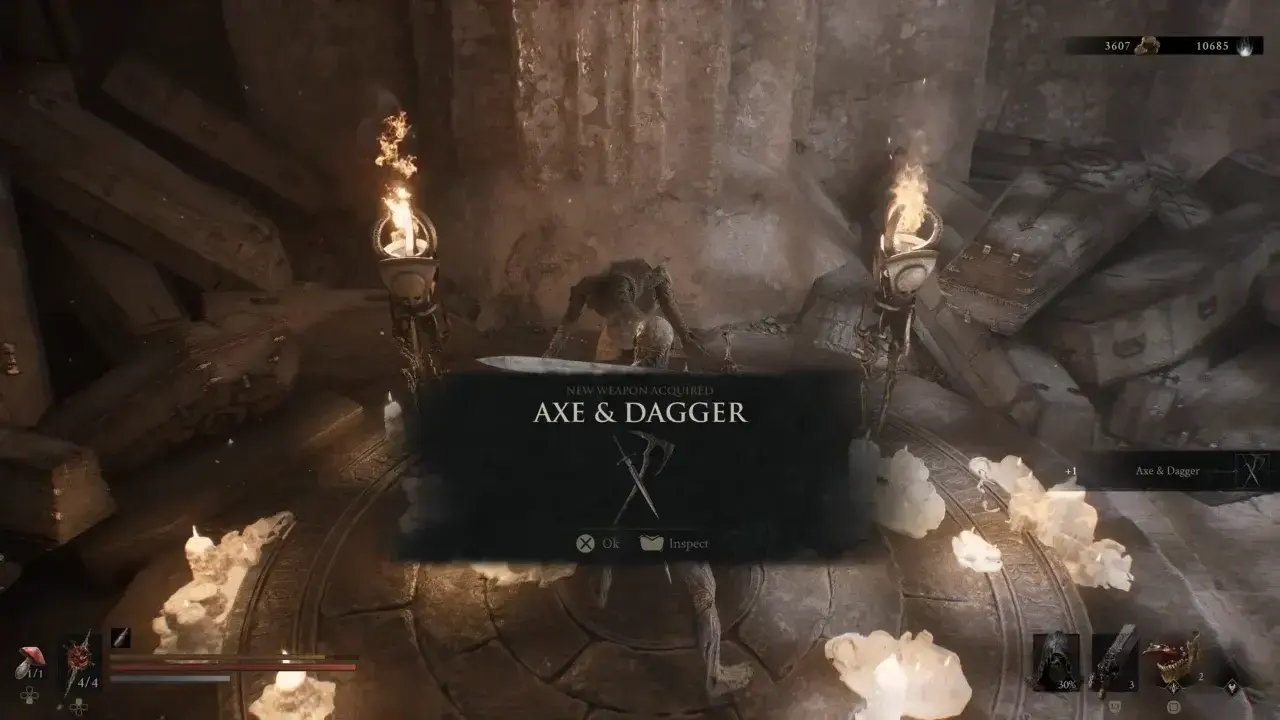
Once both pressure plates are activated, the final door to the weapon room will open. You will encounter an Armored Knave inside guarding the place. You can fight it if you want, but you are free to ignore it and take the Axe and Dagger from the statue. Obtaining the weapon also unlocks the Axe & Dagger achievement.
Axe and Dagger Weapon Overview
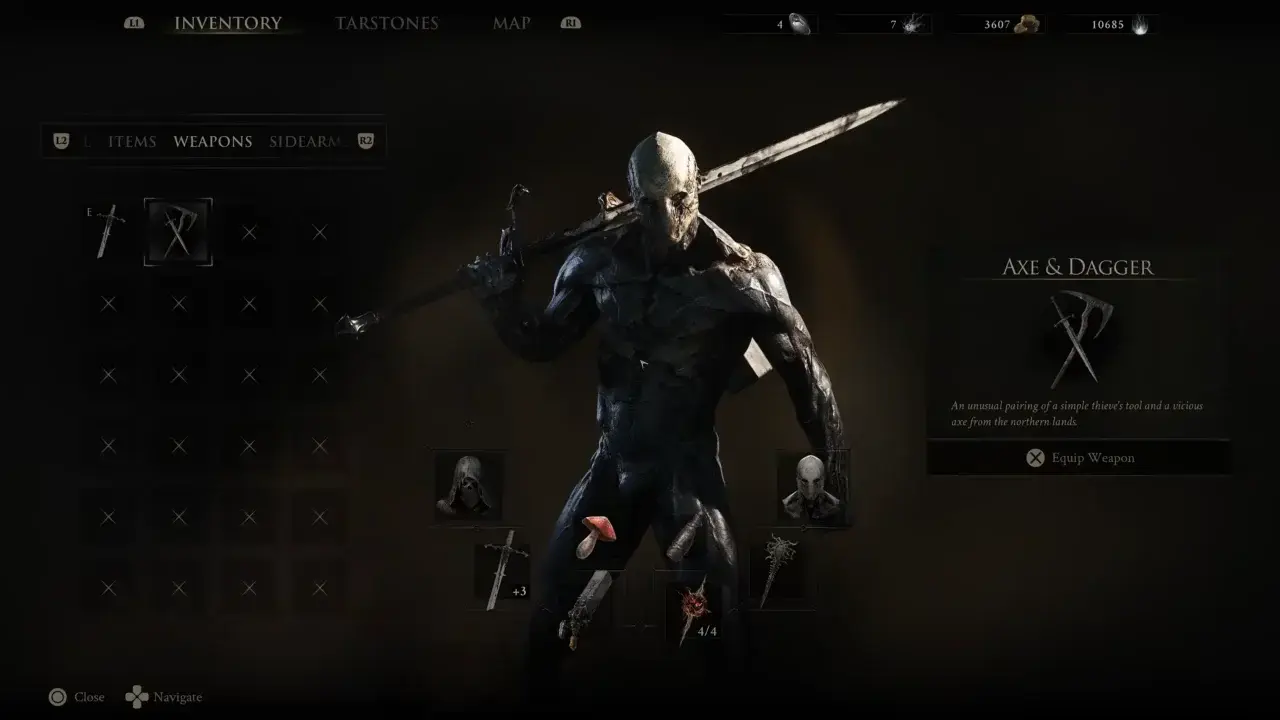
The Axe and Dagger combine a fast dagger with a heavier axe, giving you a much quicker attack style than the Iconoclast. The weapon’s main strength is speed. Its attacks come out fast, have limited windup, and let you keep pressure on enemies without committing to the long animations of heavy weapons.
The tradeoff is raw power. The Axe and Dagger do less damage per hit and can’t stagger much, so you’re better off keeping the pressure on instead of single massive strikes. The weapon’s unique ability is Deadly Flurry. I prefer the Axe and Dagger with Tiel, since the quick attack pattern fits his aggressive, evasive style extremely well.
Axe and Dagger Upgrade Materials
| Upgrade | Damage | Material | Coins |
|---|---|---|---|
| +1 | 105% | Ventrium x2 | 100 |
| +2 | 110% | Ventrium x2 | 100 |
| +3 | 115% | Ventrium x4 | 300 |
| +4 | 120% | Ventrium x9 | 500 |
| +5 | 125% | Ventrium x13 | 1,000 |
| +6 | 130% | Ventrium x18 | 1,250 |
| +7 | 135% | Laterite x2 | 2,750 |
| +8 | 140% | Laterite x4 | 2,750 |
| +9 | 145% | Laterite x9 | 3,500 |
| +10 | 150% | Laterite x13 | 4,250 |
| +11 | 155% | Laterite x18 | 5,000 |
| +12 | 160% | Dorsalite x2 | 5,750 |
| +13 | 165% | Dorsalite x4 | 6,500 |
| +14 | 170% | Dorsalite x9 | 7,250 |
| +15 | 175% | Dorsalite x13 | 8,000 |
| +16 | 180% | Dorsalite x18 | 8,750 |
Axe and Dagger Compatible Tarstones
The Axe and Dagger support a wide range of Tarstones covering status effects, critical hits, Resolve generation, Break pressure, and aggressive ability builds.
| Tarstone | Type | Effect |
|---|---|---|
| Wounding Stone | Combat | Melee attacks inflict Perforation, reaching 7 stacks per strike at Level 4. |
| Unyielding Stone | Combat | Grants Stagger immunity during the Light Combo; Level 4 covers the full combo. |
| Unwieldly Stone | Ability | Adds a Resolve-based Charged Heavy Attack; higher levels add Leech stacks and healing on kills. |
| Thief’s Stone | Combat | Strikes generate Warp that reaches 3 Warp stacks per hit at Level 4. |
| Shattering Stone | Support | Raises melee Stagger Damage that goes up to 220% at Level 4. |
| Serpent Stone | Infusion | Spends 15 Resolve to infuse attacks with Poison; the effect becomes permanent at Level 4. |
| Retribution Stone | Support | Increases Riposte damage up to 20% at Level 4. |
| Parasitic Stone | Combat | Kills generate Leech stacks that increase to 3 stacks per kill at Level 4. |
| Magdalena’s Memento | Ability | Uses 100 Resolve for a multi-hit aerial attack; later levels add Weak stacks and critical bonuses. |
| Headman’s Stone | Support | Improves melee critical damage up to 100% at Level 4. |
| Grudge Stone | Combat | Grants a guaranteed Critical Hit at regular attack intervals, improving to every 5 attacks at Level 4. |
| Duality Stone | Combat | Causes the Light Combo to strike twice; at Level 4, the full combo receives the effect. |
| Devout Stone | Support | Sidearm kills generate Resolve and reach 21 Resolve per kill at Level 4. |
| Berserker’s Stone | Support | Increases melee damage at low Health that reaches up to 165% damage at Level 4. |
| Auspicious Stone | Support | Increases melee Critical Chance to 18% at Level 4. |
| Arbiter’s Prize | Infusion | Uses 30 Resolve to apply Bloodcurse; the infusion becomes permanent at Level 4. |
| Acolyte’s Stone | Ability | Adds a Resolve-powered Charged Light Attack with improved critical bonuses at higher levels. |
| Axe and Dagger specific options | — | The strongest pairings for the weapon include Duality Stone, Magdalena’s Memento, Serpent Stone, and Arbiter’s Prize. |
How to Use the Axe and Dagger
The Axe and Dagger are strongest duo attackers when you stay active. Don’t play them like a small greatsword. Your advantage is attack frequency, fast recovery, and the ability to keep pressure on targets. Stick to short bursts of attacks against large targets so you can reposition, and never commit to long combos every time. Against ordinary enemies, your speed lets you build pressure and generate Resolve with ease. Resolve.
For Tiel, I would run Duality Stone for steady melee pressure or Serpent Stone with a poison build. Add Magdalena’s Memento once you have enough Resolve generation to use it often. The Axe and Dagger don’t have the same stagger power as the Iconoclast, but its speed makes missed openings less punishing and lets you attack safely during smaller windows.