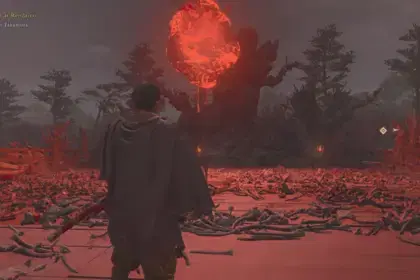

Holding Cells is one of the important subterranean dungeons in Mortal Shell 2, as it’s a secret underground bridge between Blackridge Hamlet and the outskirts of the Citadel of Penance in Fainweald. The dungeon has a handful of hidden walls, crucial upgrade items, and a brutal double-boss encounter that will wipe your Gloom reserve in seconds if you drop in unprepared. That bad boy is a lot tougher than the rest of the enemies inside, and it’s easy to stumble into by accident.
Before you head down, make sure you have unlocked Mether’s Breath to cleanse corruption barriers, and bank any loose Gloom at a Beacon so you don’t risk losing it in the arena.
How to Enter the Holding Cells in Mortal Shell 2

The fastest way to get to the Holding Cells entrance is from the Blackridge Pass Beacon, or you can fast travel via the Mushroom Village Beacon if you have the shortcuts open.

Head east from the Blackridge Pass Beacon along the Blackridge Cliffs path. Follow the cliffside, dealing with the wandering Brigands and high-ground archers until you reach a path turning south, though blocked by a dense wall of corruption roots. Given that you have unlocked Mether’s Breath, interact with the prompt to clear the corruption and proceed into Blackridge Hamlet.

Walk to the center of the village toward the well. Slay the Tarred Corpses milling around it and shoot the explosive barrels from a distance or throw a weapon at them to set them off. Then interact with the rope inside the well to drop down into the Holding Cells.
Mortal Shell 2 Holding Cells Walkthrough

Once inside, go down the steps, and you’ll be welcomed by the three Brigands in the antechamber. Kill them, and before moving forward, you can pop open the iron maidens along the walls for extra Gloom.

Advance into the hallway ahead and bait out the lone soldier coming from the right-hand corridor. Slay him, then check the alcove immediately to your left to get a Ventrium from the green statue.
Strike the illusory wall directly to the right of this statue to reveal a hidden passage. Destroy the Gloom Tentacle inside for Gloom, then hit the wall at the back of the alcove to shatter a second fake wall. Step through onto the isolated wooden overlook to break the Bone Statue to collect your first Laterite in the dungeon.

Return to the main corridor and cross to the open scaffolding overlooking the flooded cavern. The elevator you will come across in front leads to the bottom floor—ignore it for now. Take the right walkway and eliminate the Armed Knave and Brigands along the way. Crossbowmen will take potshots from across the chasm; roll through incoming bolts or snipe them with the Forgotten Crossbow. As you follow the platform, take note of the locked iron portcullis on the left. Continue on the walkway all the way into the end chamber.

Kill the Halberd Knave guarding this room and harvest the Gloom Tentacle. Break the wooden crates stacked by the right wall to reveal a hidden stone wall switch. Press it to open the same locked gate back on the walkway.

Head through it into the room and loot the pedestal next to the blood-stained wall to claim the Revered Gland (use this to upgrade your Mether’s Pulse charges). Smash the crates blocking the path and continue forward.
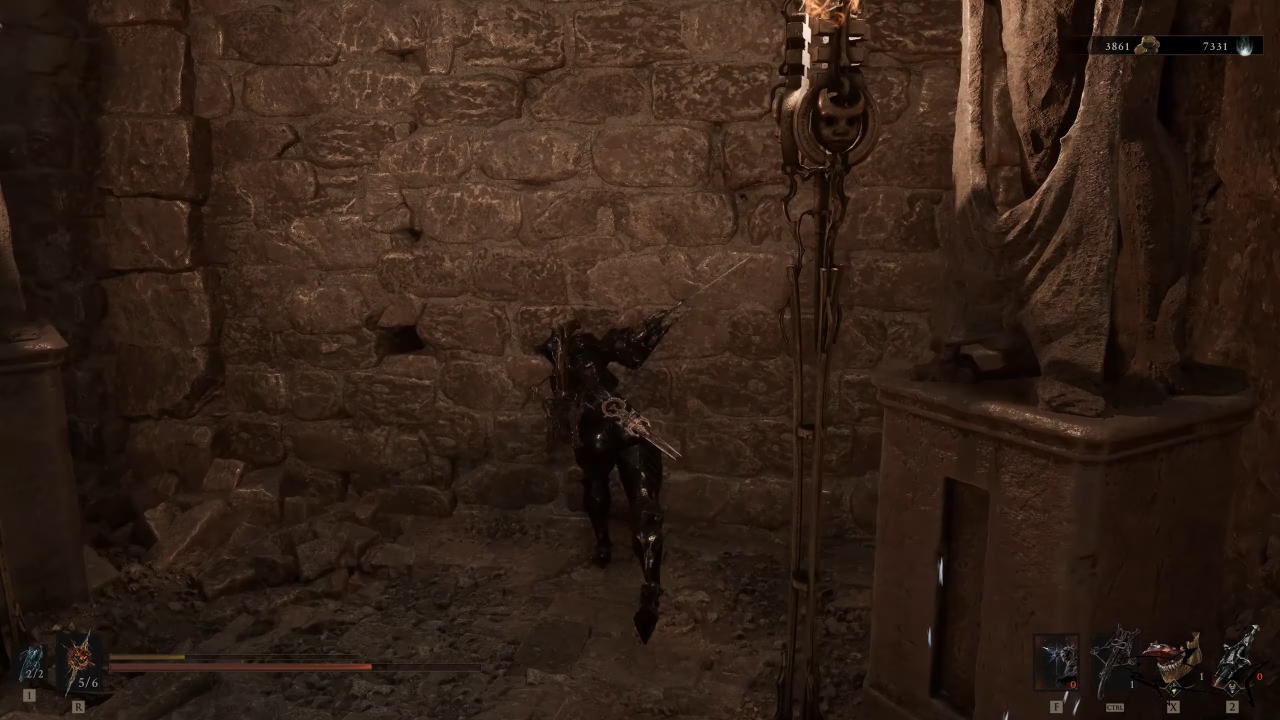
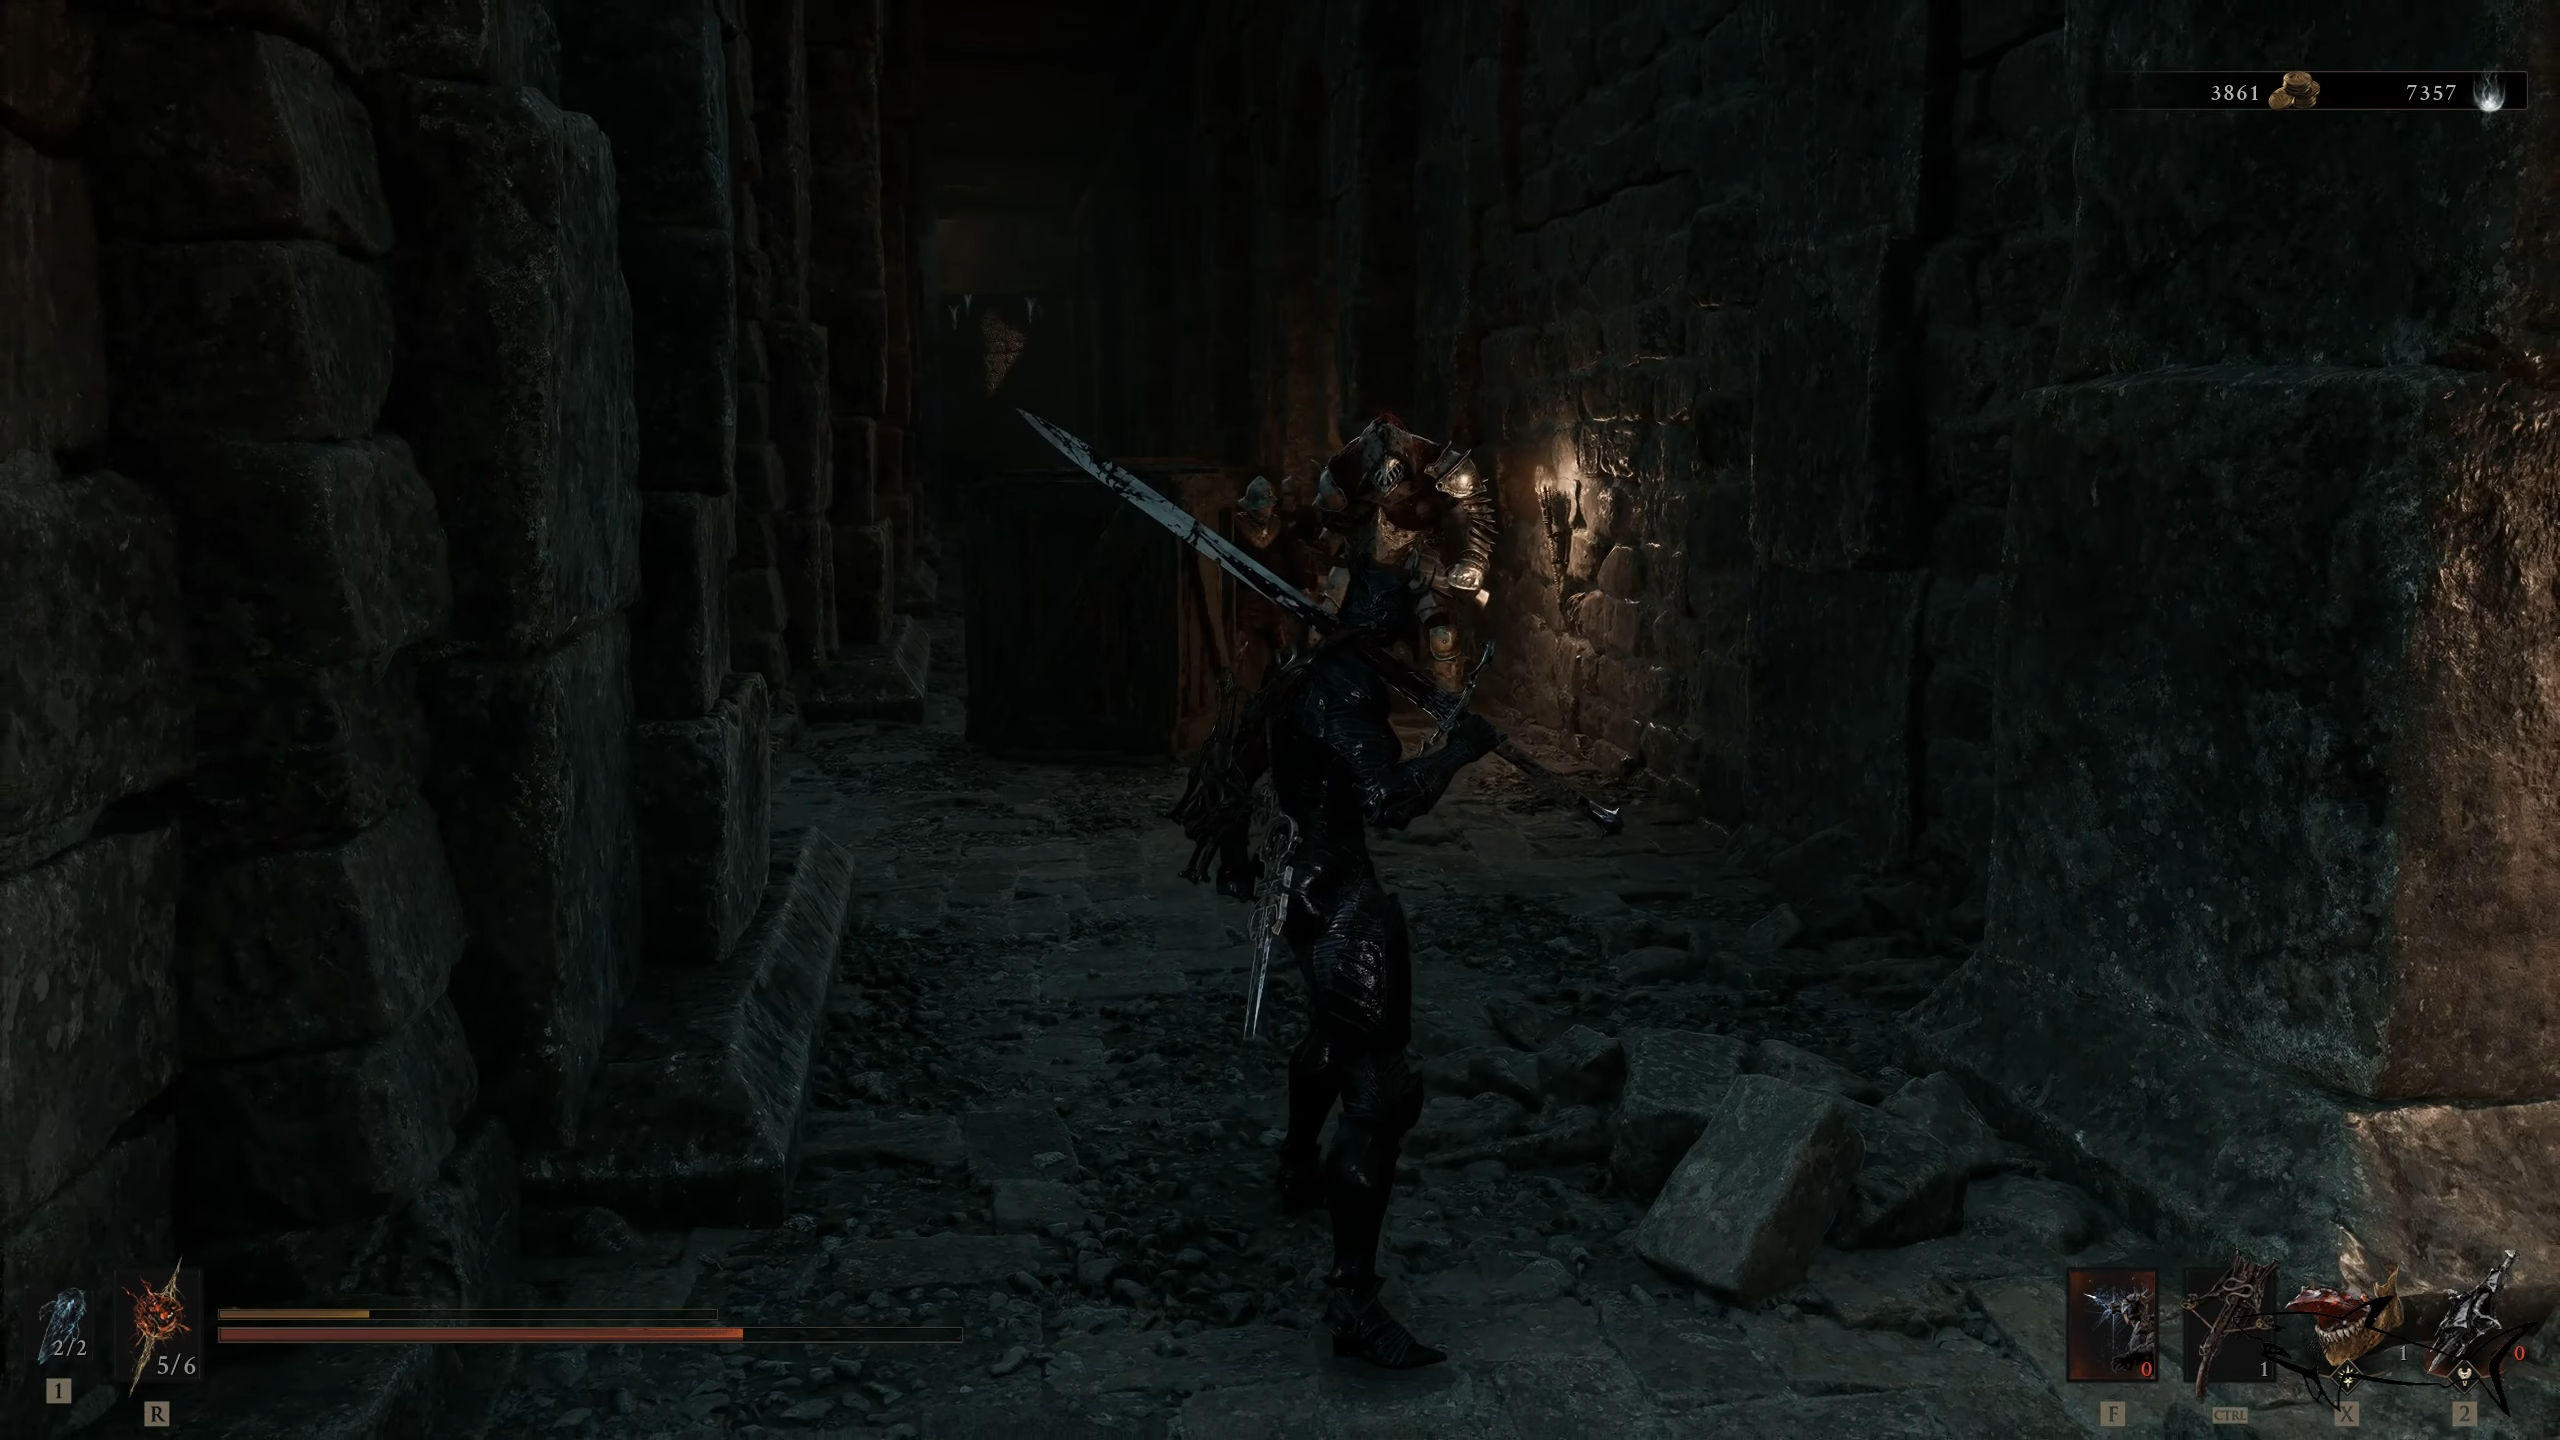
You will encounter a pack of Wretches in the hallway that will sprint at you. Let them step on the floor pressure plates to trigger wall arrow traps that will get rid of them with no effort on your end. Weave between the pressure plates, strike the illusory wall at the very end of the hall, and defeat the heavy axe Headsman in the back passage.

At the dead end, there is the dangling rope. If you interact with this rope, it will take you to the outskirts of the Citadel of Penance, unlocking an overworld travel route between both locations.

The upper level of the dungeon is completely cleared, so now it’s time we continue our journey on the ground level, where we will confront the deadly boss. Return to the start of the wooden platform and look over the edge of the walkway just before the first elevator we ignored, and you will spot a Bone Statue on the wooden landing below. Drop down onto this platform and smash the statue to pocket a Laterite, and then drop down into the flooded cavern below.

Turn around right where you landed under the scaffolding and check the small shack to harvest a Gloom Tentacle for 3,000 Gloom. Clear the floor of creepies: shoot the flying Netopyrs (bats) first with your crossbow, then take down the Mycellian Skulks (poison hounds), Leechtongue worms, and the lunging Roaming Head (Spider Face).

Wade over to the far left corner of the basin. Search the corpse inside the small wooden hut to get the Feeding Room Key. Head across the water toward the double doors on the opposite end, though watch the mud. Disarm or dodge the bear traps around the entrance, and once there, use the key to unlock the doors.

Step onto the lift in the Feeding Room to ride it to the top staging deck. Destroy the crates on the right side of the platform to loot a Glimpse.
Defeat the Rabid Grisha Pack
Use the Bone Gate to launch toward the closed circular battle arena. Fighting two full-sized Grishas in an extremely tight space makes this one of the trickiest encounters in the game.

Lock onto one Grisha and dump all your heavy attacks into it. You have to turn this fight into a 1v1 as soon as possible. Keep sprinting along the outer cage so both beasts remain in front of your camera. Parry their regular claw attacks. The riposte animation grants full invincibility frames that protect you from the second Grisha’s swings while dealing big posture damage.
When a Grisha winds up a red-glowing attack (lunges, dives, or grabs), roll sideways because Harden won’t work on them. Look at the ceiling rigging: if the boss hurls directly under one of the hanging cylinders, loose a quick crossbow bolt into the ropes to drop the weight on its head for serious damage and a free knockdown. High-mobility shells like Tiel (for brief stealth positions) or Proxima (for spammable stuns) are the best for this fight. Fast melee options like the Axe and Dagger or Iconoclast let you execute quick hits without getting caught in long animations.

Once the enemy is done and dusted, you will be rewarded with the Inflamed Clawstone (Tarstone that grants fire weapon infusion for 30 Resolve), Grisha Remnant (summon upgrade item), and over 1100 Gloom. Stand in the center of the arena and interact with the Bone Gate icon to teleport back out and ride the elevator down to the ground level.
To exit, you have two options! You can either return to the same entrance you entered the dungeon from in Blackridge Hamlet and climb out of the well, or head back to the same new exit rope we found at the dead end on the upper level to teleport into the other part of the world in the Citadel of Penance.