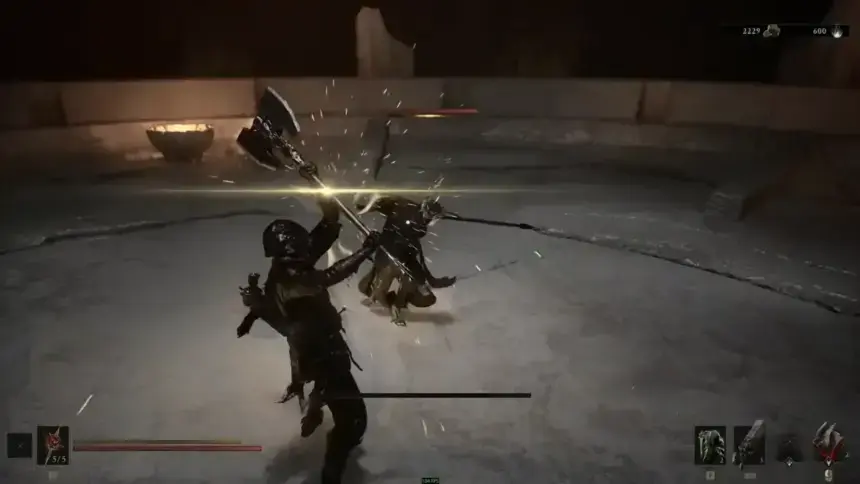
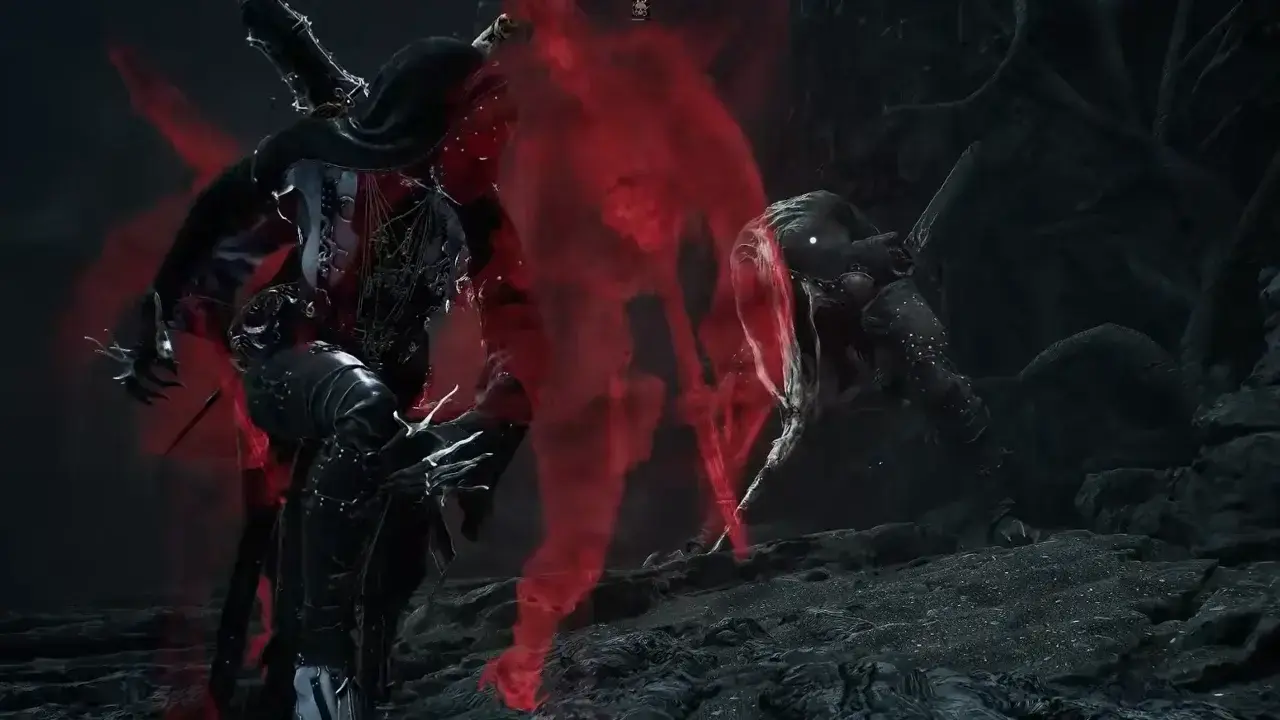
Axatana is one of the most versatile weapons in Mortal Shell 2. Operating as dual twin blades for high-speed wide sweeps, it morphs mid-combo into a powerful axe for massive stagger and burst damage. Although found near the endgame in the southern part of the map, there are no hard boss gates or quest requirements to get your hands on Axatana. You can obtain it as soon as you have unlocked the Outskirts of Mammon Beacon.
This article is a part of our Mortal Shell 2 Walkthrough and Guides Wiki hub.
How to Get the Axatana in Mortal Shell 2
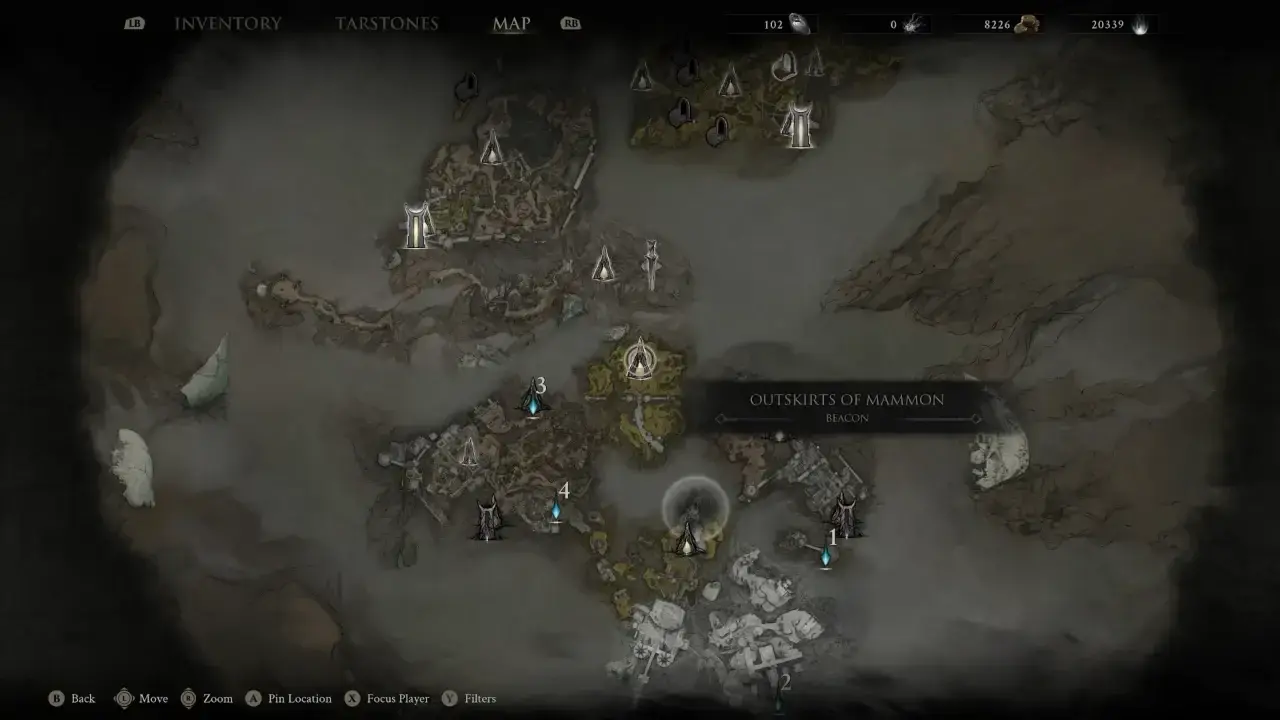
Use the southern transporter in Marrow Keep to reach the Outskirts of Mammon Beacon. If you haven’t already, cleanse the corruption at the teleporter with Mether’s Breath to use it.
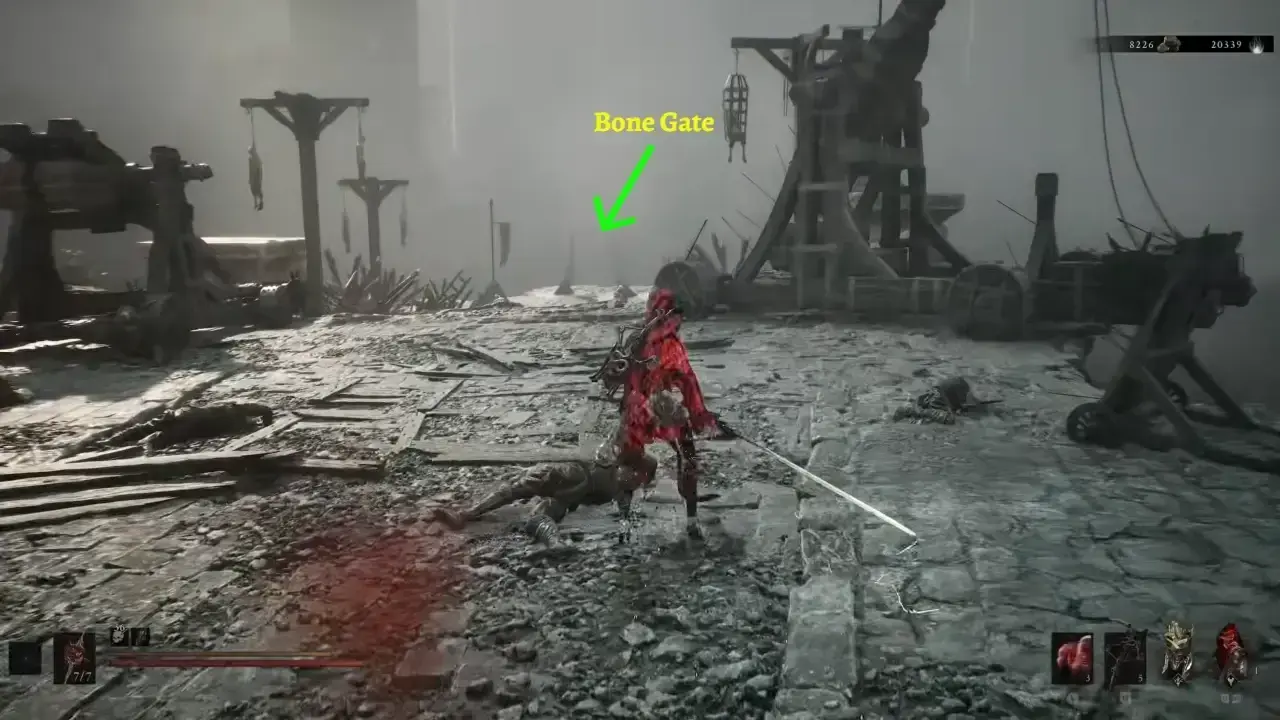
From the Outskirts of Mammon, follow the path down south through the ruins toward the Road of Absolution. The enemies here are slow—sprint straight past them to the Bone Gate at the end and use it to teleport to Castigator’s Keep.
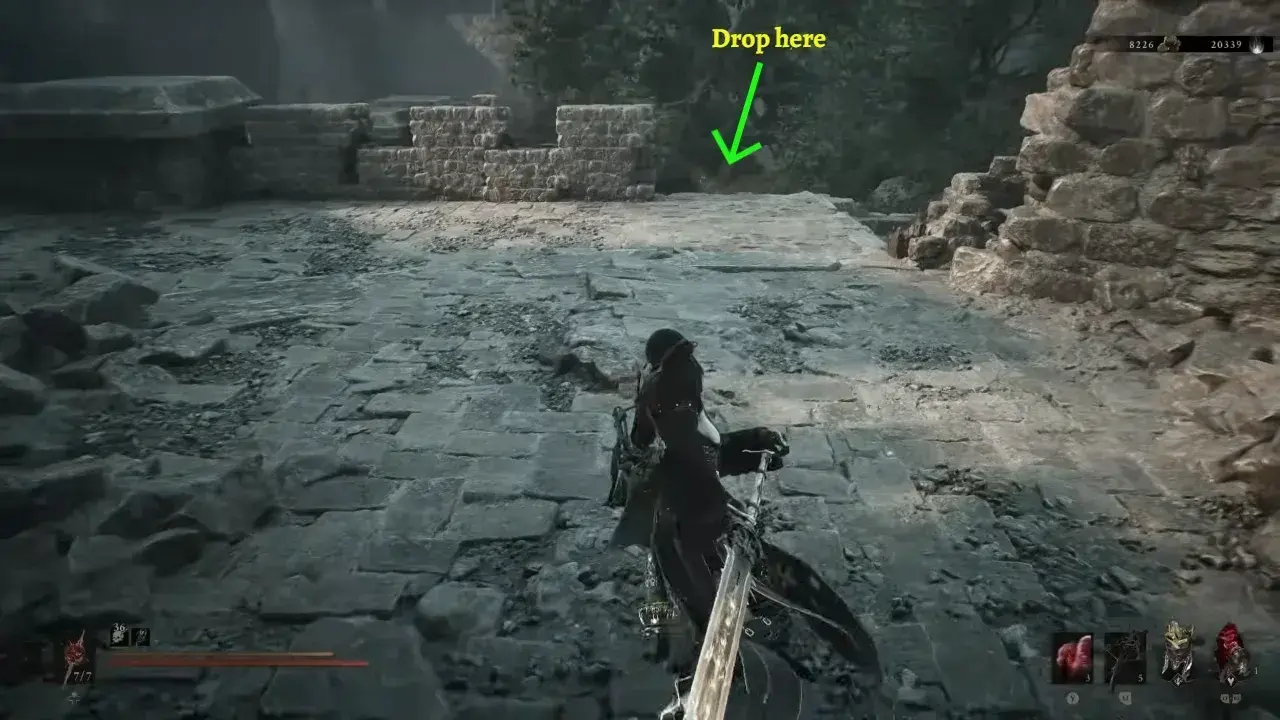
Once entered through the Keep’s gate, sprint past the enemies at the entrance and take an immediate right up the stone staircase. Interact with the Castigator’s Keep Beacon at the top to set a checkpoint for the rest of the trip. Turn back from the beacon, walk to the ledge shown in the above image, and drop down to the lower path left of the Castigator’s Keep.
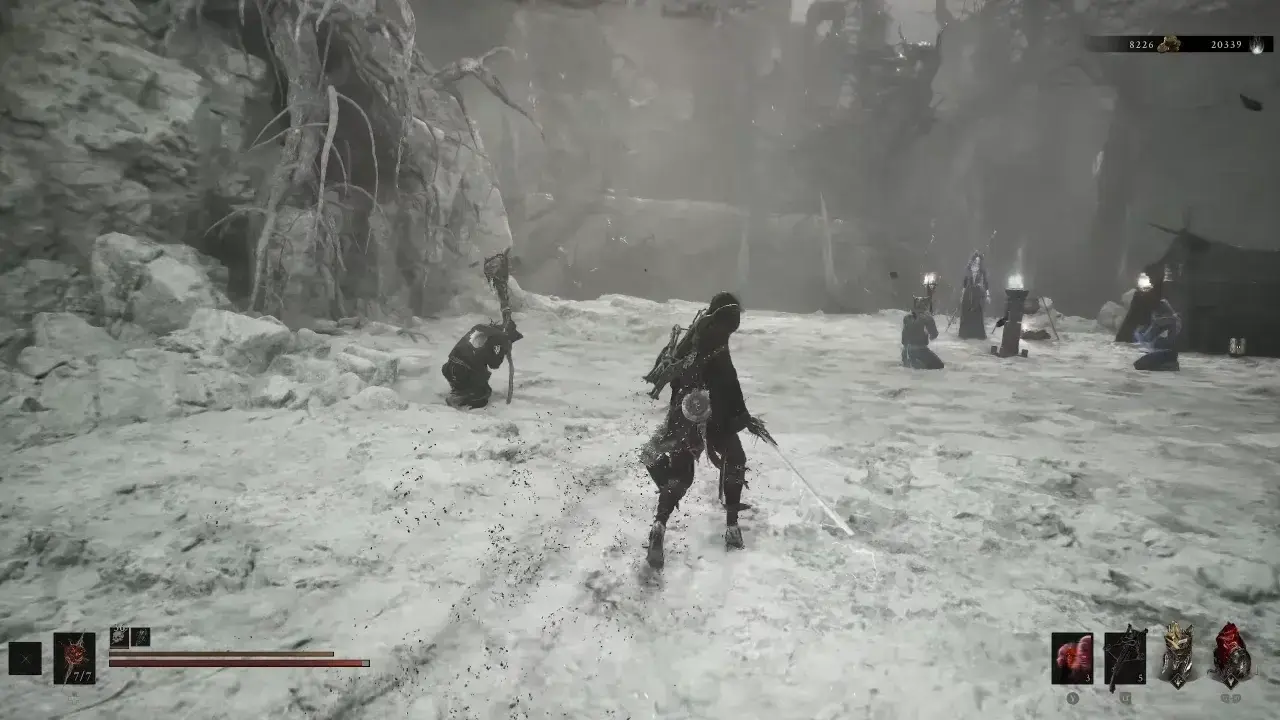
Cross the wooden walkway and scaffolding bridge, running past the Knights and Babkas. At the end of the stone path, step into the second Bone Gate to launch to the other section.
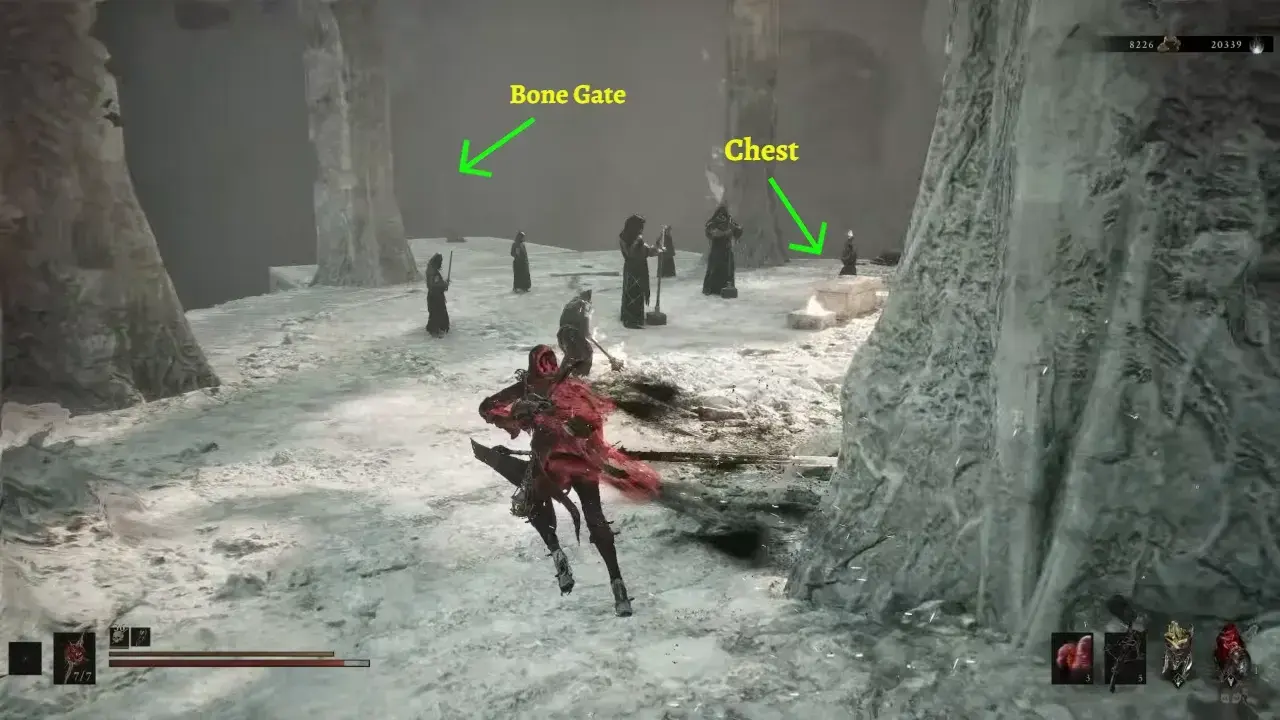
Immediately turn left and use the geyser/airstream to launch up to the upper cliff. From the landing point, follow the route onward and drop down past the Babkas and Faceless Clerics. You can loot the stone chest in front of the cultists for a Colossus Stone.
Sprint straight ahead past the altar and enter the third Bone Gate to teleport to the Forgotten Tower.
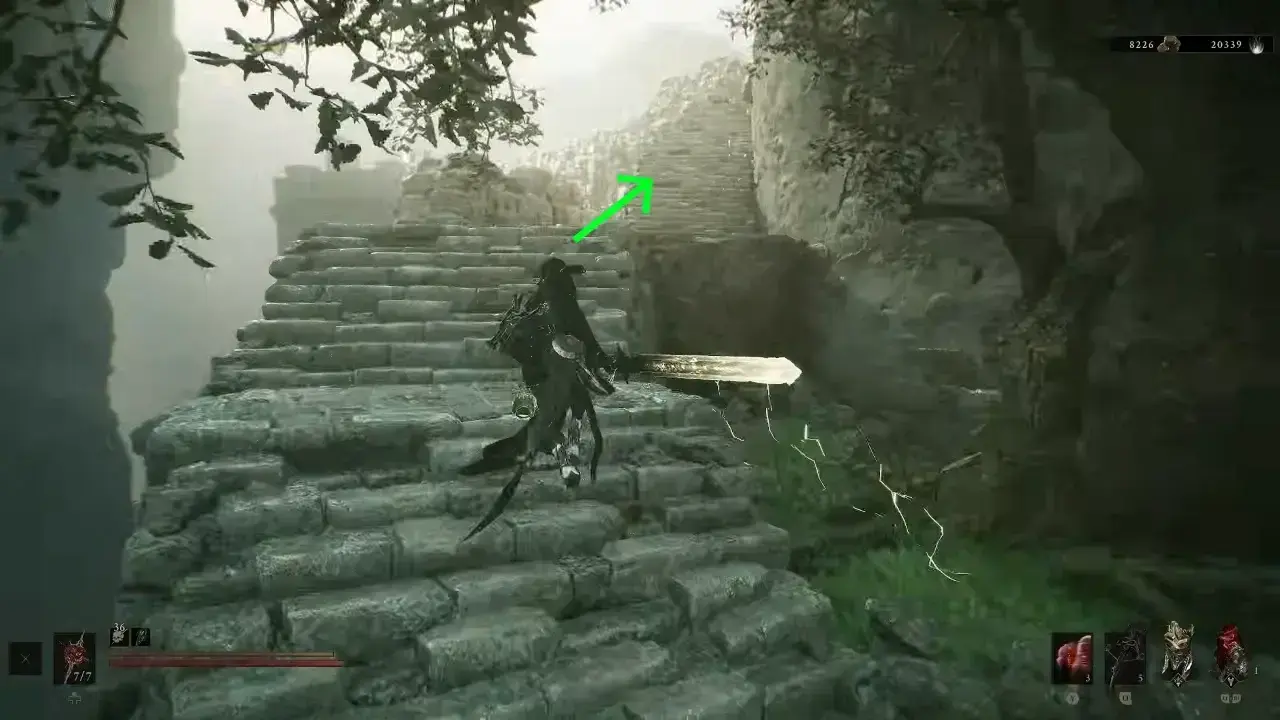
On the main floor of the Forgotten Tower, you can pick up the Revered Gland from the shelf near the candles, then go upstairs. On the upper floor, pass through the archway marked by two lit wall torches and continue upstairs to the top.
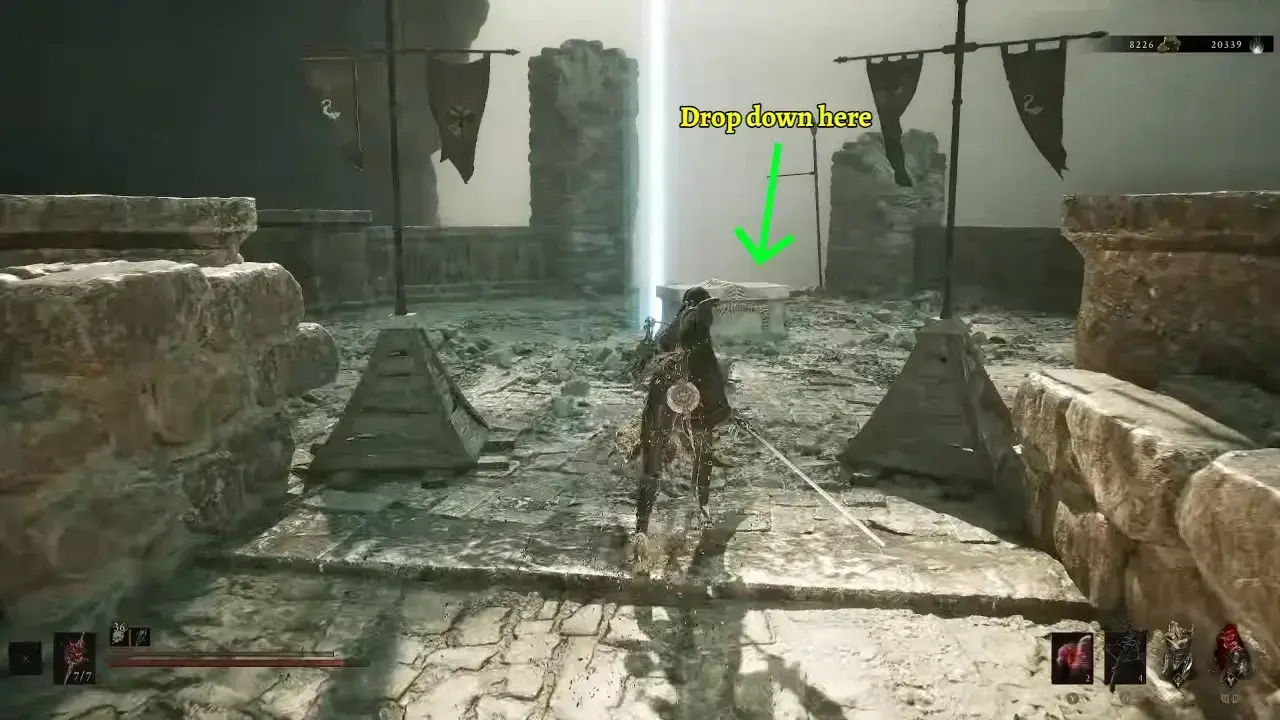
Run across the stone bridge towards the light column. Interact with the middle chest to collect the Muradean Tome, then drop off the right ledge directly behind the altar onto the lower balcony.
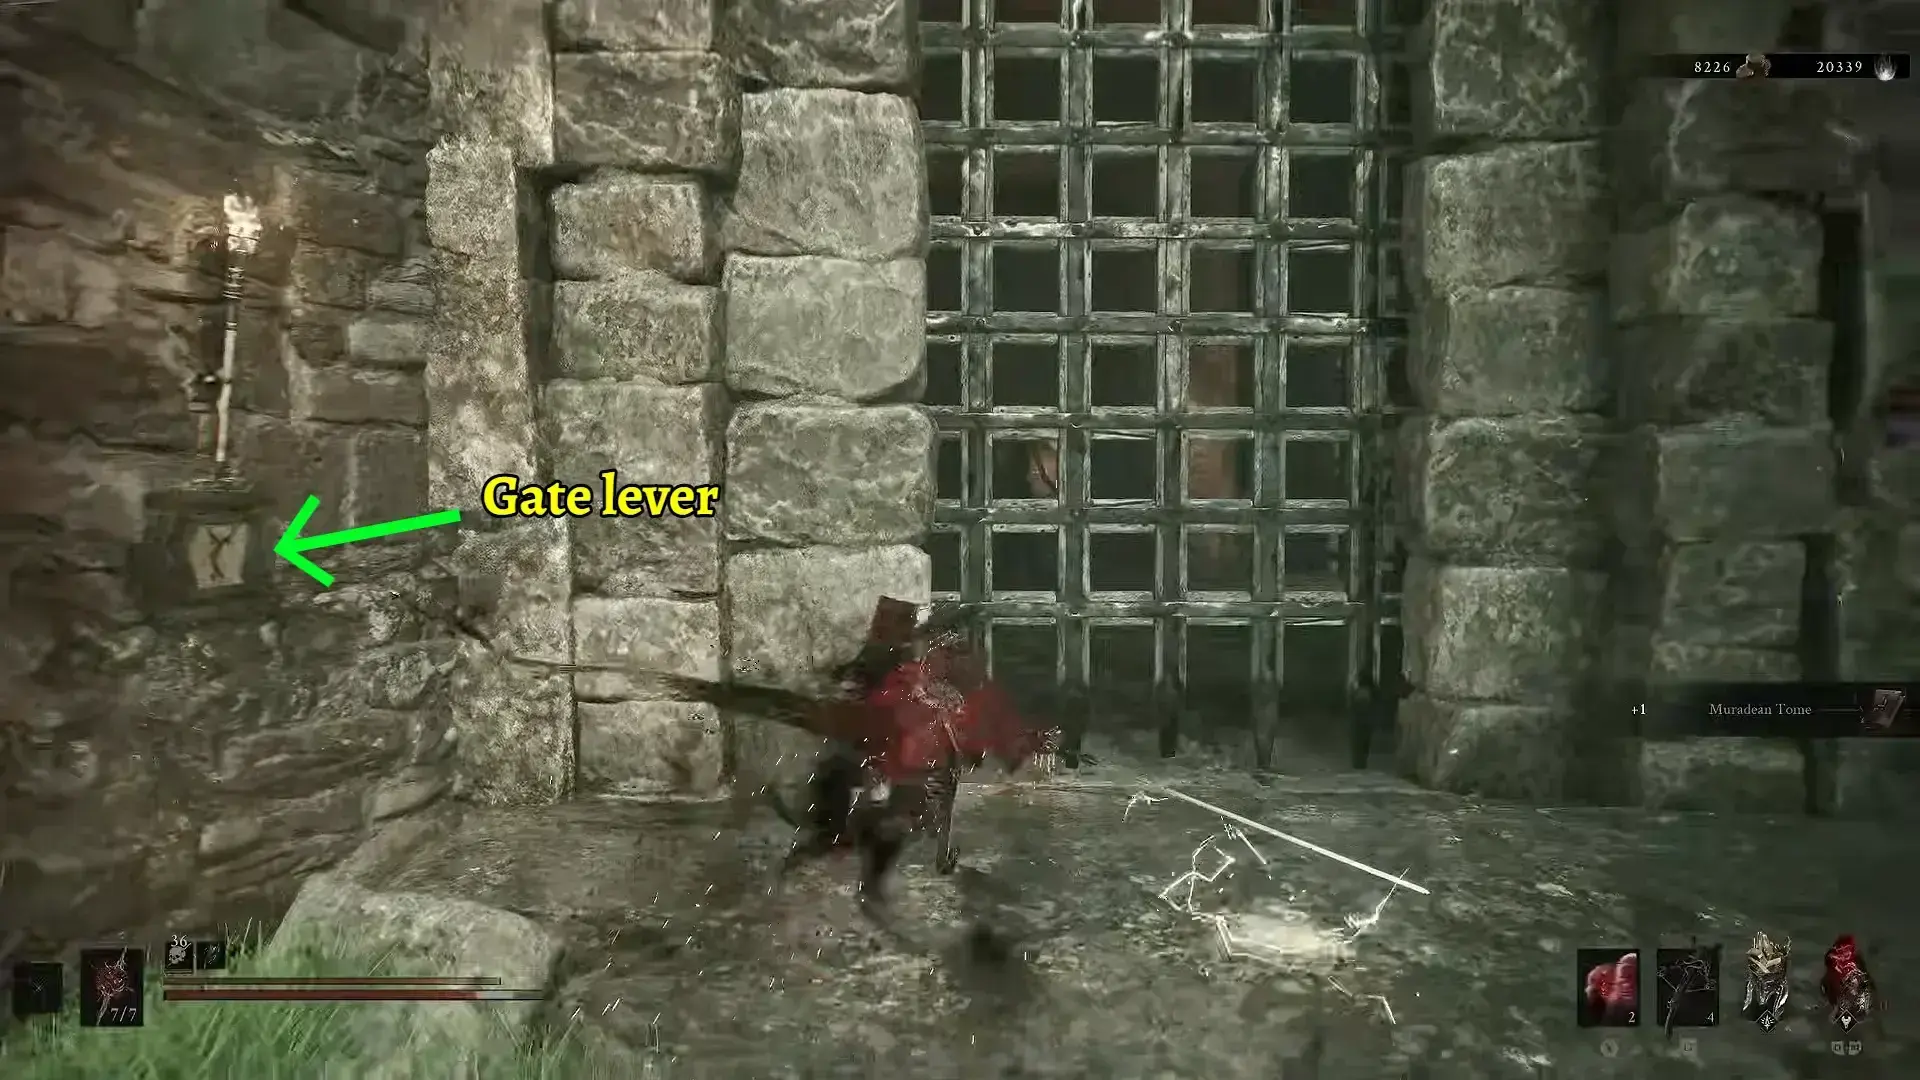
Pull the lever on the wall to open the locked iron gate leading into the weapon room.
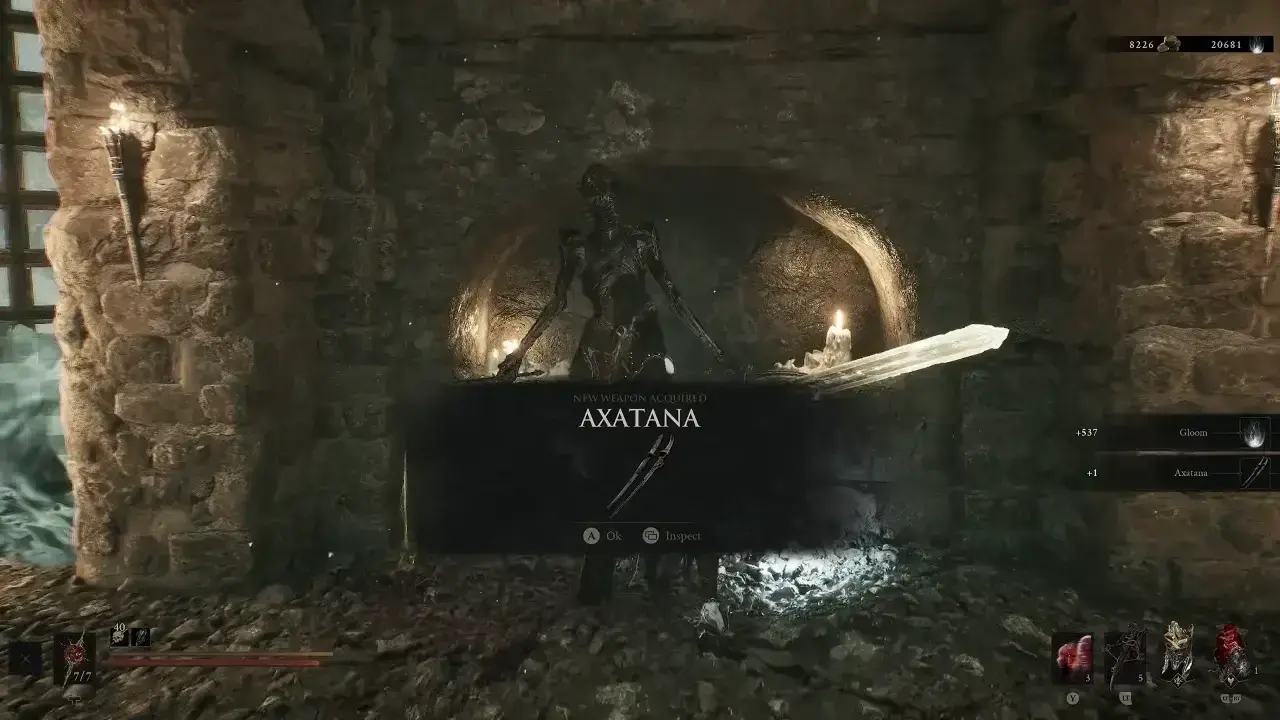
Once unlocked, enter the room where the Gloom Seeker spawns. You don’t need to kill the enemy—dodge its attacks, approach the alcove on the back wall, and take the Axatana.
For a safe playthrough, use Tiel’s Shadow ability to slip past dangerous enemies. This is especially useful when you are collecting the weapon before upgrading your character and gear. You can also buy the Axatana map from Merrick in Marrow Keep for 1,100 Coins.
Axatana Weapon Details
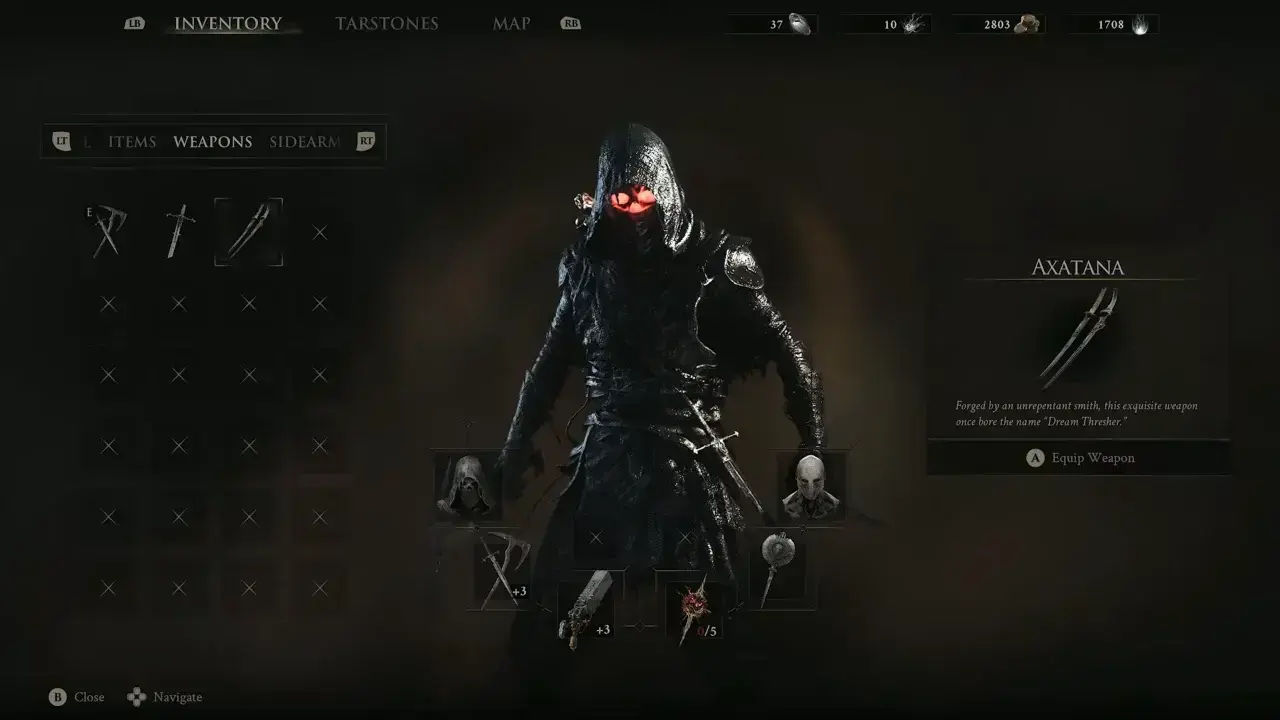
Axatana changes its fighting style based on your input. Light attacks use the weapon in twin-blade form, giving you quick strikes and broad attacks that work well against groups. Heavy attacks transform it into an axe, trading speed for heavy single hits that stagger enemies more effectively.
The weapon’s unique ability is Morph Attack, which lets you switch between the two forms and can be performed during a combo. Thanks to the Week 1 update, it’s even better now with invulnerability frames while you morph, and it hits enemies with Fragile stacks. The update also fixed the weapon’s combat Tarstone interactions.
Axatana Upgrade Materials
| Weapon Level | Material | Amount | Coin Cost | Damage |
|---|---|---|---|---|
| +1 | Ventrium | 2 | 100 | 105% |
| +2 | Ventrium | 2 | 100 | 110% |
| +3 | Ventrium | 4 | 300 | 115% |
| +4 | Ventrium | 9 | 500 | 120% |
| +5 | Ventrium | 13 | 1,000 | 125% |
| +6 | Ventrium | 18 | 1,250 | 130% |
| +7 | Laterite | 2 | 2,750 | 135% |
| +8 | Laterite | 4 | 2,750 | 140% |
| +9 | Laterite | 9 | 3,500 | 145% |
| +10 | Laterite | 13 | 4,250 | 150% |
| +11 | Laterite | 18 | 5,000 | 155% |
| +12 | Dorsalite | 2 | 5,750 | 160% |
| +13 | Dorsalite | 4 | 6,500 | 165% |
| +14 | Dorsalite | 9 | 7,250 | 170% |
| +15 | Dorsalite | 13 | 8,000 | 175% |
| +16 | Dorsalite | 18 | 8,750 | 180% |
Axatana Compatible Tarstones
The Axatana has a strong Tarstone pool that covers combat, support, infusion, and ability setups. Duality Stone is particularly useful with the weapon because it makes light-attack combo hits strike twice. Hexapod Core is the standout ability, while Voltaic Crown is good for an infusion build.
| Tarstone | Type | Effect |
|---|---|---|
| Acolyte’s Stone | Ability | Lv. 1: Spend 40 Resolve for a Charged Light Attack. Lv. 2: +15% Critical Chance. Lv. 3: +150% Critical Damage. Lv. 4: Resolve cost reduced to 30. |
| Arbiter’s Prize | Infusion | Lv. 1: Spend 30 Resolve to infuse Bloodcurse. Lv. 2: Lasts 4 strikes. Lv. 3: Lasts 8 strikes. Lv. 4: Permanent. |
| Auspicious Stone | Support | Lv. 1: Improves melee Critical Chance. Lv. 2: +10%. Lv. 3: +15%. Lv. 4: +18%. |
| Berserker’s Stone | Support | Increases melee damage as Health falls. Lv. 2: Up to 130% at 35% Health or below. Lv. 3: Up to 140% at 40% Health or below. Lv. 4: Up to 165% at 50% Health or below. |
| Deadman’s Stone | Compatible | Compatible with the Axatana. |
| Devout Stone | Support | Sidearm kills generate Resolve. Lv. 2: 7 Resolve. Lv. 3: 14 Resolve. Lv. 4: 28 Resolve. |
| Duality Stone | Combat | Makes the weapon’s Light Attack combo strike twice. Lv. 2: First attack only. Lv. 3: First and second attacks. Lv. 4: All attacks. |
| Grudge Stone | Combat | Builds toward guaranteed Critical Hits. Lv. 2: Every 7 attacks. Lv. 3: Every 6 attacks. Lv. 4: Every 5 attacks. |
| Headman’s Stone | Support | Improves melee Critical Damage. Lv. 2: +50%. Lv. 3: +80%. Lv. 4: +100%. |
| Hexapod Core | Ability | Lv. 1: Spend 60 Resolve for a rapid dual-blade barrage. Lv. 2: Each strike grants 3 Warp stacks. Lv. 3: Gains Stagger immunity. Lv. 4: Costs 80 Resolve but continues with another barrage. |
| Magdalena’s Memento | Compatible | Compatible with the Axatana. |
| Parasitic Stone | Compatible | Compatible with the Axatana. |
| Retribution Stone | Support | Improves Riposte damage. Lv. 2: +10%. Lv. 3: +15%. Lv. 4: +20%. |
| Shattering Stone | Support | Boosts melee Stagger Damage after kills. Lv. 2: +20%. Lv. 3: +30%. Lv. 4: +50% to the next melee attack. |
| Shrike Stone | Ability | Lv. 1: Spend 70 Resolve to leap and plunge the weapon. Lv. 2: Adds a 150-damage splash shockwave. Lv. 3: Costs 50 Resolve. Lv. 4: Adds 25 Break Damage nearby. |
| Thief’s Stone | Combat | Strikes grant Warp. Lv. 2: 1 Warp stack per hit. Lv. 3: 2 stacks. Lv. 4: 3 stacks. |
| Torpor Stone | Infusion | Lv. 1: Spend 25 Resolve to infuse Stasis. Lv. 2: Lasts 4 strikes. Lv. 3: Lasts 8 strikes. Lv. 4: Permanent. |
| Unwieldly Stone | Ability | Lv. 1: Spend 35 Resolve for a Charged Heavy Attack. Lv. 2: 2 Leech stacks on kill. Lv. 3: 3 stacks and restores 20 Health. Lv. 4: 5 stacks and restores 25 Health. |
| Voltaic Crown | Infusion | Lv. 1: Spend 30 Resolve for Lightning. Lv. 2: Lasts 4 strikes. Lv. 3: Lasts 8 strikes. Lv. 4: Permanent. |
| Wounding Stone | Combat | Melee attacks inflict Perforation. Lv. 2: 2 stacks per strike. Lv. 3: 4 stacks. Lv. 4: 7 stacks. |