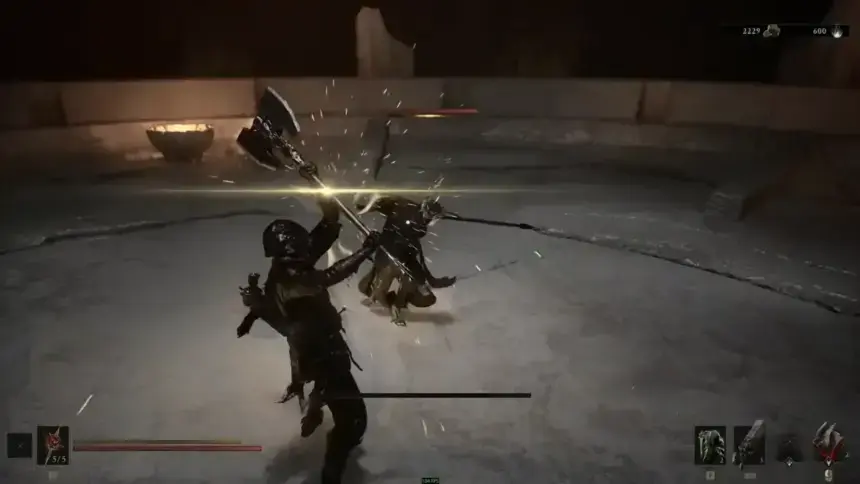

Mortal Shell 2 offers three very different ways to answer an enemy swinging a giant piece of metal at your skull: Guard with the Untarnished Seal, Harden with Vatra’s Seal, or Parry with the Infinite Seal. They all revolve around timing and Break damage, but they play completely different. Pick the wrong one for your habits and the game will happily turn you into paste. In this guide, we’ll explain everything you need to know about Parry, Guard, and Harden combat moves in Mortal Shell 2.
How to Guard in Mortal Shell 2
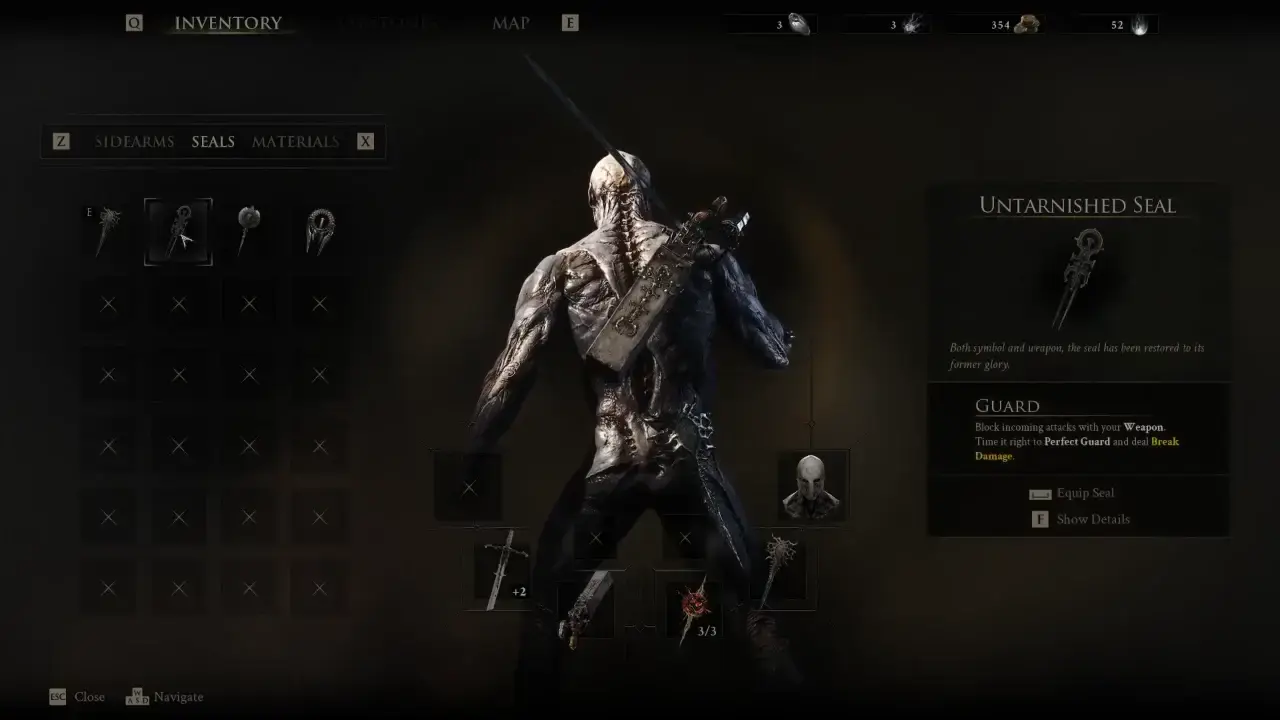
The Untarnished Seal is the starting defensive tool and the safest way to learn the combat system. Press and hold L1/LB on the controller or the specific keyboard bind to Guard. With it, your weapon will take the hit for you, saving your health bar from taking a beating.
The catch is the Break meter. Blocking attacks builds Break damage on you, and heavy attacks can fill that bar in no time. Once it maxes out, you will get staggered and become an easy target for the enemy standing two feet away. That makes Guard a safety net, as you can use it when you need to survive, but mindlessly holding the button will eventually get you killed.

How to Perfect Guard
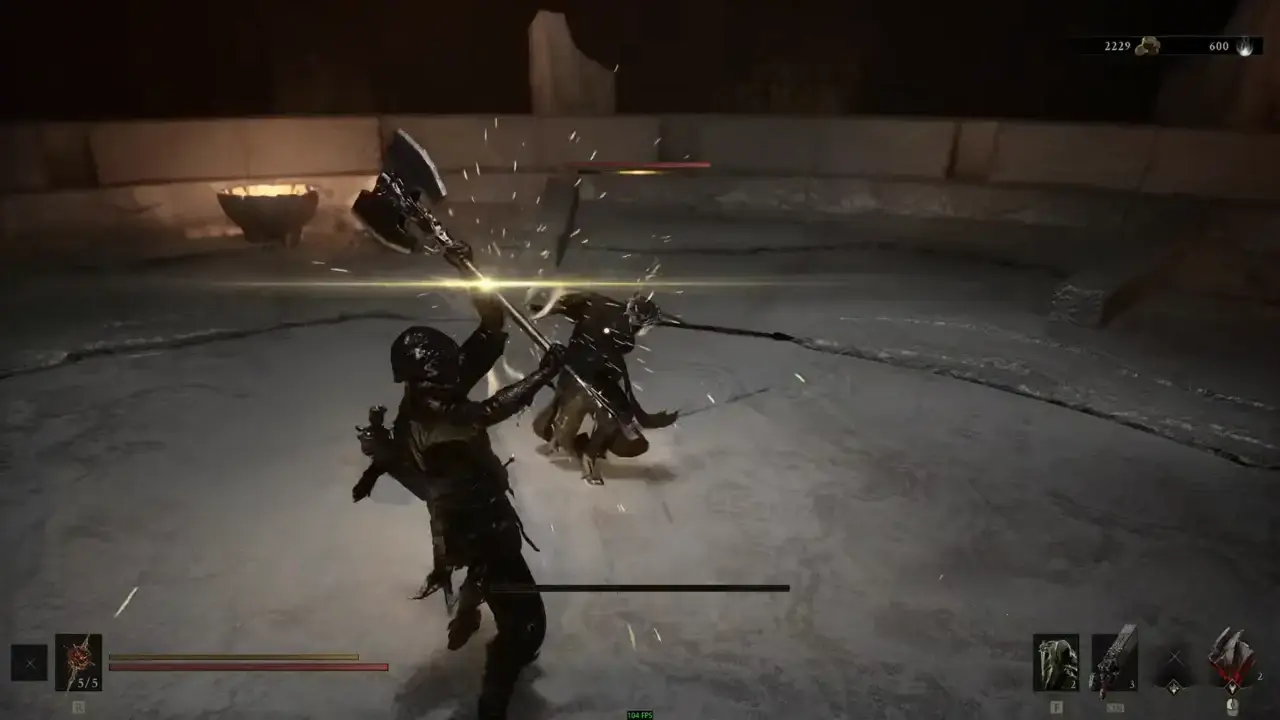
You can trigger a Perfect Guard by pressing the block button right as an enemy’s attack is about to connect. When you nail the timing, you won’t take any Break damage but instead dish some back to opponents. Once that enemy’s Break meter is drained or filled, they’re vulnerable for Riposte.
One useful habit from my own runs: pressing Guard a little early is safer than trying to react at the absolute last millisecond. You can keep holding the button as the attack arrives, so an early input can still save you from eating the hit.
Red attacks are a different story. These are unblockable, so you’ll have to dodge using B or Circle. Watch the warning marker that appears, then pulses as the circle expands. Timing is everything, especially against grabs. Their animations are very fast, making them the most punishing red attacks to encounter in the heat of a fight.
How to Harden in Mortal Shell 2
Vatra’s Seal unlocks the Harden mechanic in Mortal Shell 2, and this is my favorite defensive option when I want to play aggressively. You will get Vatra’s Seal after defeating Tar Golem during the Prologue.
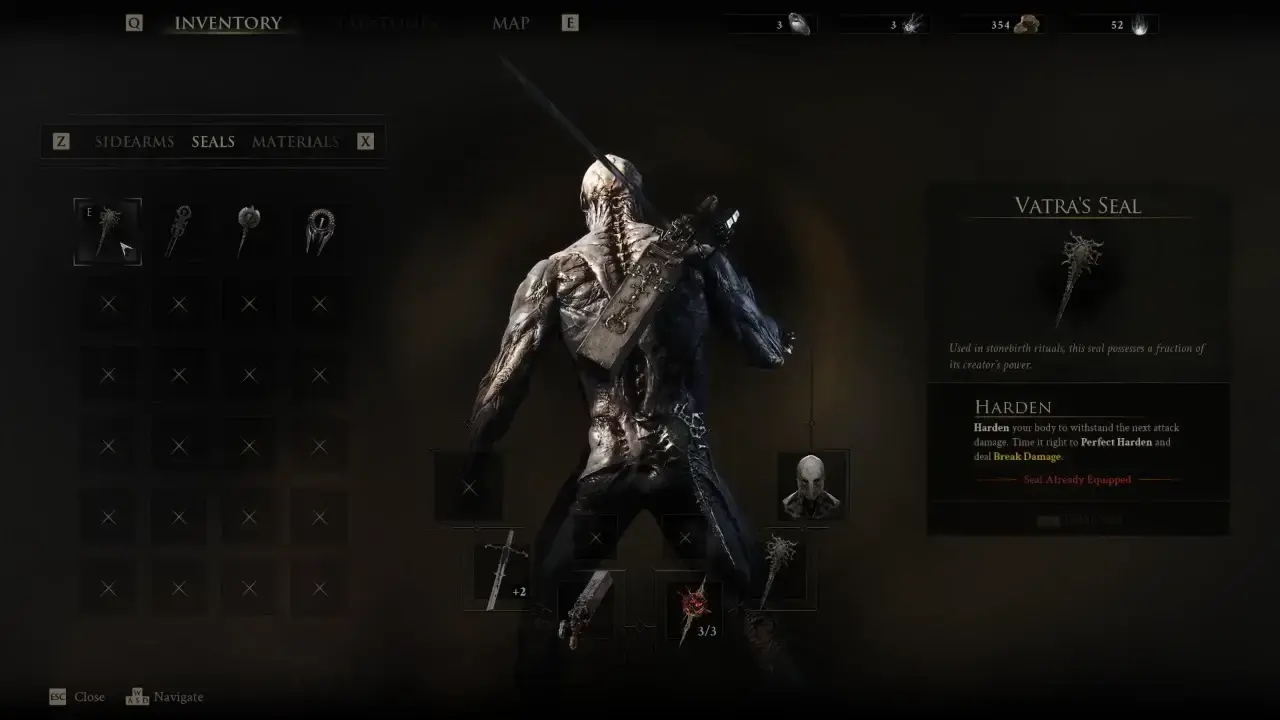
To Harden, hold the defensive button (L1/LB), and your character will turn to stone. The next attack that lands is completely negated, letting you shrug off a hit while continuing your offensive flow. Unlike Guard, Harden can be activated during an attack, so you can swing, Harden through an incoming strike, then get straight back to stabbing job.
The downside is the Harden gauge underneath your health. After Harden is consumed, you have to wait for that meter to refill before you can use it again.

How to Perfect Harden
The spicy version is Perfect Harden. Activate Harden right before the enemy strikes, and it will trigger Perfect Harden that not only blocks the hit but also inflicts Break damage on the attacker. Even better, a successful Perfect Harden instantly refills the Harden gauge. Once you get the timing down, you can chain these back-to-back and make even the toughest enemies look ridiculous.
Multi-hit attacks require a little more caution. A normal Harden stops a single hit, so mistiming a Perfect Harden against a combo can leave the remaining strikes rushing at your face. Red attacks still cannot be Hardened. So when you see the red warning, get out of the way.
How to Parry in Mortal Shell 2
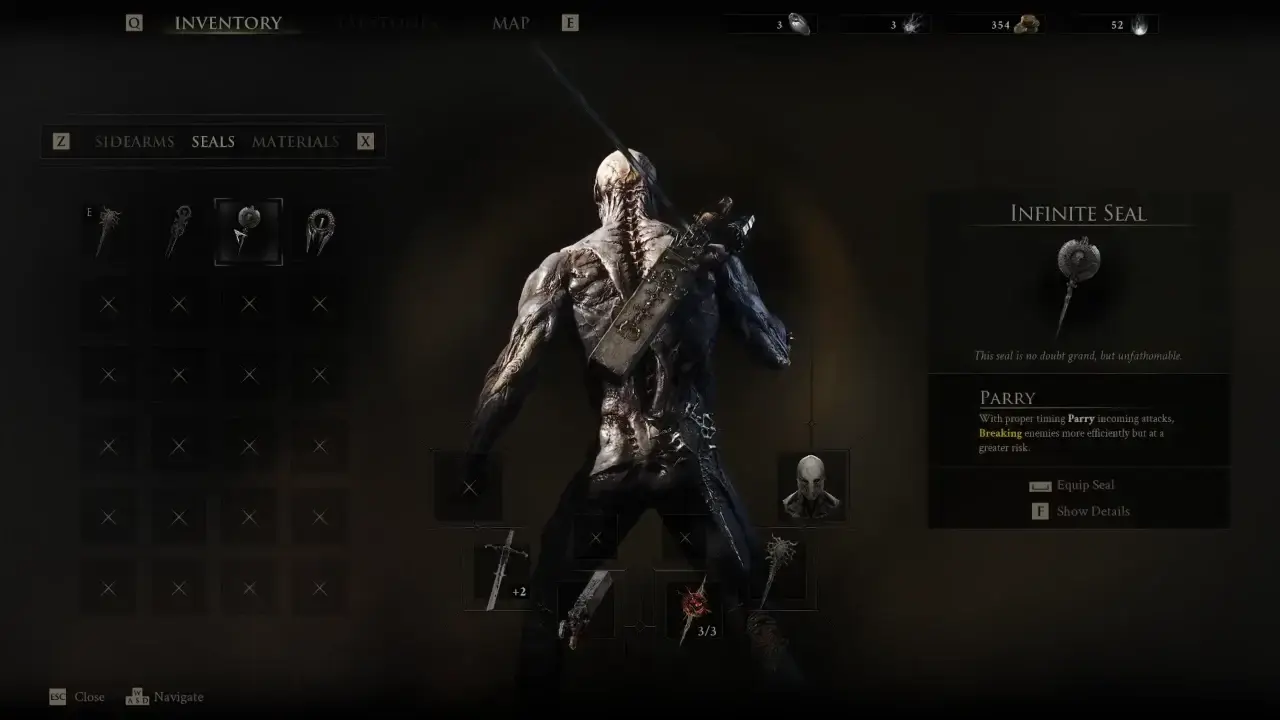
Parry in Mortal Shell 2 is done by the Infinite Seal. To unlock it, you have to enter Marrow Keep and complete Sester Genessa’s combat tutorial in the training area near the Beacon. Talk to her, complete the Guard and Perfect Guard lesson, and she’ll reward you with the Infinite Seal, which you can now equip from your inventory.
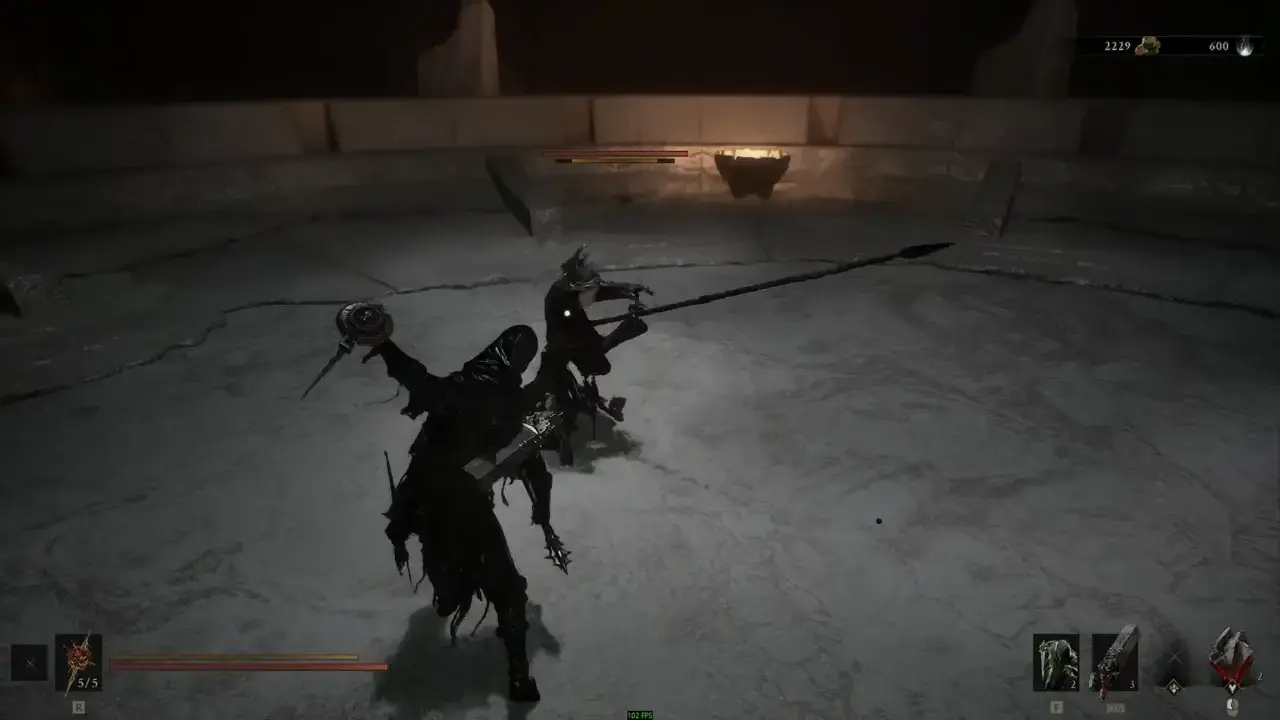
Press LB/L1 on the controller or its assigned key on PC right as an enemy attack is about to land. A successful Parry completely nullifies the incoming attack and deals a large amount of Break damage. This is the high-risk option. Guard gives you a little breathing room, Harden lets you absorb a hit, though Infinite Seal Parry offers almost no room for mistake.
How Break Damage and Riposte Work
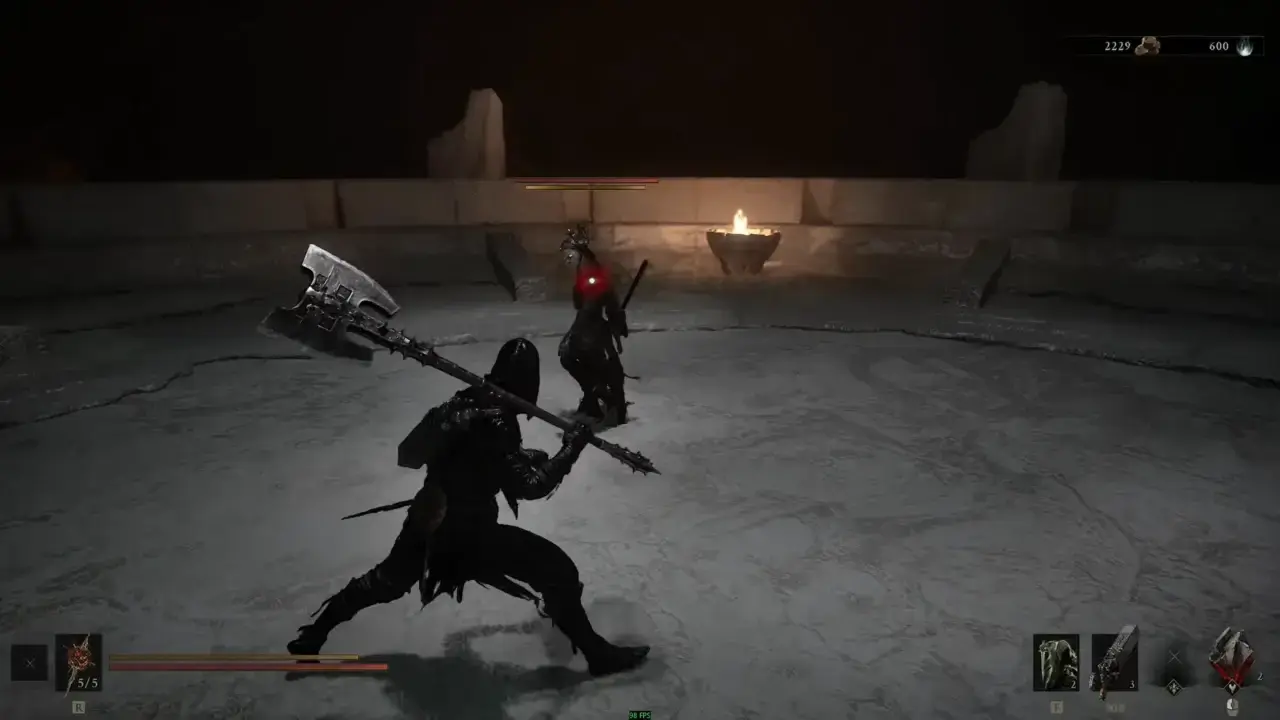
Every enemy has a Break meter below its health bar that Perfect Guards, Perfect Hardens, and Parries build. Once you’re far enough, the enemy enters a vulnerable state and a red glow marker appears on their body. Attack in that opening with your light attack to perform a Riposte to deal heavy damage.
This is the core loop I lean on in tough boss fights:
- Defend perfectly → build Break → Riposte → go back on offense.
The Infinite Seal accelerates that process because its Parry generates more Break damage than the game’s safe defensive options. You can also build Break without getting the proper hang of Parry. Certain Tarstones, abilities, and the Slayer Seal can deliver Break damage, so you aren’t forced into a parry-only playstyle just for Ripostes.

Which Seal Should You Use?
For a first playthrough, I’d start with the Untarnished Seal and learn enemy attack timings through Guard and Perfect Guard. It gives you enough forgiveness to understand what the game is actually asking from you. Once the timings become instinct, you can equip Vatra’s Seal for aggressive play. Harden lets you stay in an enemy’s face and keep your attacks in flow.
The Infinite Seal is good for anyone who loves to live in danger. Its Parry is much less forgiving, but the payoff is massive Break damage and quick access to Ripostes. There’s also the Slayer Seal, which changes the defensive game even further and makes combat relatively easier. This seal is used to change the game’s difficulty to easy mode, and equipping it disables achievements for that playthrough, so don’t use it casually during an achievement run.