
Martyr’s Tomb is a small dungeon found in Widow’s Overlook in the Fainweald region of Mortal Shell 2, but it locks down tight once you step inside. If you go in unprepared, you can easily get trapped in the burial chamber with no obvious exit. This guide explains how to reach the Martyr’s Tomb, clear the enemies, unlock the main chamber, and hit the target to exit the dungeon with every reward in pocket.
Mortal Shell 2 Martyr’s Tomb Location
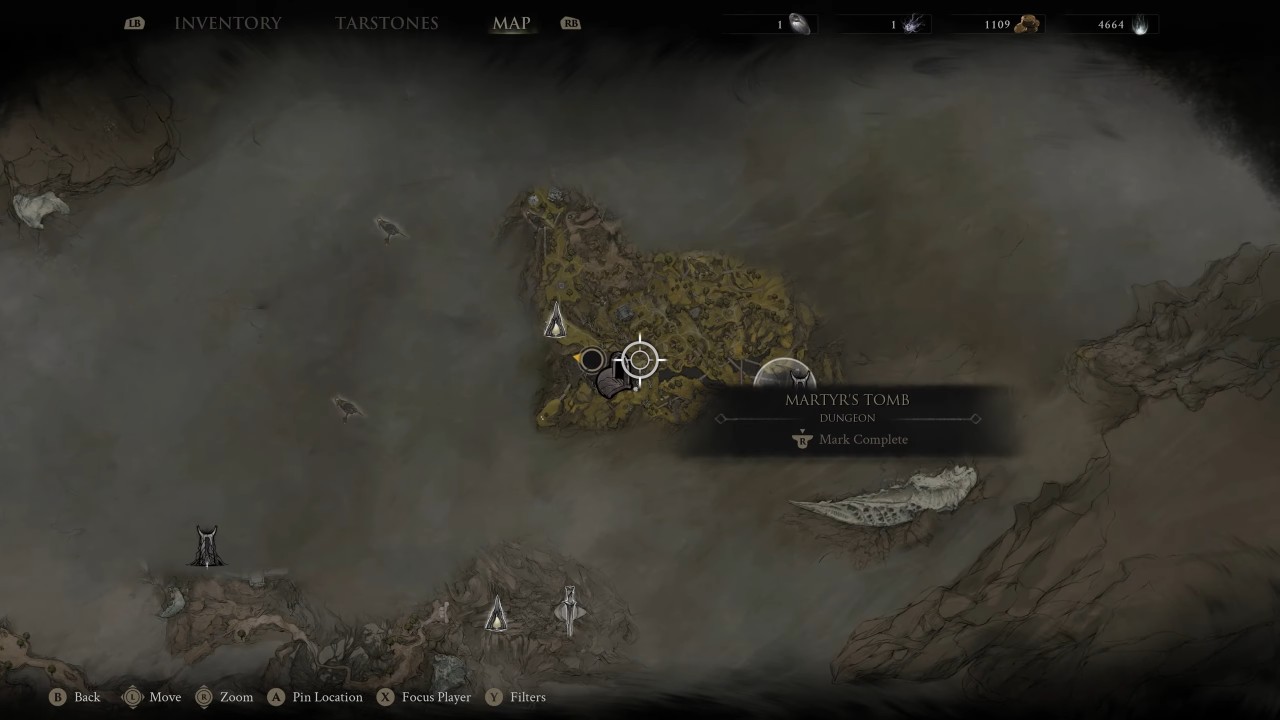
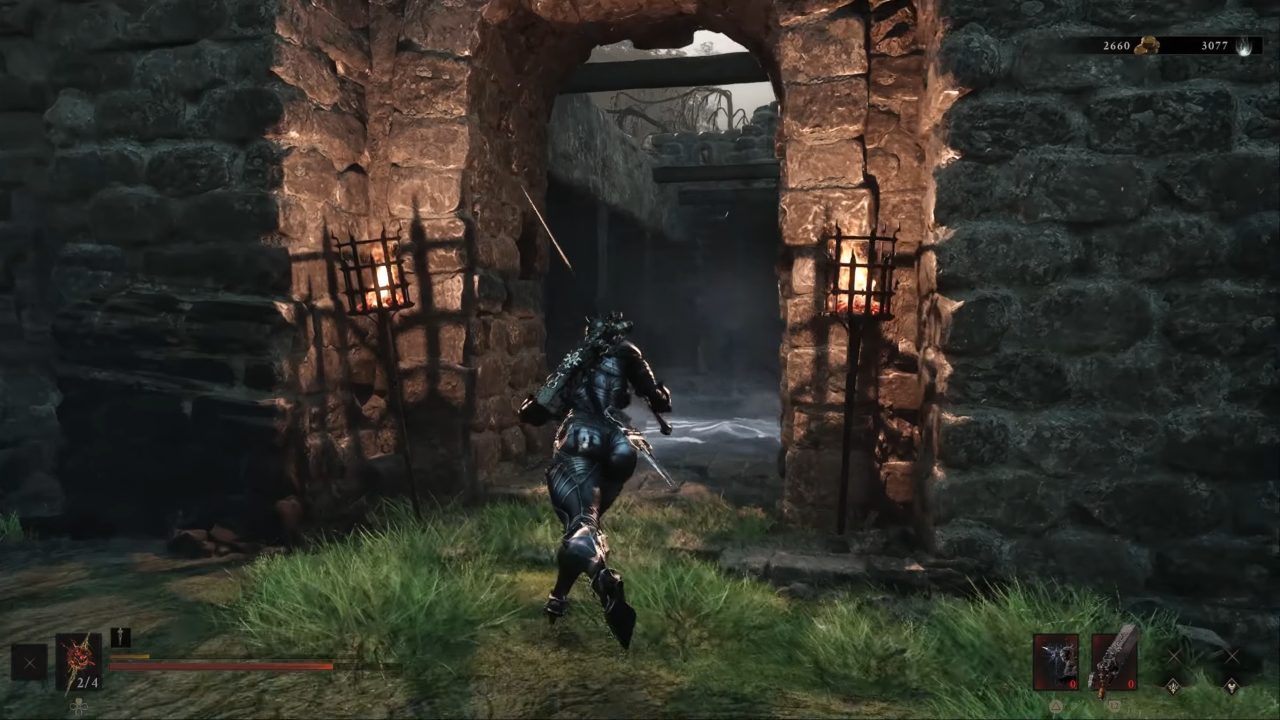
Head to the ruined church east of the Widow’s Overlook Beacon, right across the open ridge overlooking the Great Arbiter of Flesh on the edge of Fainweald. You’ll run into cultists patrolling the perimeter outside. Sprint past them or take them down, then move through the chapel archway and step into the dark, mist-filled pit in the floor to enter the dungeon. Follow the stairs down to reach the wooden lift and ride it down into the Martyr’s Tomb.

How to Complete Martyr’s Tomb in Mortal Shell 2

After leaving the elevator, follow the corridor into the central room. The room contains torch-wielding cultists on both flanks and a mutant with a whip-like slug attached to its chin. The slug-chin beast swings a heavy mallet in multi-hit combos and lashes at mid‑range with the slug appendage.
Bait the mallet combo, roll behind, and punish. A second slug-chin creature and three cultists wait behind the pillar to the right. Draw the cultists out first to avoid getting swarmed, then deal with the heavy targets.

Once the area is clear of enemies, face the locked iron portcullis ahead, and turn toward the wooden scaffolding on your left (west wall). Break the wooden crates blocking the way to the Gloom Root. Inside the tight space, you will find a secret gate switch mounted on the wall. Interact with it to raise the gate to the next chamber. Before moving forward, check the opposite side of the room near the bone pile to pick up Laterite.

Right as you walk through the gate into the inner chamber, it will slam shut behind you. Prepare to dodge instantly as a mutated enemy is hiding just around the right corner, ready to ambush you. Eliminate him, then approach the stone sarcophagus in the center to loot the chest (we’ll talk about the rewards later).
How to Unlock the Gate to Leave Martyr’s Tomb

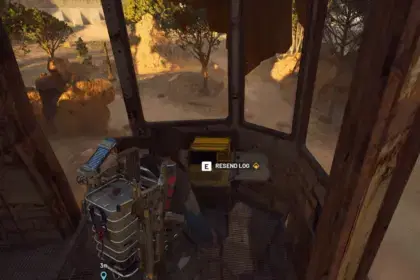
To unlock the portcullis and exit the room, there are no ground pressure plates or wall switches inside the chamber, though there’s a note you should read for a clue about the escape route. Interact with the corpse lying on the ground near the Resolve Root to collect a journal that reads:
“Day III. Freedom is in sight. Atop of the gate, the latch sits exposed. If only I had some way to reach it, but alas all I have is this quill.”
Turn around and face the entrance you came through. Look at the wall above the gate to see a circular target plate. Aim your ranged weapon or ballistazooka at this plate and shoot it to lift open the gate.
Note: You can attack the glowing Resolve Root in the back of the room to get some ammo.
Return to the same wooden lift you used to descend and ride it back to the top to leave Martyr’s Tomb. That completes this Mortal Shell 2 dungeon on your map.


Martyr’s Tomb Rewards

- Obsidian Lathe: Bring this key item to Franz near the Tarforge at Marrow Keep to unlock secondary/sidearm weapon upgrades in exchange for Coin and Vitrium.
- Parasitic Stone: A valuable Tarstone that provides Leech stacks on every enemy kill. Accumulating Leech stacks increases your maximum health until you die or rest at a Beacon. Upgrading it increases the Leech stacks earned per kill.
Martyr’s Tomb is just one stop in the wide Widow’s Overlook. Check out our Mortal Shell 2 walkthrough and wiki page for more dungeon breakdowns, shell locations, and boss strategies.