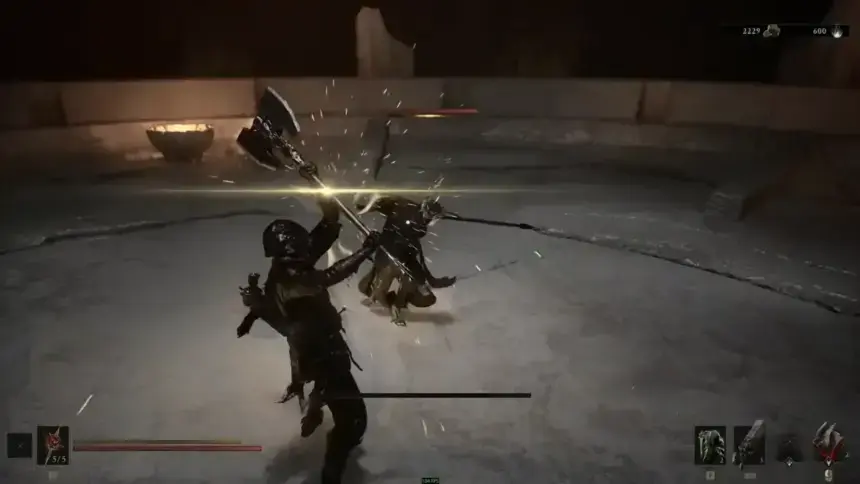

The Great Martyr’s Blade is a heavy two-handed greatsword in Mortal Shell 2 that you can find inside Martyr’s Prison. Getting to it takes some detours through Gloomshade Grove, an access route through the nearby prison network, and a handful of enemies to deal with. The reward is a slow but powerful blade built for players who love to make one good swing count. Here’s how to get Great Martyr’s Blade, what materials are required to upgrade it, and the best compatible Tarstones for this weapon.
This article is a part of our Mortal Shell 2 Walkthrough and Guides Wiki hub.
Mortal Shell 2 Great Martyr’s Blade Location

The Great Martyr’s Blade can be found inside Martyr’s Prison dungeon in Gloomshade Grove near the Citadel of Penance.
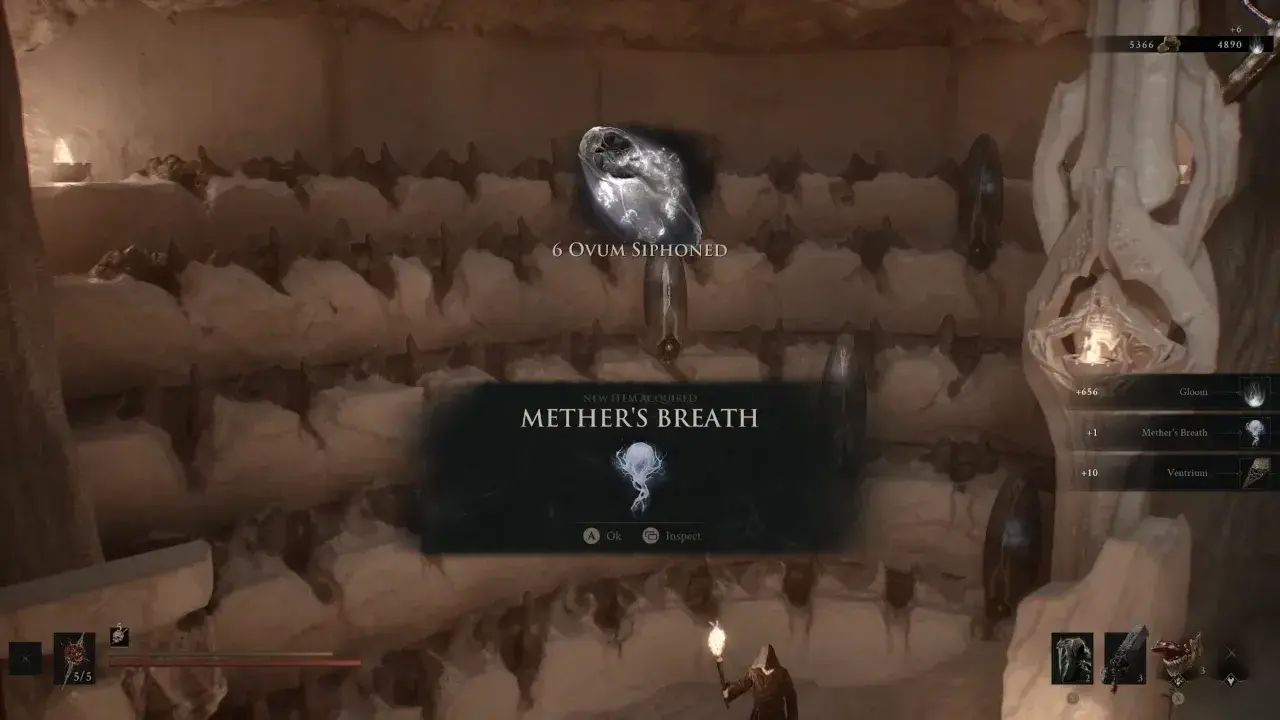
To get to the Great Martyr’s Blade, you’ll need Mether’s Breath to clear the corruption that blocks the path to the dungeon. Go to Marrow Keep, and interact with the Gloom Siphon to siphon six Ovum to unlock Mether’s Breath. With it, you can clear the corrupted paths and also fast travel between Beacons.

At Marrow Keep, use the north transporter to reach Widow’s Overlook Beacon. From there, move west to the Mushroom Village, and then head northwest from the Mushroom Village Beacon toward the dungeon entrance where Axe and Dagger can be found.
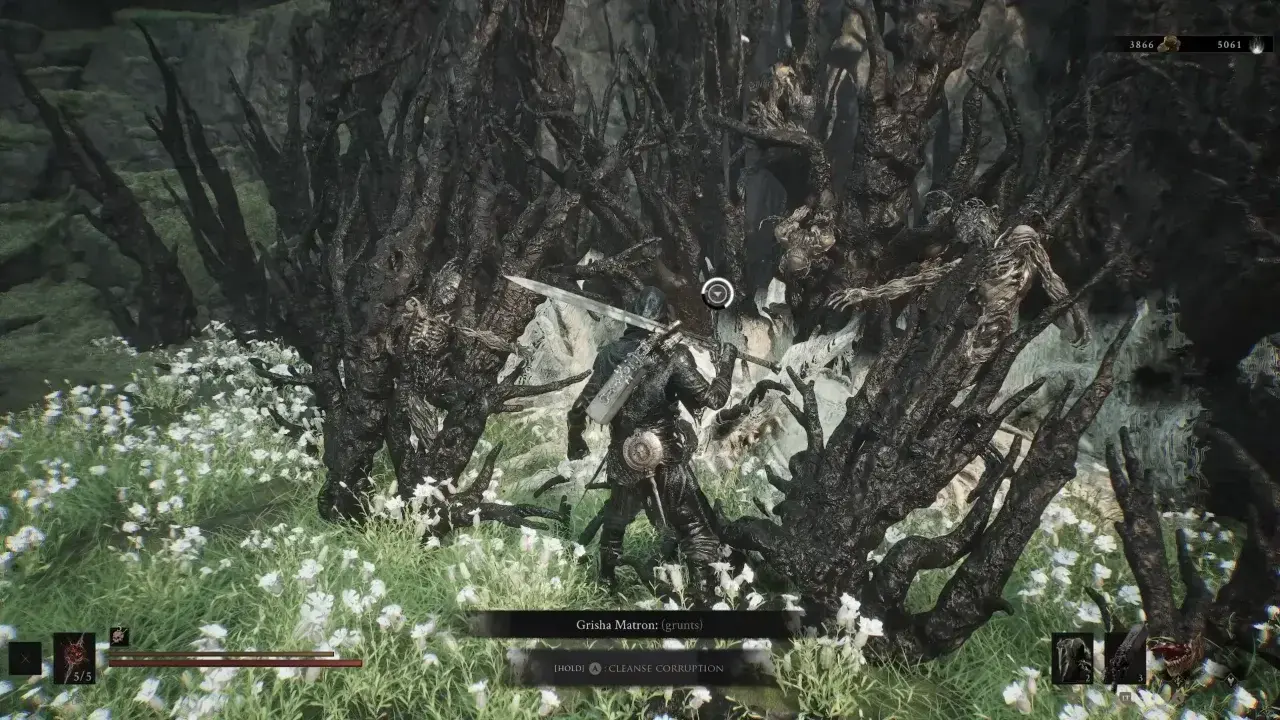
To the right of that entrance, use Mether’s Breath to cleanse the corruption wall.
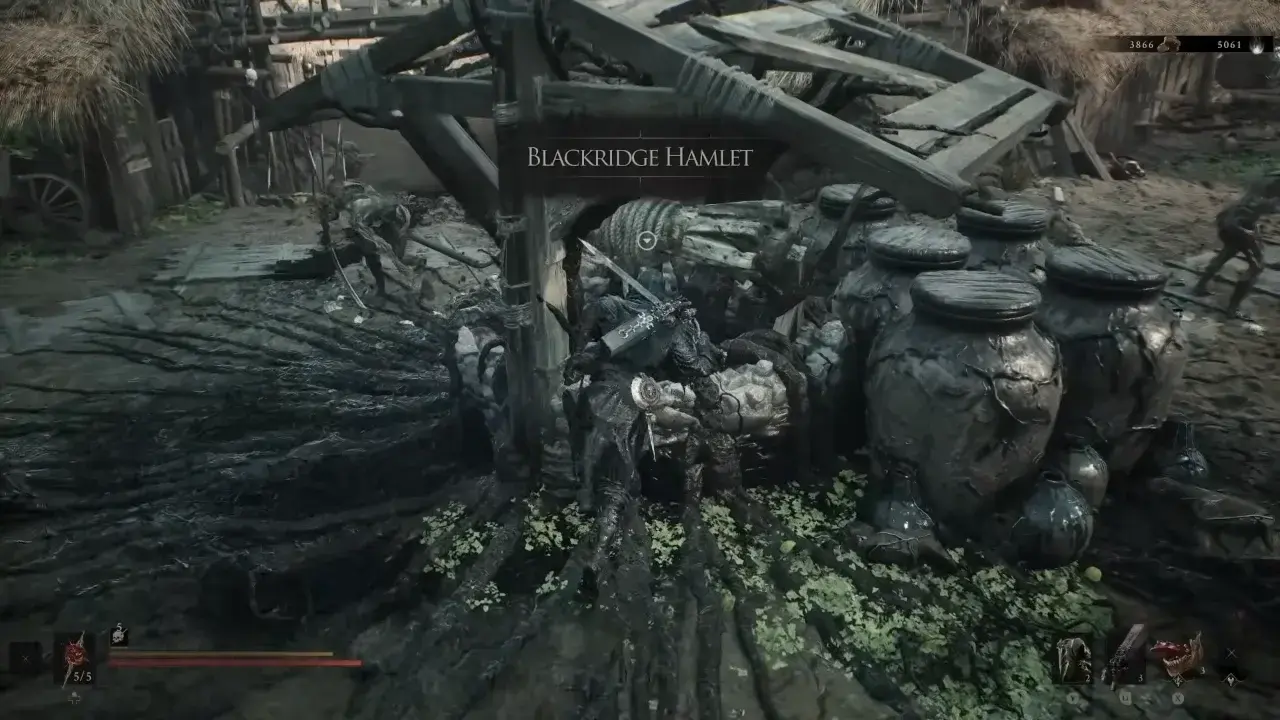
Launch up into Black Ridge Hamlet and interact with the well beside the explosive jars that will teleport you into Holding Cells Dungeon.

Inside, stay on the top level and keep moving right on the wooden walkway until you reach a stone corridor with the templar-like guard lurking there. Find and press the hidden plate in the wall behind the wooden crates to the knight’s right.
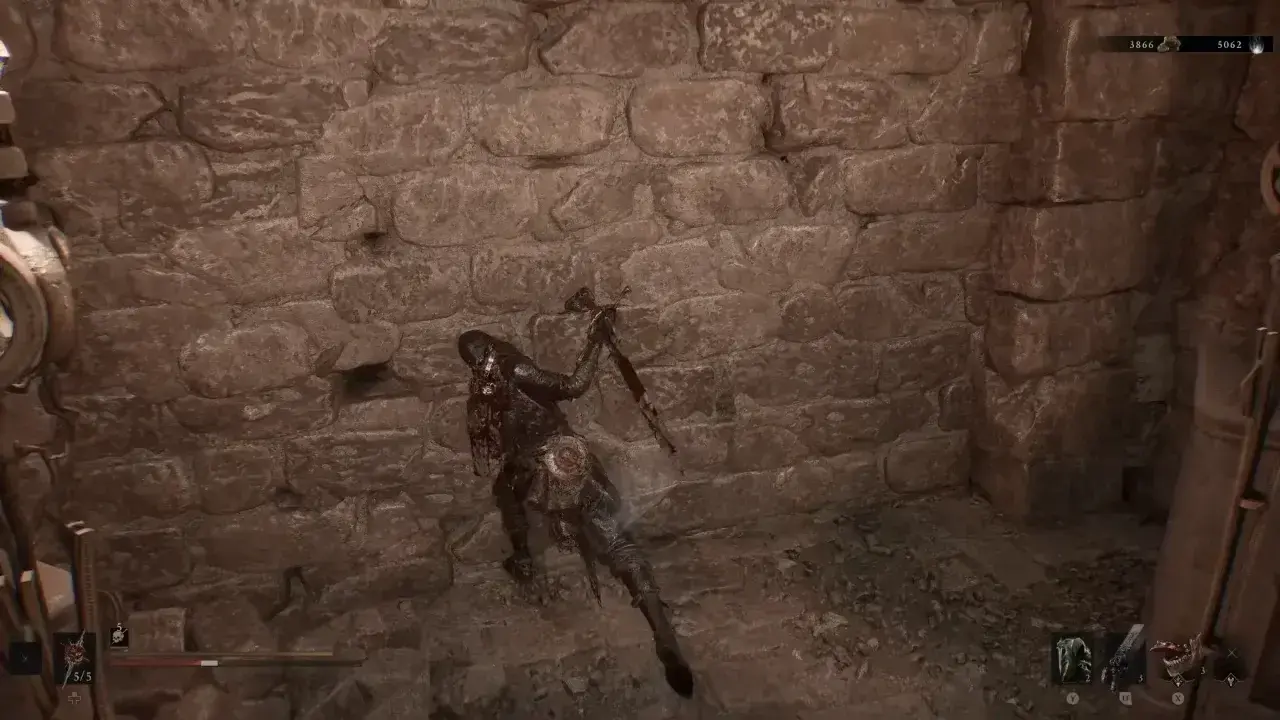
Pass through the gate the plate opened, collect the Revered Gland in the next corridor, and continue forward, avoiding pressure plates that trigger arrow traps. The enemies can also activate these traps, which will help get rid of them without a fight. Attack the illusory wall at the end of the hall.
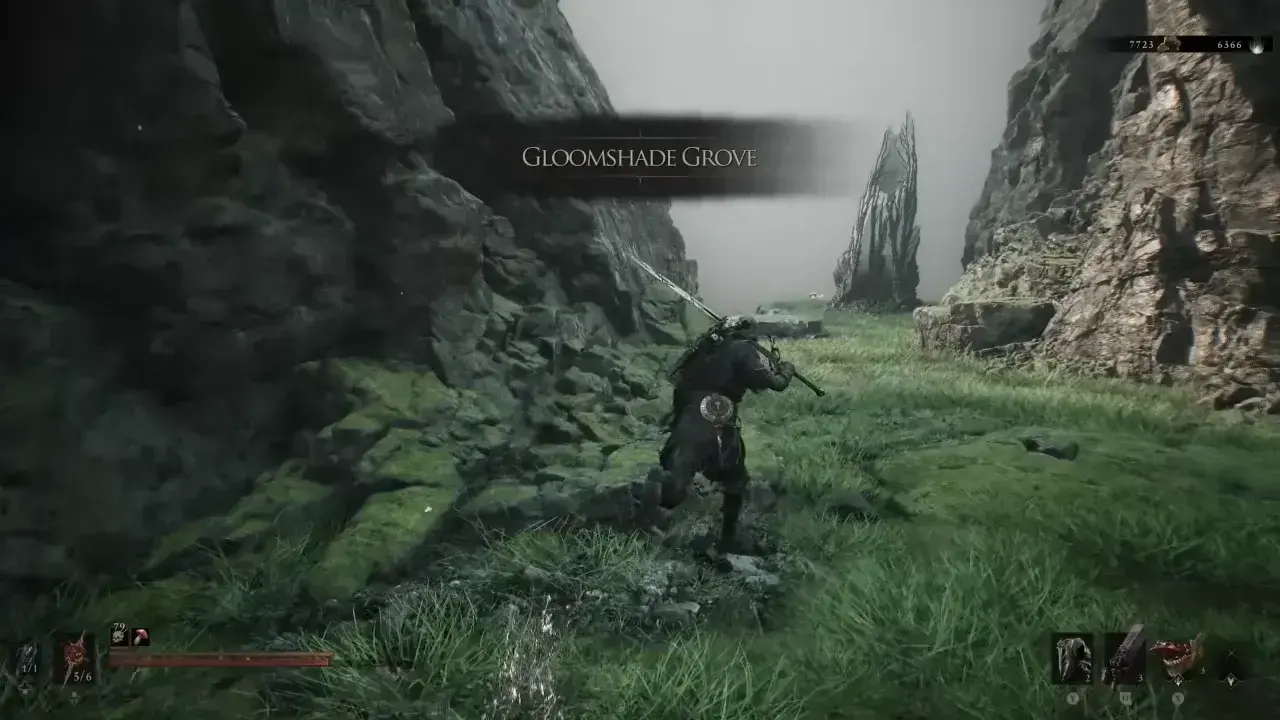
Run past the remaining enemies in the final corridor and interact with the exit well at the end to teleport outside near Gloomshade Grove. Once in the open world, head to the Gloomshade Grove Beacon located on a ledge past a group of Grisha Hunters.
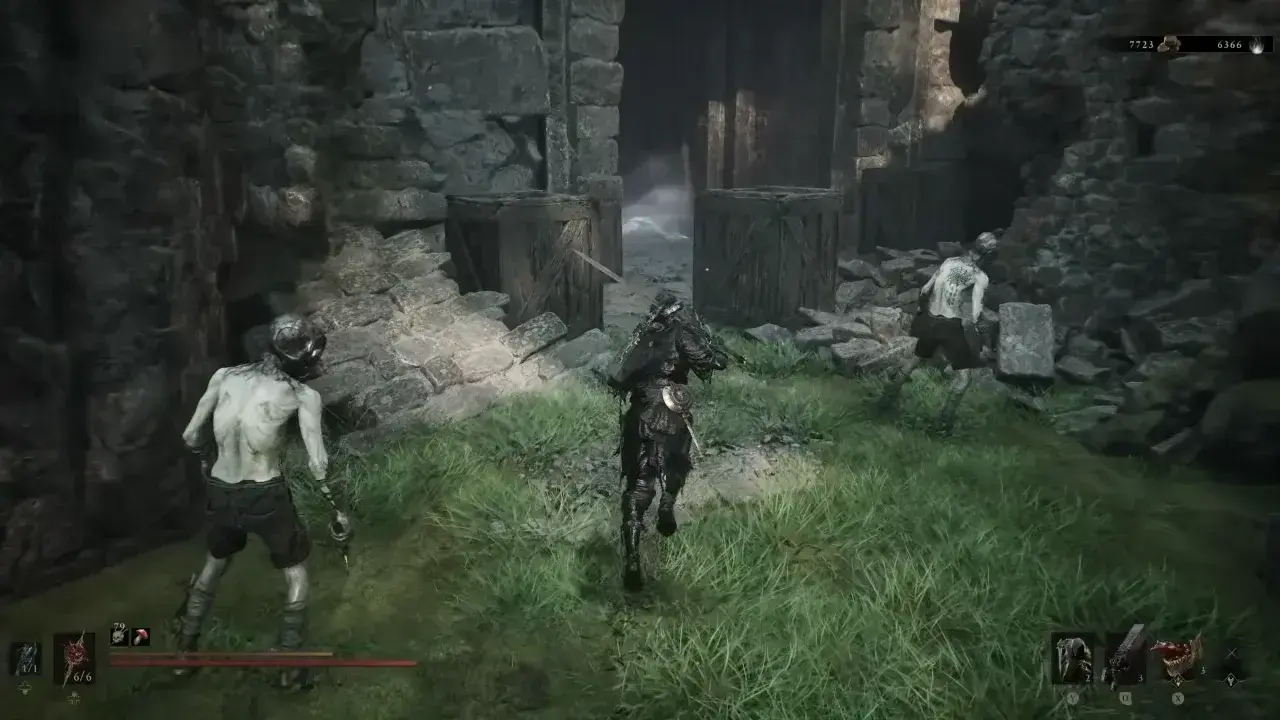
From the beacon, return to the same water well you exited from earlier. Travel a short distance up and to the right from that well to find the entrance to the Martyr’s Prison dungeon past a couple of minors. Once inside, use the wooden elevator to reach the lower section.



Martyr’s Prison Dungeon Walkthrough
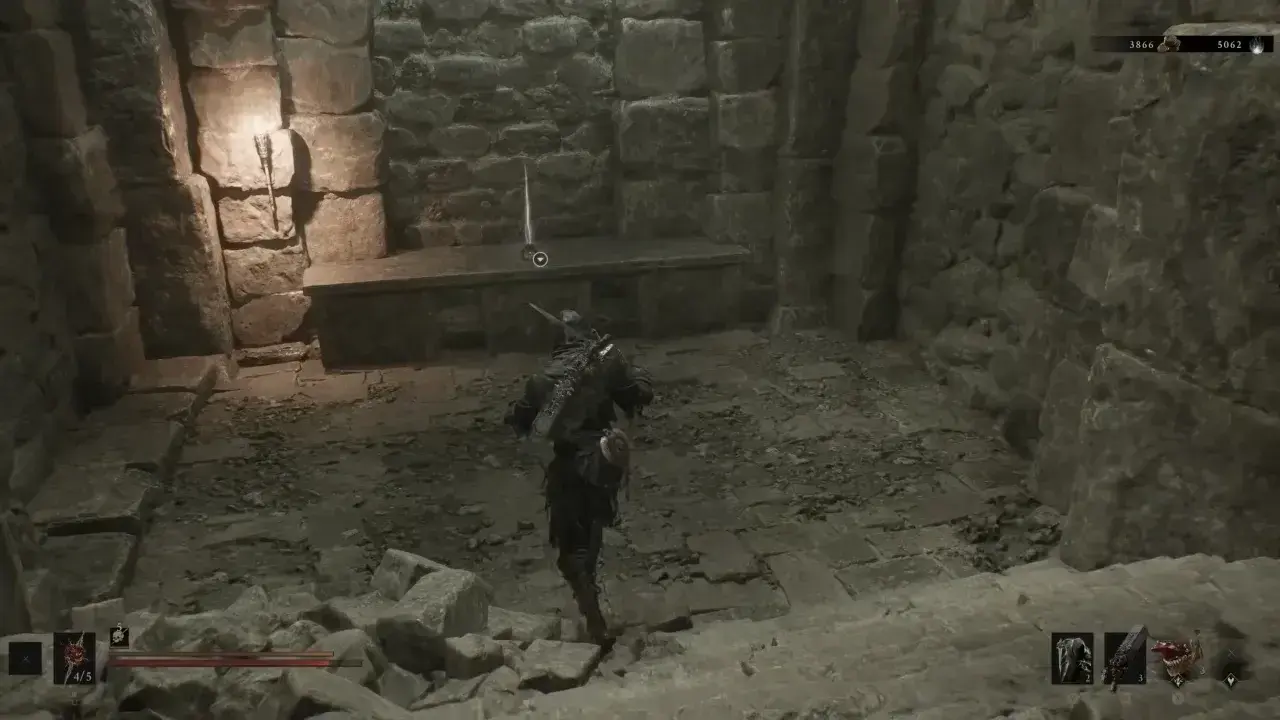
In the Martyr’s Prison dungeon, move forward and interact with the small bag/object on the table that will place you into a locked prison cell.
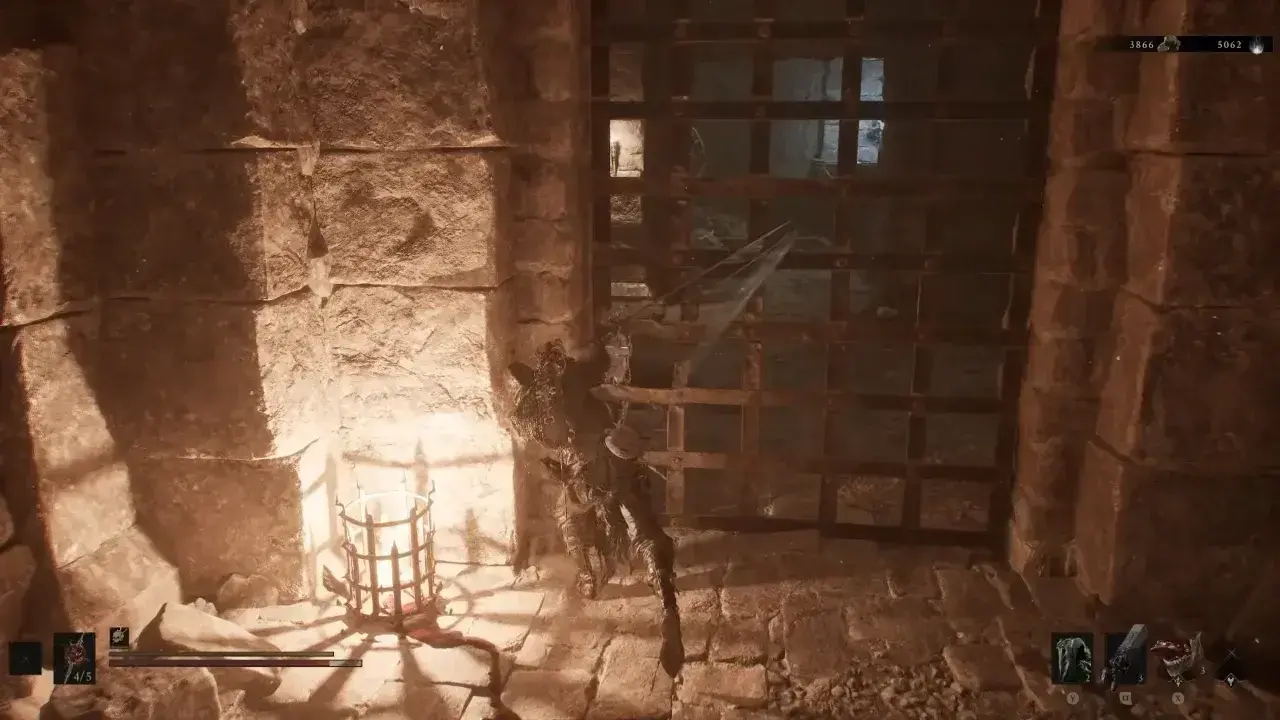
Strike the lock on the cell door to break out of the prison, then clear the enemies in the hallway. Kill both and search the nearby cell for valuable loot, including Laterite and Common Moonshine.
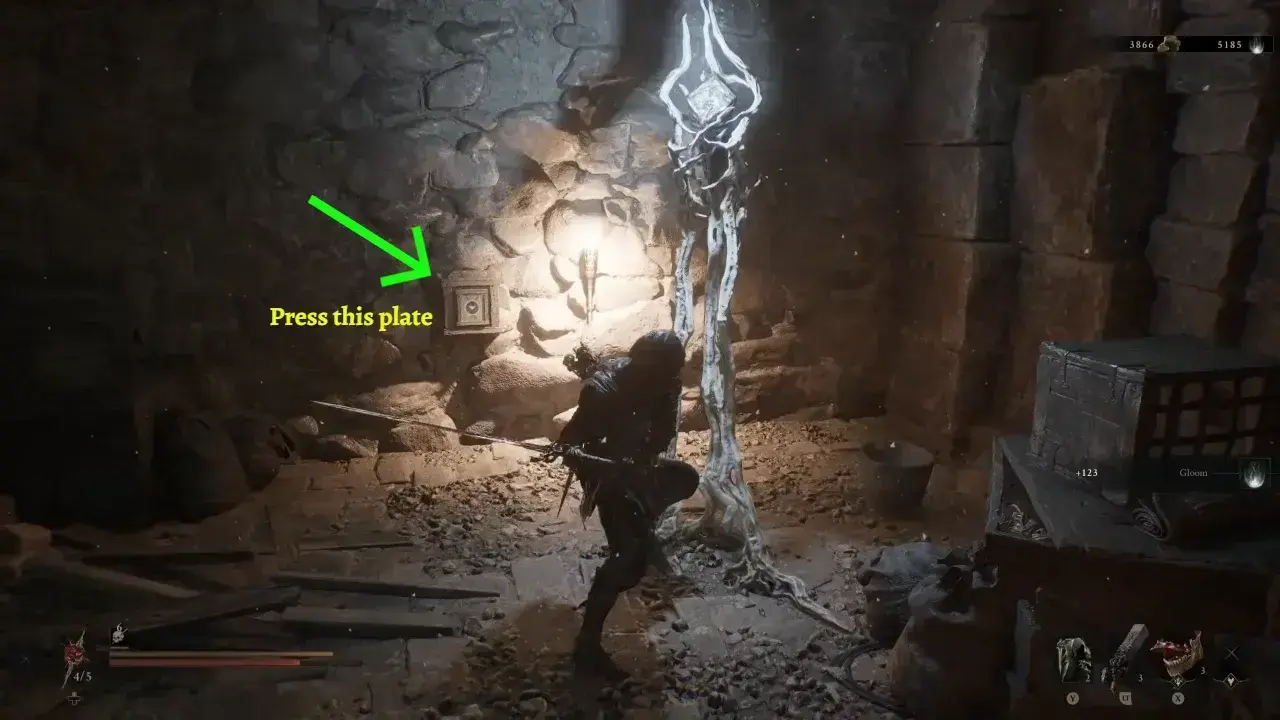
Break into the adjacent prison cell, destroy the white branch in the room to collect another piece of Laterite. Afterward, press the wall plate behind the branch to unlock the gate blocking the main dungeon corridor.
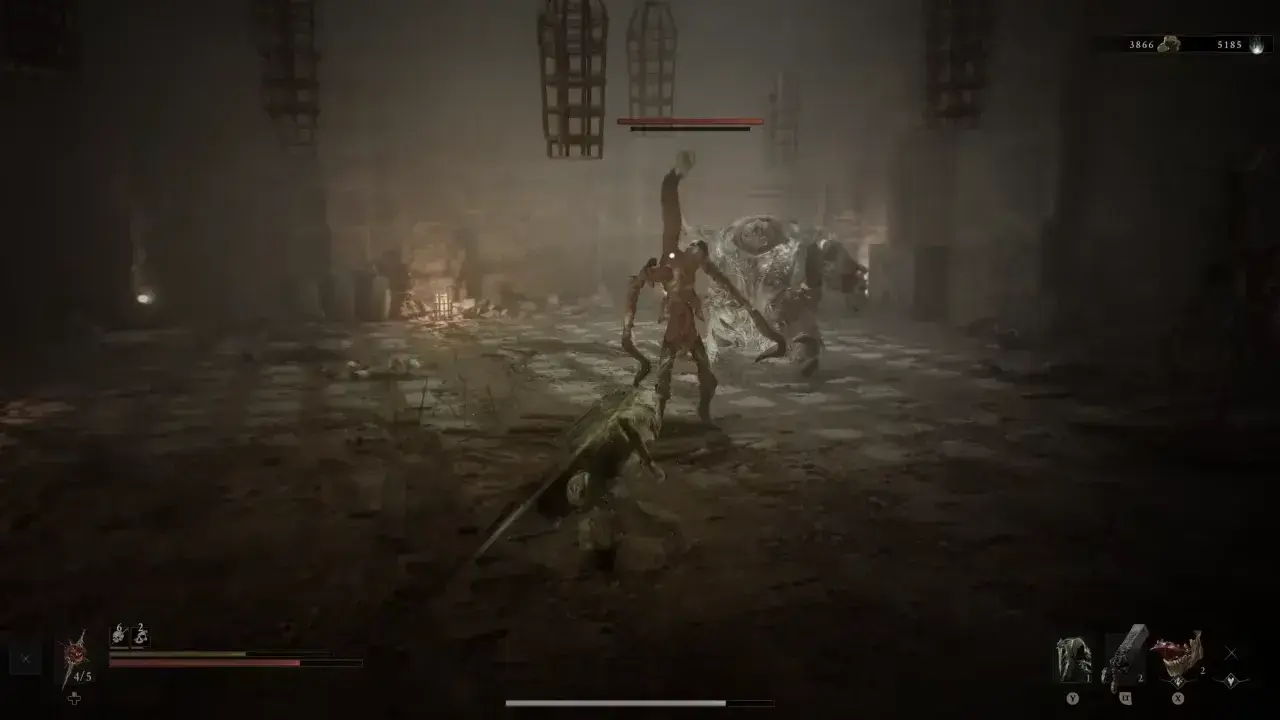
Enter the final chamber through the opened door and be ready for a challenging battle. You will face four abominations in total: three lanky enemies and a deadly Knight of Mammon boss.
Focus and burst down one immediately to reduce pressure, then clean up the other two Foul Knights while keeping distance. Watch out for Knight of Mammon’s rolling attack. Land one hit after it finishes an action, step back while its protective thorns extend, and strike again once the thorns retract.
Stuck on this fight? Equip the Lute Sidearm (if you have) as it’s a total game changer. It makes the enemies turn on each other, so you can hang back and clean up the area while they’re busy brawling.
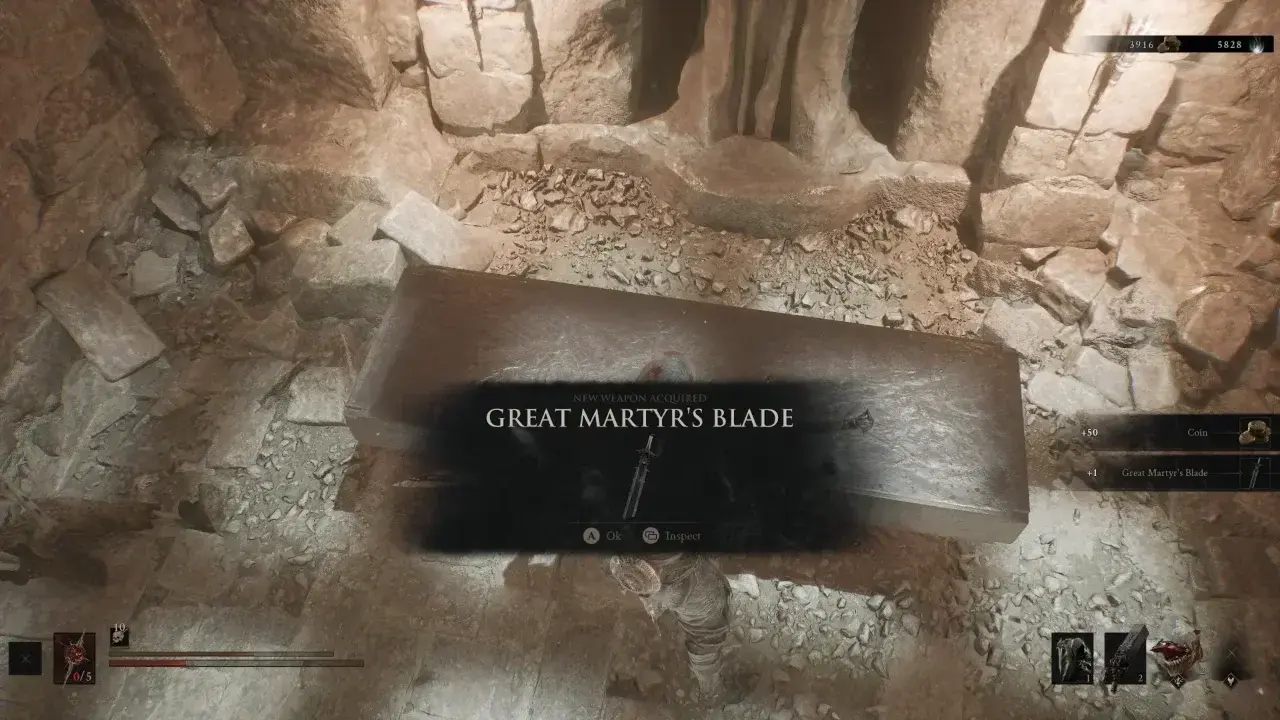
Once all enemies are dead, the small treasure room will open to the right of the chamber. Head inside and interact with the pedestal/node to claim the Great Martyr’s Blade. After that, you can interact with the nearby node to leave the dungeon.
Great Martyr’s Blade Overview

The Great Martyr’s Blade is a two-handed greatsword built around high-impact attacks and medium-range reach. It’s slower than lighter weapons, so swinging wildly is a fast way to get punished.
I get much more mileage from it by waiting for an enemy’s attack to finish, stepping into range, and committing to a heavy strike. Its unique weapon ability is Spiral Surge. The weapon also has a large upgrade ceiling, letting it stay relevant well beyond the point where you first find it.

Great Martyr’s Blade Upgrade Materials
The Great Martyr’s Blade can be upgraded to +16. Ventrium is used for the first six upgrades, Laterite takes over from +7, and Dorsalite is required for the final tier.
| Upgrade Level | Damage | Material Required | Coins |
|---|---|---|---|
| +1 | 105% | Ventrium x2 | 100 |
| +2 | 110% | Ventrium x2 | 100 |
| +3 | 115% | Ventrium x4 | 300 |
| +4 | 120% | Ventrium x9 | 500 |
| +5 | 125% | Ventrium x13 | 1,000 |
| +6 | 130% | Ventrium x18 | 1,250 |
| +7 | 135% | Laterite x2 | 2,750 |
| +8 | 140% | Laterite x4 | 2,750 |
| +9 | 145% | Laterite x9 | 3,500 |
| +10 | 150% | Laterite x13 | 4,250 |
| +11 | 155% | Laterite x18 | 5,000 |
| +12 | 160% | Dorsalite x2 | 5,750 |
| +13 | 165% | Dorsalite x4 | 6,500 |
| +14 | 170% | Dorsalite x9 | 7,250 |
| +15 | 175% | Dorsalite x13 | 8,000 |
| +16 | 180% | Dorsalite x18 | 8,750 |
Compatible Tarstones for Great Martyr’s Blade
The Great Martyr’s Blade supports Tarstones focused on damage, Resolve, critical hits, status effects, abilities, Break pressure, and heavy-attack builds.
| Tarstone | Type | Lv. 1 | Lv. 2 | Lv. 3 | Lv. 4 |
|---|---|---|---|---|---|
| Zealot’s Stone | Combat | Grants access to a special Light Combo Finisher | Light finisher generates +40% Resolve | Light finisher generates +70% Resolve | Light finisher generates +150% Resolve |
| Wounding Stone | Combat | Melee attacks inflict Perforation | Inflict 2 Perforation stacks per strike | Inflict 4 Perforation stacks per strike | Inflict 7 Perforation stacks per strike |
| Warden’s Stone | Infusions | Consume 30 Resolve to infuse your weapon with Frost | Infusion lasts for 4 strikes | Infusion lasts for 8 strikes | Infusion is permanent |
| Voltaic Crown | Infusions | Consume 30 Resolve to infuse your weapon with Lightning | Infusion lasts for 4 strikes | Infusion lasts for 8 strikes | Infusion is permanent |
| Unwieldly Stone | Ability | Consume 25 Resolve to perform a Charged Heavy Attack | Charged attack grants 2 Leech stacks on kill | Charged attack grants 3 Leech stacks and restores 20 Health on kill | Charged attack grants 5 Leech stacks and restores 25 Health on kill |
| Tyrant’s Stone | Combat | Grants access to a special Heavy Combo Finisher | Heavy finisher inflicts 4 Weak stacks | Heavy finisher inflicts 5 Weak stacks | Heavy finisher inflicts 6 Weak stacks |
| Thief’s Stone | Combat | Striking foes grants you Warp | Gain 1 Warp stack per strike | Gain 2 Warp stacks per strike | Gain 3 Warp stacks per strike |
| Stillblade’s Stone | Combat | Grants access to a special Light Combo Finisher | Light finisher deals 10 Break Damage | Light finisher deals 15 Break Damage | Light finisher deals 25 Break Damage |
| Shattering Stone | Support | Improves melee Stagger Damage | Melee attacks deal 150% Stagger Damage | Melee attacks deal 200% Stagger Damage | Melee attacks deal 220% Stagger Damage |
| Retribution Stone | Support | Improves Riposte damage | Riposte damage increased by 10% | Riposte damage increased by 15% | Riposte damage increased by 20% |
| Headman’s Stone | Support | Improves melee critical damage | Melee attacks deal +50% Critical Damage | Melee attacks deal +80% Critical Damage | Melee attacks deal +100% Critical Damage |
| Grudge Stone | Combat | Your weapon deals a guaranteed Critical Hit | Guaranteed crit every 10 attacks | Guaranteed crit every 7 attacks | Guaranteed crit every 5 attacks |
| Devout Stone | Support | Killing an enemy with your Sidearm generates Resolve | Generates 7 Resolve | Generates 14 Resolve | Generates 21 Resolve |
| Clerik’s Stone | Combat | Grants access to a special Heavy Combo Finisher | Heavy finisher has +20% Critical Chance | Heavy finisher has +25% Critical Chance | Heavy finisher has +30% Critical Chance |
| Captive’s Scabstone | Ability | Consume 100 Resolve to swing your weapon in a violent arc, striking down all nearby | Each strike deals 300% damage | Each strike deals 250 Stagger Damage | Resolve cost reduced to 75 |
| Berserker’s Stone | Support | Improves melee damage the lower your Health is | Melee damage up to 130% at 35% Health or below | Melee damage up to 140% at 40% Health or below | Melee damage up to 165% at 50% Health or below |
| Auspicious Stone | Support | Improves melee Critical Chance | Melee attacks have +10% Critical Chance | Melee attacks have +15% Critical Chance | Melee attacks have +18% Critical Chance |
| Acolyte’s Stone | Ability | Consume 15 Resolve to perform a Charged Light Attack | Charged attack has 15% Critical Chance | Charged attack deals 150% Critical Damage | Resolve cost reduced to 10 |
How to Use the Great Martyr’s Blade
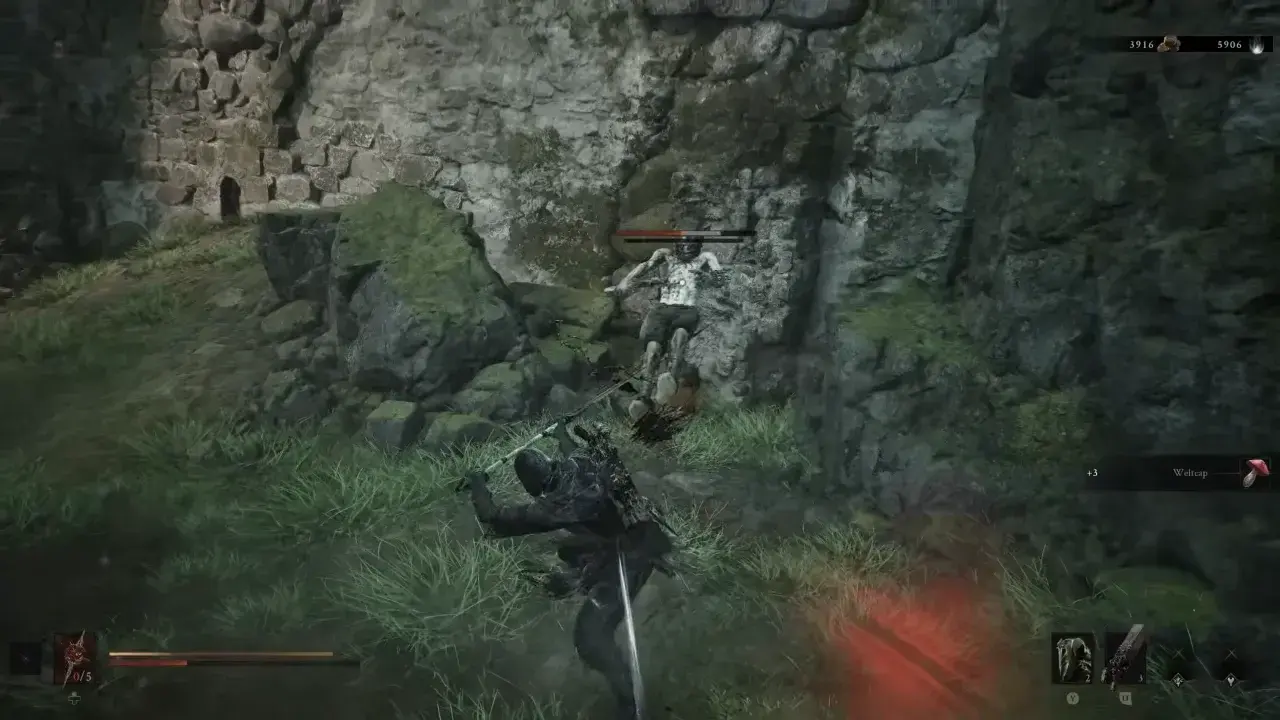
Forget about speed with this sword. Stay back, wait for your enemy to finish their move, and then punish them with a heavy swing. Your running attacks work well to close the gap and pack a real punch against normal foes. Against enemy groups, avoid getting greedy with long strings. The sword’s recovery is long enough that one mistimed attack can leave you surrounded.
For an elemental build, use Warden’s Stone. For heavy finishers and critical pressure, Clerik’s Stone and Grudge Stone are better fits. The weapon is slow, but its reach and damage make every clean opening count.