Marrow Keep hides one of the trickiest secret dungeons found behind an illusory wall, just across from Sester Genessa’s chamber. The Desolate Keep is not a lengthy dungeon in Mortal Shell 2 but with no shortage of things, as you’ll encounter layered traps, ballista-sniping sentries, and a couple of easy to miss secret rooms that will lock you out of a Dorsalite and the Blackmarrow Key.
We’d recommend exploring this underground around Level 25 to 30 so the scaled mob health doesn’t turn every room into an endurance fight. With all that said, here’s how to 100% complete Desolate Keep by taking down the Grisha boss and walking out with all the loot in a single playthrough.
Mortal Shell 2 Desolate Keep Walkthrough
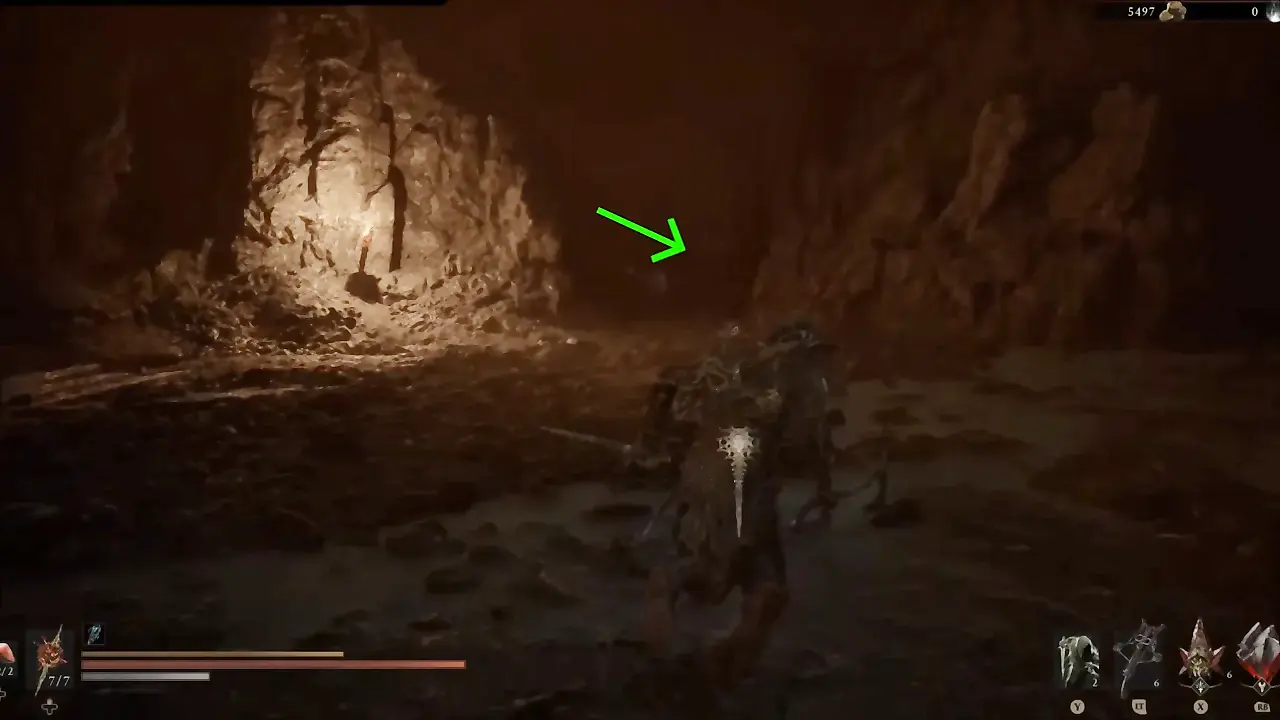
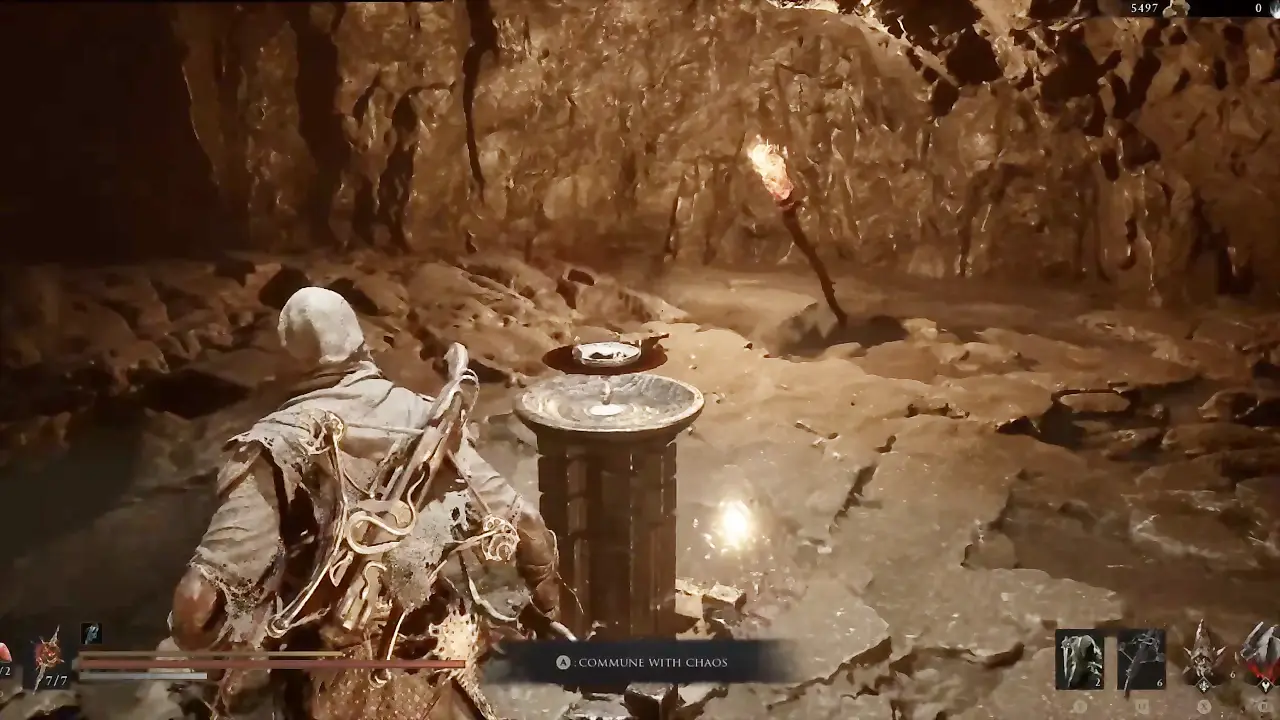
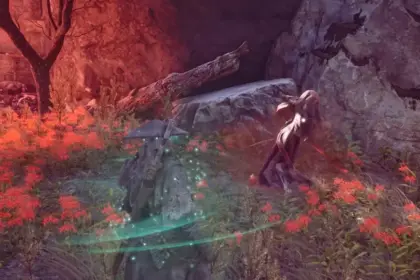
Head to Sester Genessa’s chamber inside Marrow Keep. Directly opposite her position, look at the south wall near the coffins to spot a faint white rune. Strike this illusory wall to expose a hidden antechamber with a suspended iron censer held by four heavy chains. Strike all the chains to break them, then approach the chalice and interact with “Commune with Chaos” when the prompt appears. This will teleport you into the Desolate Keep dungeon.
Because the basic creatures here deal heavy damage and resist staggering, visiting this area when you’re at around Level 25-30 will give you a much smoother run.
Clear the Entrance Pool and the Lefthand Passage
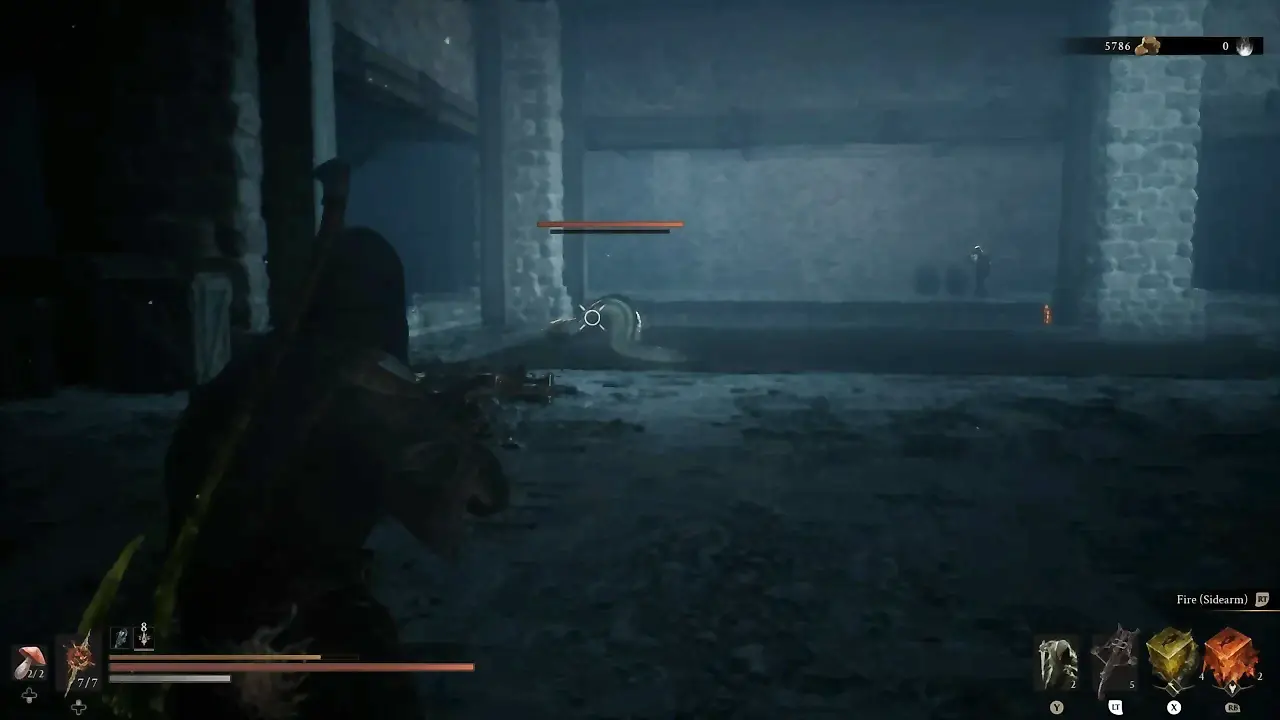
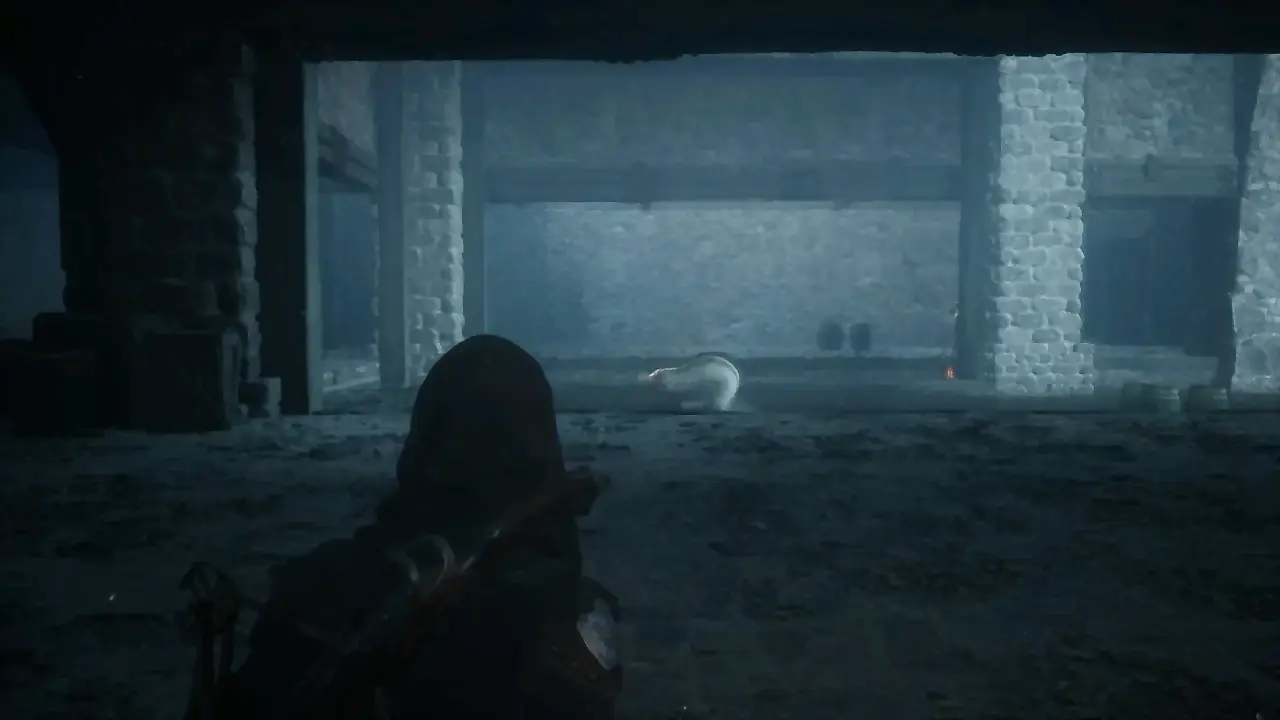
You will teleport inside the chamber overlooking a flooded hall. A Leechtongue patrols the water in front of you, while an Armed Knave and a squad of Brigands lurk along the walkways. Wait on the entry ledge for a moment: the Leechtongue will crawl out of the pool from the left toward the Brigands, triggering explosive barrels and wiping out a chunk of the mobs without your intervention.
Drop into the water on the right to loot 3x Weltcaps, then wade across to eliminate the survivors, the Armed Knave, and the Leechtongue. Pick up another cluster of 3x Weltcaps in the far corner of the pool.
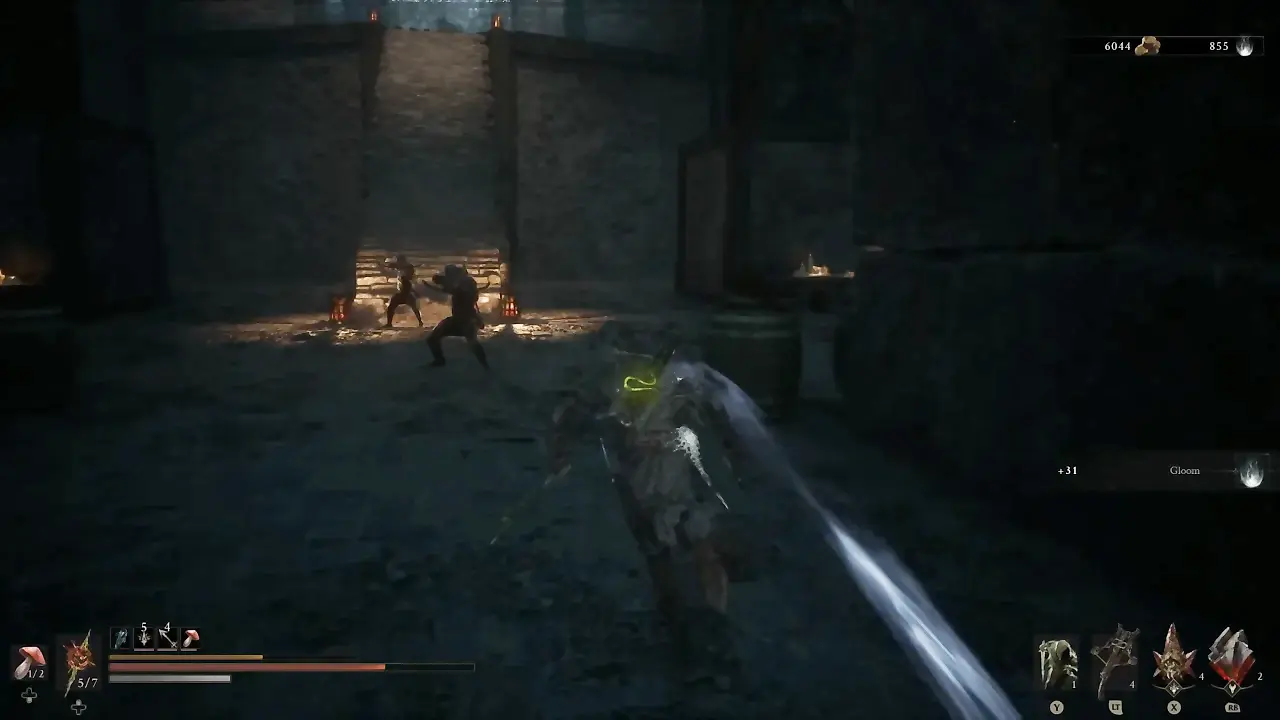
Take the left corridor past the pool and eliminate the two Brigands at the base of the stairs.
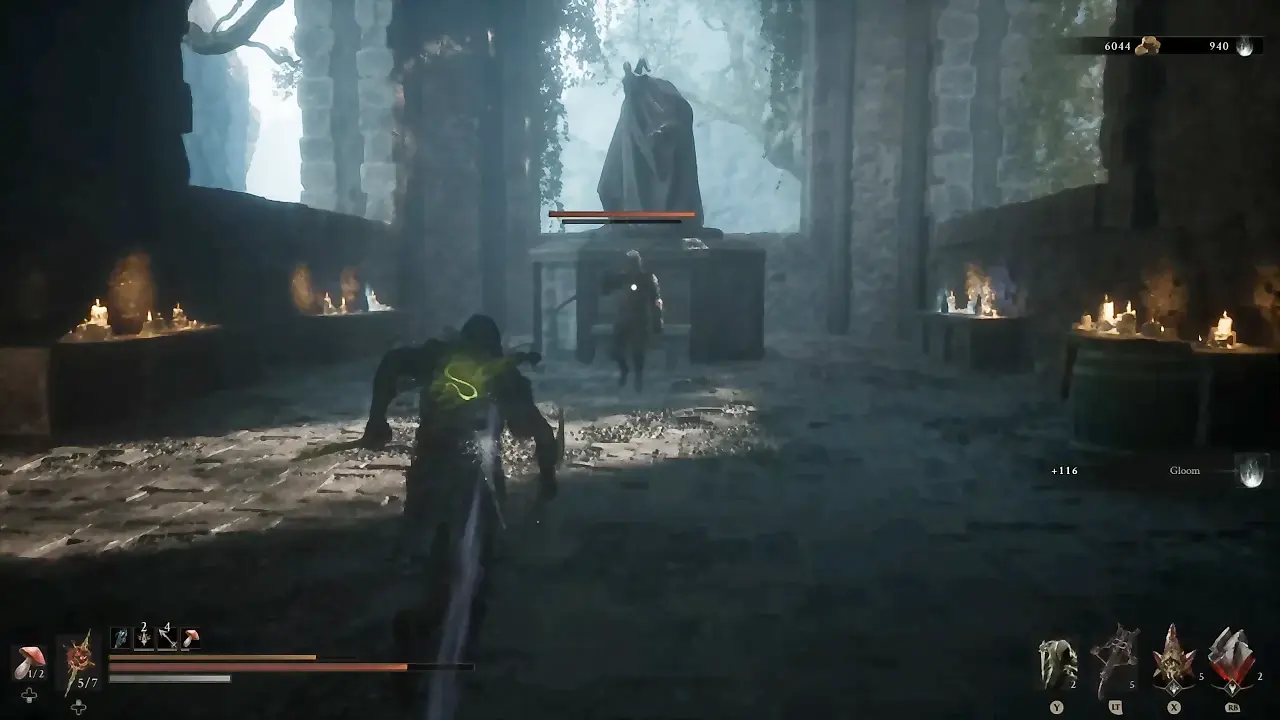
Climb the steps into an elevated chapel and make the work of the Armed Knave and the three Brigands (two are armed with crossbows). Loot the bone chest at the foot of the statue for 500 Coins and then the side tables for 2x Burnt Effigies and 3x Common Moonshine.
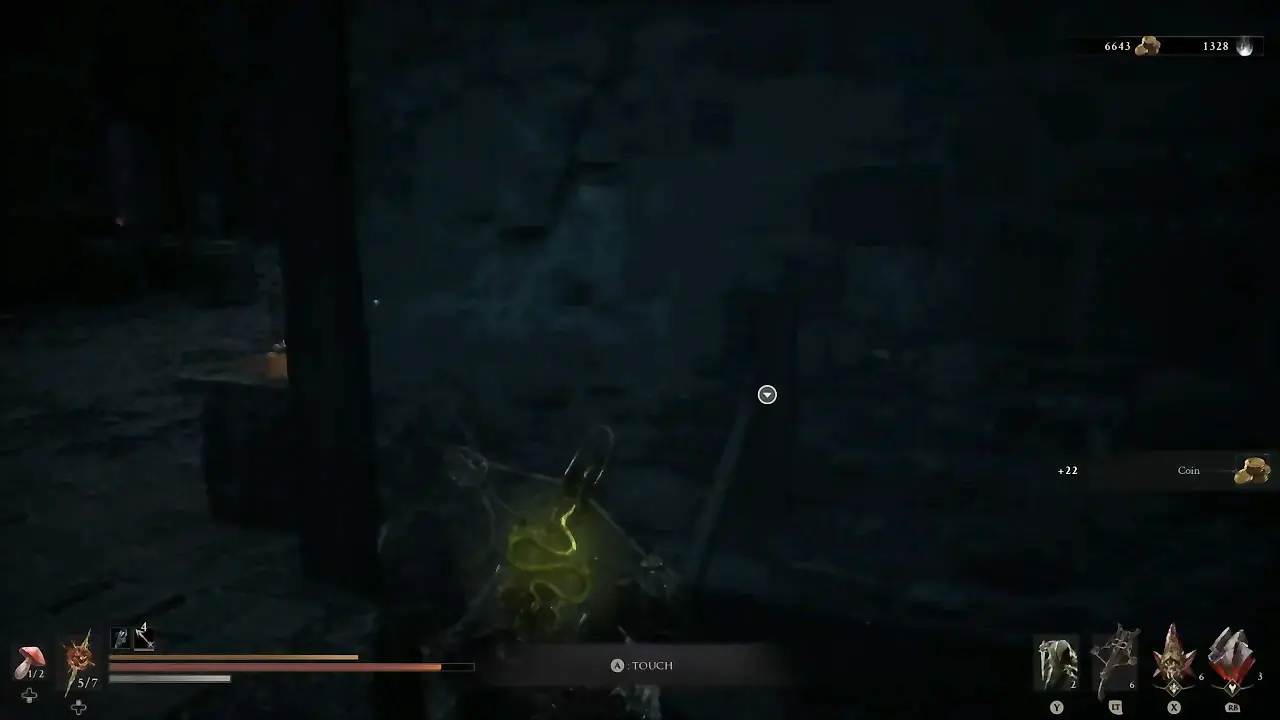
Walk back down the stairs, and instead of moving all the way toward the pool, inspect the far side of the stone pillar to your left. You’ll see the switch lever mounted on the pillar that you need to pull to lift a stone ramp out of the pool that’s a shortcut to the final boss courtyard. We don’t need to go there for now, so ignore the ramp. Because if you follow this way then and there, you’ll skip the dungeon’s main section and leave behind valuable item pickups. So let’s continue our journey toward the other side.
Explore Main Chamber and Obtain Tooth of Nochte
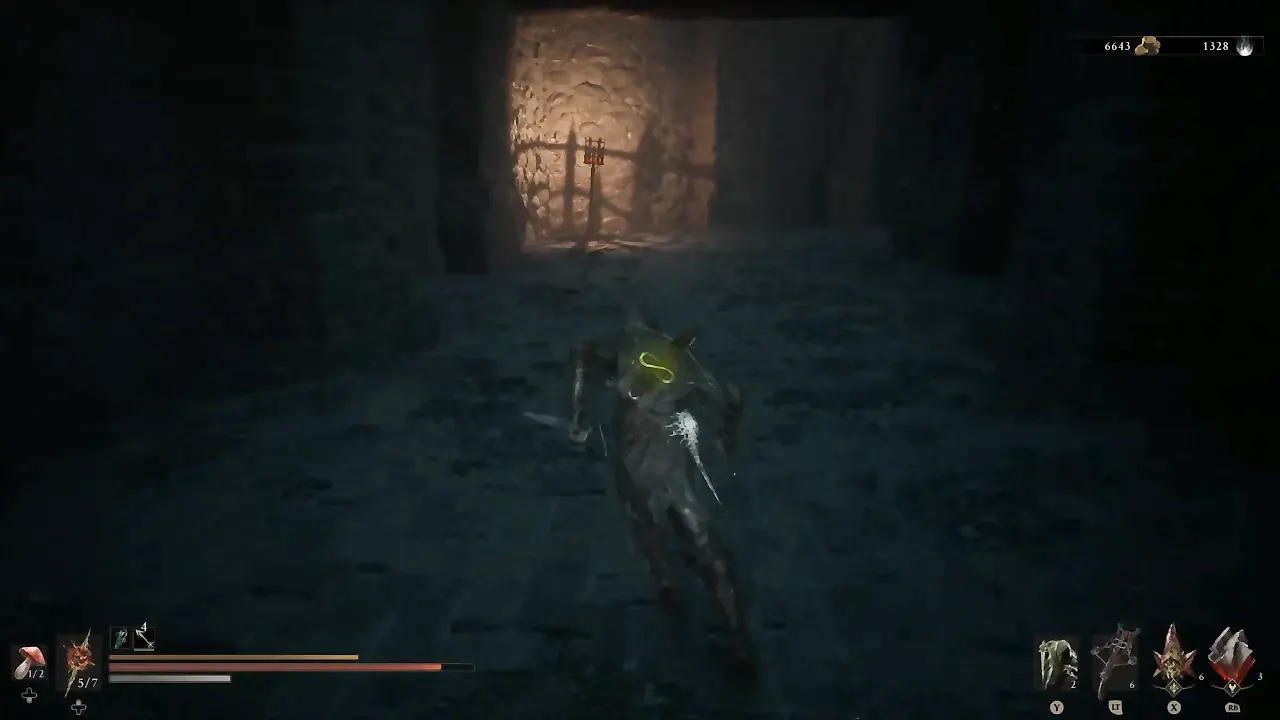
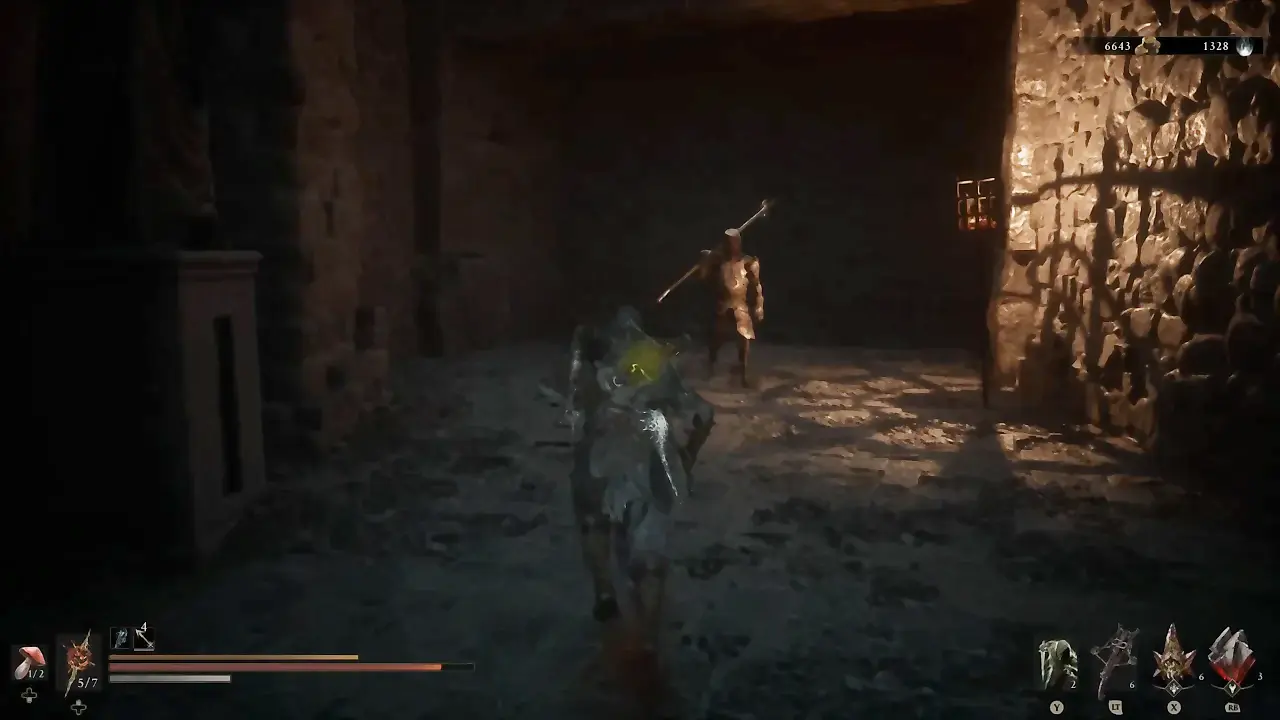
From the entrance pool, take the corridor on the far left corner from the upper chapel’s side and the pool’s far end from where you teleported. Follow the bends until you come across an Armed Knave standing guard in front of a seemingly dead end.
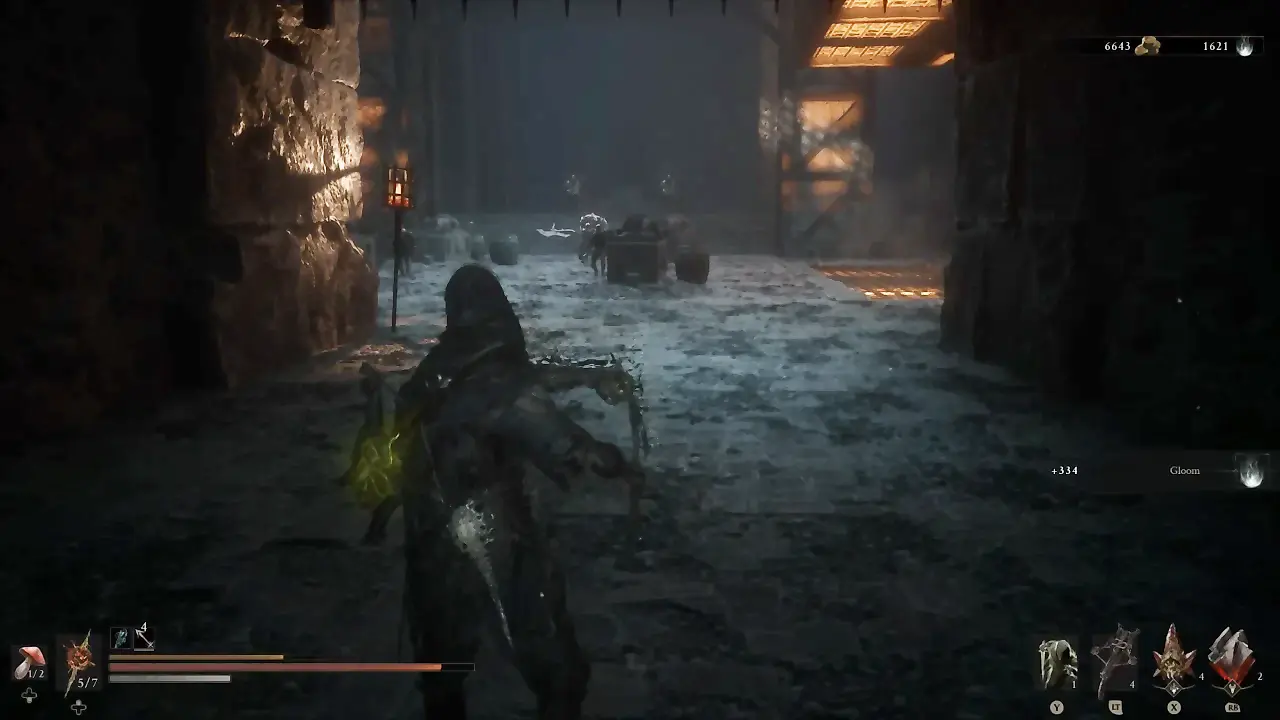
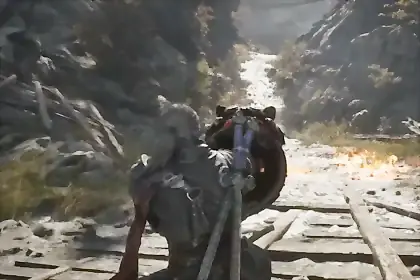
Kill the enemy, walk up to the masonry, and the wall will slide up, revealing a massive trap hall. Do not blindly run inside. Right as you cross the threshold, the gate behind you will drop and trap you inside the chamber with a Headsman, multiple Brigands, and two Subjugated Sentries. Stand in the doorway and bait the melee Brigands and the Headsman out into the hallway to kill them easily.
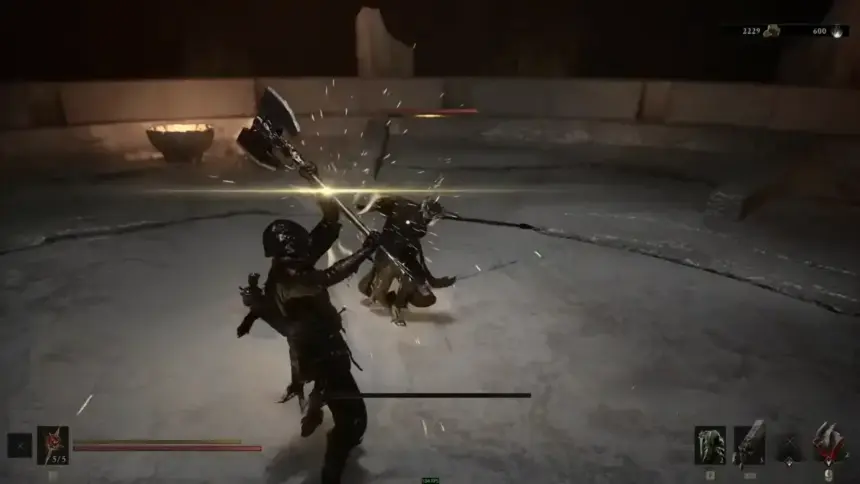
Once the melee foes are cleared, sprint in and close the gap on the Subjugated Sentries at the back. These enemies carry mounted ballista heads that track your movement and launch lethal lightning bolts. Close into point-blank range and burn them down before they can slam their heads into the floor. Slaying both Sentries spawns five more Brigands in the middle, so defeat them as well.
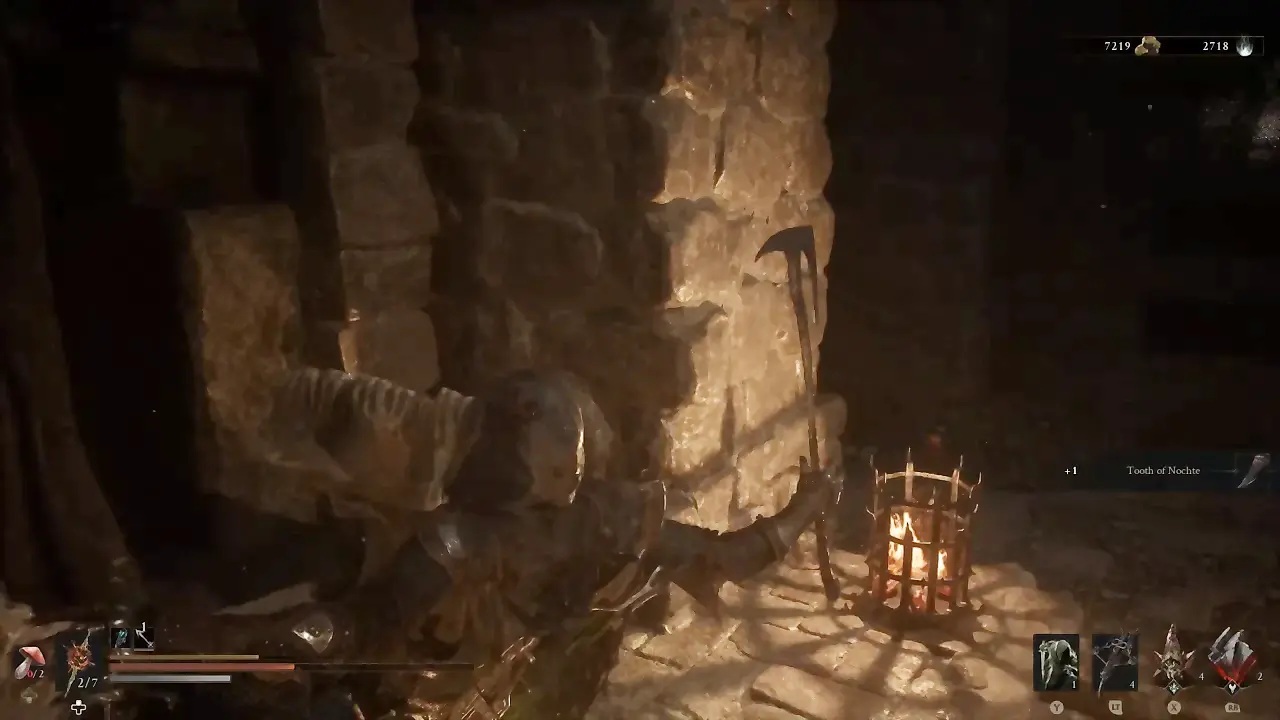
Open the chest on the raised dais to claim a Tooth of Nochte (a valuable trade relic) and grab the 2x Common Moonshine on the side of the stairs.
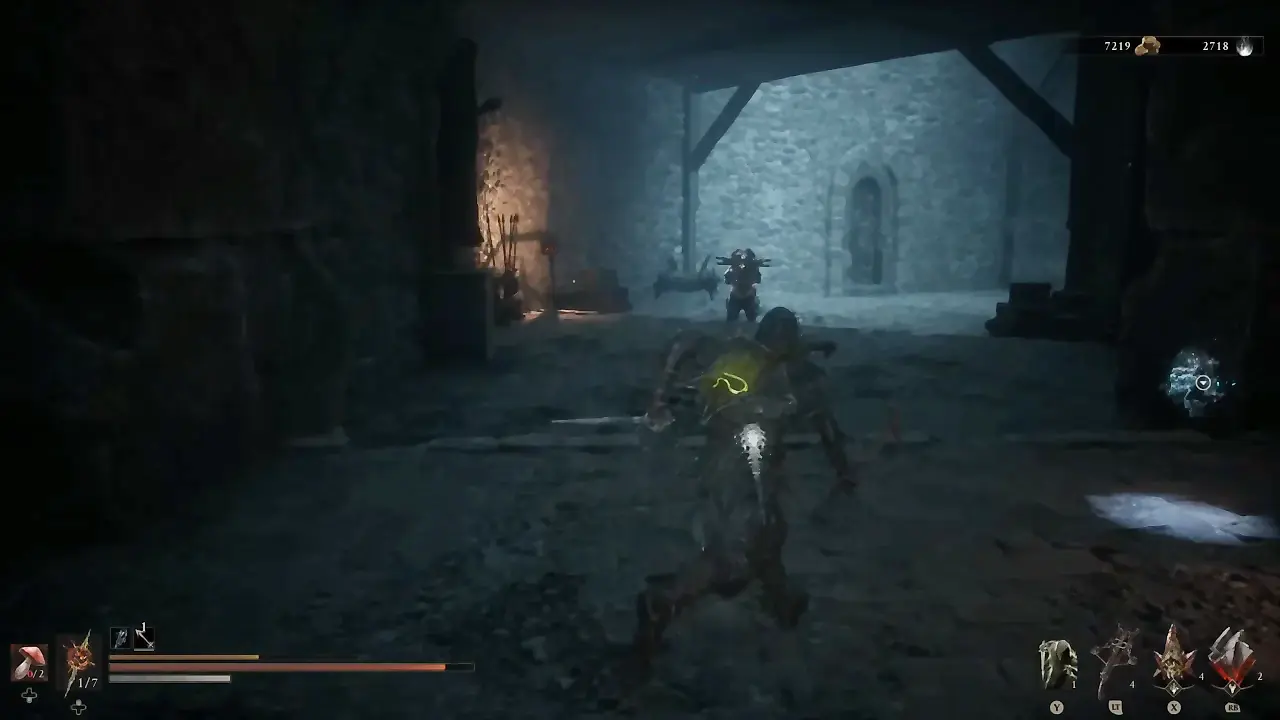
Next, circle behind the altar platform from either left or right to loot a Martyr’s Ash by the back wall. Move into the corridor at the far right corner, kill the third Subjugated Sentry along the way, and proceed onward.
Defeat Necrite and Claim the Blackmarrow Key
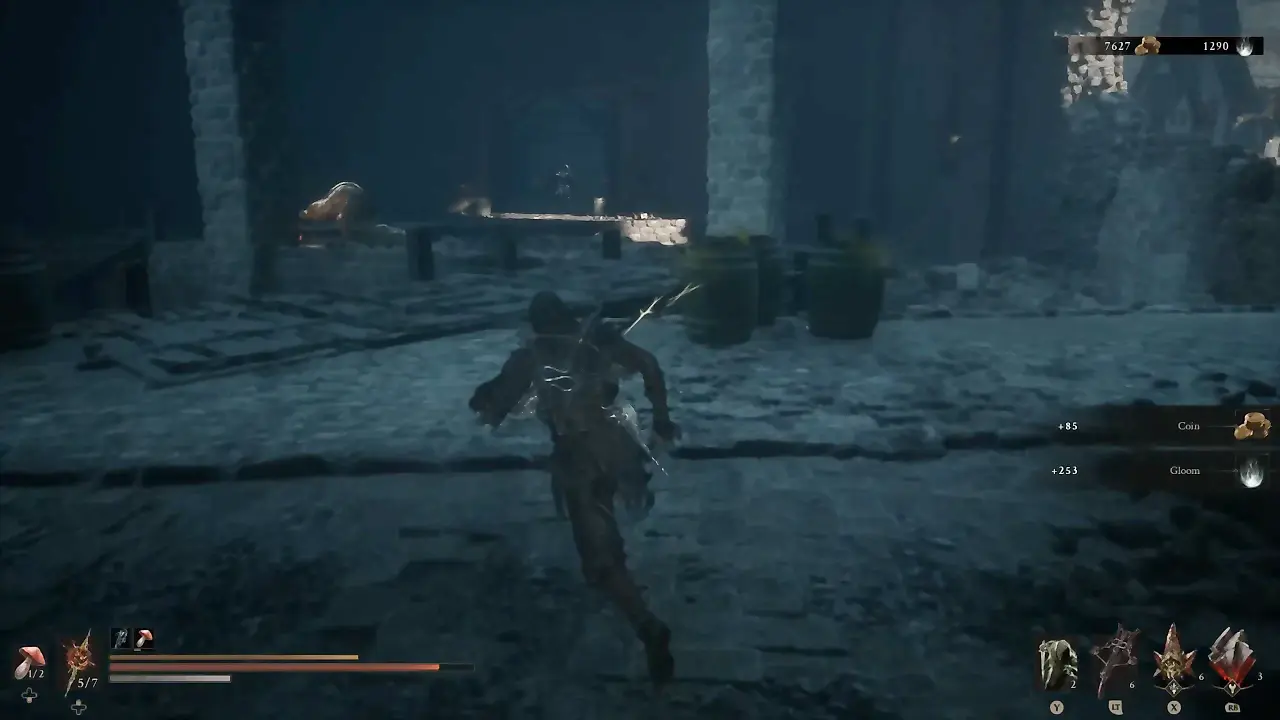
The next area leads you into a flooded room split by an elevated, zigzagging walkway. High up on the balcony (which you can’t reach) to the left, a Brigand Stoner will nonstop throw rocks down.
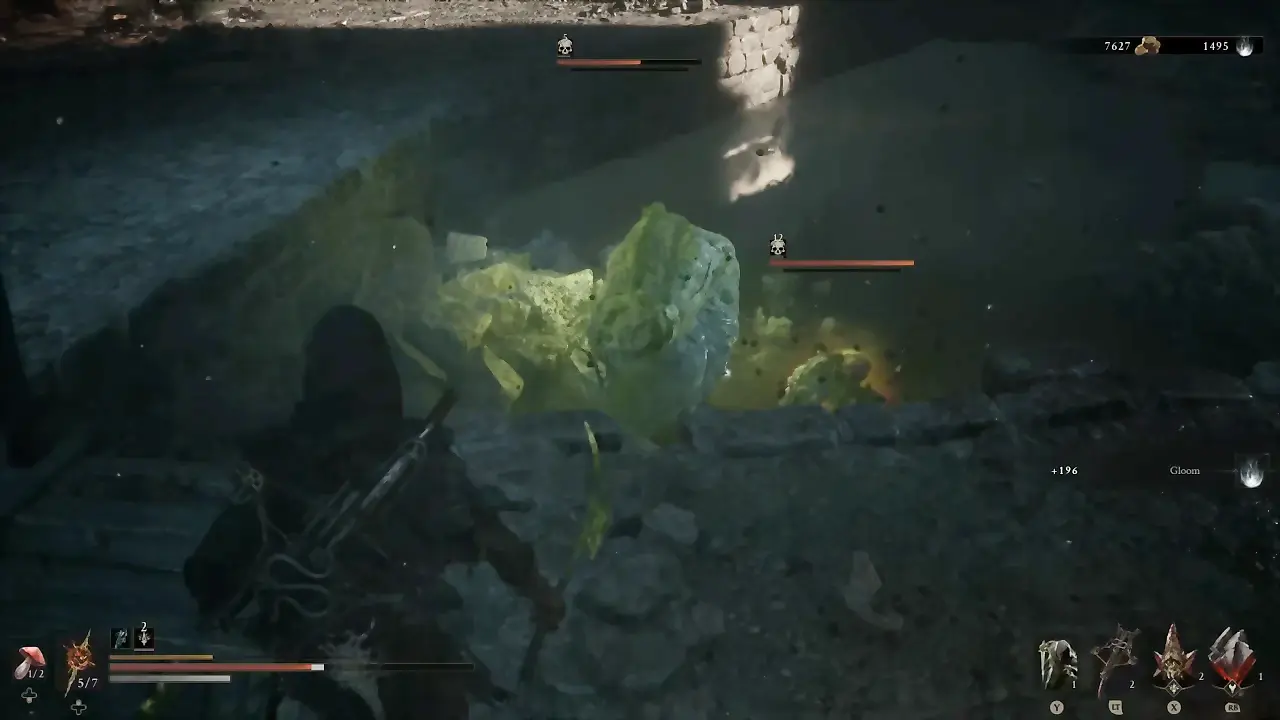
Kill the Leechtongue along the planks, drop into the water to purge the Bloodcursed Skulks (which inflict Bleed rather than Poison), and finish the second Leechtongue. Sweep the water floor to collect 11x Weltcaps.
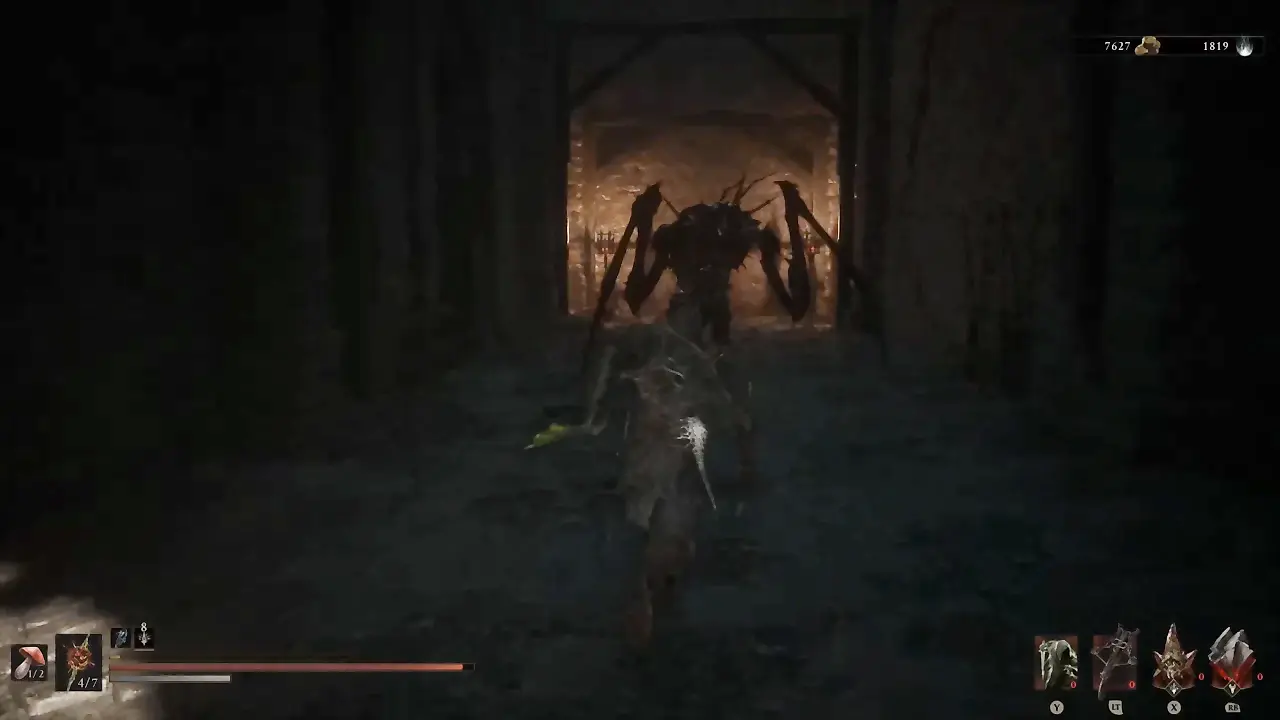
Proceed through the archway at the far end of the room where you will face a Necrite wielding a blade. Perfect parry against its delayed sweeping slash and burst it down in the shortest possible time.
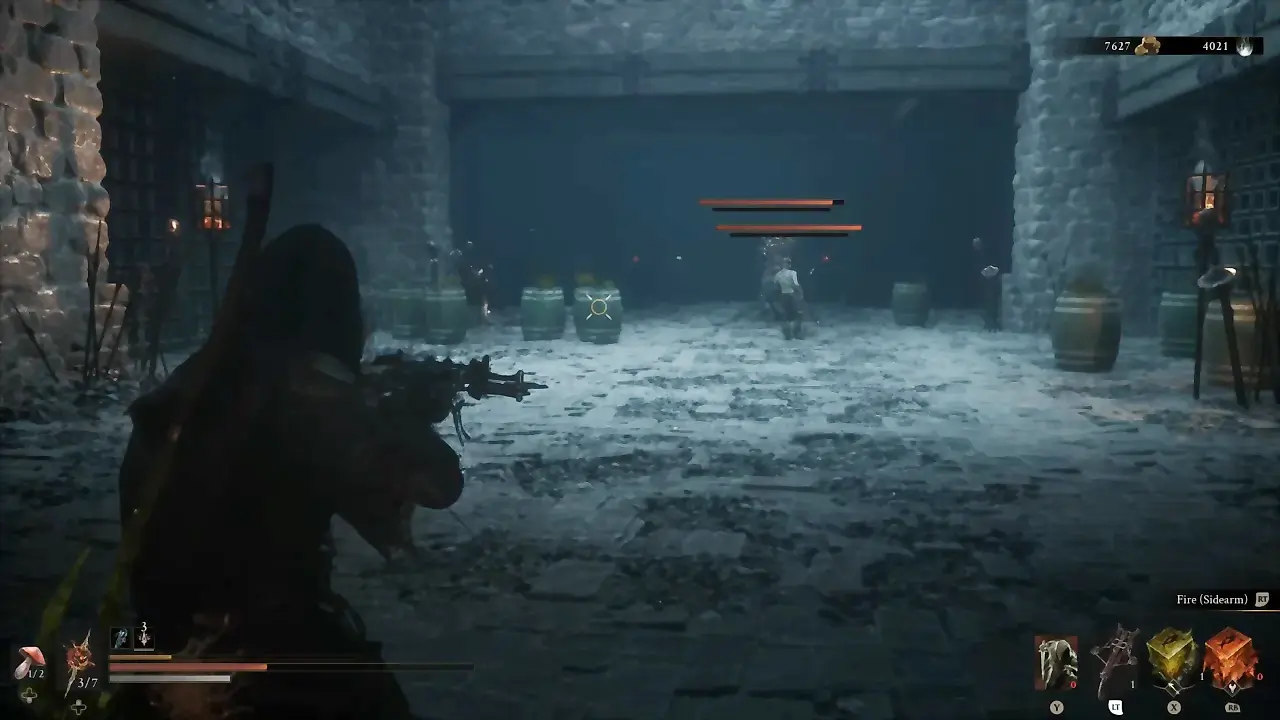
Approach the right wall directly behind where the Necrite stood to make it rise. Inside, use the explosive barrels or melee strikes to take down the Wretches and the Subjugated Sentry. Check both iron-gated side pens. There are Armed Knaves trapped behind the bars; you can safely poke them down from around the corners with long-reach weapons without taking damage.
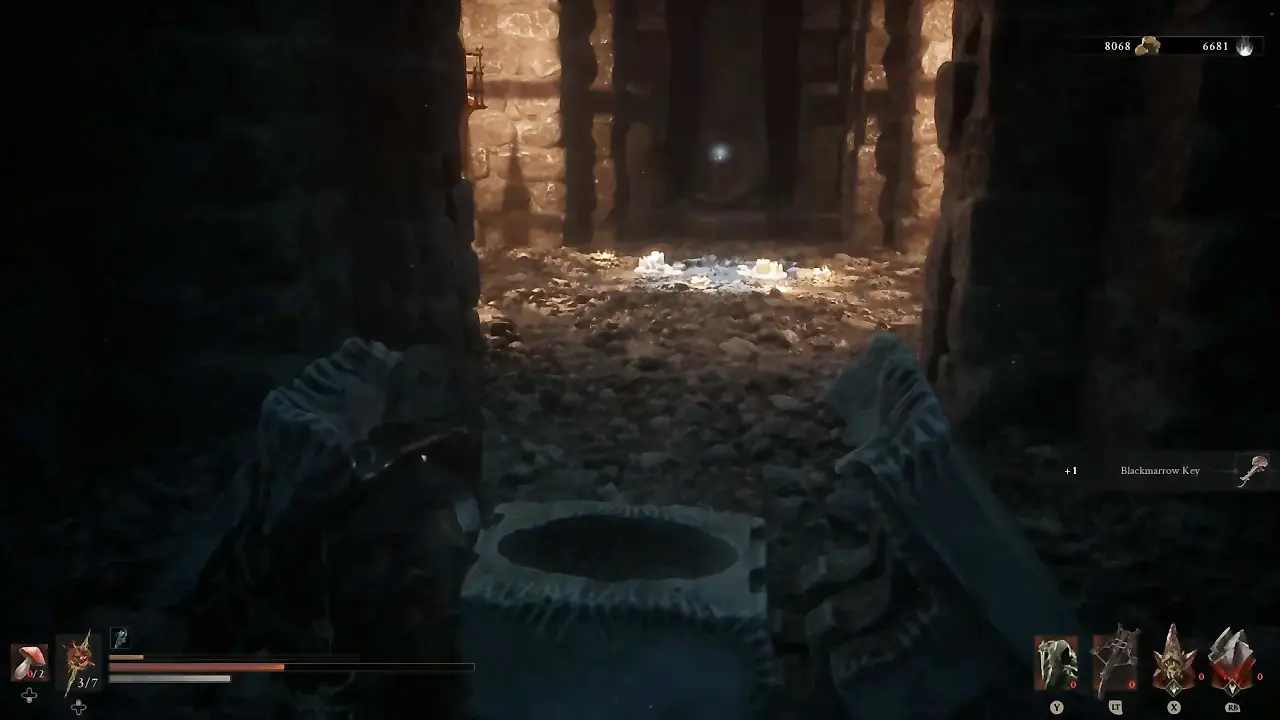
Step up to the back wall to reveal the final treasure room and open the chest inside to collect the Blackmarrow Key. The glowing orb you see behind this chest will send you back to Marrow Keep, but our work isn’t done here. We have yet to explore the two hidden side areas in Desolate Keep.
Get the Dorsalite
Head back to the flooded room with the zigzag walkway and look under the balcony where the Stoner was tossing the rocks; the Blackmarrow Key room revealed a hidden alcove below the ledge. Get inside this small room and pick up 3x Ventrium off the ground.
You will see a wall lever that’s inactive for now. To fix this, head back out into the boardroom, cross the doorway threshold toward the zigzag chamber to refresh the trigger, and return.
An elevator platform will now be found next to the switch. Pull the lever and ride it up to the battlements, then collect the Dorsalite weapon upgrade material from the throne. Drop off the ledge on the left to land back down in the zigzag chamber.
Explore the Courtyard and Defeat the Grisha
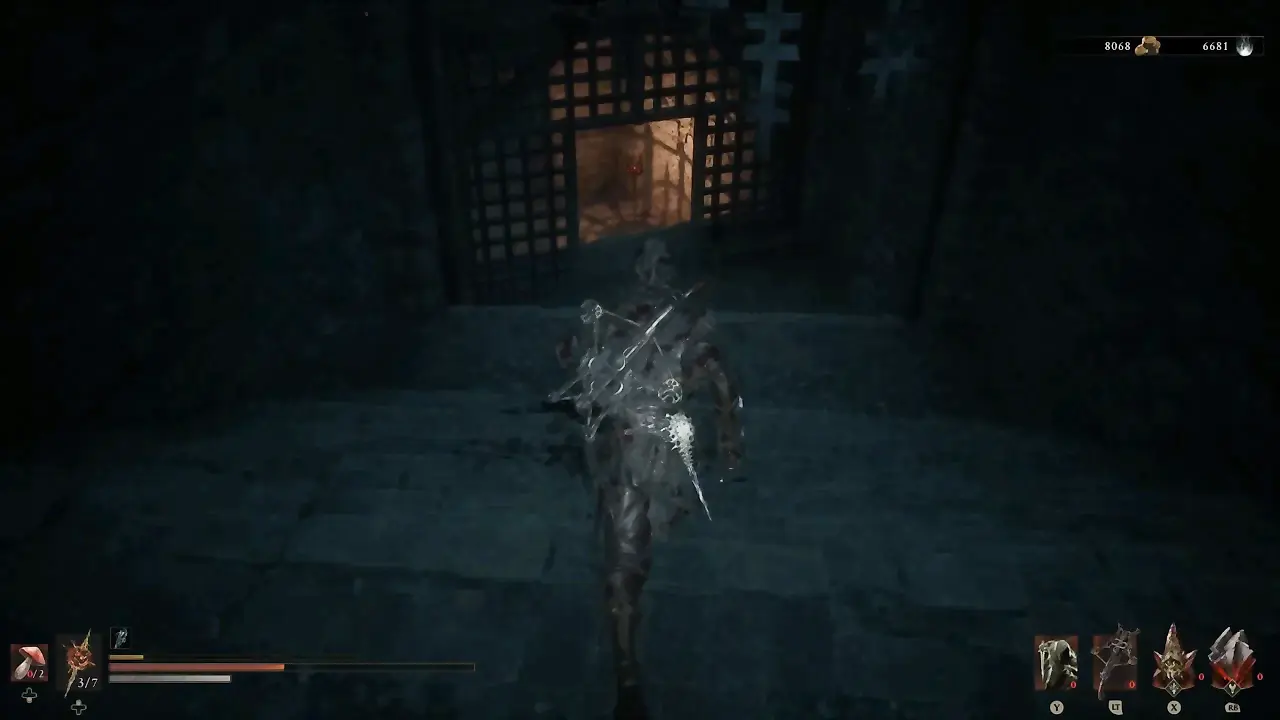
Return to the corridor where you fought the Necrite. Make your way to the right dead-end wall, which is an illusory barrier, and slide open as you approach. Follow down the stairs, and two Foul Knights will appear out of iron maidens on either side; backstep to avoid the ambush and strike them down. Afterward, go upstairs around the next turn to exit into the courtyard.
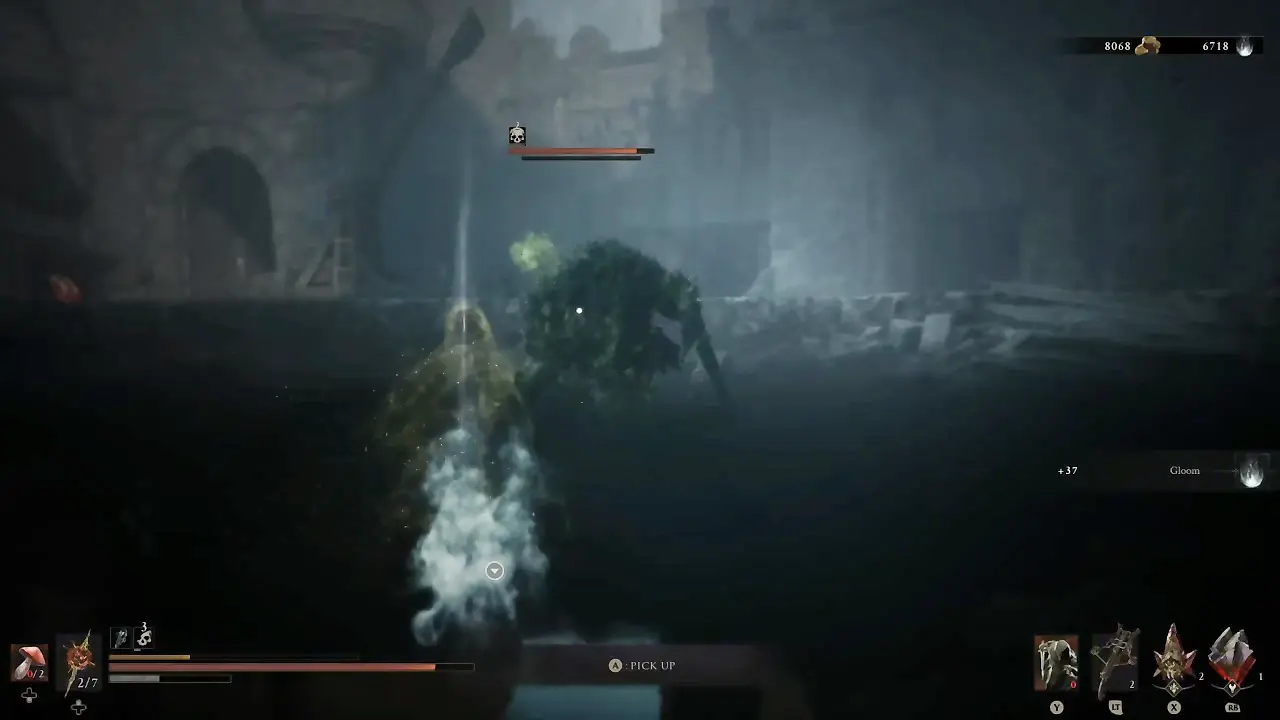
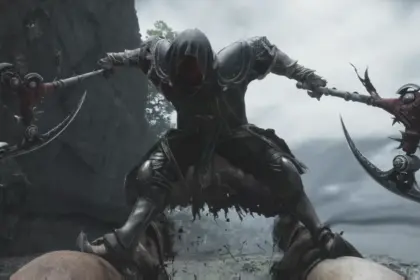
Climb the wooden platform in the left corner of the yard to find 3x Martyr’s Ash. Drop down into the large flooded impact crater to fight a Grisha flanked by a Mycellian Skulk. Use the terrain to keep distance if needed and bait its claw combos, then punish the Grisha to get the job done. Defeating the beast awards a Grisha Remnant, which can be used as an active consumable to call a Grisha into battle, or slotted as a passive for a chance to summon one on hit.
Wade into the crater puddle’s center to collect a Glimpse. With the dungeon cleared, you can either take the ramp back to the main pool or walk back through the Necrite tunnel to the Blackmarrow Key room and interact with the glowing orb to warp back to Marrow Keep.