

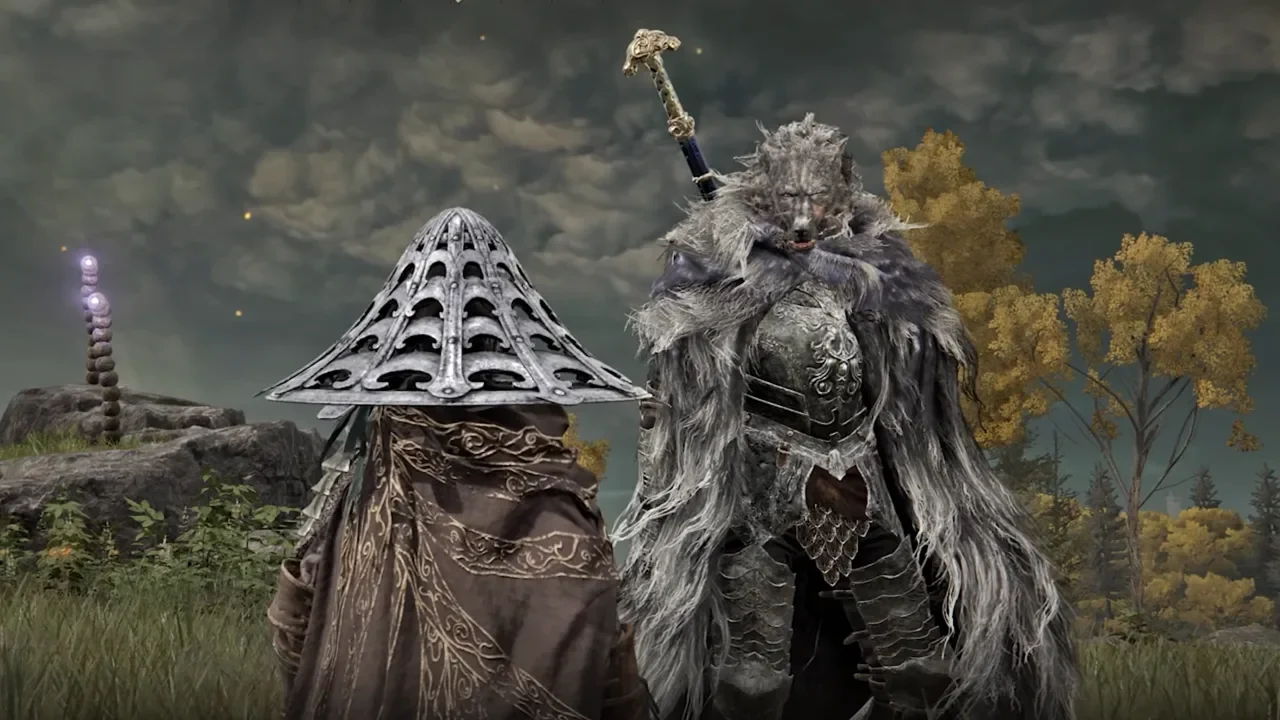
Blaidd the Half-Wolf is one of those NPCs in Elden Ring that instantly leaves a mark. Standing taller than most Tarnished, clad in fur and iron, and speaking with a calm, knightly tone, the story of this side character runs right through some of Elden Ring’s most important events, involving Ranni the Witch and the fates of Nokron, Eternal City, and General Radahn. You have to complete his Blaidd side quest to get his Blaidd armor set and Royal Greatsword. If you want the full Ranni experience, Blaidd’s path is inseparable from it.
This page acts as a complete walkthrough, including where to find Blaidd, how to start his quest, all activities during the quest, Blaidd’s fate in the end, and all rewards you will get by completing the questline.
- Where to Find Blaidd – First Encounter in the Mistwood Ruins
- Second Encounter at Darriwil Location – Blaidd’s Revenge
- Blaidd and the Path to Nokron
- Meet Blaidd in Siofra River – Blaidd’s Involvement in Ranni’s Service
- Meet Blaidd at the Radahn Festival – Fight Starscourge Radahn
- Blaidd’s Imprisonment
- Blaidd’s Final Fate – Outside Ranni’s Rise
Where to Find Blaidd – First Encounter in the Mistwood Ruins
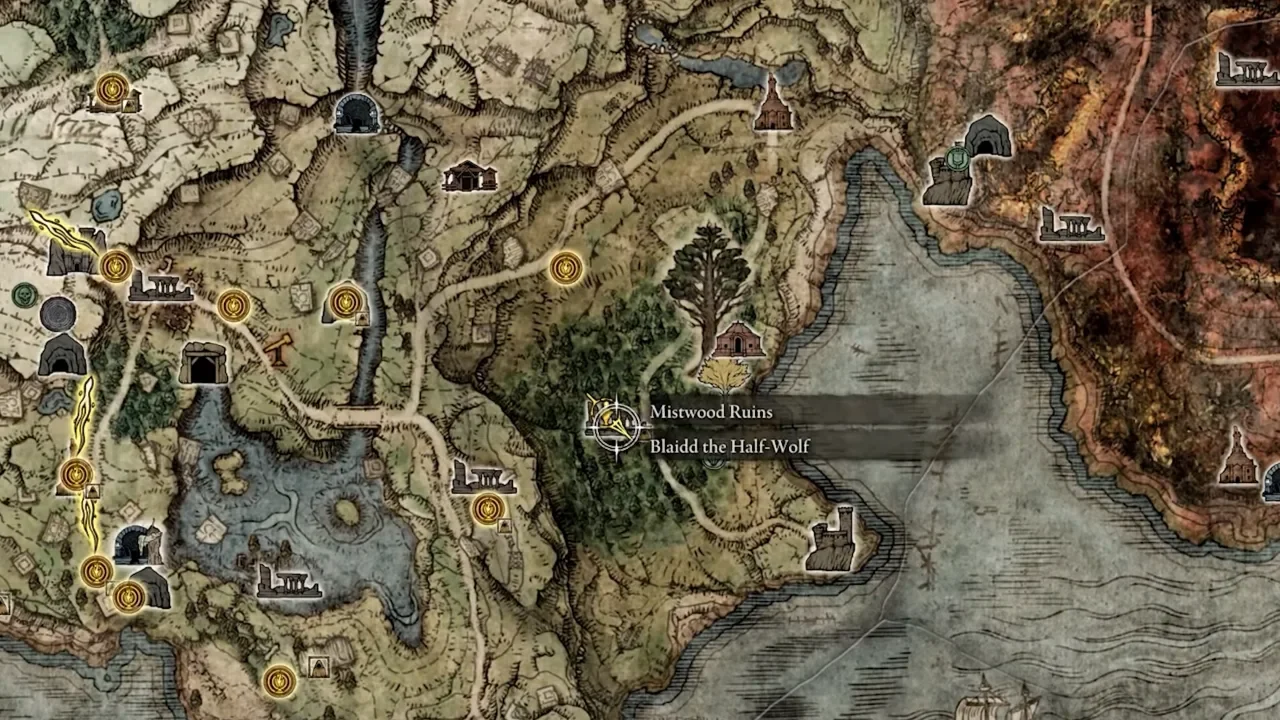
You’ll first cross paths with Blaidd in the Mistwood, the dense forest in Limgrave. If you explore the Mistwood Ruins, you’ll hear a deep, haunting howl echo through the trees. It doesn’t trigger a fight, but it should pique your curiosity; that’s Blaidd making his presence known.
At this point, the game doesn’t tell you what to do. Head back to Merchant Kale at the Church of Elleh. When you mention the howling, Kale spills the beans on some info about Blaidd and teaches you the Finger Snap gesture, the only way to draw out “the howling half-wolf.”
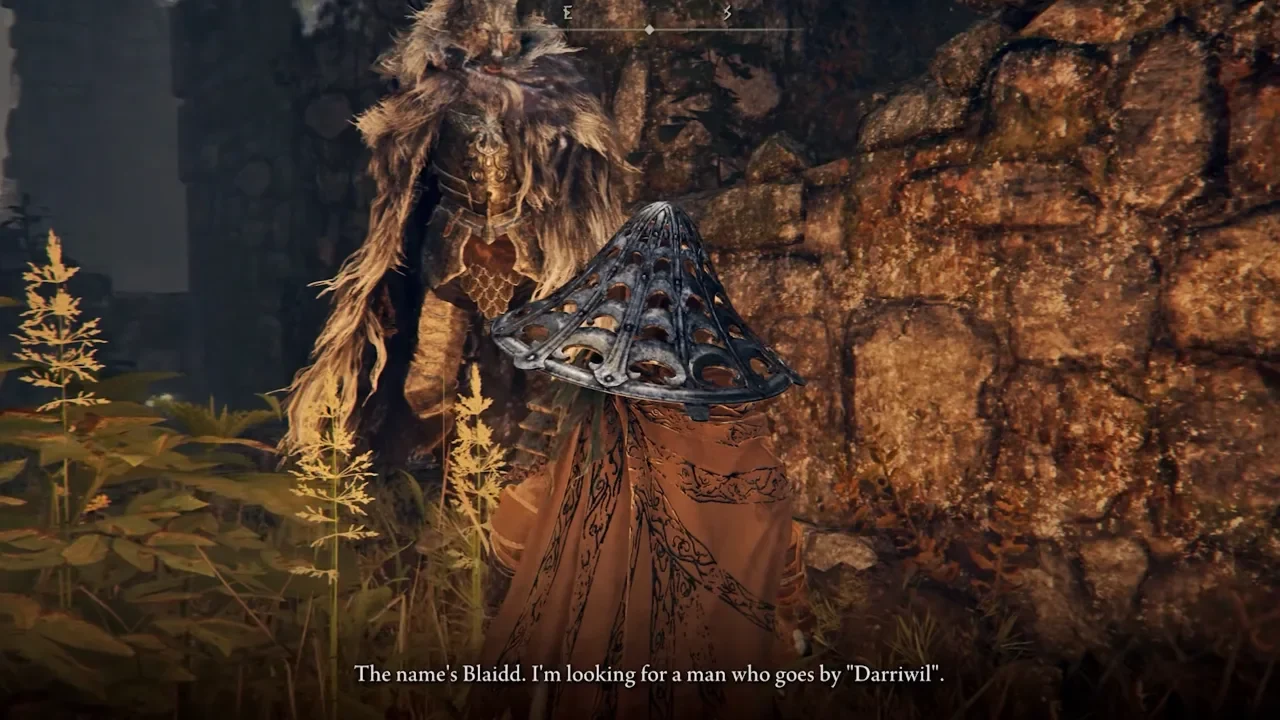
With that, return to Mistwood Ruins and use the gesture when the howling starts again. Blaidd will come down to you from the highest tower point. Here he introduces himself, explaining he’s on the hunt for a traitor named Darriwil, one of the Evergoal bosses. He’s polite but clearly burning for vengeance, and he’ll ask for your help to defeat Darriwil. That sets the stage for your first adventure together with Blaidd during his quest.
Second Encounter at Darriwil Location – Blaidd’s Revenge
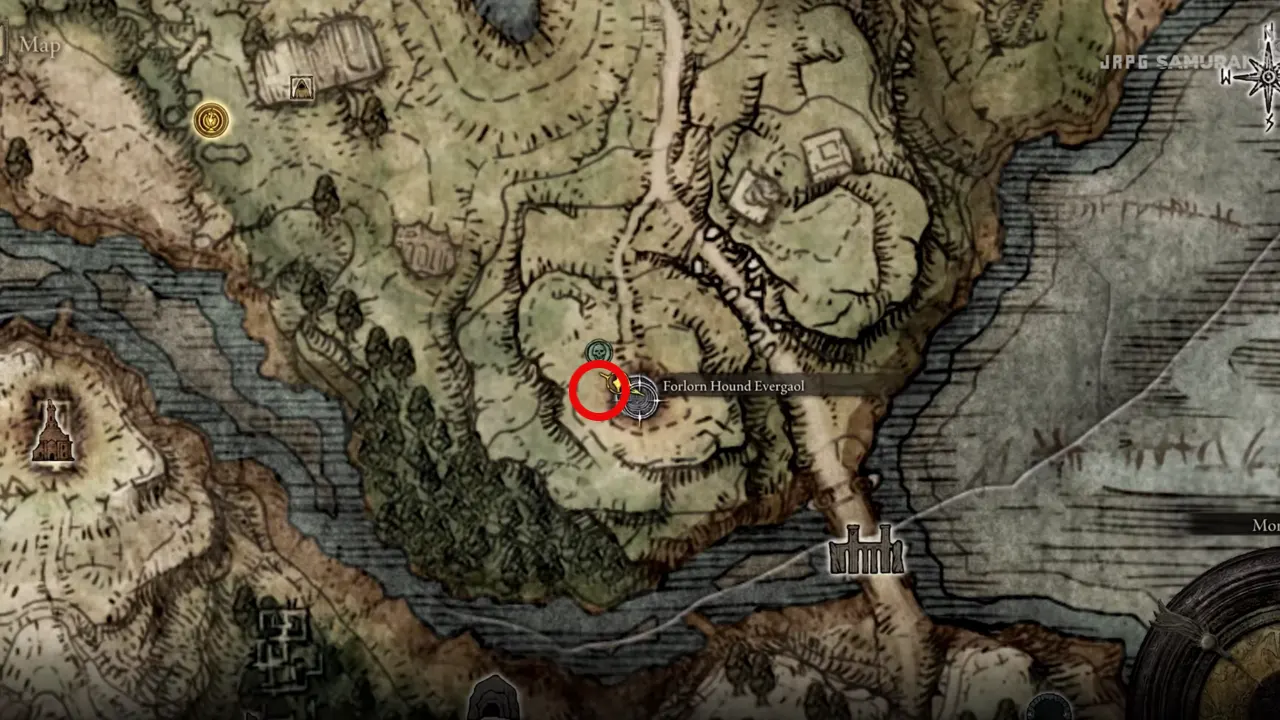
Darriwil Bloodhound Knight is inside the Forlorn Hound Evergaol, on the southern edge of Limgrave near the Agheel Lake South grace. When you approach the Evergaol, Blaidd mentions he’ll be there to fight alongside you. True to his word, once you step inside the arena, you’ll see his summon sign, so call him for assistance, and the two of you can take down Darriwil.
This fight can be brutal early in the game, since Darriwil is fast and hits hard, but Blaidd makes a big difference. His tankiness and heavy swings give you plenty of breathing room to punish Darriwil’s recovery windows. As you’ll be underleveled due to the early game stage with not much power in your Elden Ring build, Blaidd can carry much of the battle for you.
When the Evergoal boss falls, Blaidd thanks you warmly when you talk to him and rewards you with Somber Smithing Stone [2]. His personal grudge is settled, but he hints at big battles ahead. If you follow up by speaking with War Counselor Iji, the blacksmith near Caria Manor in Liurnia, he’ll mention Blaidd as a trusted ally and even offer you the Carian Filigreed Crest talisman (reduces the weapon skills FP cost by 25%) if you bring up Blaidd’s name.
At this stage, Blaidd’s revenge is complete, but his focus shifts toward revealing the mysteries of Nokron, Eternal City, and that’s where his questline starts to branch into the main Elden Ring storyline.
Blaidd and the Path to Nokron
Once Darriwil is out of the picture, Blaidd’s focus shifts toward Nokron, the Eternal City, and that’s the thread that pulls his side quest into the Elden Ring main story, and his fate becomes connected to Ranni’s.
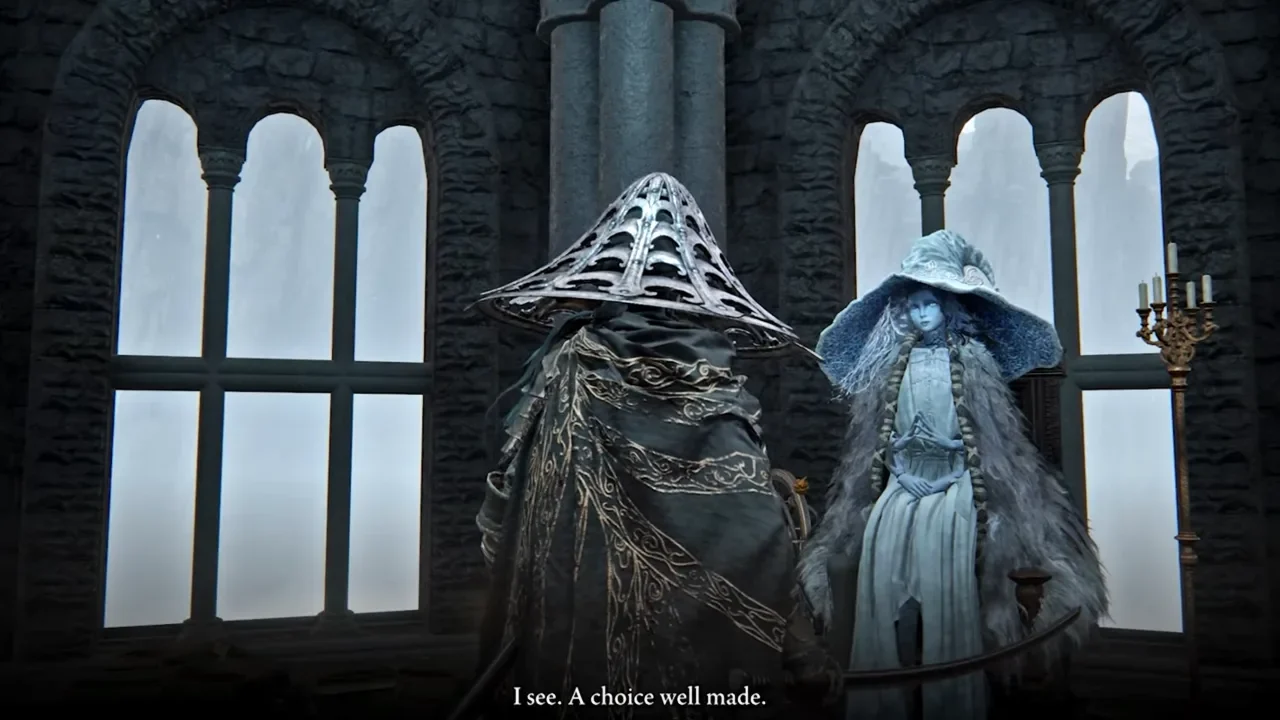
If you’ve already progressed to the point where you meet Ranni the Witch at Caria Manor, you’ll notice Blaidd standing among her sworn followers. Alongside War Counselor Iji and the ever-shady Seluvis, he becomes one of her trusted lieutenants. Ranni’s mission revolves around freeing Nokron from its stasis, and Blaidd takes it upon himself to help you carve the path there.
Blaidd explains that the key to Nokron lies with the fallen stars and that the only way to set them moving again is by confronting General Radahn. It’s a gradual journey, and Blaidd leads you step by step toward the truth. His first suggestion is simple: investigate the Siofra River, where Nokron signs can be found beneath the Lands Between. This is where you’ll next cross paths with him in person.
Meet Blaidd in Siofra River – Blaidd’s Involvement in Ranni’s Service
To get there, head through the Siofra River Well in Mistwood, take the lift down, and push through until you reach the Siofra River Bank Site of Grace. Just to the north of this grace, you can find Blaidd standing near the edge of the ruins.
Exhaust the dialogues with him, Blaidd admits that the mystery of Nokron is beyond him. He is convinced there’s a big puzzle at work and decides to bring more people into the search, and now he sends you to Seluvis, the arrogant sorcerer who also serves Ranni. Blaidd explains that Seluvis might have the insight needed to figure out how to reach Nokron.
If you follow his suggestion and track down Seluvis at his rise in Liurnia, Seluvis brushes you off but points you toward someone else — Sellen, the sorceress in the Waypoint Ruins Cellar in Limgrave. Blaidd acknowledges this passing of responsibility and encourages you to chase the lead.
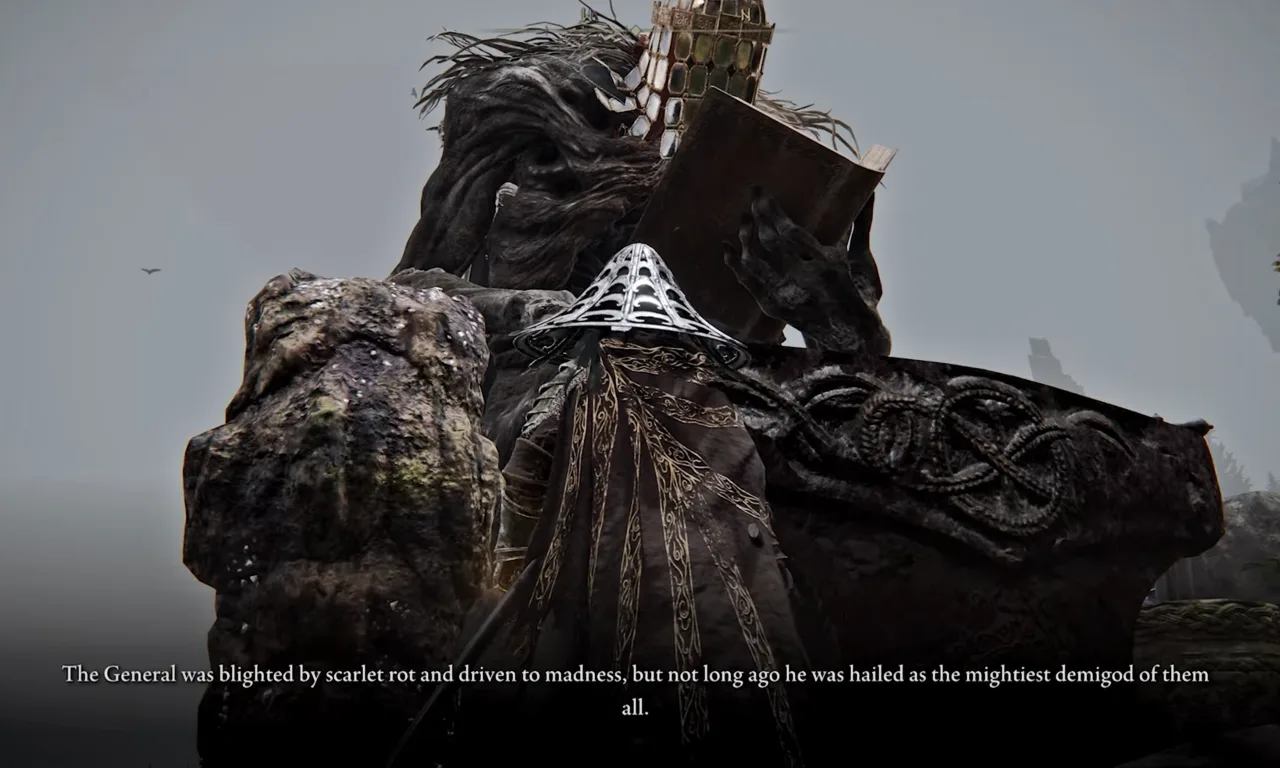
When you go to Sellen and ask about Nokron, she mentions that Nokron can be unlocked with Starscourge Radahn and further that the stars are locked in stasis by the might of General Radahn and that no one can enter Nokron until Radahn is defeated. Blaidd’s reaction to this news is immediate; he decides the only way forward is to take part in the grand festival of combat at Redmane Castle in Caelid, where warriors from across the Lands Between get together to challenge Radahn. After relaying this message to you, Blaidd promises he’ll meet you there.
Meet Blaidd at the Radahn Festival – Fight Starscourge Radahn

When you arrive at Redmane Castle in Caelid, you’ll see the castle has been changed into a massive arena, the Festival of Combat. This is one of Elden Ring’s most cinematic moments: Blaidd, Iron Fist Alexander, Great Horned Tragoth, and other warriors gather here for a one-time-only alliance to defeat the demigod Radahn.
In the courtyard you can talk to Blaidd, who reassures you he’ll be right there with you when it’s time to face Radahn. Alexander and other warriors are also milling around, waiting for the signal. But to begin the battle, you must speak to Castellan Jerren, the festival’s overseer. He gives a short speech about the gravity of the battle and then opens the doors to the arena.
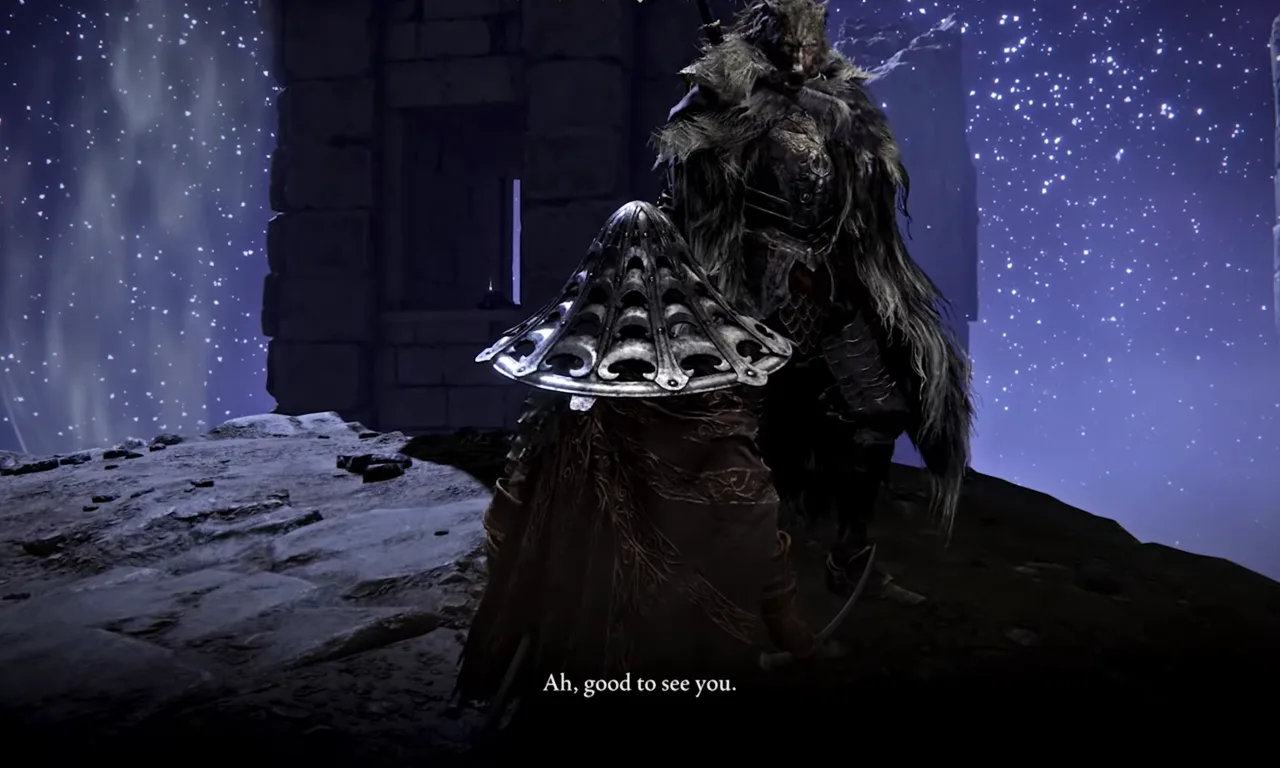
Once you confirm with Jerren, you’ll be transported to the Wailing Dunes, Radahn’s battlefield. From here, you can summon Blaidd’s sign along with the other NPC warriors to help in the fight. The battle itself is chaos, but Blaidd will fight side by side with you as promised. After Radahn is killed, a cutscene of the stars falling triggers, and Blaidd can be found in the dunes celebrating. Speak with him again, and he’ll acknowledge that Nokron has finally been freed, and say to meet you afterward to continue the part into the Eternal City.
Blaidd’s Imprisonment
Once the battle against General Radahn is over, Blaidd says he will investigate the crater left by the falling star. His in-game dialogue for you is to meet “where the falling star bit the earth”. If you follow Ranni’s storyline and head underground toward Nokron, you won’t find him there. Instead, Blaidd is discovered back in Limgrave, locked away in the Forlorn Hound Evergaol, the same place where you earlier fought Bloodhound Knight Darriwil.
Travel to the Evergaol and step into the center. Blaidd’s howling voice will call out to you from within the prison. Interacting here opens dialogue and gives you the option to release him. Blaidd insists he was confined by War Counselor Iji but doesn’t understand why his supposed ally would betray him. Though grateful for his freedom, he seems unsettled and determined to continue his service to Ranni.
If you talk to Iji after freeing Blaidd, the reason becomes clear. Iji explains that Blaidd was not actually a loyal companion but a shadowbound servant, created to follow Ranni without question. Because Ranni rejected the path of the Greater Will, Blaidd’s fate is to lose his mind, a destiny he can’t escape. Imprisoning him in the Evergaol was Iji’s attempt to prevent Blaidd’s inevitable madness, which endangers others.
Blaidd’s Final Fate – Outside Ranni’s Rise
Blaidd doesn’t appear again until the very end of Ranni’s quest. After you’ve helped Ranni through the Ainsel River and Lake of Rot, confront Astel, and reach her conclusion in the Cathedral of Manus Celes, you will receive the Dark Moon Greatsword. At this point, her questline is complete.

Return to the Three Sisters area in northwest Liurnia and go to Ranni’s Rise once more. Blaidd is standing at the base of the tower; he has finally succumbed to the madness Iji predicted. Without any dialogue, Blaidd becomes hostile the moment you approach, and you are forced into combat.
Defeating Blaidd ends his quest. His body yields the Royal Greatsword, a colossal weapon that scales with Strength, Intelligence, and Dexterity, along with most of his armor set (chest, gauntlets, and greaves). The helm is not included, and to complete the Blaidd set, travel to Seluvis’s Rise, just south of Ranni’s tower. By climbing onto the outer walls and circling around the back of the structure, you can loot the Black Wolf Mask from a corpse.
This confrontation completes Blaidd’s storyline in Elden Ring; the poor, loyal half-wolf knight unable to resist the fate bound to him, must be put down outside the home of the mistress he swore to serve.


