The Church part of The Sinking City 2 starts after you leave the Library Annex and sail to the dock beside the floodgate. You’ll need to find the Church Key, collect the clues needed for the locked mechanisms, charge the Trident at the pillar, and progress through the altar before you can open the floodgate. Take the time to grab the documents and ERC rewards along the way, as most of them are what you need for investigations and upgrades at some point.
Reach the Church
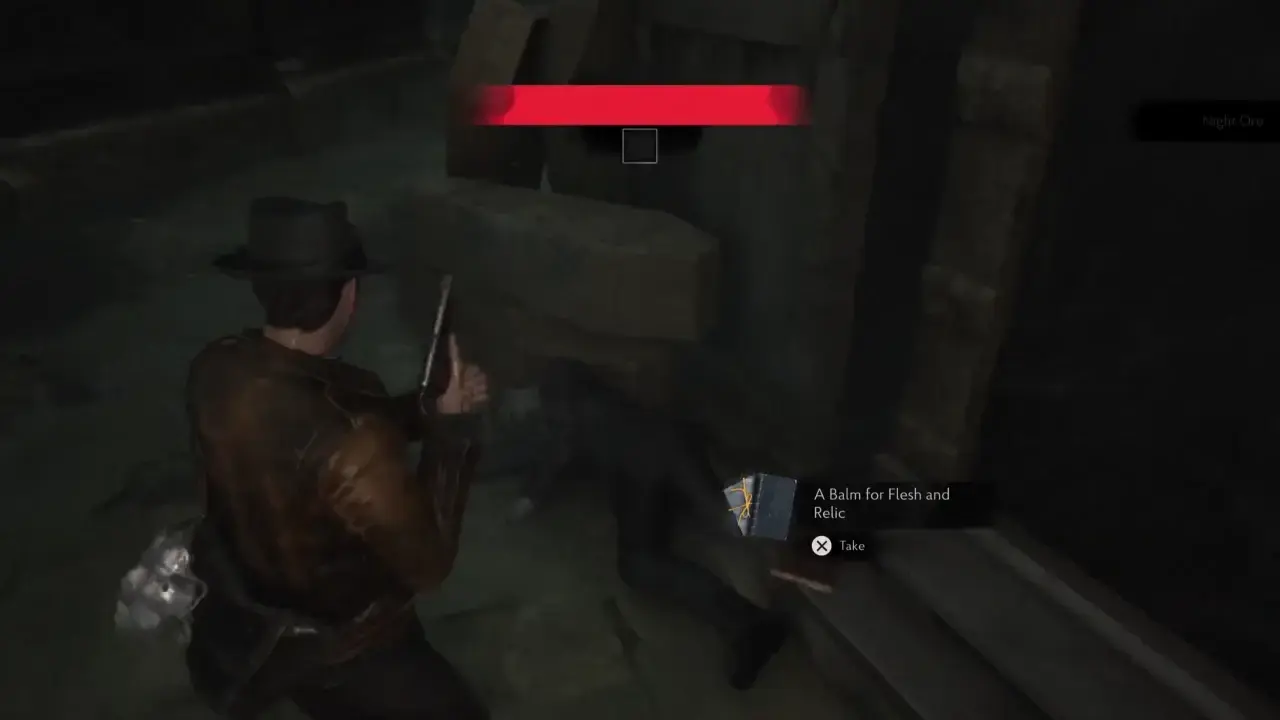
Sail right from the floodgate, dock to the left side, and check the yellow box there for ammunition. Walk through the broken brick fence and look beside the body towards the right to collect Night Ore and A Balm for Flesh and Relic note.
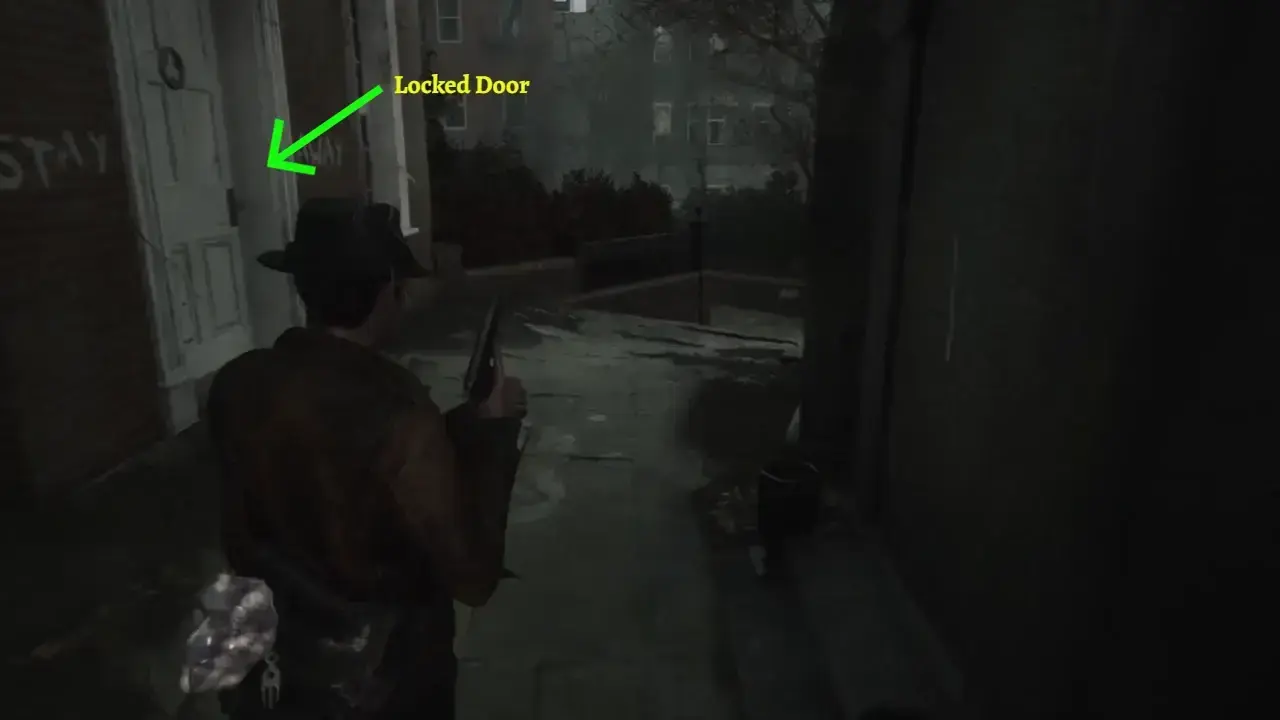
Continue around the crypts and watch the ground for bear traps. You can avoid setting them off and let enemies trigger them to save ammunition and get rid of the mobs. Take a left turn, and you’ll pass by a locked white door on the left. Remember its position because you’ll return after you find the Church Key.
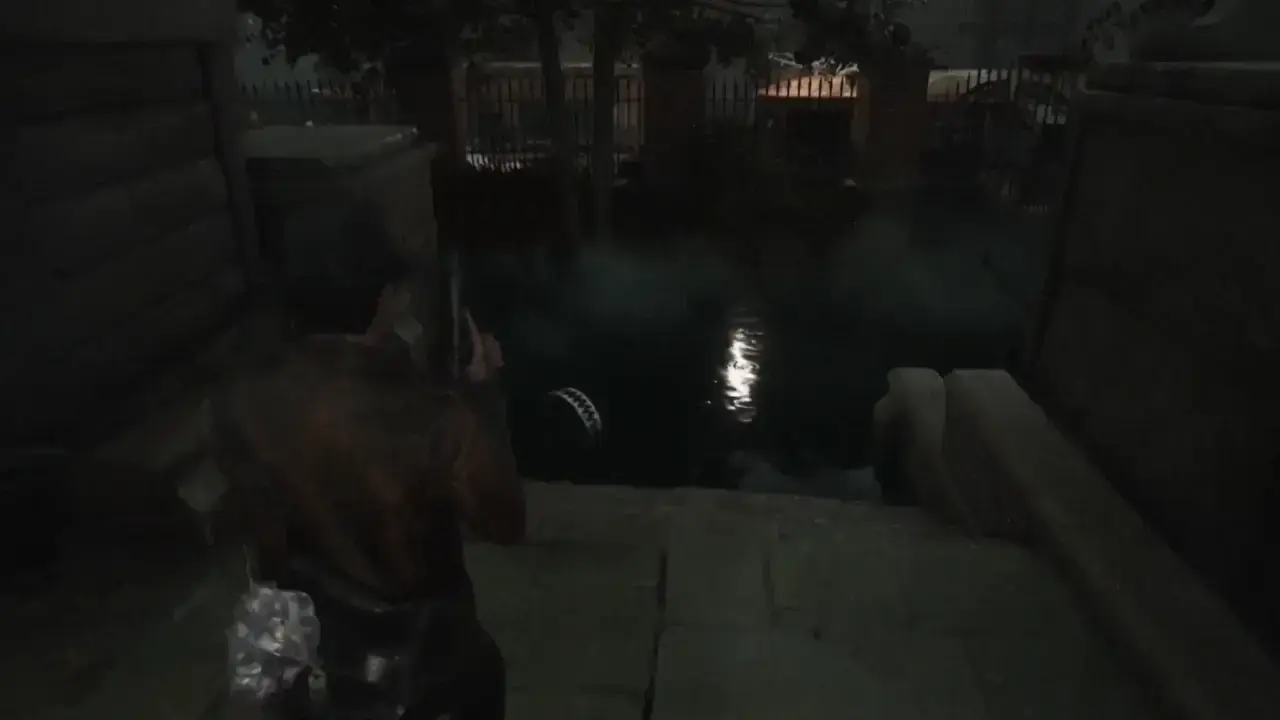
Keep moving beyond the door, then turn right after the stairs and take the next left down the steps into the flooded path. At the locked gate, turn left around the corner. Search the area for supplies and collect the Stained Note left of the locked Graveyard Gate.
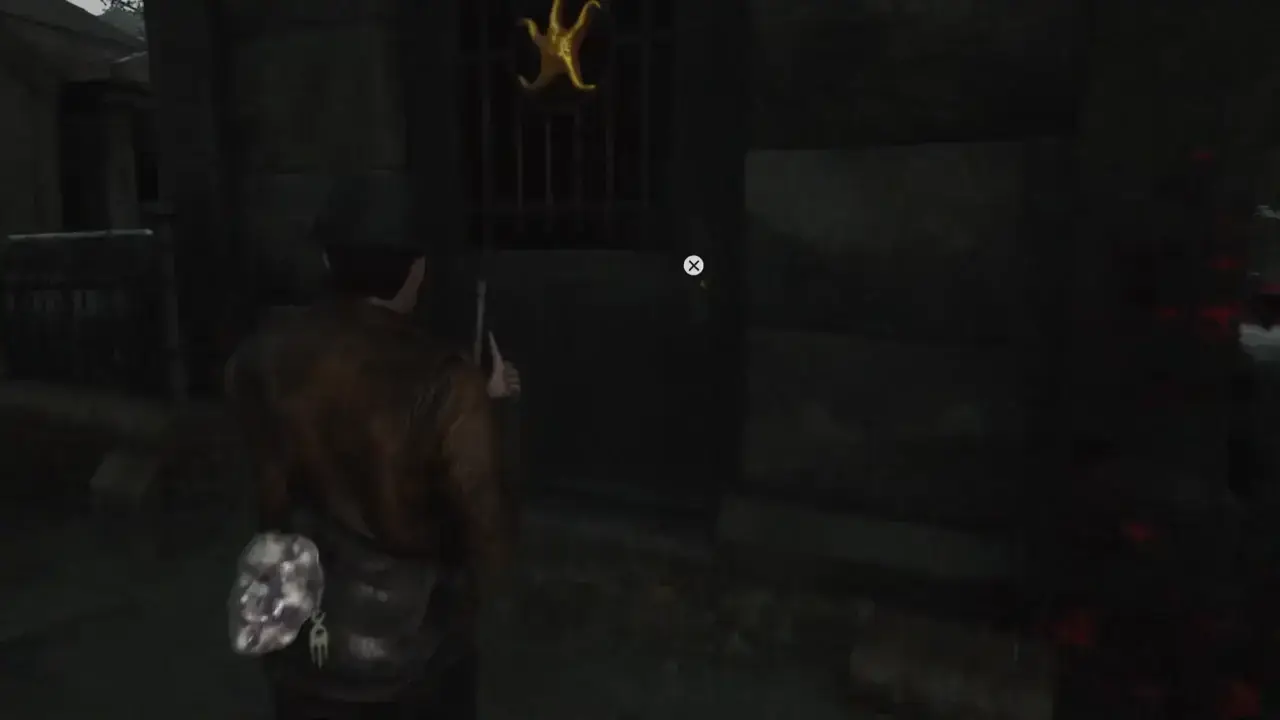
Go back up the stairs and continue left. You’ll pass a crypt marked with a large star symbol, though the door is locked for now.
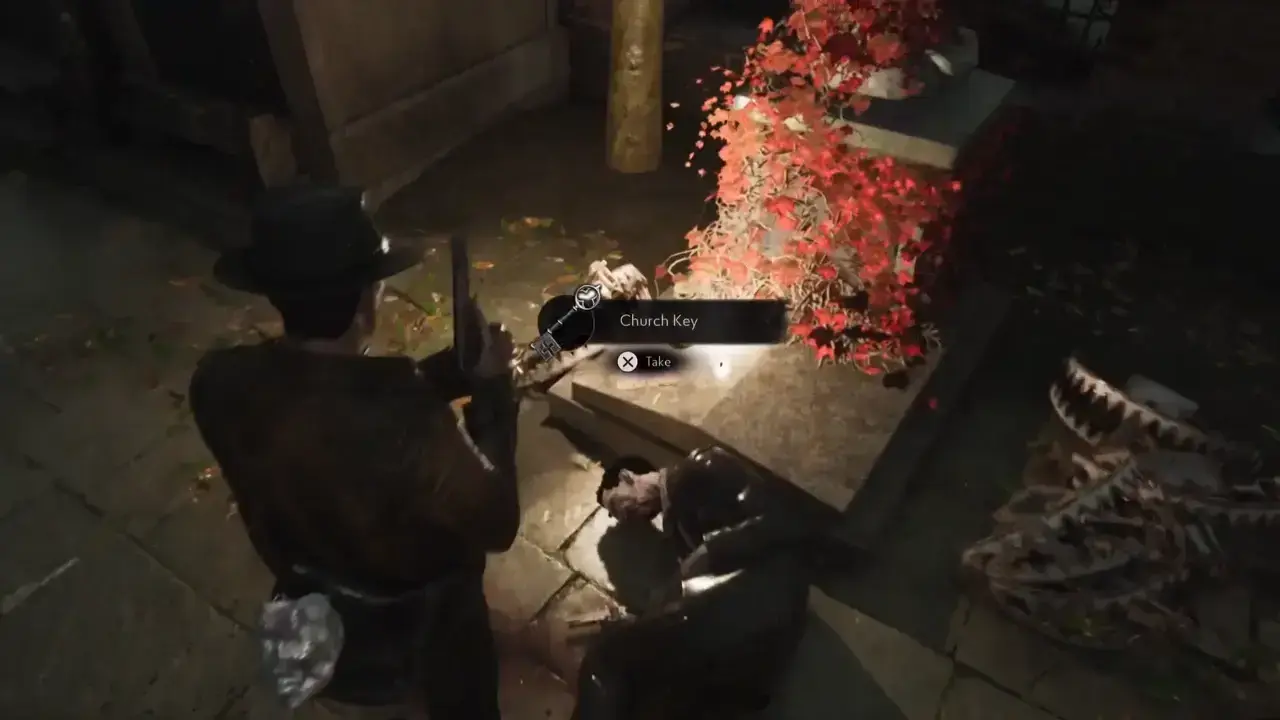
Move past this door and turn right beside the truck. You will spot the red vines in front, though enemies will spawn there, so kill them first. After the fight, look beside the grave covered in red vines to collect the Church Key. Two yellow supply boxes can also be found around the area for Gunpowder.
Unlock the Church
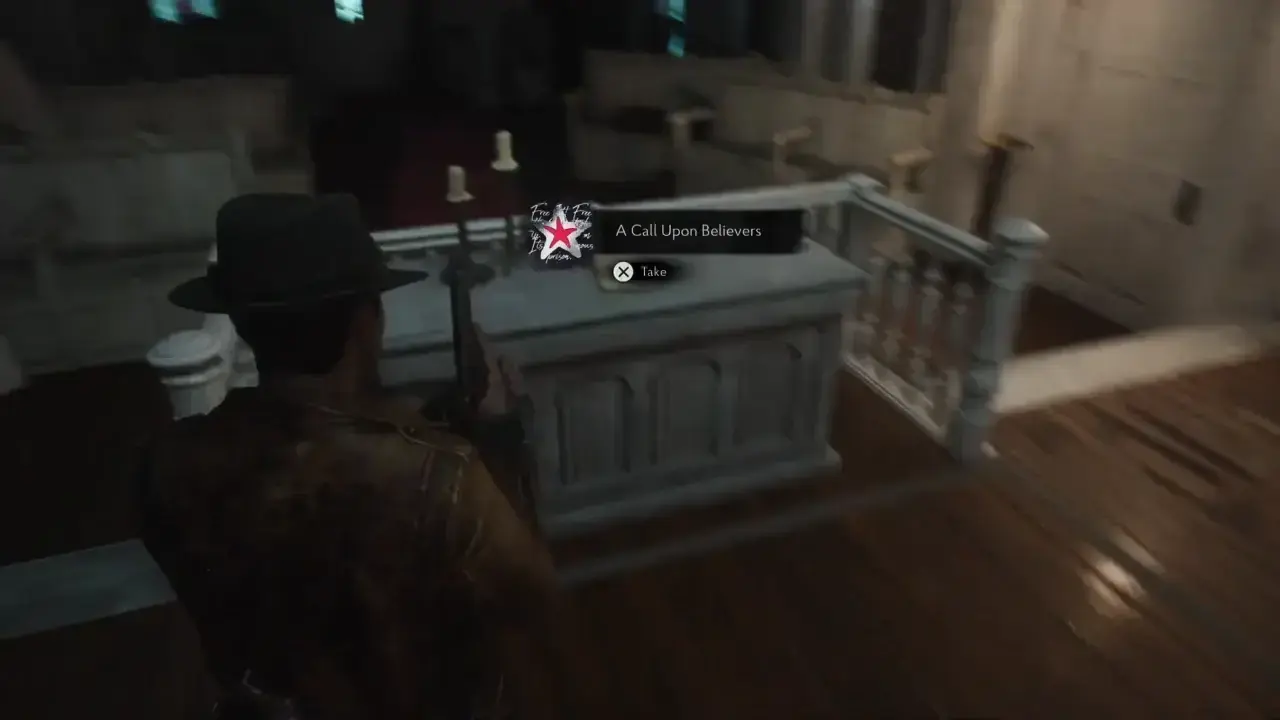
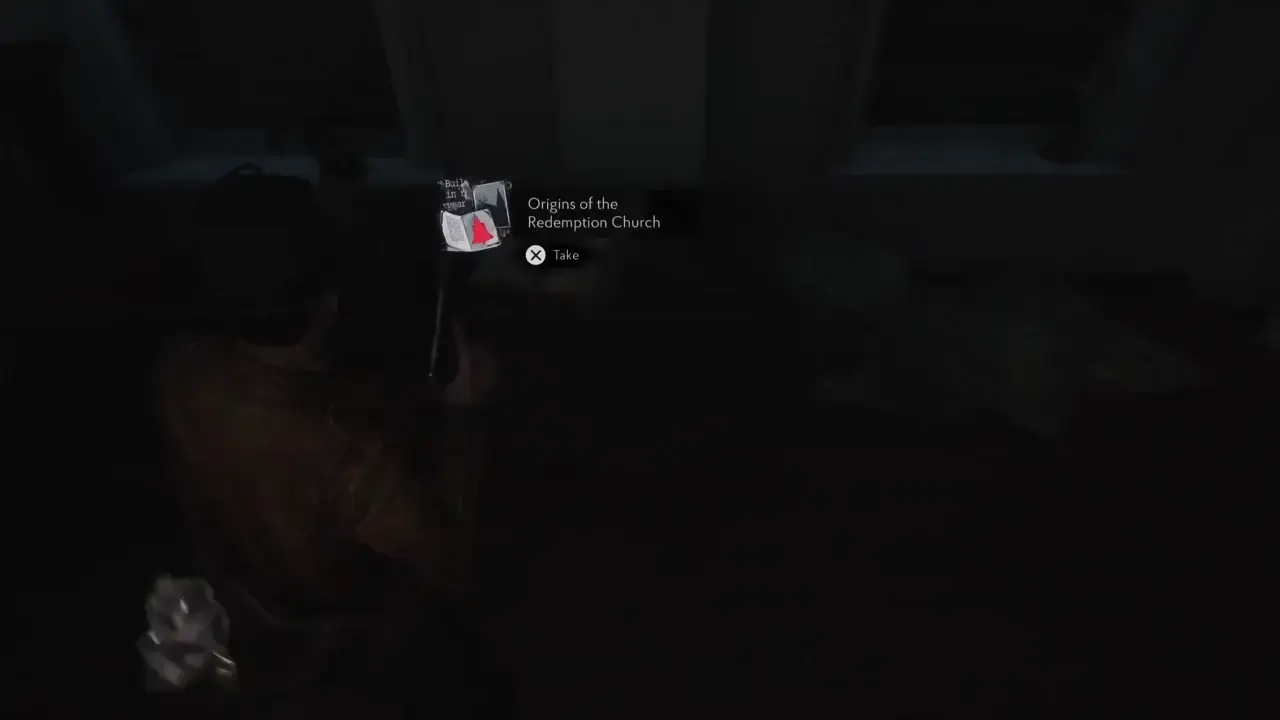
Return to the white locked door you passed earlier and open it with the Church Key to enter the Nave. Search the church for the first clues. On the altar to the right, pick up A Call Upon Believers, then move to the back left of the Nave, just before the ladder leading to the loft, and collect the Origins of the Redemption Church note. These clues provide the crucial info for the church puzzle later.
Climb the ladder at the back to reach the upper balcony. Up there, the Star Door will be locked because you need a Star Key for it. You can also listen to The Perfect Day — Mushroom Jack broadcast.
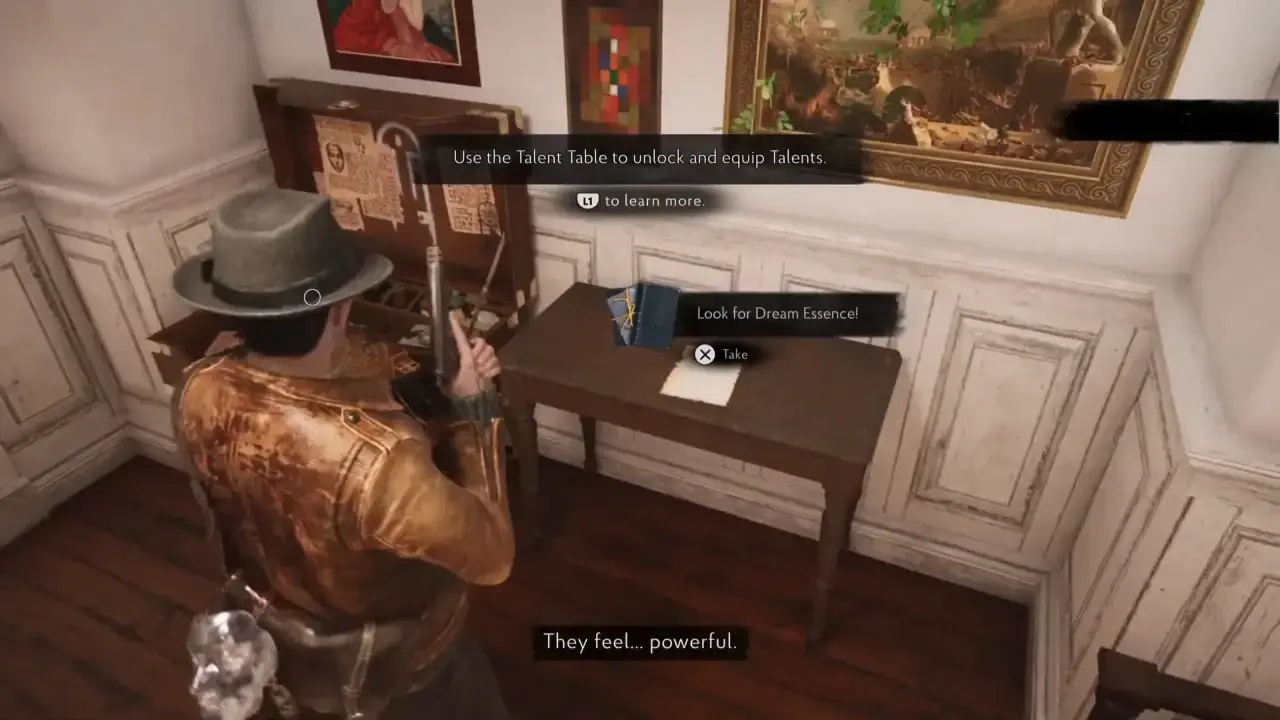
Go back downstairs and enter the Safe Room underneath the loft, where you will find Look for Dream Essence!. You can now use the Talent Table with the Dream Essence you’ve collected. Spend your available upgrade point before moving forward.
Find the Floodgate Lock
Leave the Safe Room through the other slightly opened door to return outside. A shortcut gate is directly ahead. Open it now so you have a fast route between the church and the second dock. From the shortcut, turn right and continue toward the dock with the floodgate controls.
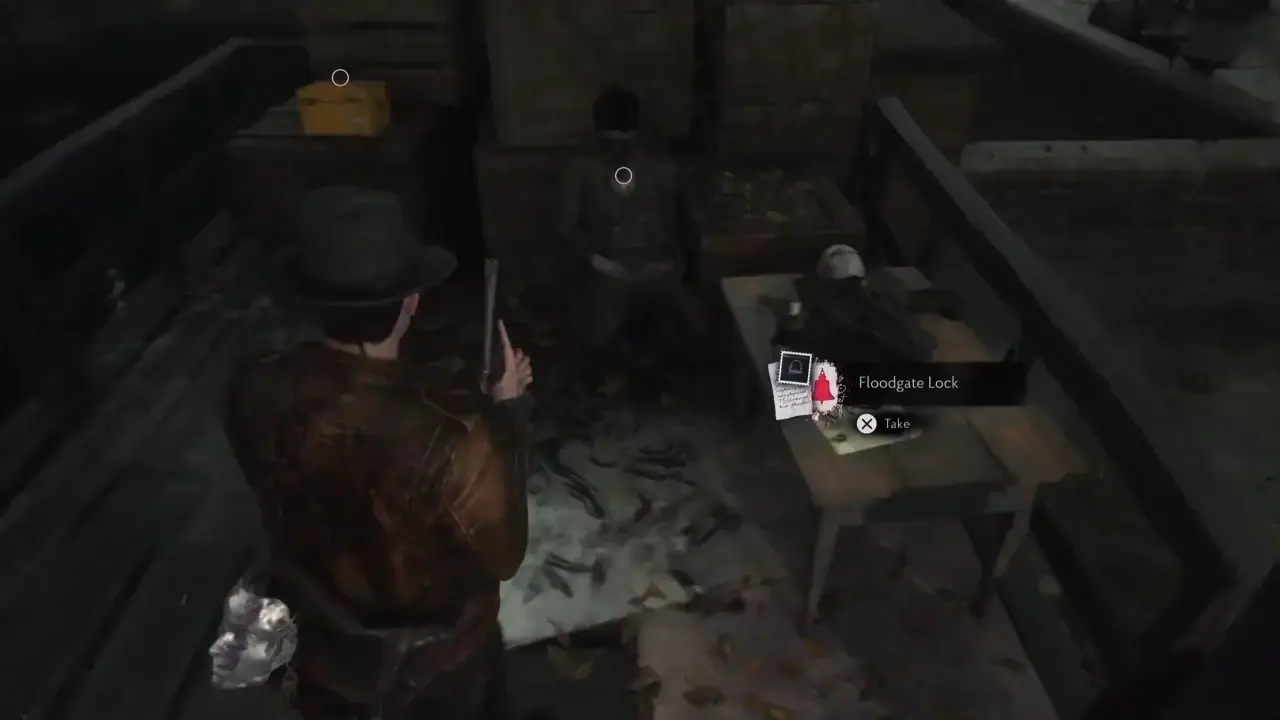
Search the dock for supplies and, from the table next to a body, collect the Floodgate Lock note, which explains that the lock combination is connected to the church bell. You can already connect Floodgate Lock with Origins of the Redemption Church in the Investigations tab, but the group cannot be completed yet because one clue is still missing.
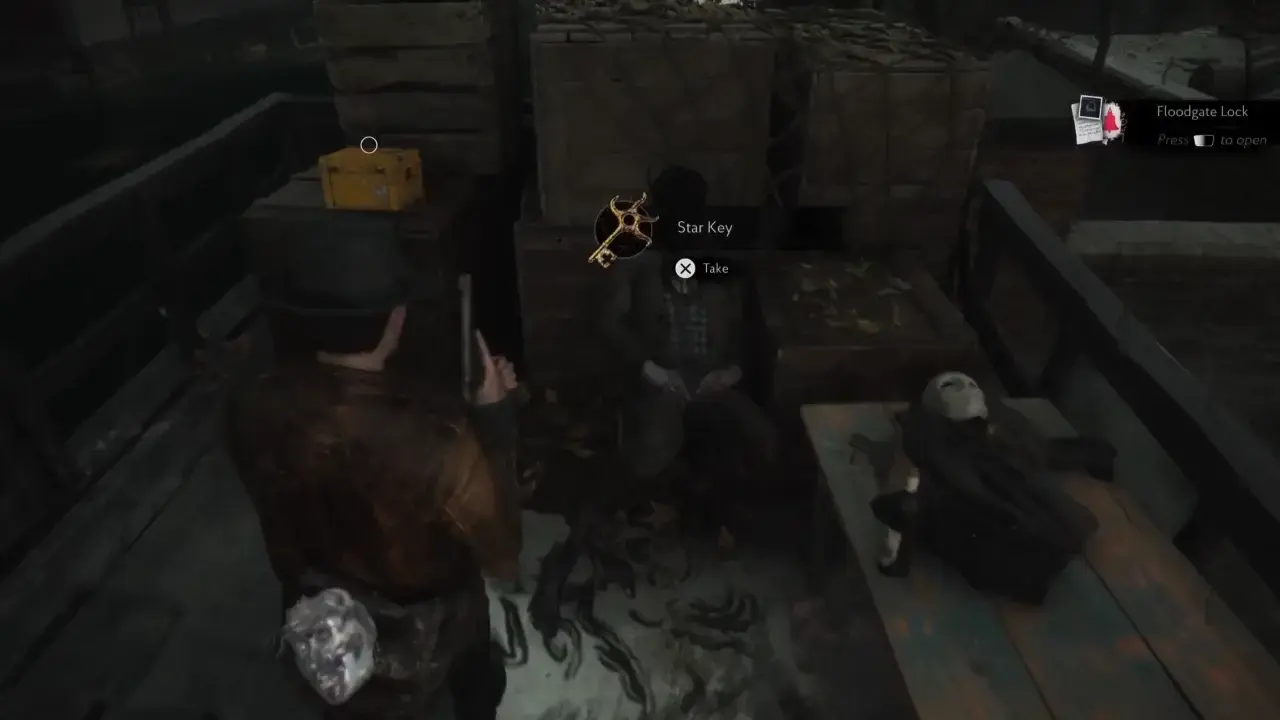
Before leaving the dock, search the corpse to get the Star Key. You will also find a yellow box left of the body that contains Healing Herbs.
Find the ERC Key
Head left from the floodgate controls dock and go up the stairs. Follow the wall with the red growth until you spot a pedestal. That is where you can find Lost Letters: The Conduit. Walk around the building to find an open window.
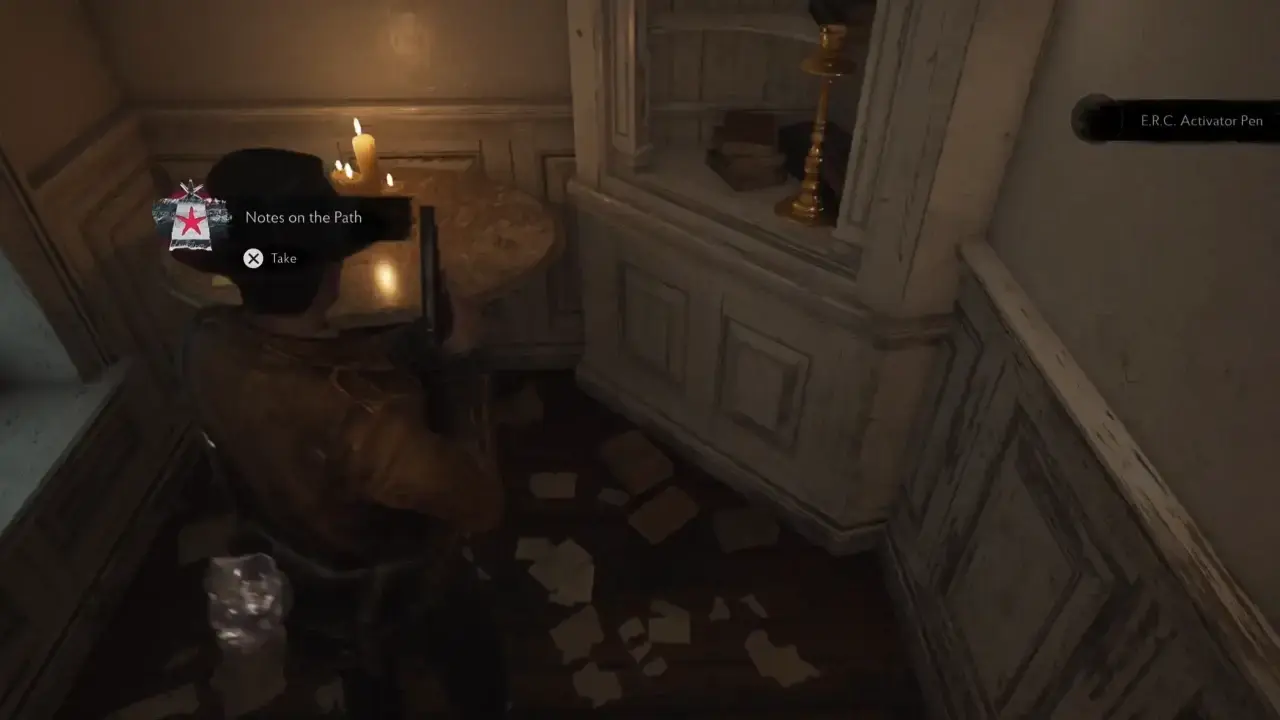
Once you crawl inside, grab the Notes on the Path and the ERC Activator Pen from the table on your left.
Open the door from the inside to create another shortcut back into the church. Climb back out through the window and head right. An enemy will burst through a shortcut nearby. Take it out, then keep moving toward the crypts.
Unlock the Star Crypt
Return to that locked crypt marked with a star near the truck and use the Star Key to unlock it. Inside, pick the Printing Plate C, the Letter to Boss, and The First Vision. Open the ERC with the Activator Pen to receive an Inventory Expansion.
You need the two notes from this crypt to complete the investigation. Open the Investigations menu and connect Notes on the Path, The First Vision, and A Call Upon Believers, and you’ll earn an upgrade point.
Note: The Printing Plate is part of the optional printing press quest. More plates can be found in later areas and used together for a reward.
Get the Trident
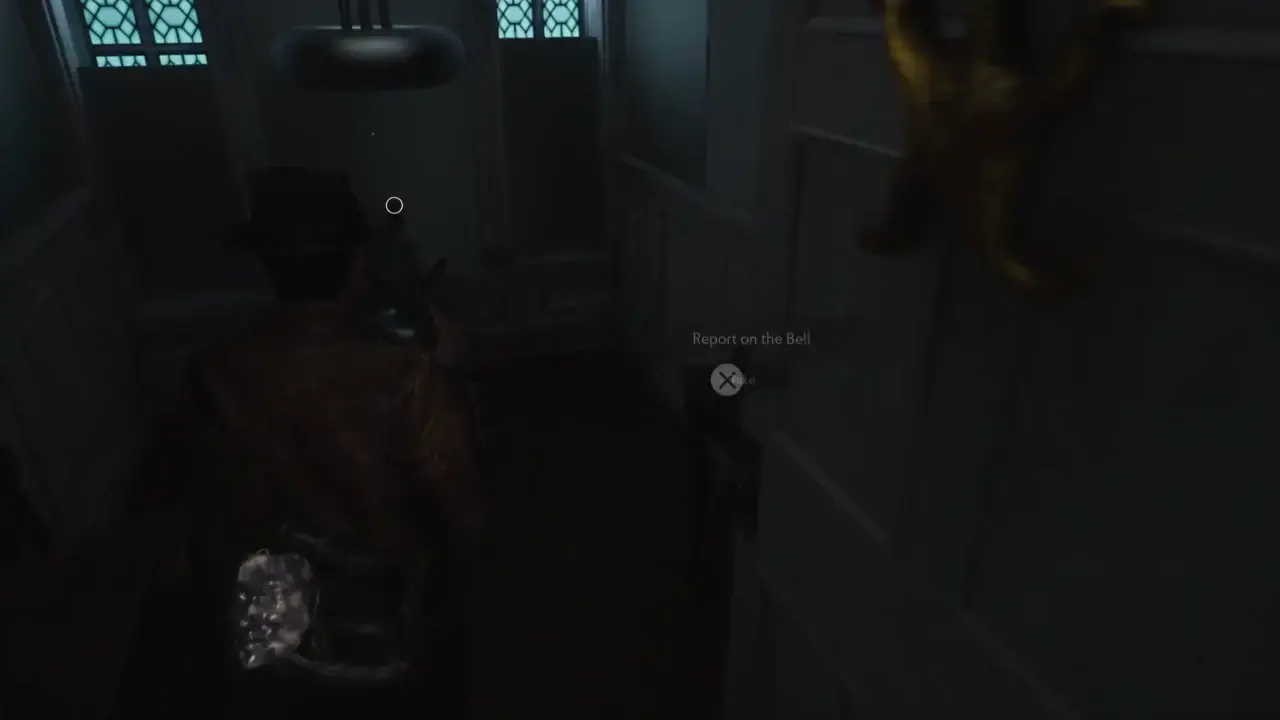
Go back to the church Nave and climb up to the loft. Use the same Star Key to open the Star Door. Once inside, get the Report on the Bell from the ground on the right and the Trident from the front. This report doc gives you the details you need to investigate the floodgate.
Open Investigations and connect:
- Report on the Bell
- Origins of the Redemption Church
- Floodgate Lock
This will complete the clue chain and award another upgrade point.
Solve the Obelisk Pillar Puzzle at the Church
Leave the Star room and go back downstairs. Use the shortcut door near the open window to get back outside quickly. Follow the path around the building to the pillar puzzle.
Place the Trident into the top of the pillar. The Call Upon Believers and First Vision notes you’ve collected provide the necessary details for the puzzle, including the symbol order. Starting from the top and moving downward, set the symbols to:
- Serpent
- Cross
- Spearhead
- Womb
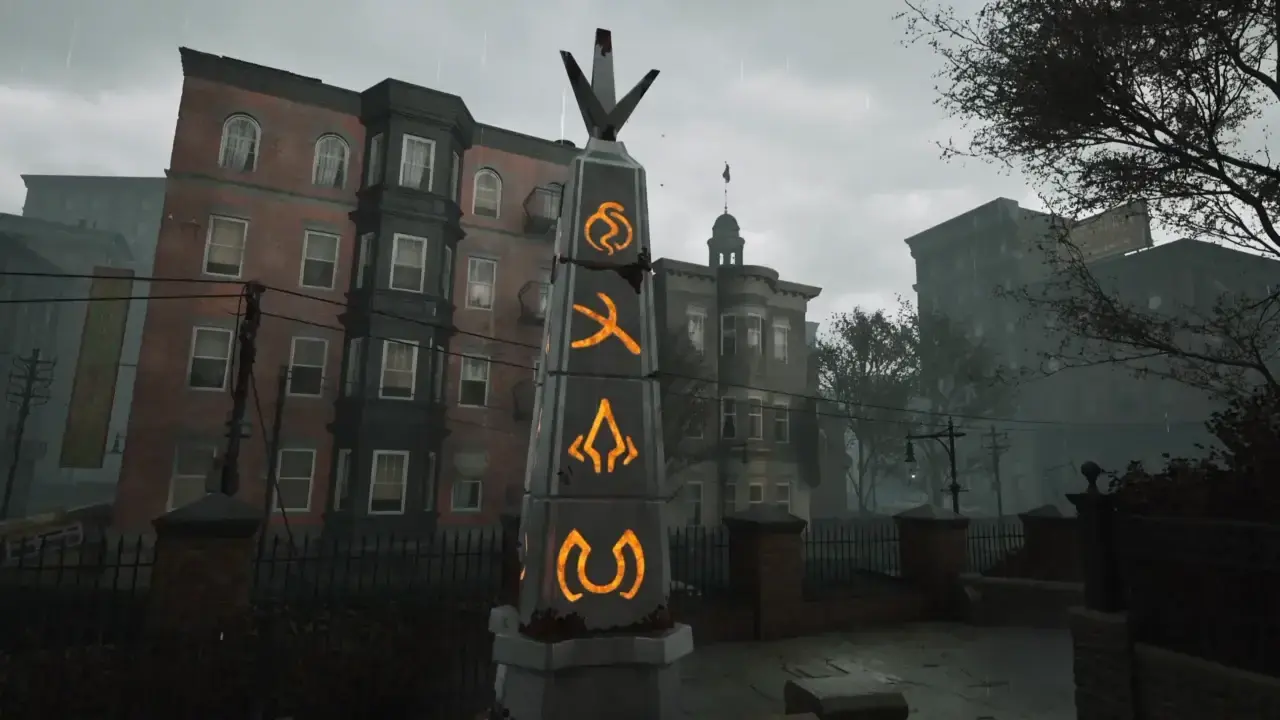
Check each symbol carefully before activating the puzzle.
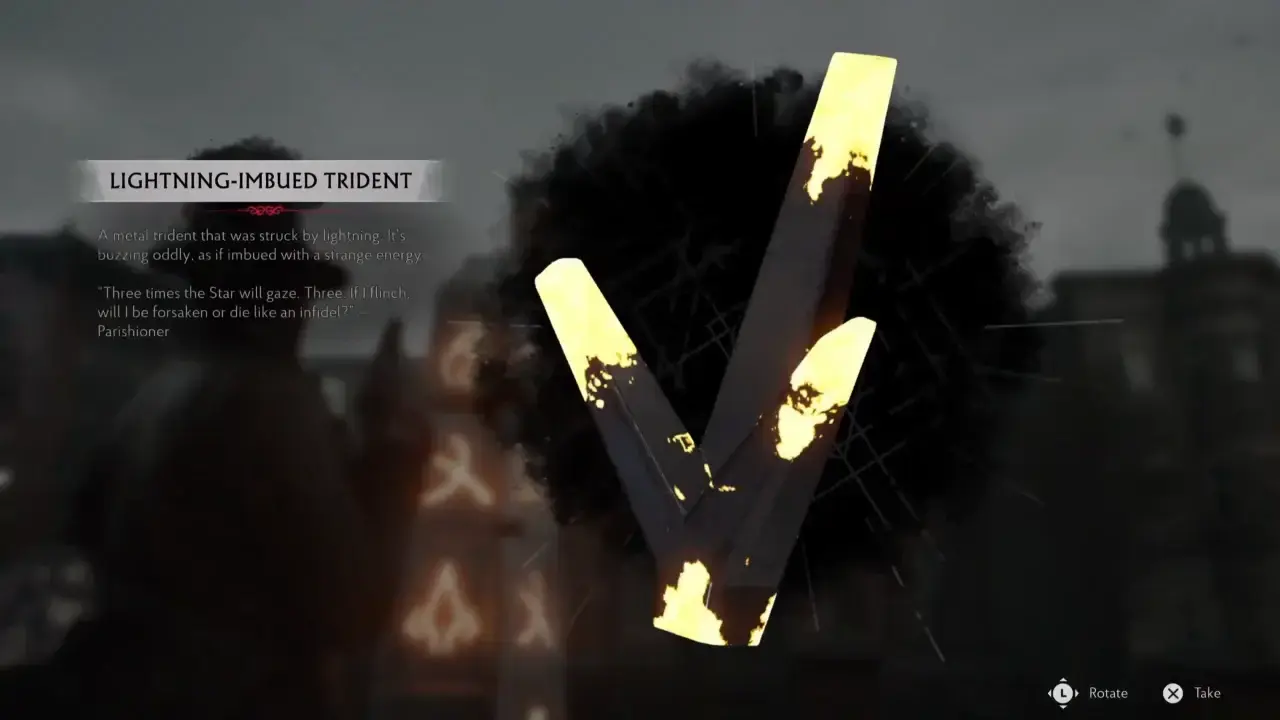
Once the right pattern is entered, the pillar will begin releasing powerful electrical strikes. Back away from it and stay out of the strike radius. Wait for three strikes, as each charges a segment of the Trident. Once the third strike concludes, collect the Lightning-Imbued Trident during a lull in the current.
Return to the Nave, climb to the loft, and enter the Star room. Place the Charged Trident back into the device to trigger a church transformation and reveal a portal below.
Go downstairs and move through the group of figures toward the altar. Before reaching it, obtain the Dagger from the kneeling figure directly in front of it and place that Dagger into the altar. You’ll be taken to a lower ground. Get near the creature’s mouth and press E to trigger the encounter with the boss.
With the battle concluded, return to the Nave to claim the Dream Essence from the altar. This completes the church mystery and unlocks The Other Gods Achievement.
Open the Floodgate Lock
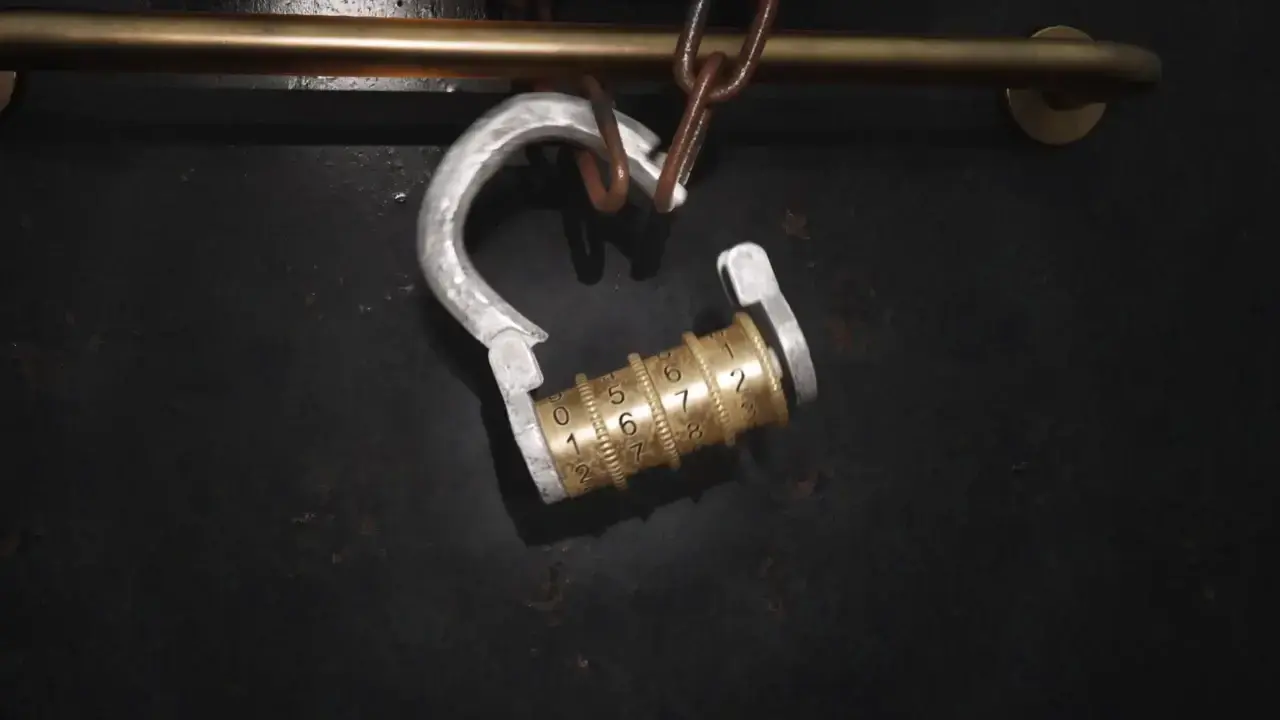
Leave the Church and return to the floodgate controls hidden behind the lock puzzle. You now have every clue you needed for the lock puzzle combination. The Church was established in 1667, and the bell was completed five years later, so the right code is 1672.
Once the gate controls are unlocked, enemies will spawn around the control area. You don’t need to kill every creature before you can open the gate. Stay mobile, reach the lever, and hold E to open the floodgate.
Reach the Whale Blockage
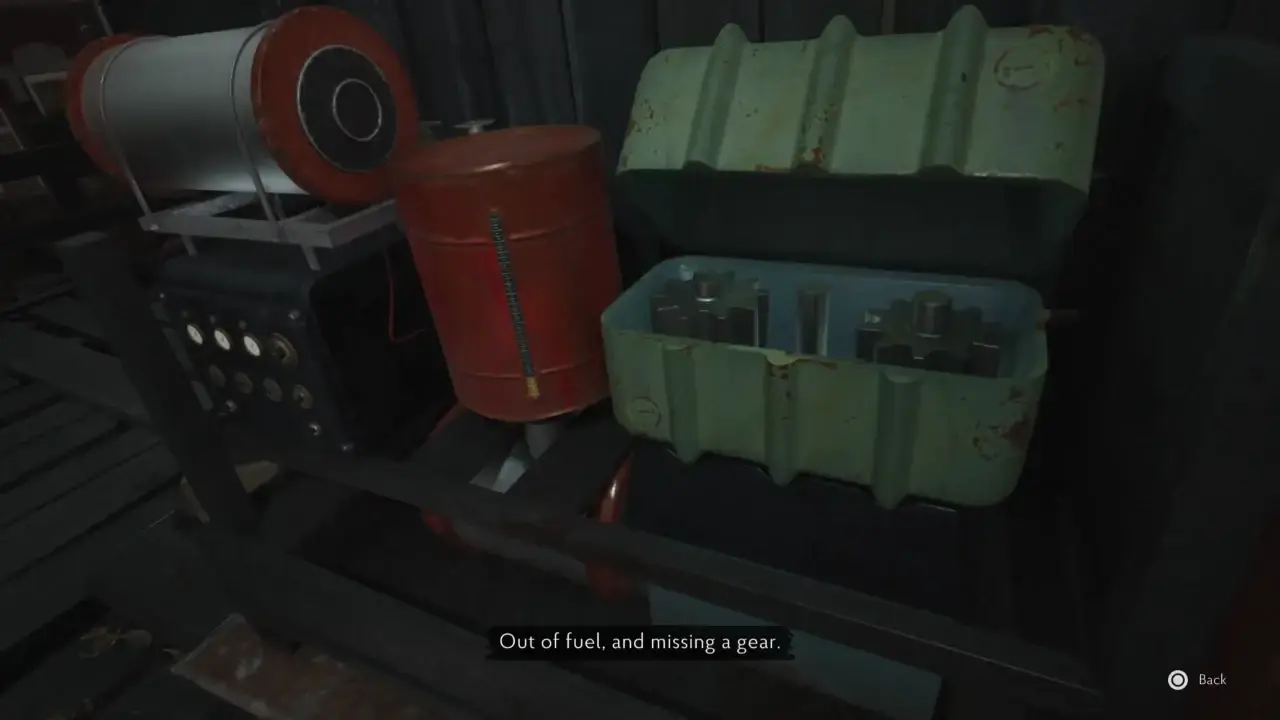
Return to the boat and sail through the now opened gate. Follow the waterways until you reach the whale blocking the passage. Dock to the left and leave the boat. Walk around the crane controls and inspect the generator that’s out of fuel and missing a gear, so you cannot move the whale yet. Retrieve the “A Broken Crane” document from beside the generator.
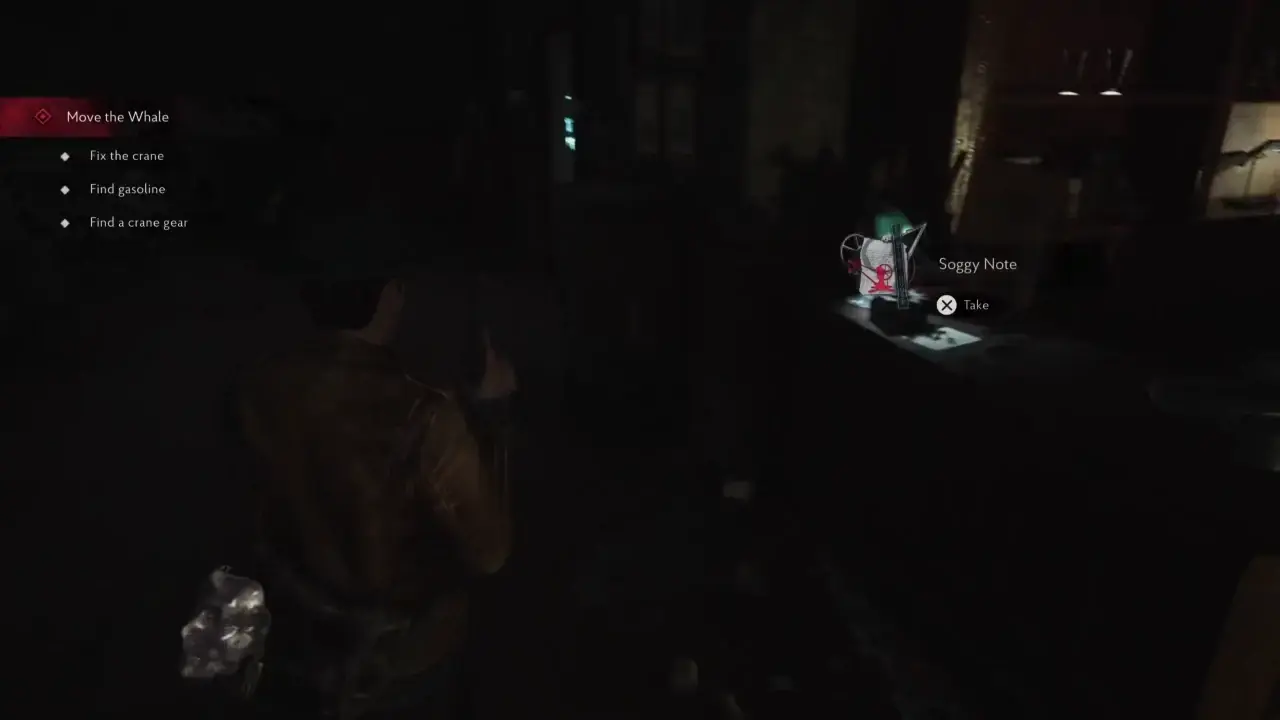
Find the narrow opening leading from the wooden doorway into the bar and squeeze through. Collect the Soggy Note and Graveyard Key from the side of the bar, then proceed to the Safe Room to save your progress.
In the next part, we’ll continue from the whale blockage into the Fire Station.