Part 1 of The Sinking City 2 takes you from Faye A. Bennet’s apartment in Arkham to the Miskatonic University Library, and most of that ground gets covered by boat. Along the way, you’ll pick apart a locked wall safe, rewire a gate switchboard, and fight off your first couple of monsters. Follow the walkthrough below to collect the useful clue notes, solve the apartment safe and gate fuse puzzles, and reach the library without getting sidetracked.
The Sinking City 2 Part 1: Reach The Library Annex Walkthrough
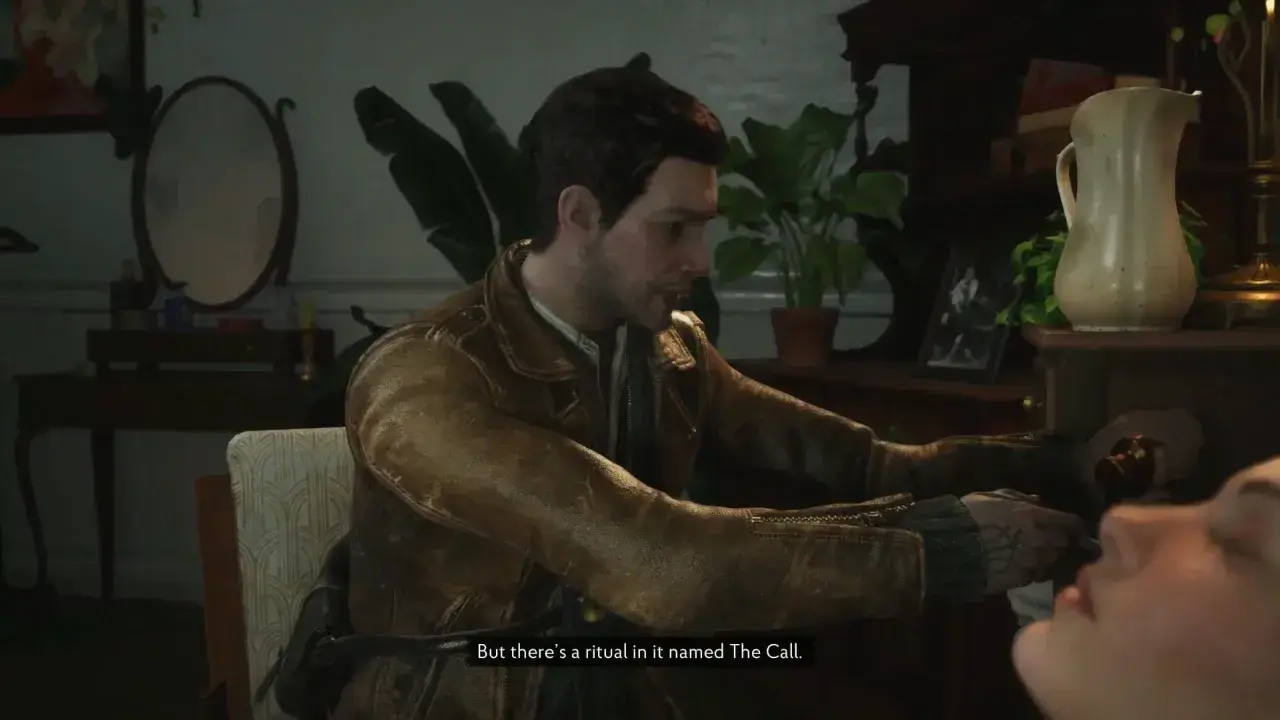
After the opening climax concludes and Calvin Rafferty has some caring scenes with Faye in the bedroom, leave the room to get full control over the game and search the house for the first Codex Entry documents.
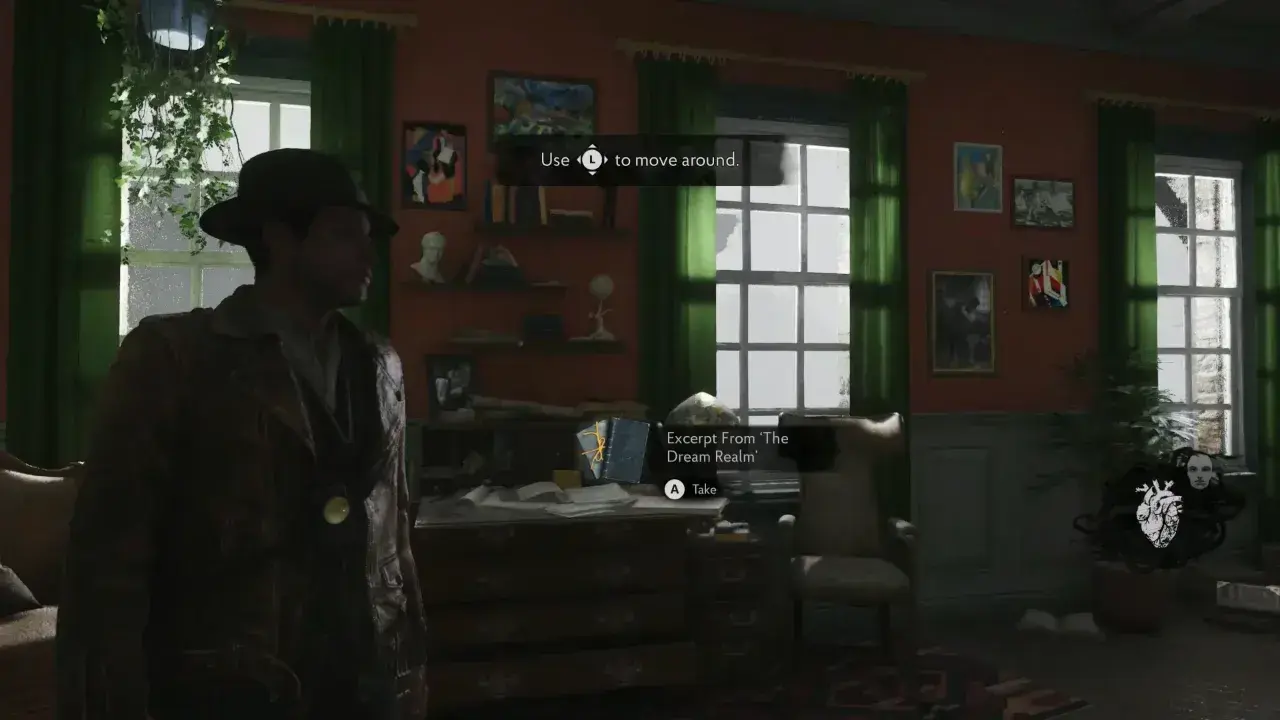
Excerpt From ‘The Dream Realm’: Pick this up from the desk on the left of the bedroom door.
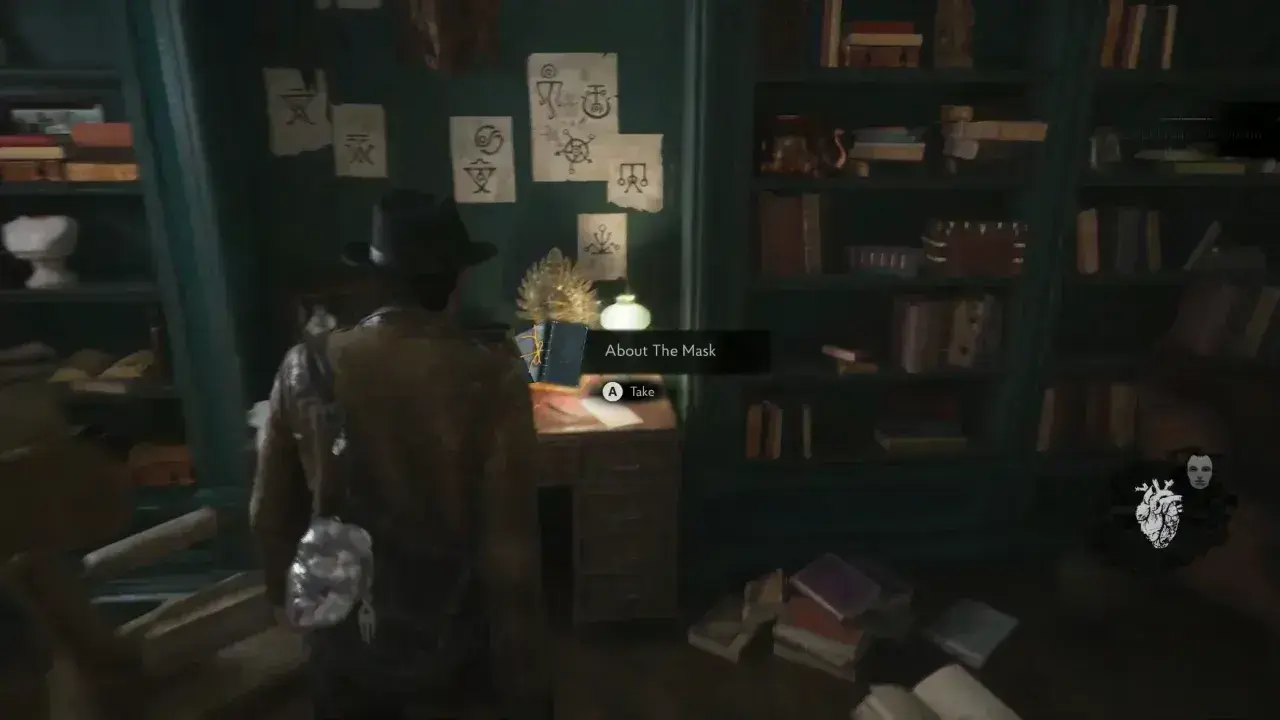
About The Mask: On the desk with the typewriter, directly across from the bedroom entrance.
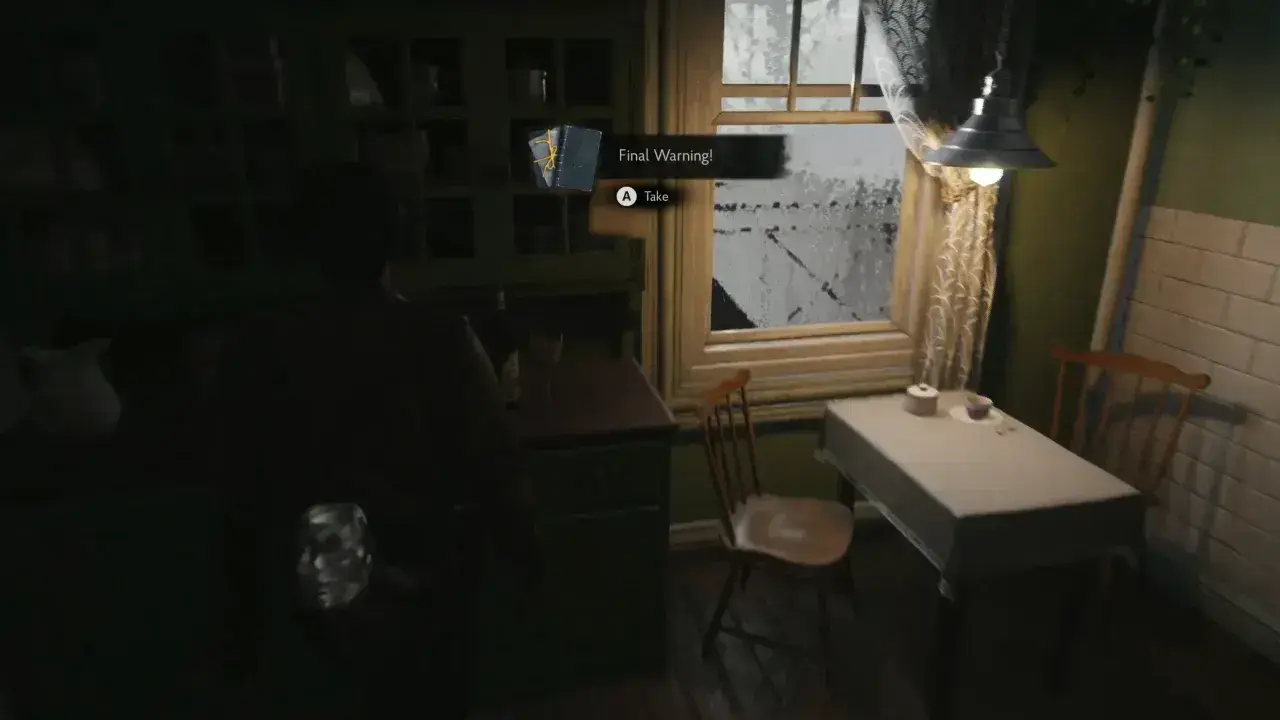
Walk through the door in the opposite right corner into the hallway and take the first left into the kitchen. Final Warning! is pinned to the cabinet by the window. Go straight down the hallway to the room until you reach the storage room at the end and collect Restricted Section Inventory Codex Entry from the desk inside.
From there, exit through the open door into the small balcony from where the Library Annex building is visible in the distance. Climb down the first wall ladder onto a lower ledge to grab two additional notes:
- Farewell, Arkham! is on the ledge right after you climb down.
- Please! can be found by looking through the window on the right side of the ledge.
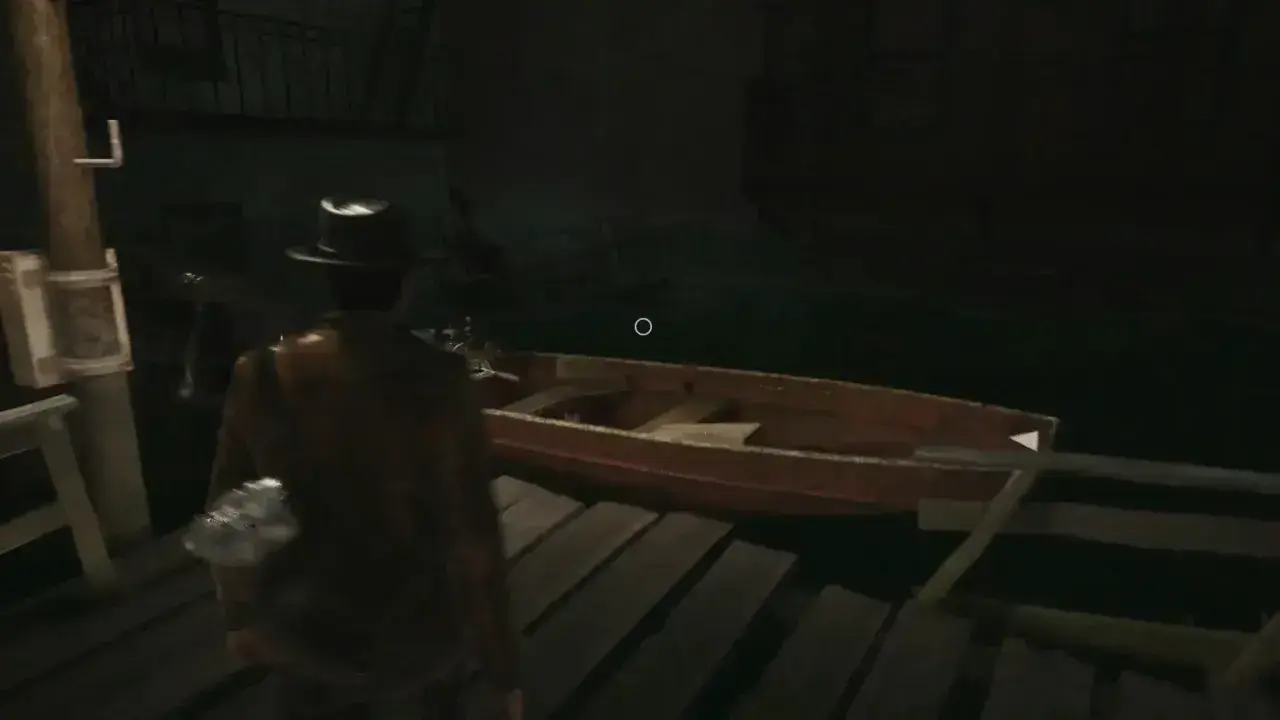
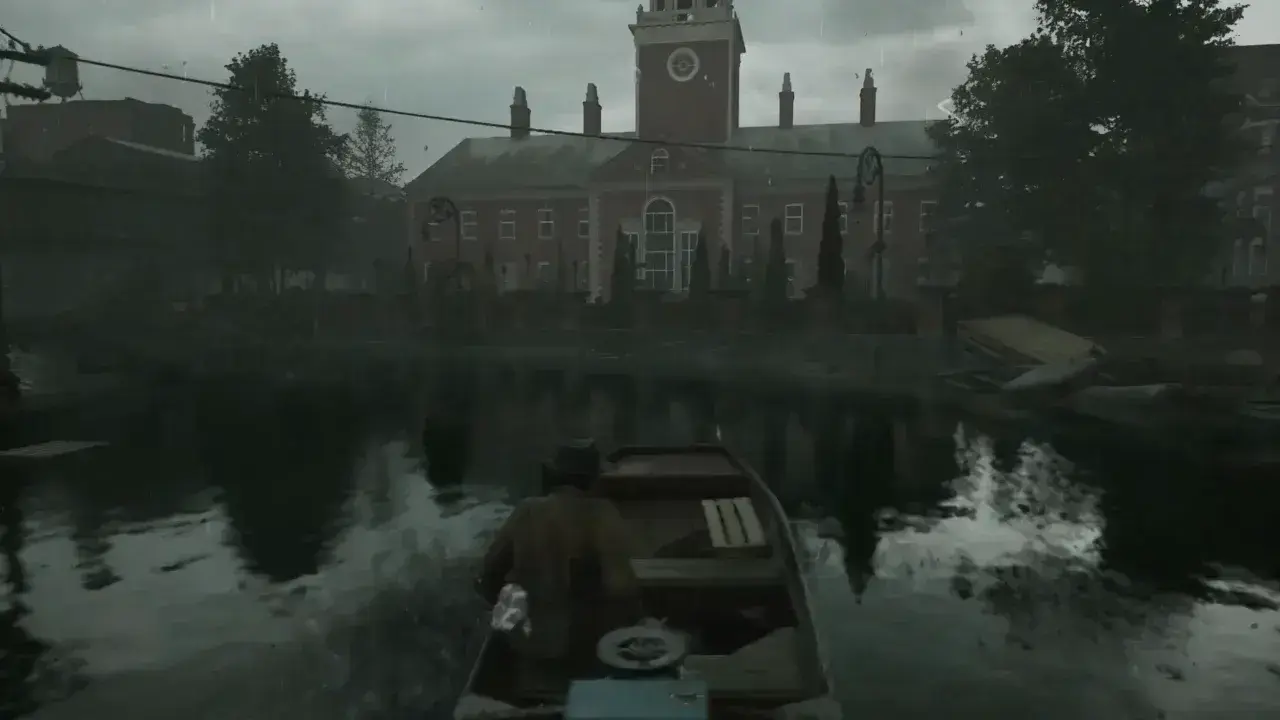
Follow the outdoor stairs downward and descend a second ladder to reach the docked boat. Interact with the boat to take the helm (steer with WASD; sprint/accelerate with SHIFT). The street path only goes one way, so drive along the flooded canal until you reach the closed floodgate, then dock on the right.
First Locked Gate & The Safe Room
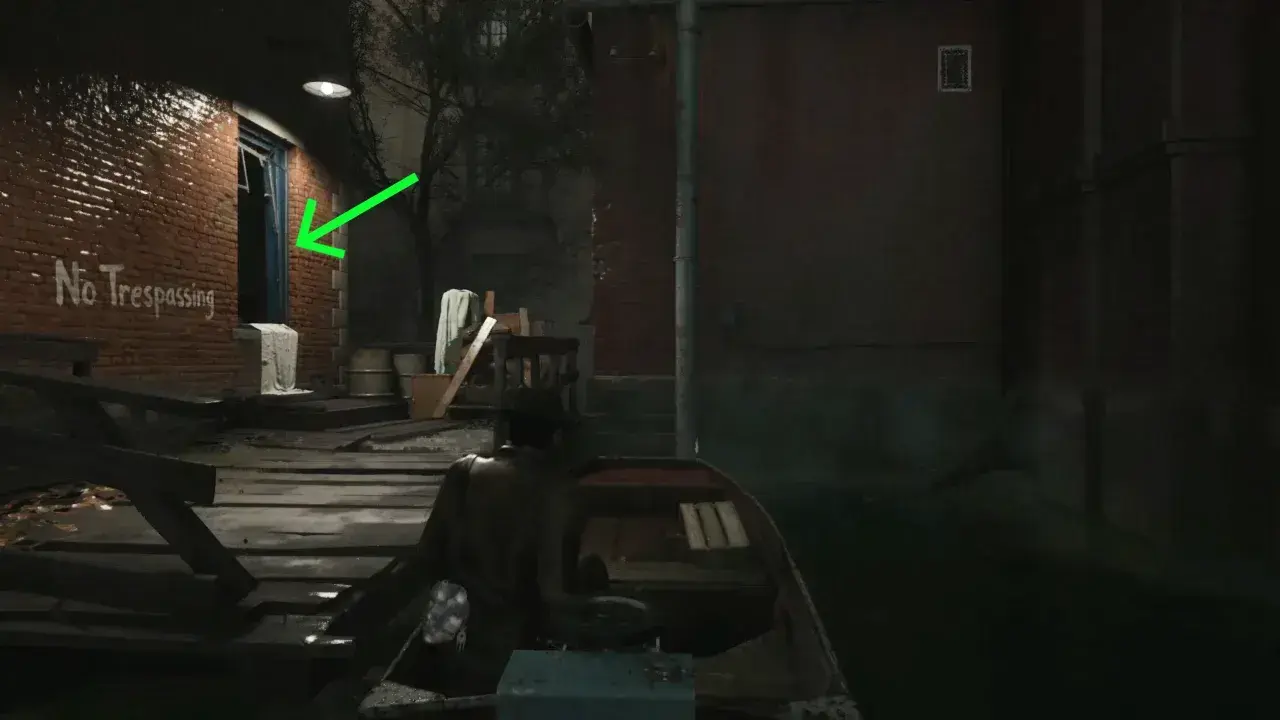
Climb through the open window at the dock beside the No Trespassing warning and move through the building until you reach the gate controls on the other side of the road. Even if you pull the lever, the gate won’t open yet because it requires the correct fuses.
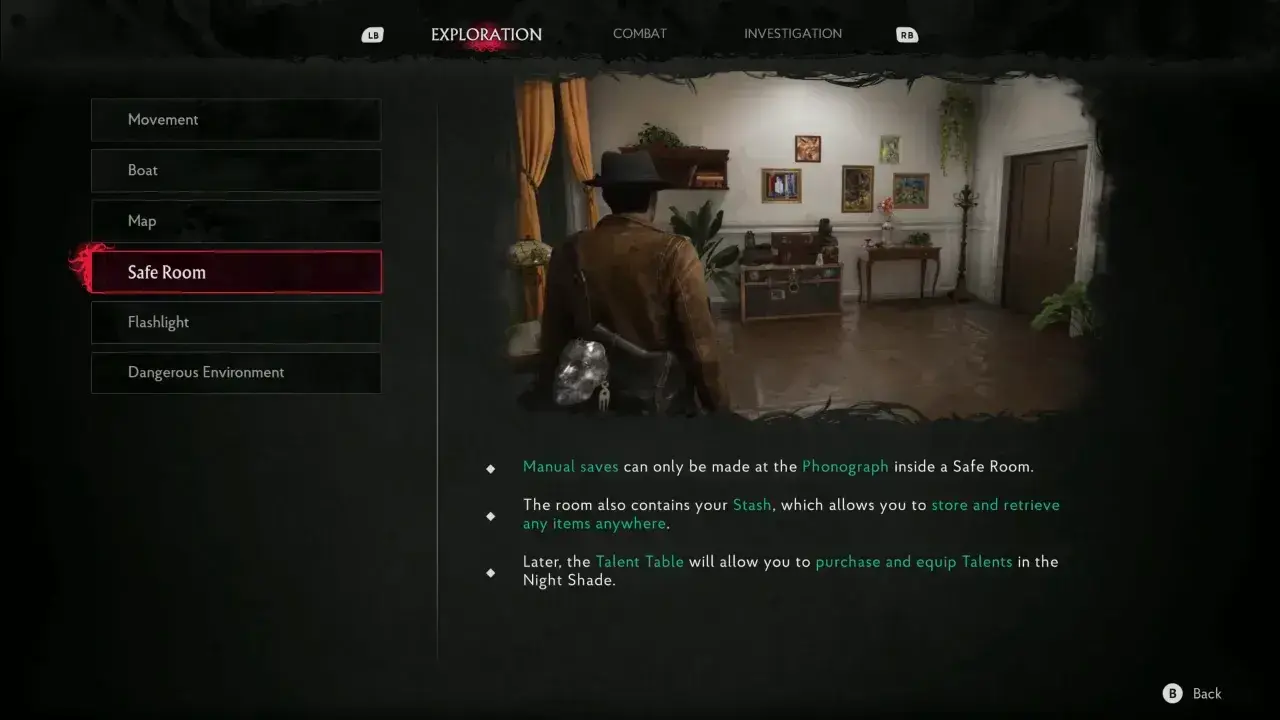
Take the right and move through the broken wall to enter the room marked by the glowing sigil on the door. It’s your first Safe Room, so use the conch record player to save the game and manage your supplies in storage before moving forward.
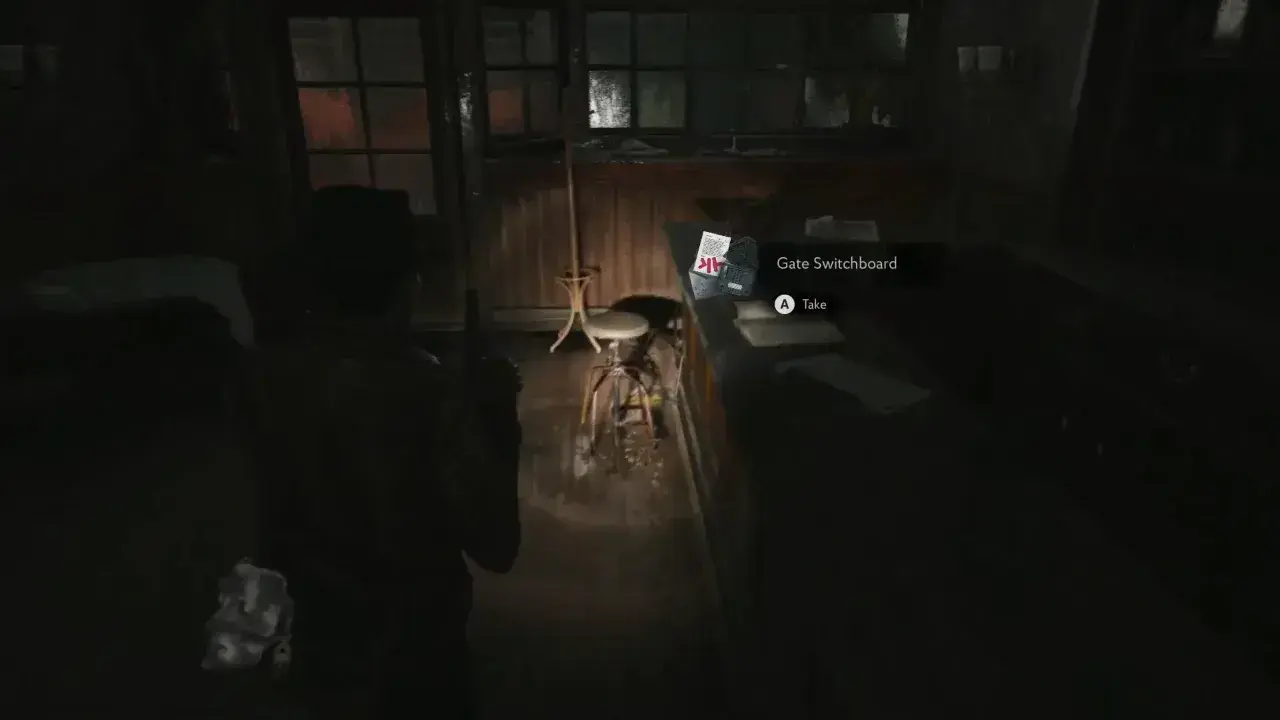
Leave through the room’s opposite door, go downstairs, and enter the bar. Check the counter on the right to pick up the Gate Switchboard (Clue Note).
Exit the bar onto the street and go toward the Allen Radio Store located directly across the road with a blocked front door (note the “Est. 1908” text on the storefront). Turn left, pass beneath the crane, walk past the yellow bus, and enter the half-open door of the apartment building.
Apartment Building
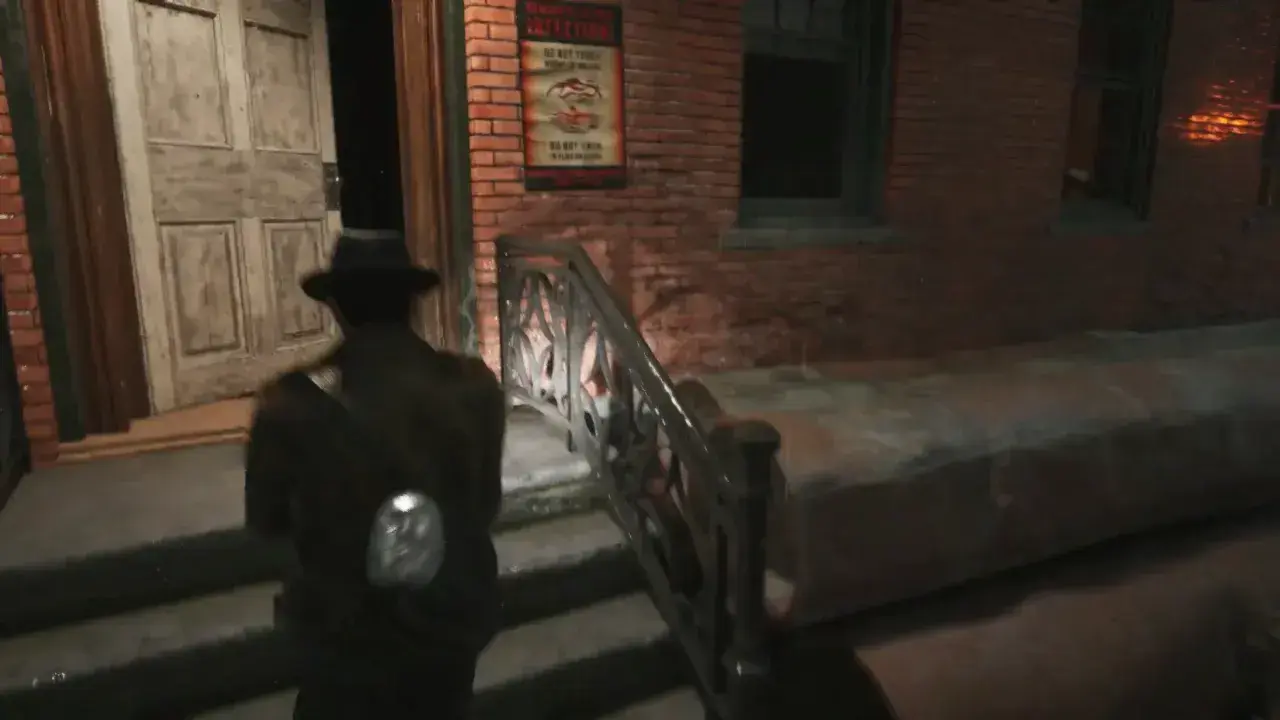
Inside, enter the first room on the right and take the Residentials Map Floor 1-2 from the wall. Further, collect the handgun ammo from the dresser drawer.
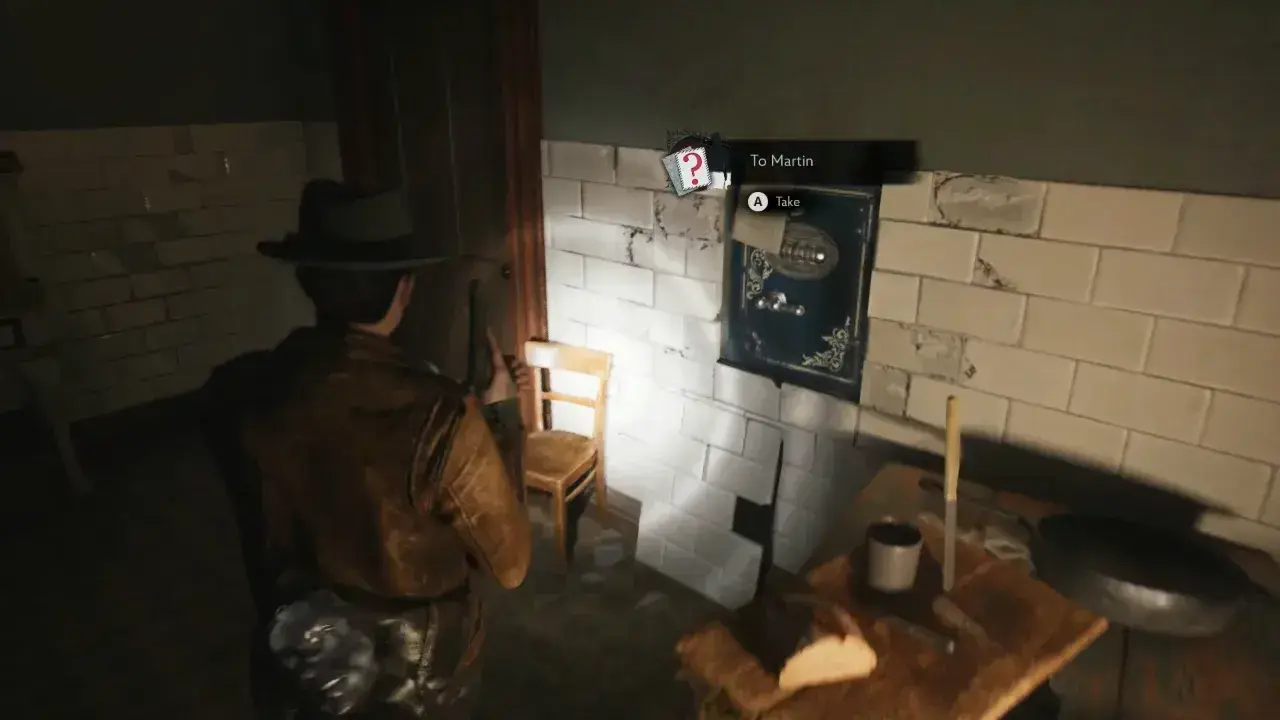
Continue around to the stairwell. Apartment 2 is locked, so go upstairs and enter Apartment 5 first. In the kitchen, inspect the wall safe and collect the To Martin clue.
The safe refers to a proud and miraculous moment, but the information needed to solve it is connected to the Radio Store. You can either return later with the clue or use the solution given below.
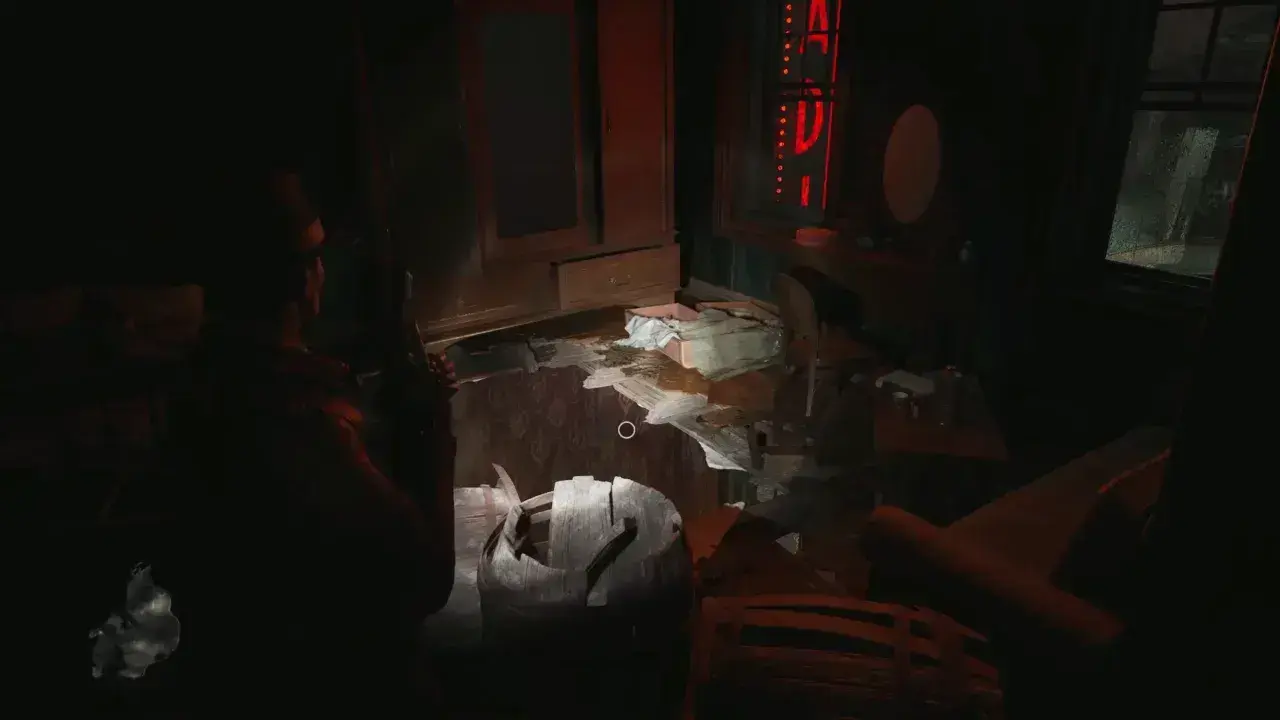
Next, leave Apartment 5 and enter Apartment 6 next to it, though some barrels block the floor opening. Press CTRL for melee attacks to stomp and break the wooden barrels, then drop through the ground hole and open the cabinet on the right to collect ammo.
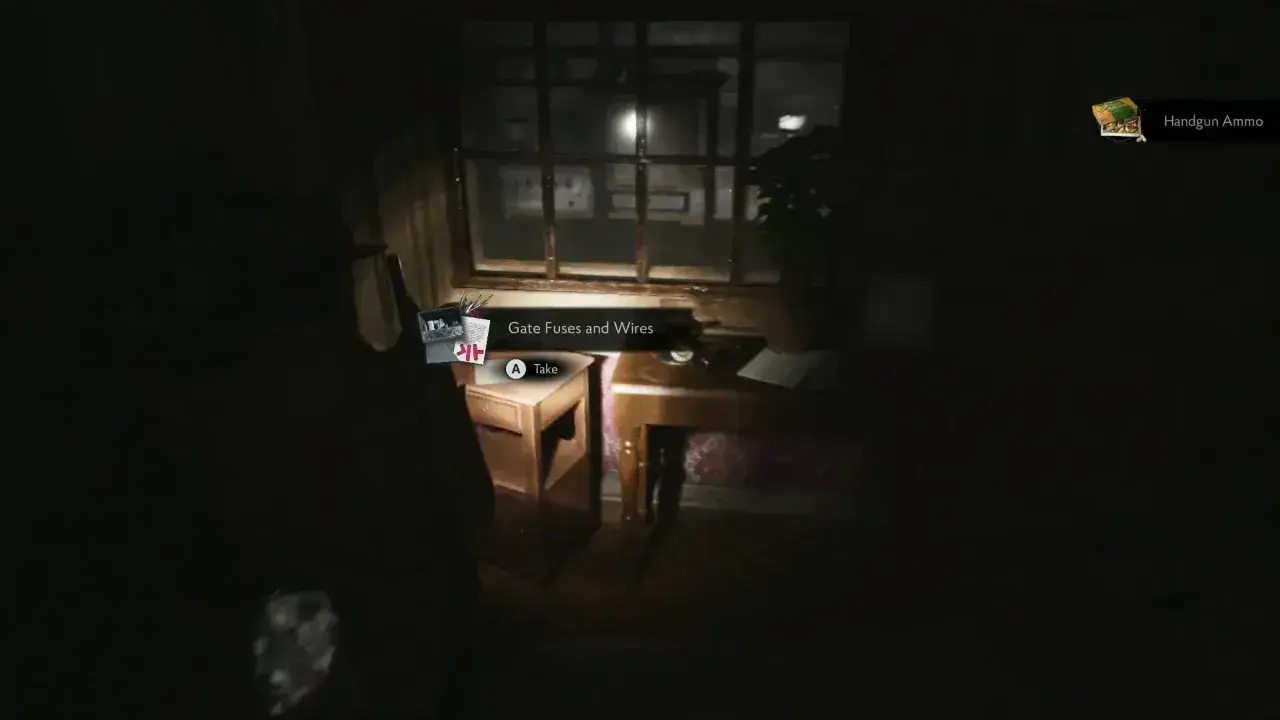
Move through the broken wall and collect the Gate Fuses and Wires clue from the table. Open your Investigation tab and connect Gate Fuses and Wires to the Gate Switchboard to complete the clue group and earn an upgrade point.
Radio Store
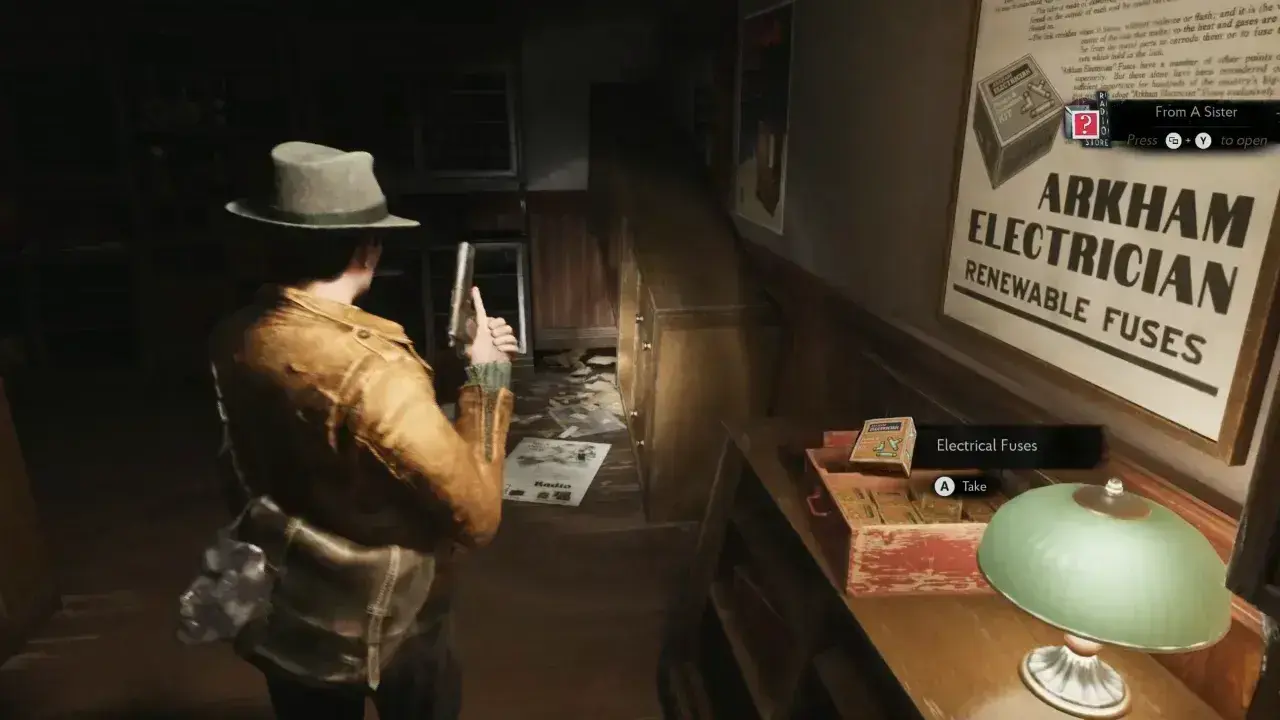
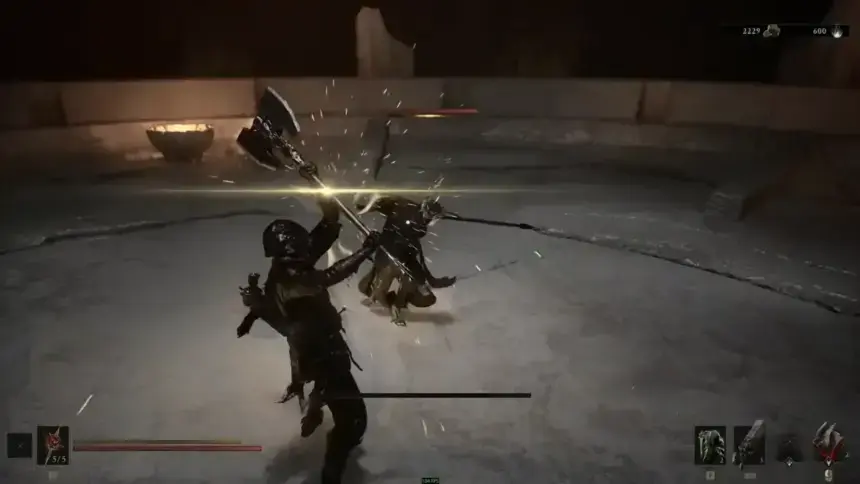
From Apartment 6, climb through the opening to reach the Radio Store. Continue around the shop and search the open red crate to collect the Electrical Fuses. Collecting the fuses triggers your first fight of the game. Shoot the creature’s head, its weakest part, to kill the enemy in no time.
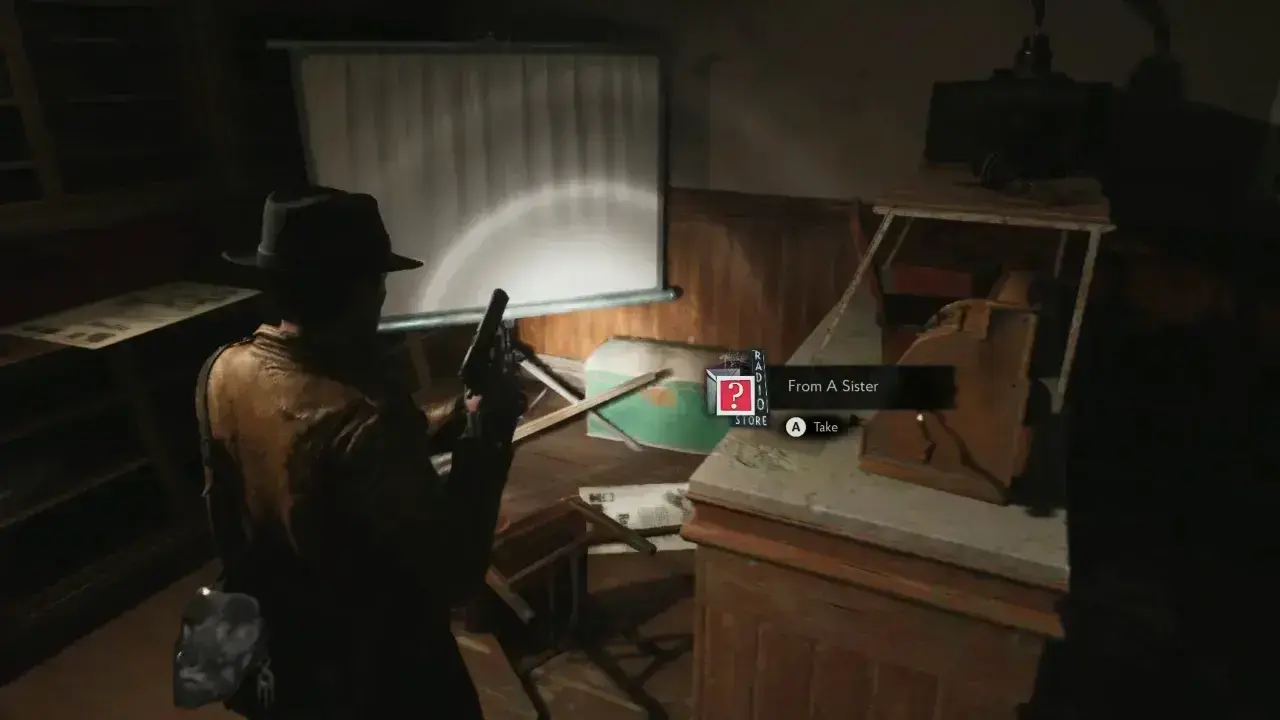
After the fight, inspect the counter beside the cash register and pick up the From A Sister clue. In the Investigation menu, link To Martin with From A Sister to unlock another upgrade point.
At the front of the store, hold E when prompted to move the tall cabinet away from the front door to exit into the street. Avoid or eliminate the newly spawned creatures, then go into the apartment building.
Apartment 5 Safe Code
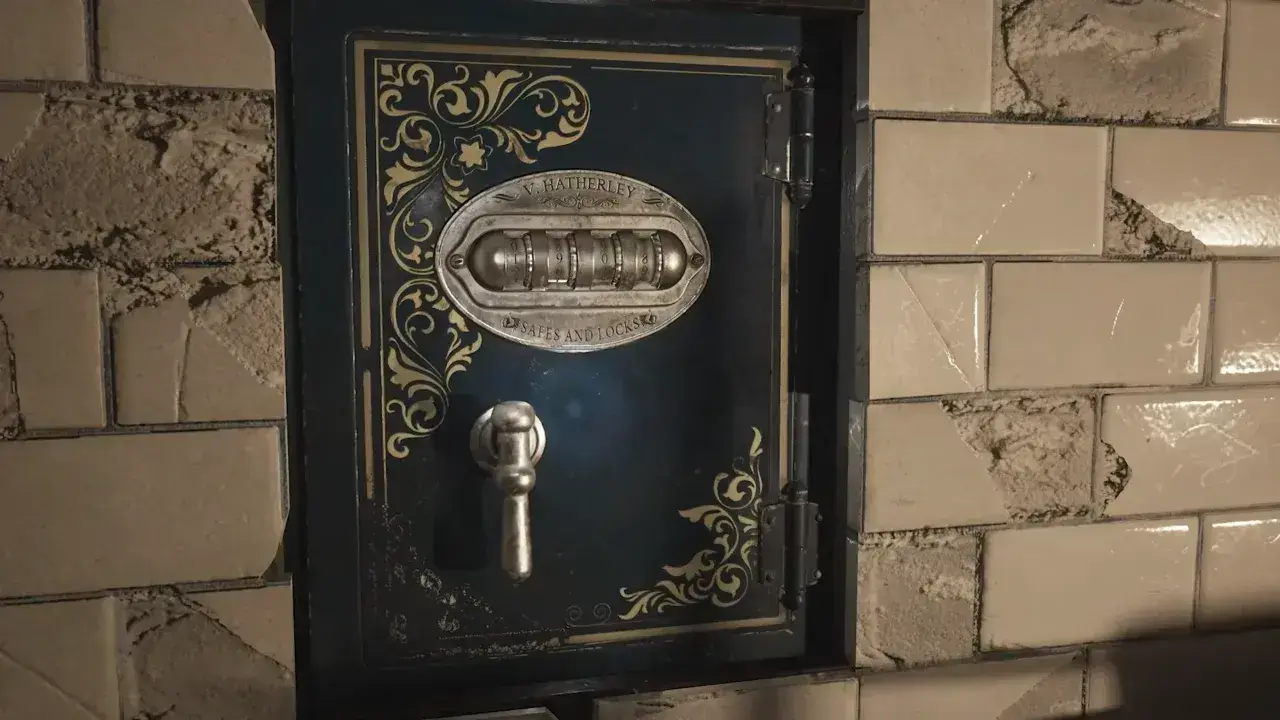
With both clue groups solved, you’ll know the answer: the “proudest moment” referenced in the note lines up with a date twenty-one years before the story’s present year of 1929. The code is based on the year the Radio Store was established, and that’s 1908.
Enter the code to open the safe that contains ammo and Dolorocide Pills. Opening it also unlocks The Inheritance achievement.
Once the safe is cracked open, go downstairs back toward the entrance. A new room on the right contains more ammo in a dresser and a Mushroom Jack Broadcast: The Woman At The Door collectible near the stove. This broadcast becomes available only after the wall safe is unlocked.
Gate Fuse Box Puzzle Solution
Make your way back to the first gate lever. Open the electrical box and insert the fuses you found. You must match the wire colors by rotating the pieces into the correct configuration:
- T-shaped fuse: Place between the yellow and green cables.
- Straight fuse: Place between the blue cables.
- Right-angle (corner) fuse: Place between the red and orange cables.
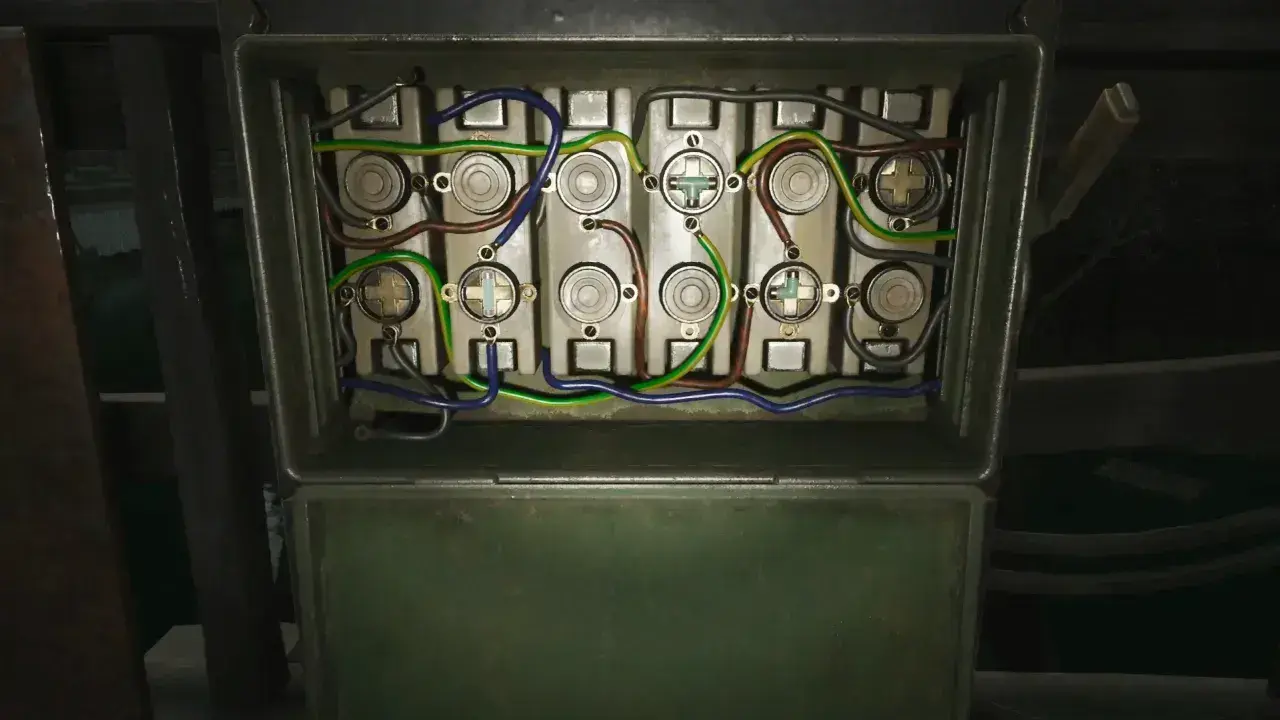
Once the wiring is correct, use the lever to unlock the gate. Return to the boat, dodge incoming hostile spawns, and steer through the newly opened water gate.
The Second Locked Gate
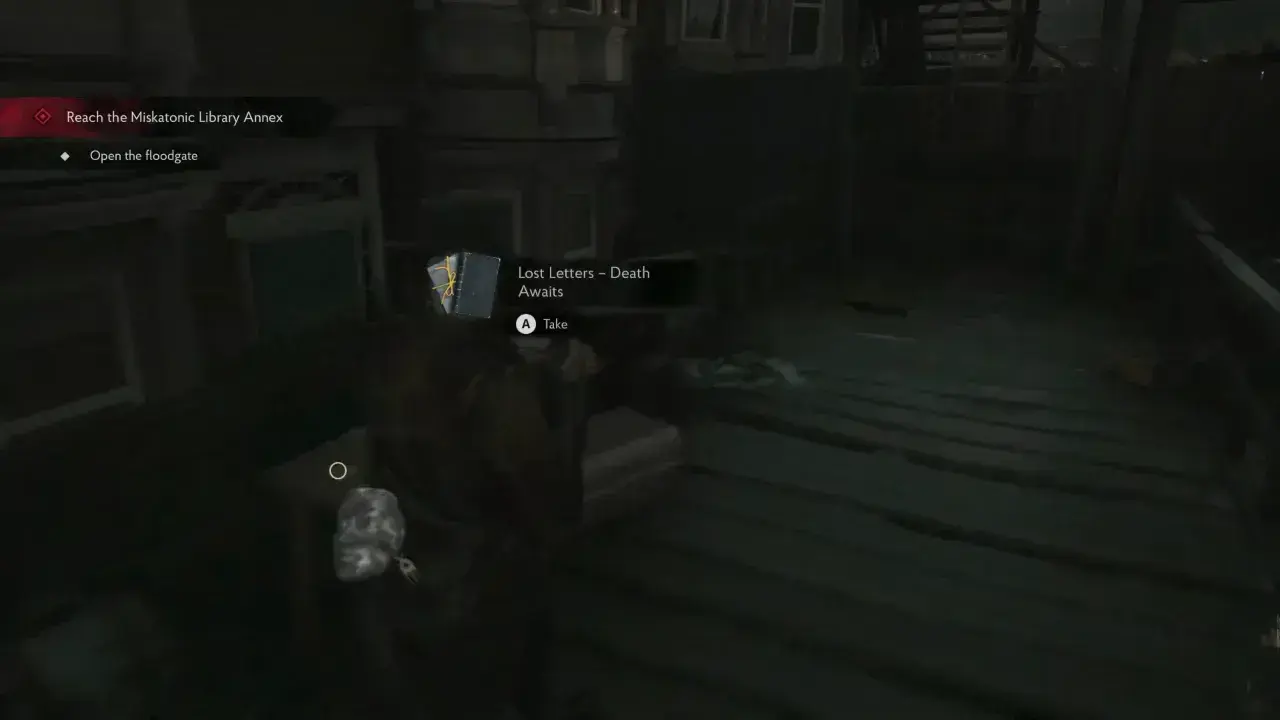
Drive down the flooded streets until an explosion occurs behind a second closed gate. Dock the boat at the jetty on the left side of the channel. Before heading upstairs, check the yellow suitcase placed on the dock to collect the Lost Letters – Death Awaits document and Dolorocide Pills beside it.
Walk up the stairs and enter the damaged building. Reaching the interior stairwell triggers a monster chase. Sprint through the building by holding SHIFT along the linear corridor until Calvin vaults through the window onto the lower dock. A fire explosion will blast the building, killing all the enemies.
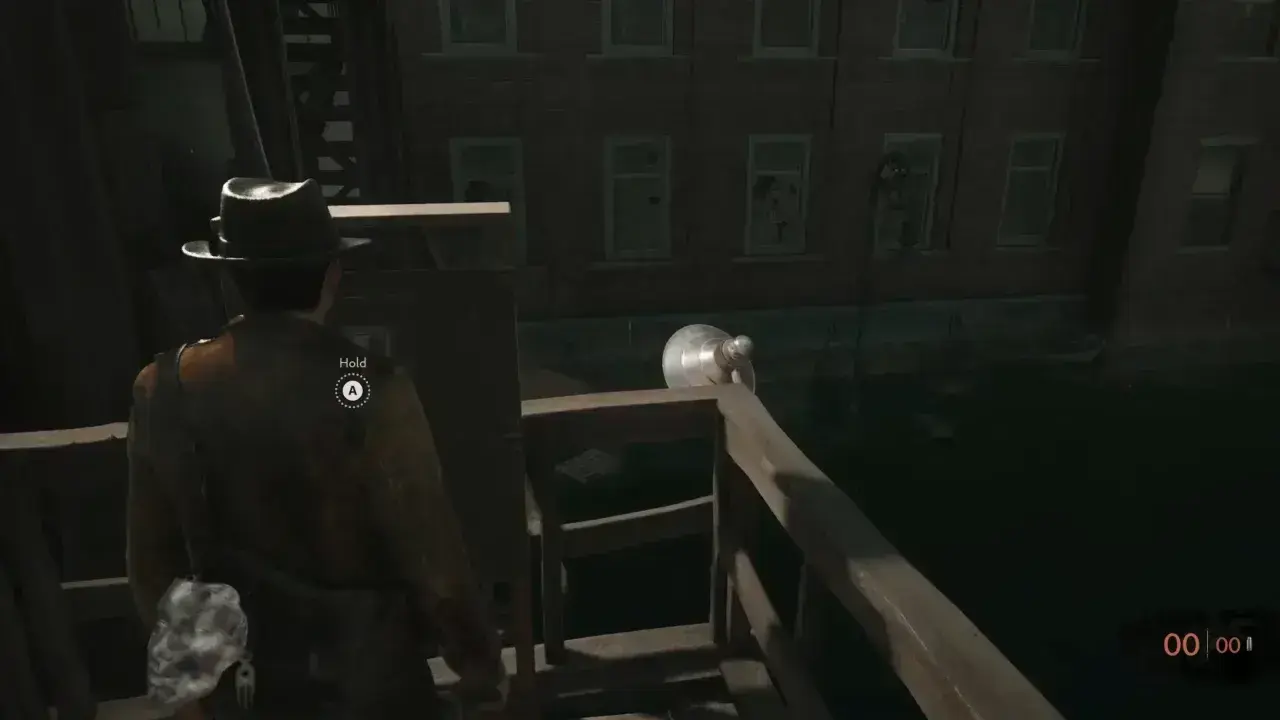
Next, move up the stairs and flip the wall lever on the dock to open the second gate. Take the shortcut ladder back down to your boat.
Reach The Miskatonic Library Annex
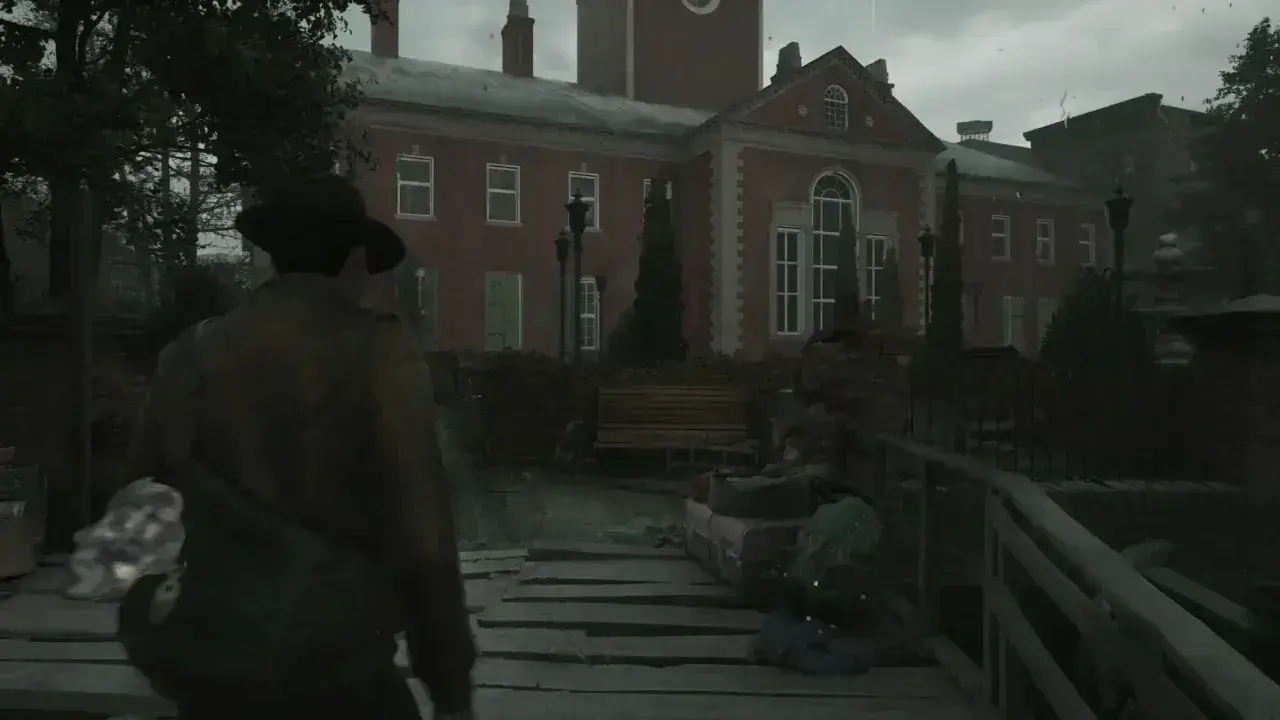
Get into the boat and continue along the waterway through the unlocked floodgate. You will find the library dock right past the gate. Follow the path until you arrive at the Miskatonic University Library.
Dock at the library to finish Part 1 and advance to the next section. Reaching the Miskatonic University Library at the end also unlocks the Welcome to Arkham! Achievement.