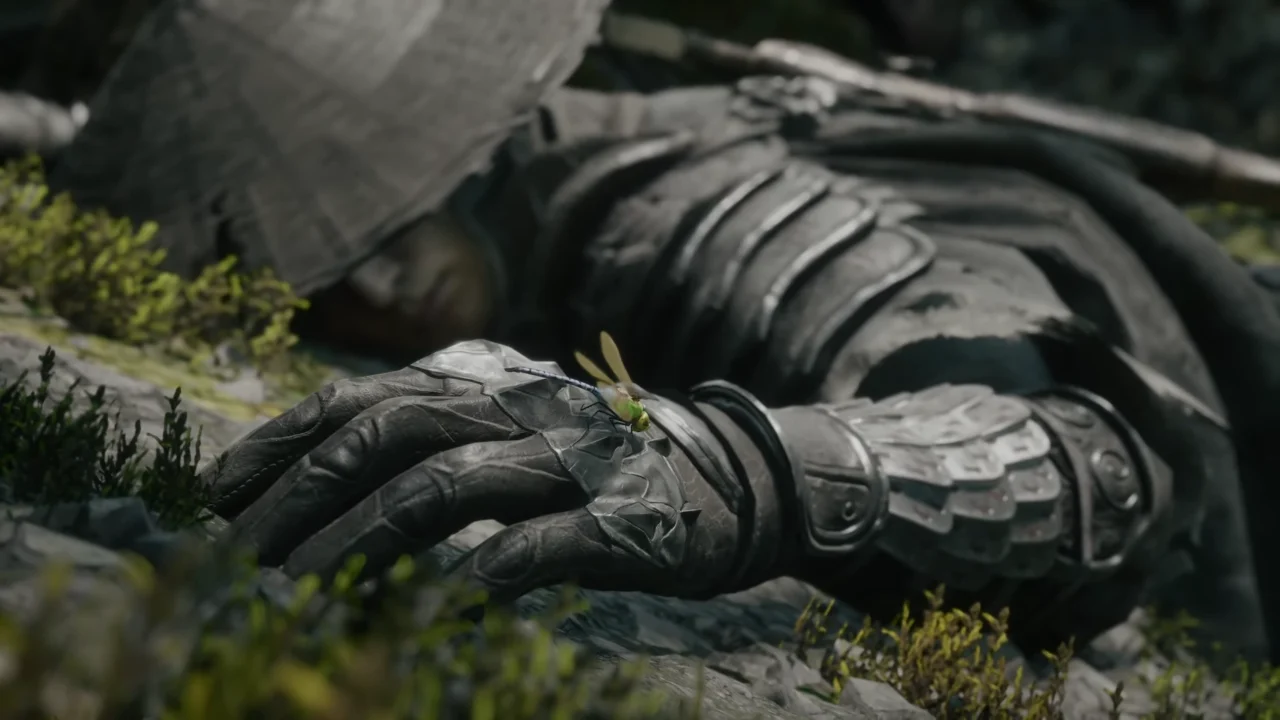
Against the Flow is the first major chapter of Phantom Blade Zero that begins right after Soul plunges into the depths of Weeping Creek Valley following the carriage incident in Reckless Pursuit. Facing a strict 66-day lifespan, your main goal is to push upstream toward the Pangzhen town. Along the way, you’ll explore interconnected canyons, unlock core progression mechanics at resting Bells, take on a few Wulin Tales, and fight two main story bosses. This Against the Flow walkthrough will guide you through all the objectives to complete this quest in Phantom Blade Zero.
Follow the Path Upstream
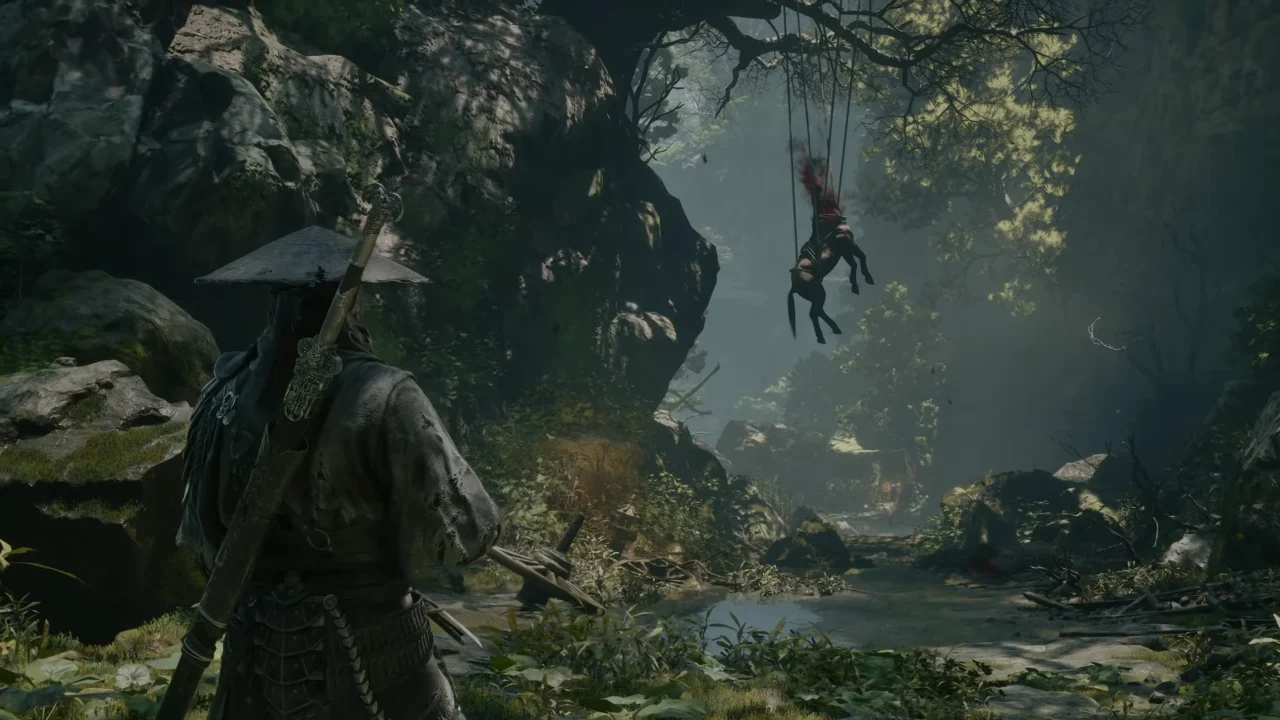
It all starts when Soul wakes up after falling from a carriage into Weeping Creek Valley, very low on health. Use a medicine charge immediately to restore your health bar, then open the map to check your surroundings. Main campaign objectives display as yellow icons, important side tales are shown in purple, and white scrolls show optional content you can explore.
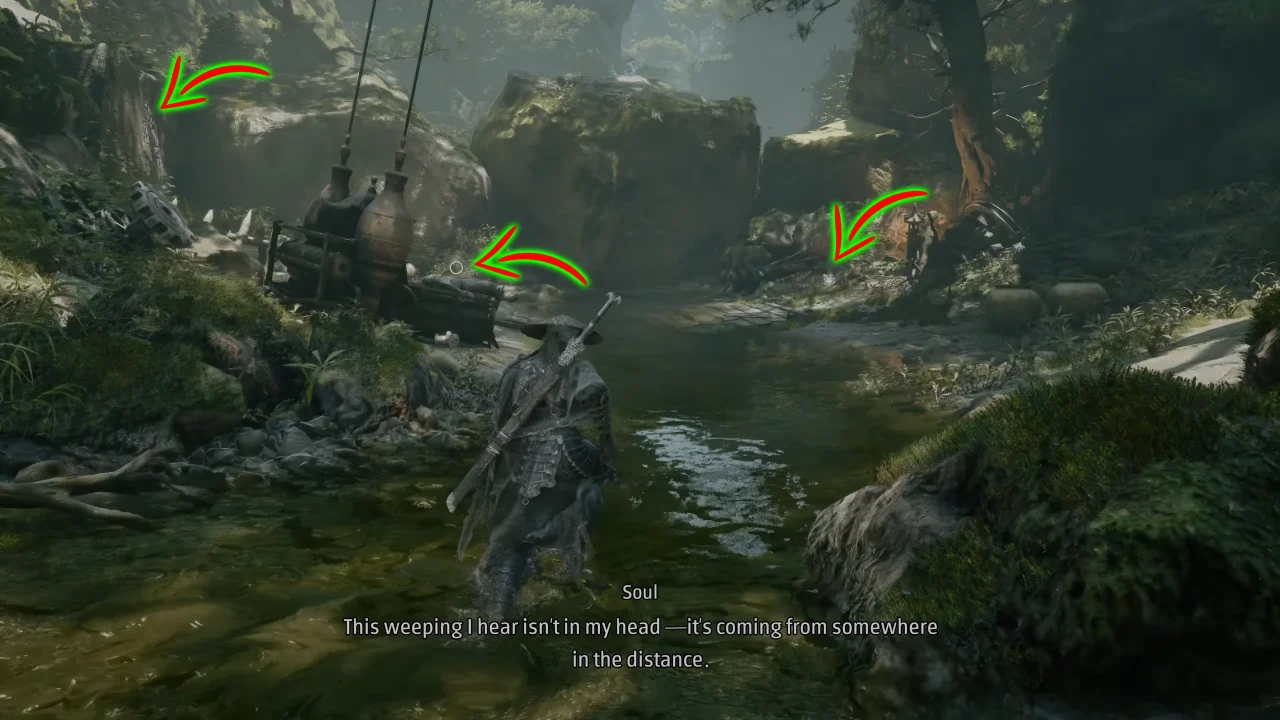
Move forward under the hanging horse, and you’ll start to hear someone weeping, where the Whence the Weeping side tale unlocks. You can interact with the corpse on the left and the broken weapons to the right for little to no info. Pick up the Remnant Dust currency from the ground near the swords, then Terrain Traverse the scratched rock ledge to reach the upper level.
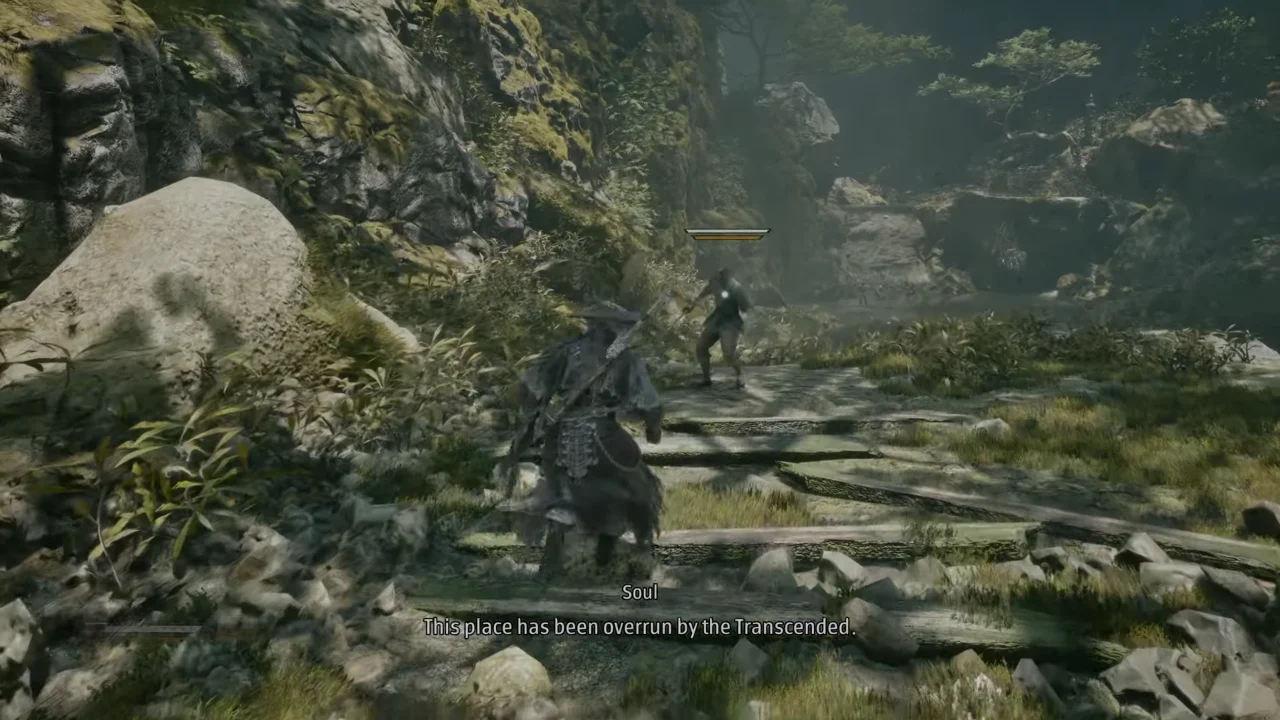
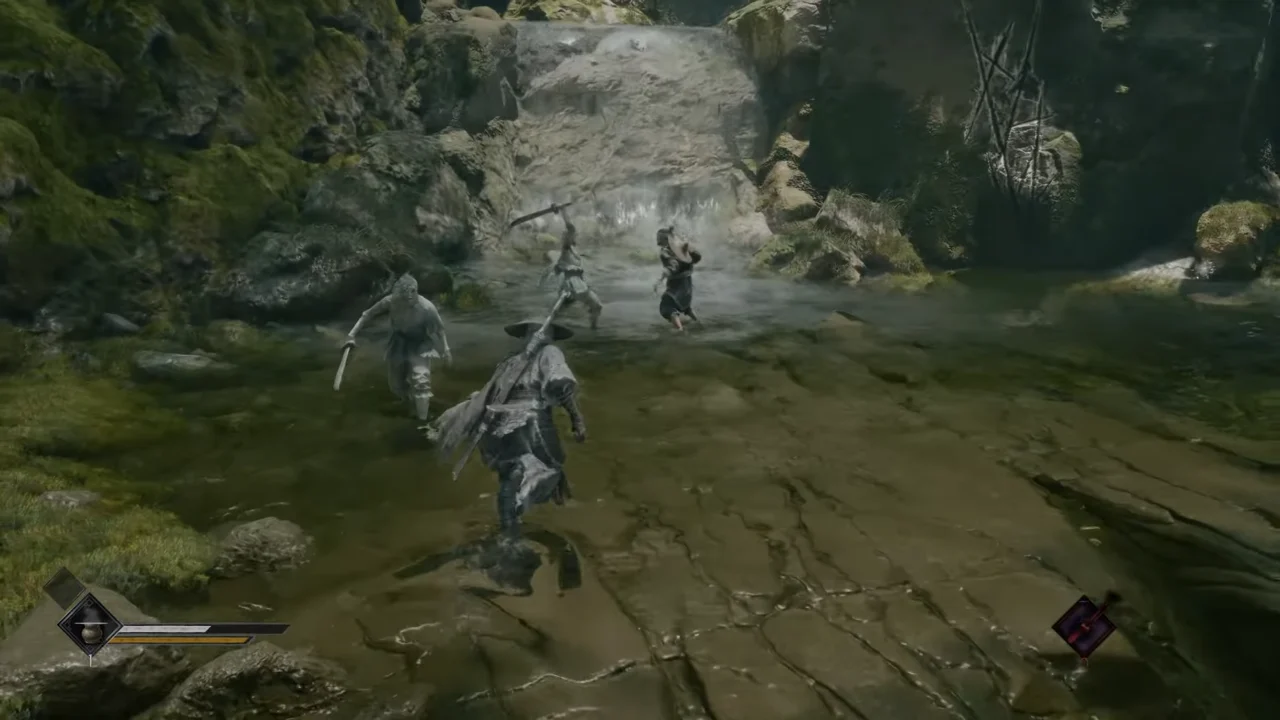
Above, deal with the first corrupted Maskwalker enemy. These basic foot soldiers have low health pools and fold quickly under standard combos, but stay ready to deflect their blue-flash strikes. Take this guy out, drop down into the riverbank to eliminate two more enemies attacking a wounded runner. Speak to Dying Escapee, the one who was weeping in fear, and he’ll beg you to save the village upstream before leaving this mortal world.
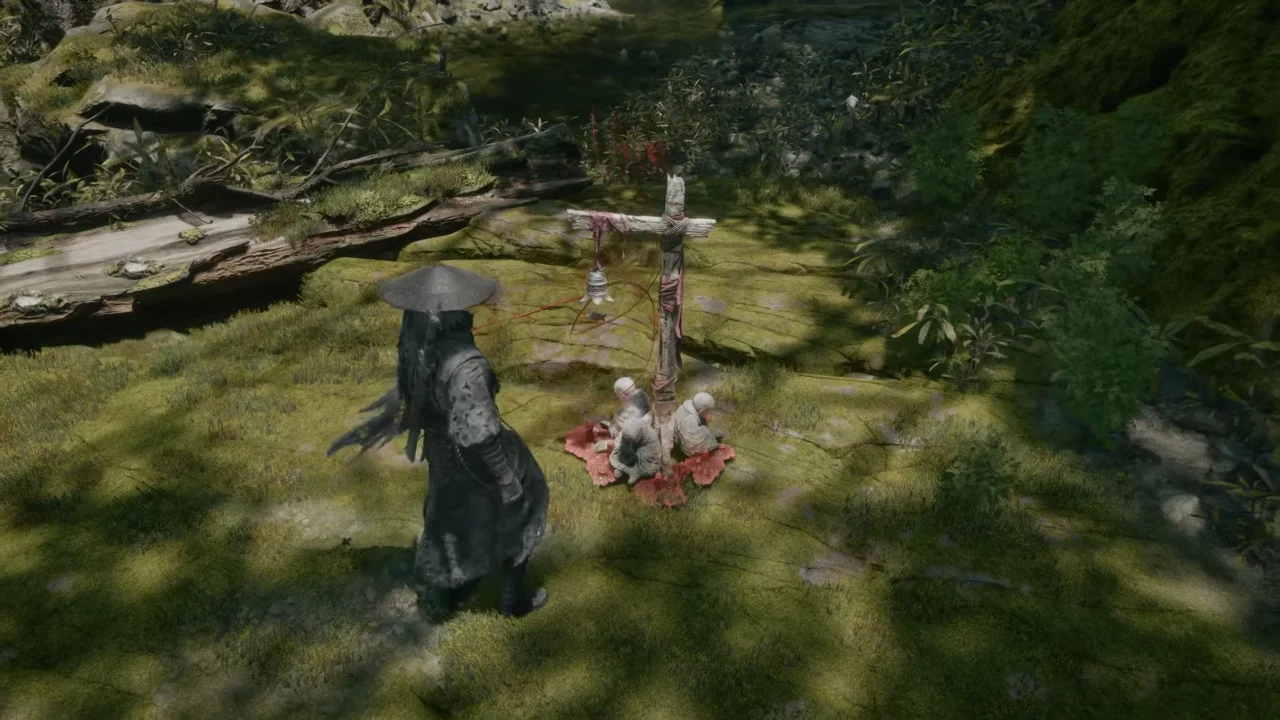
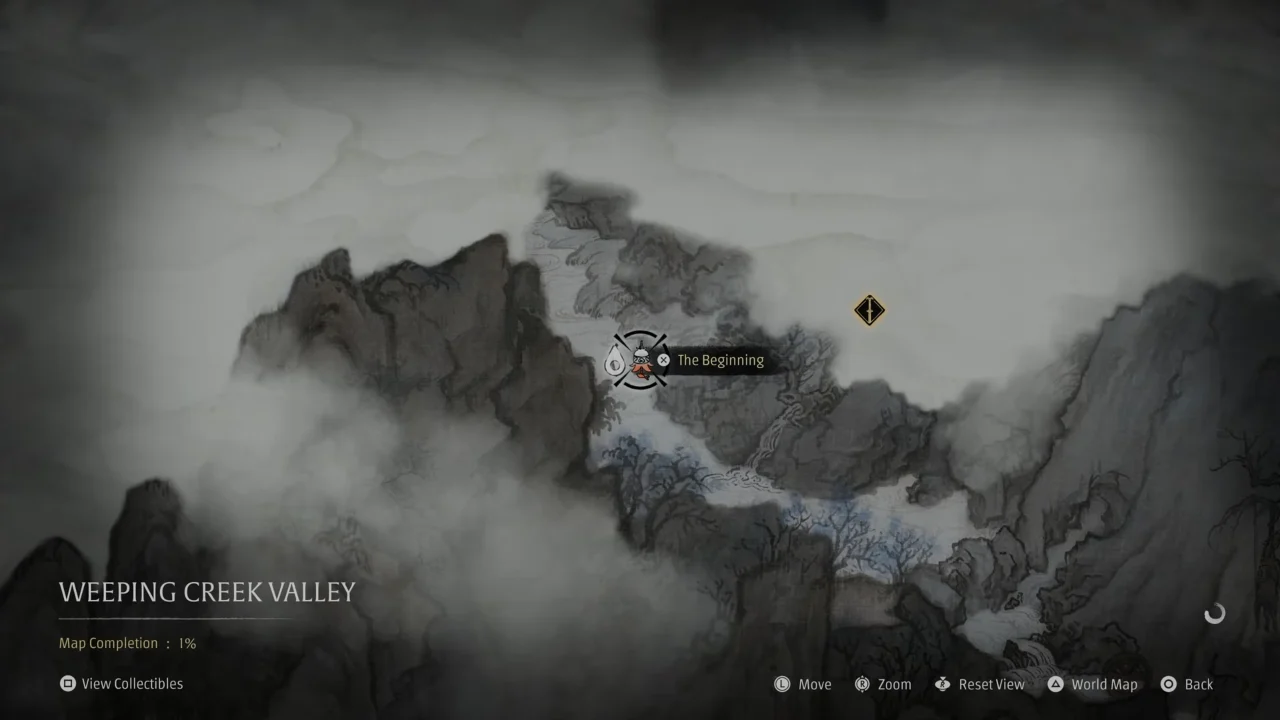
Collect Remnant Dust in the surroundings, then continue up the scratched stone wall to the right of the corpse. Walk along the cliff edge, and you’ll soon see red cords start pulling Soul’s body toward the bell. Interact with the Bell: The Beginning to hear Inanis, a woman who’ll tell you that this bell rings for you alone and will mend all your wounds.
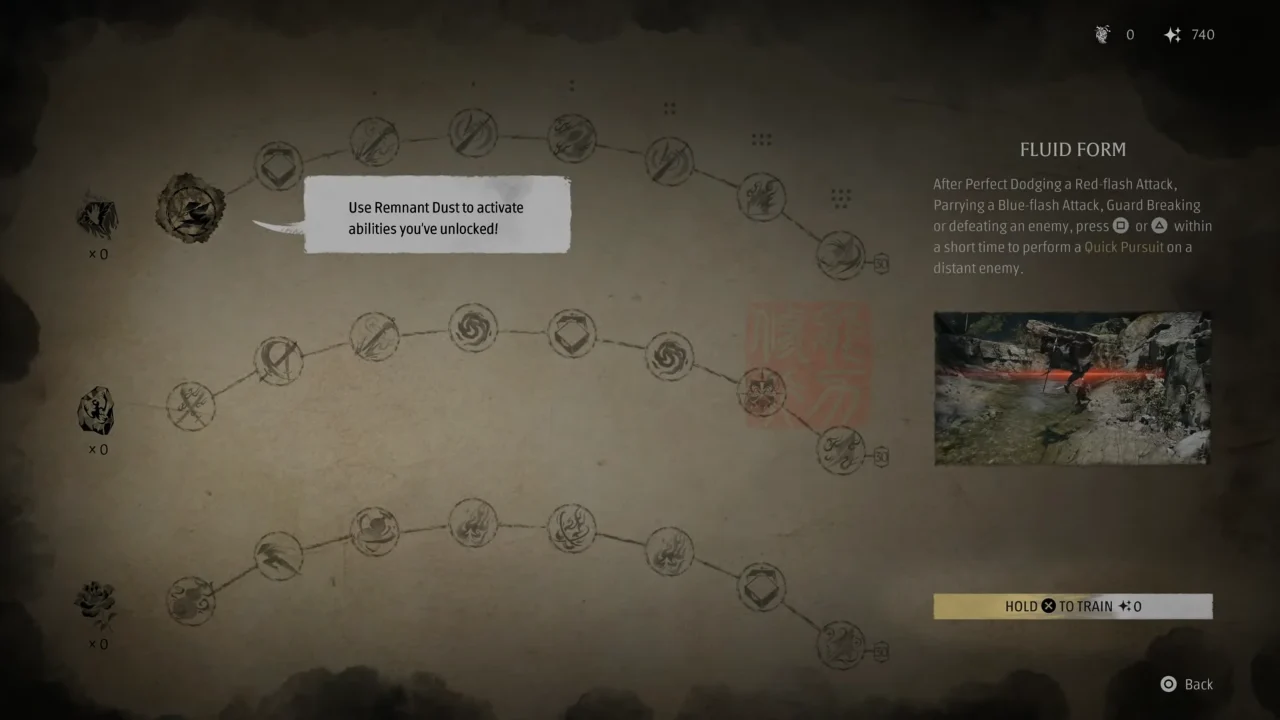
Ringing a Bell for the first time clears the fog and reveals some area on the map, restores health, refills medicine gourds, and sets a respawn checkpoint. Open the bell’s Train Abilities menu to trigger the skill tree tutorial. The tree is split into three branches led by Remnant Dust, Blackstones, Sha-Chi Ambers, and Large Memory Flowers. You’ll have to complete the mandatory tutorial prompt. Doing this lets you unlock, refund, and reacquire Fluid Form Level 1 so you can dash at an enemy right after a perfect parry or guard break.
Unlock The Lady’s Rift Bell and Meet Yu’er
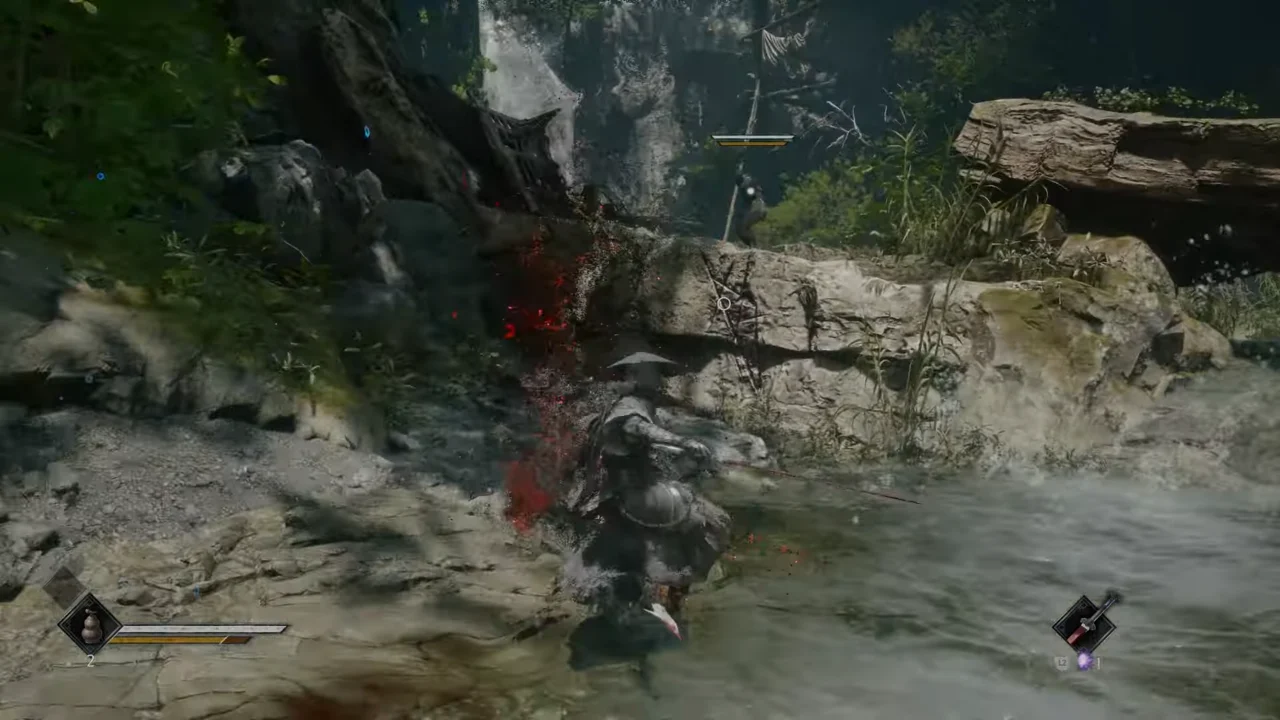
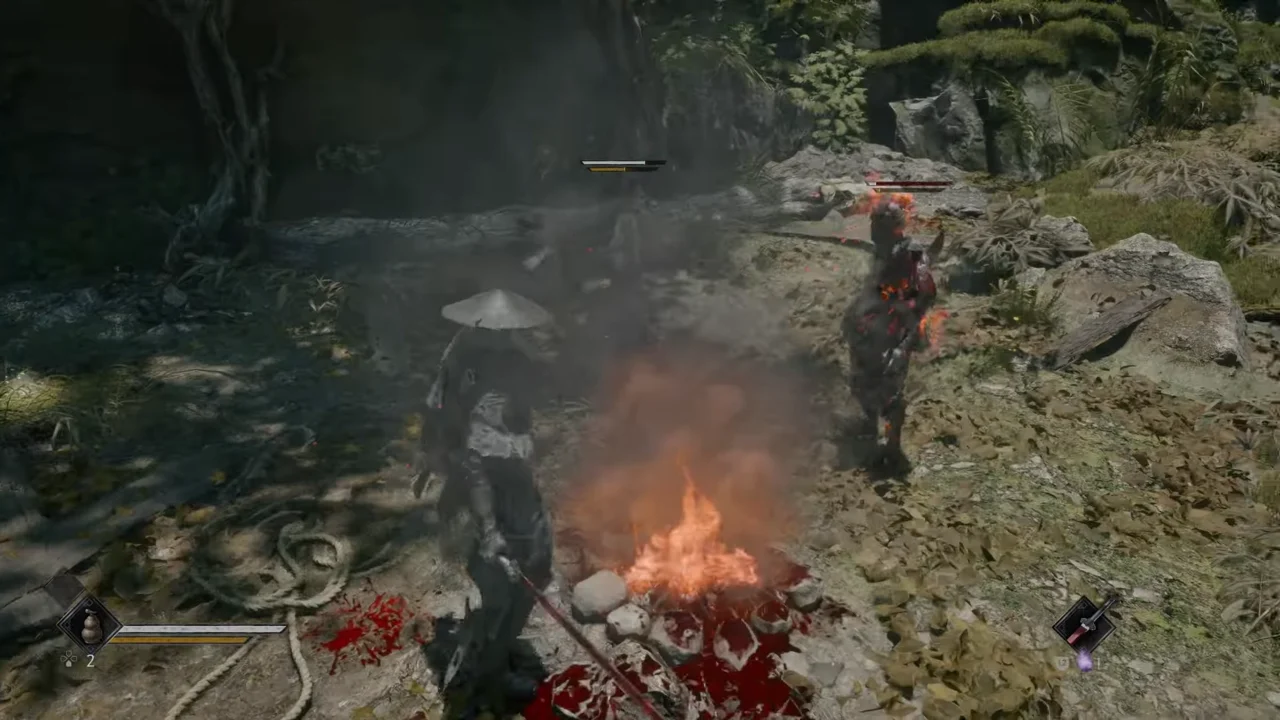
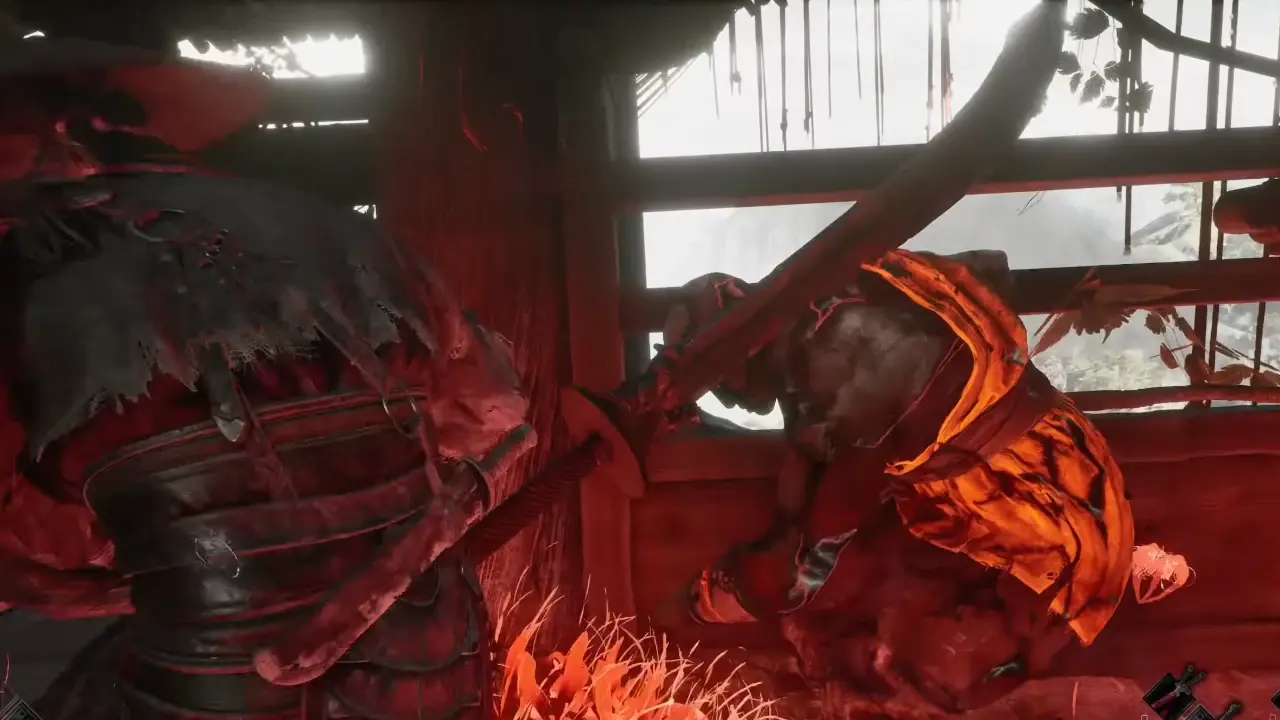
Go past the bell by the waterfall to reach a small clearing where you’ll fight two Maskwalkers. Take out the ranged thrower on the wooden overlook first, then parry and execute the spear-wielder. Climb the ledge and confront four more baddies near the campfire. The one holding a burning weapon can burn you alive, so parry his swing to get an execution prompt. You are completely invincible while performing execution animations.
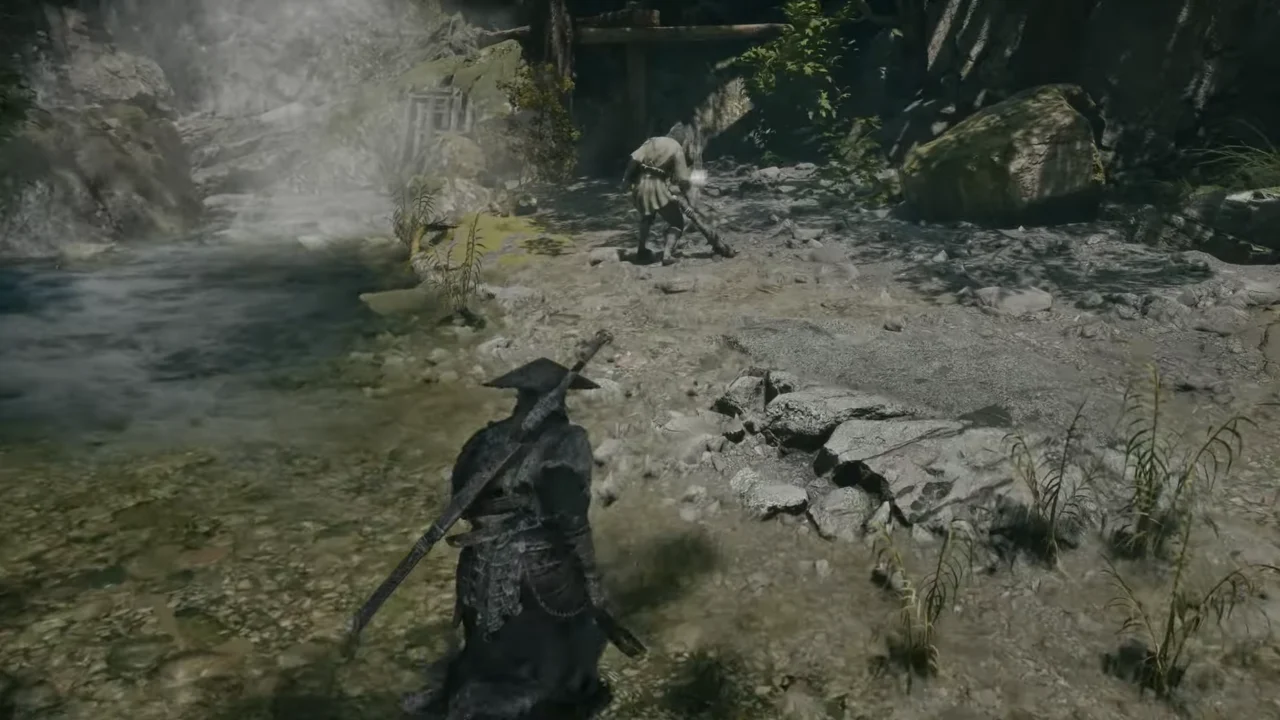
Collect the Remnant Dust near the fire, read the inscription carved on the cliff face, and go past under the fallen tree to take down the Yellow-Robed Brute guarding the waterfall pool.
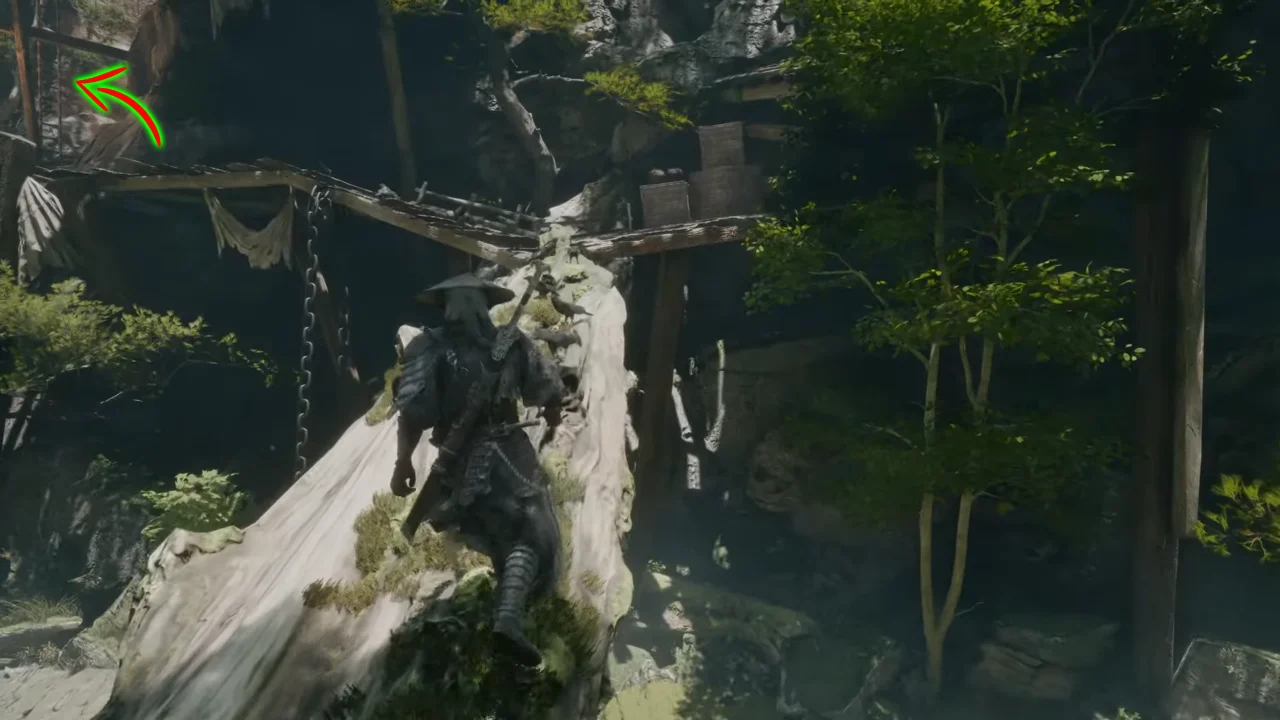
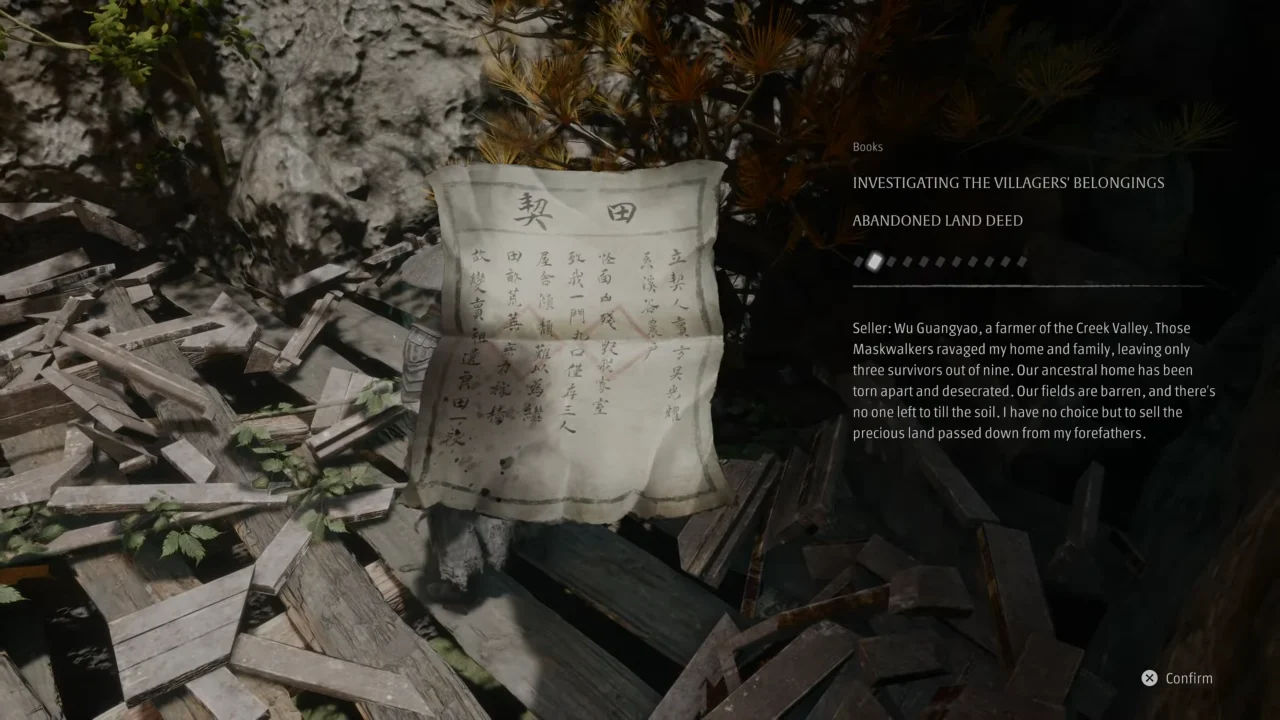
Climb up the scratched ledge just before the tree, then cross the trunk over to the other side. As you move on the branch, a short cutscene triggers where a ton of crows roar and take off into the sky. Once on the other side platform, head left toward the scaffolding where you’ll have to deal with a few more enemies. After that, pick up the Investigating the Villagers’ Belongings: Abandoned Land Deed scroll just past the ladder on the floor.
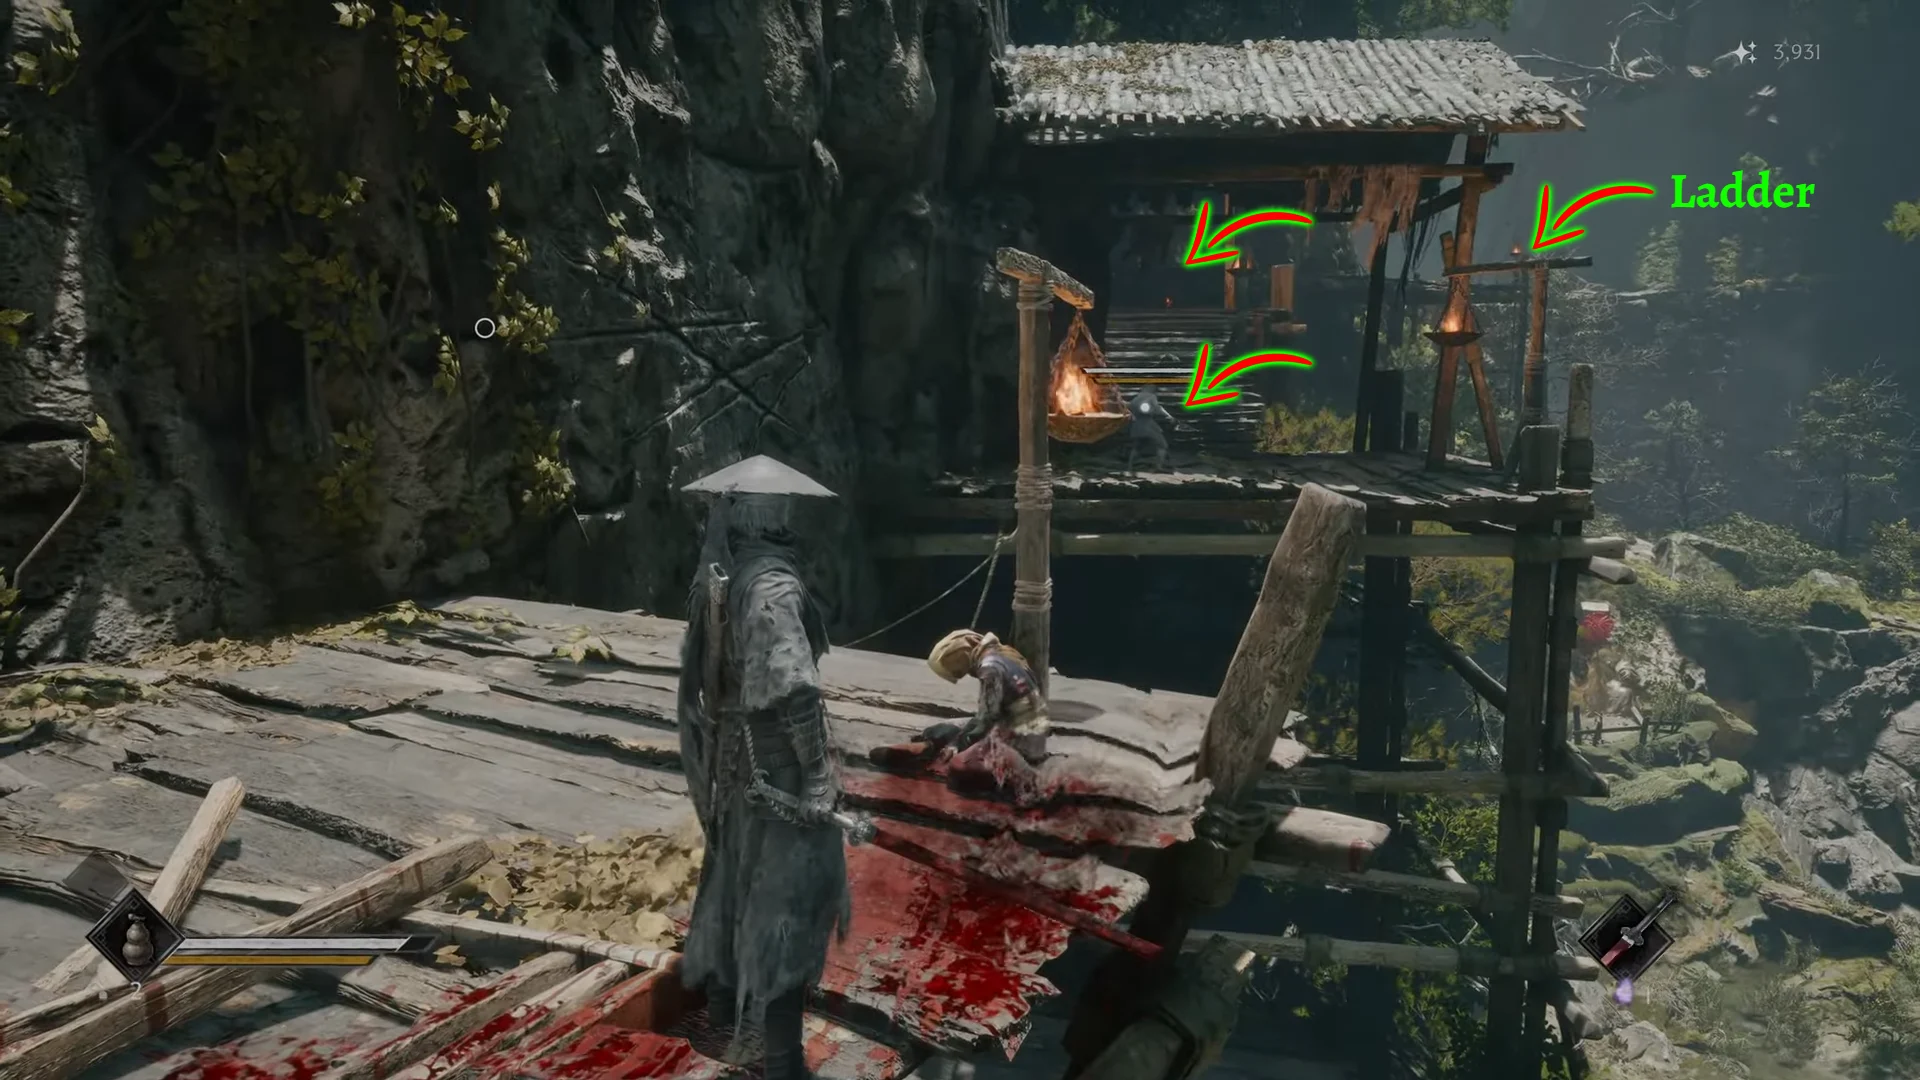
Next, climb the ladder to start a stealth tutorial where the game asks you to assassinate the unaware enemies. Crouch into the shadows and assassinate the oblivious sentry from behind, noting that darkened screen edges confirm you are hidden. Sprint along the wall (or wall run) to execute the guard standing across the gap, then take down the fire-pot thrower above the steps.
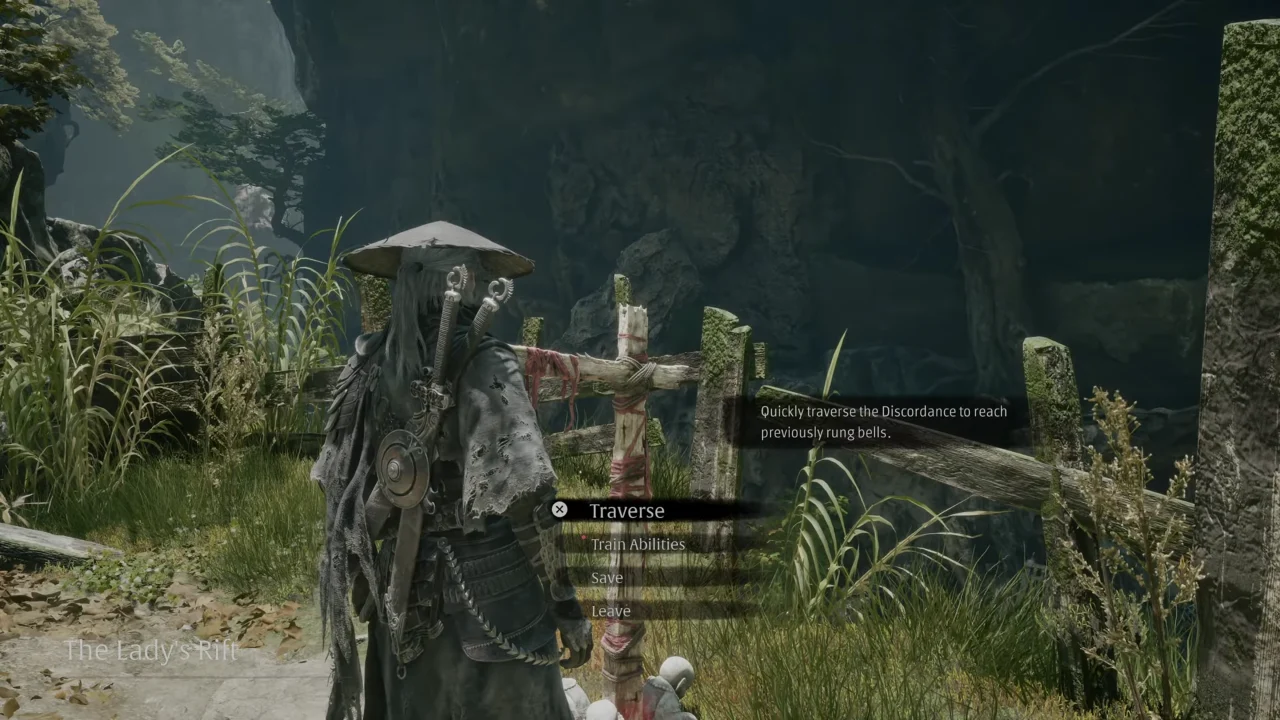
Follow the wooden catwalk until red cords pull Soul downward to a lower platform. Climb down the ladder on your right and ring The Lady’s Rift Bell to activate it. Here, you get the new ability to use the bell’s Traverse option to fast travel between the bells.
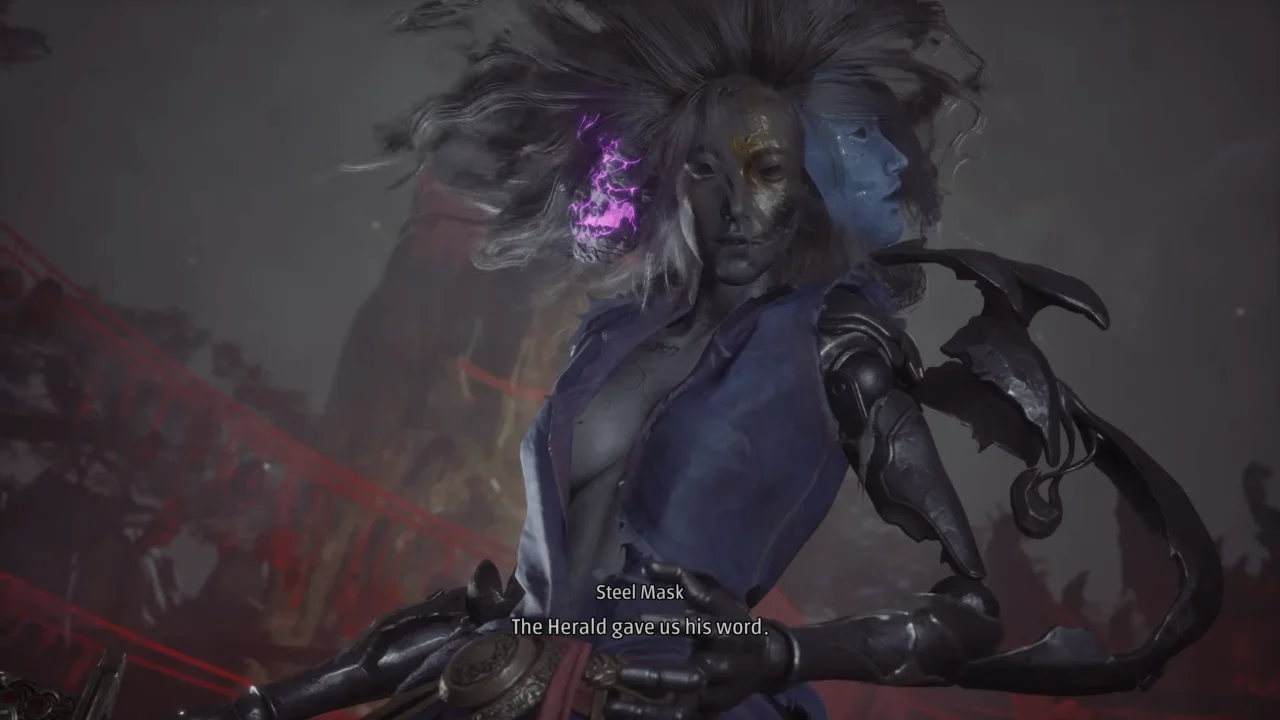
Right next to this bell is a glowing golden fissure that leads to an optional duel against the Aberrant Three-Faced Puppet boss, though fighting her this early can be a needle in the throat. Once you lose after a try and exit the rift, the Triple Threat tale will unlock, which asks you to learn more about the Three-Faced Puppet to be able to beat her later on, and Soul will also comment that his abilities aren’t on par to win this fight right now. You can interact with the rift to log the quest and come back later after your gear is maxed enough.
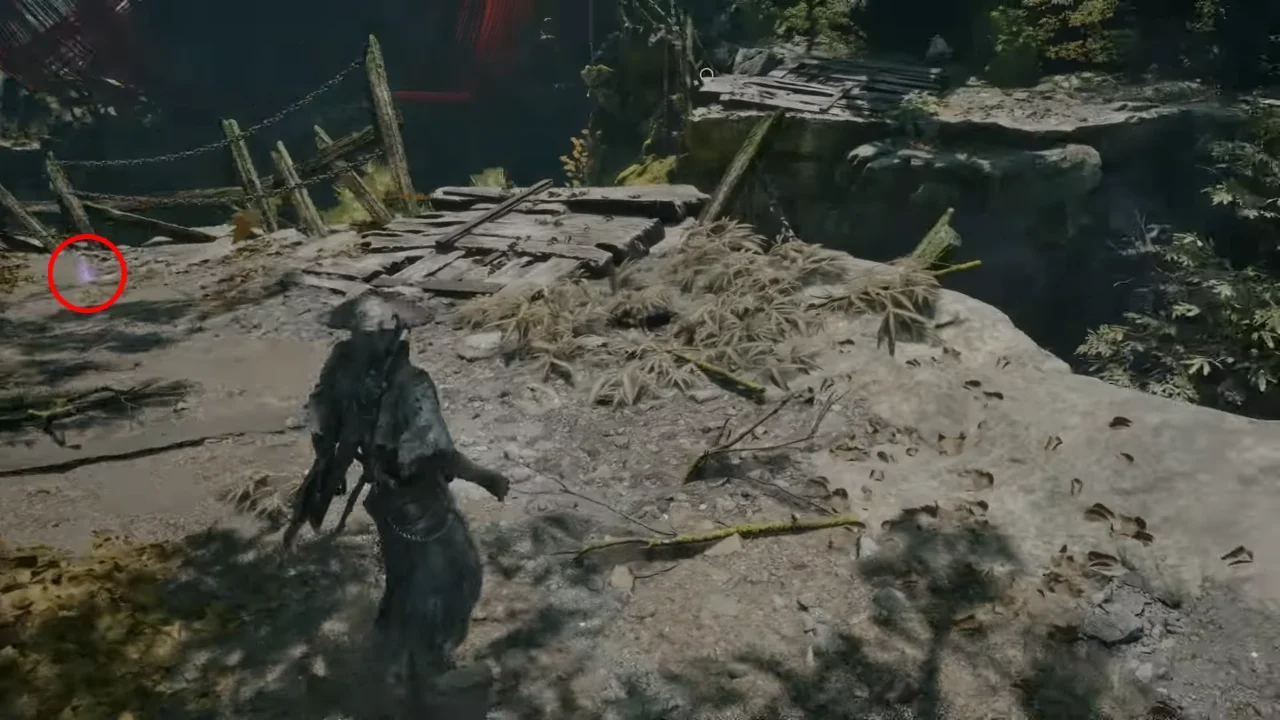
Climb back up the ladder, wall run across the gap ahead, and collect the purple color Traversal Talisman near the fence. Use the chain anchor to swing over and engage an aggressive elite wielding a pixel in both hands. Parry Maskwalker’s rushing attacks, counter his guard break to defeat him and earn the Hunter’s Insight. This item “increases damage dealt and Sha-Chi depletion against attacking enemies by 7%.”
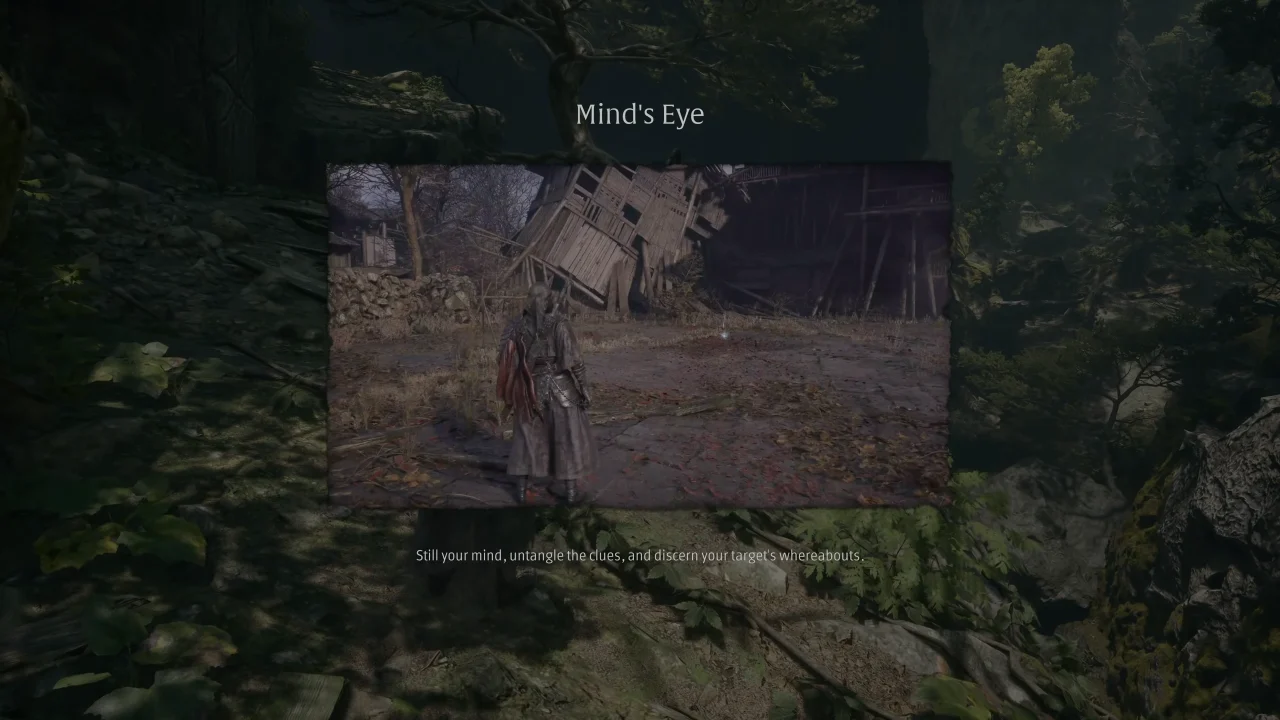
Keep walking down the walkway to unlock the Mind’s Eye ability, which projects a visible trail in the world pointing toward your tracked quest. As per the in-game description, Mind’s Eye “still your mind, untangle the clues, and discern your target’s whereabouts.”
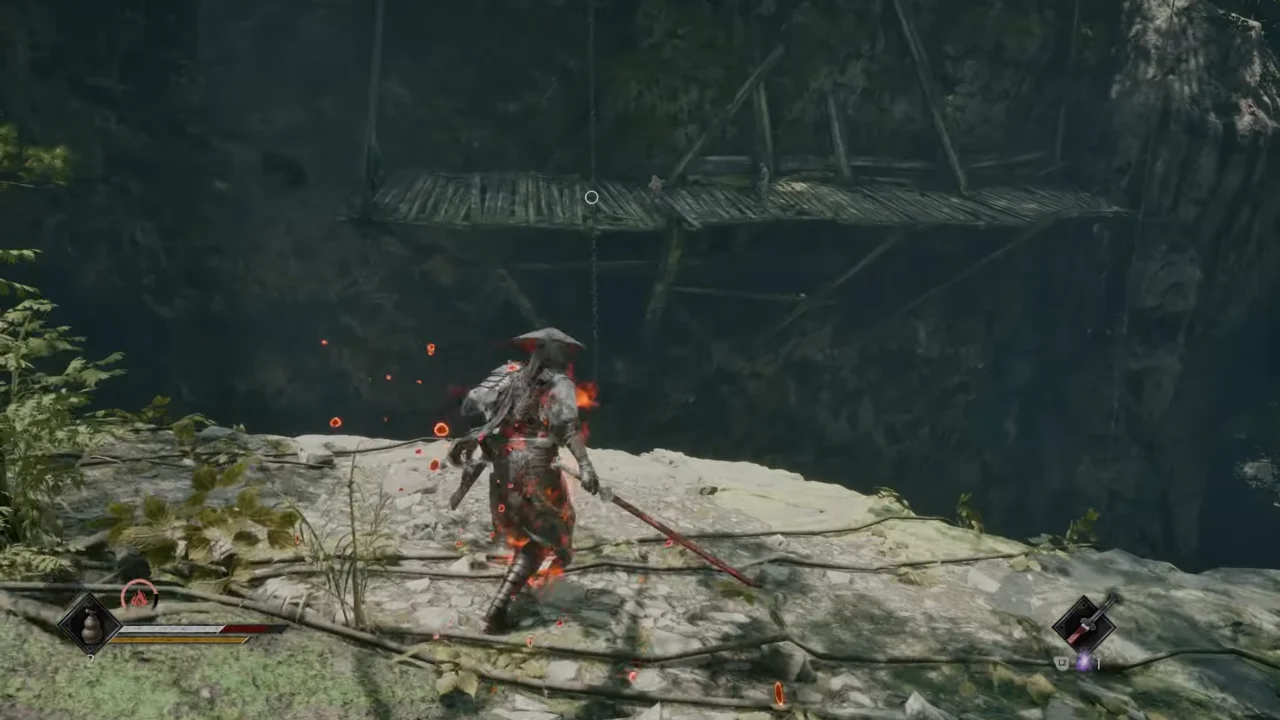
Wall run across the chasm, use the chain to swing over the gap, and eliminate the two bomb throwers on the far deck. Walk ahead a short distance and ride the hanging rope down to reach a secluded campfire.
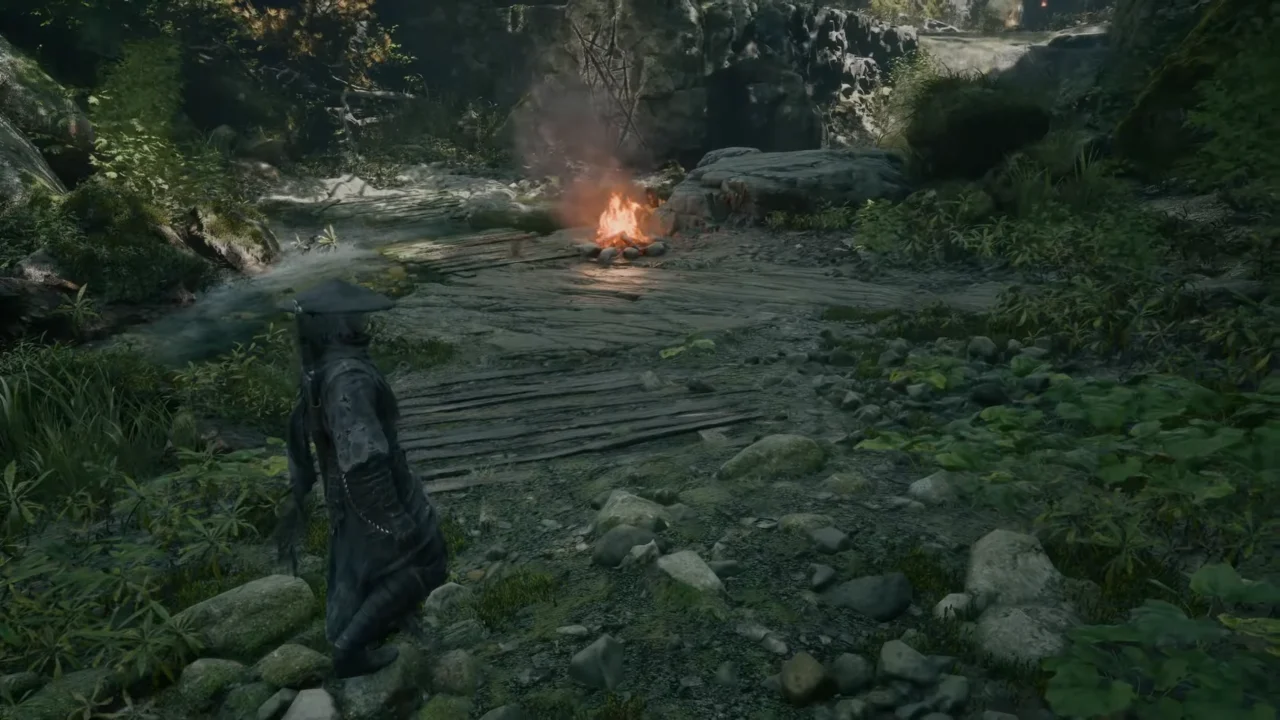
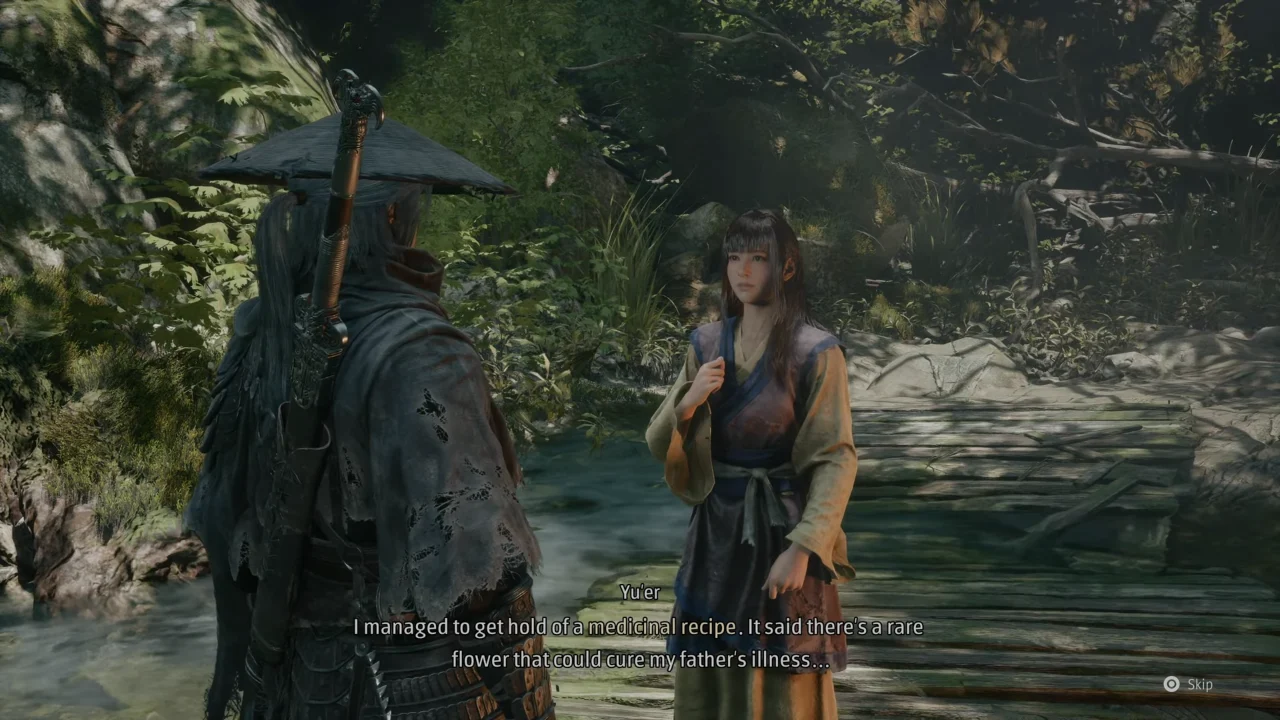
Talk to the young woman sitting by the fire named Yu’er. She’s the daughter of the Pangzhen village brewer. Her village is suffering from a strange illness that has affected everyone, including her father, and she escaped the town in search of a rare flower that can cure him. You can also ask her about the main road to Pangzhen, which she’ll tell goes through woods in the forest just above the waterfall. Exhaust all dialogue options and choose Ask How to Save Her Father to start the Flesh Lily side tale.
Claim the Sanguine Twin and Dispel the Red Thread Barrier
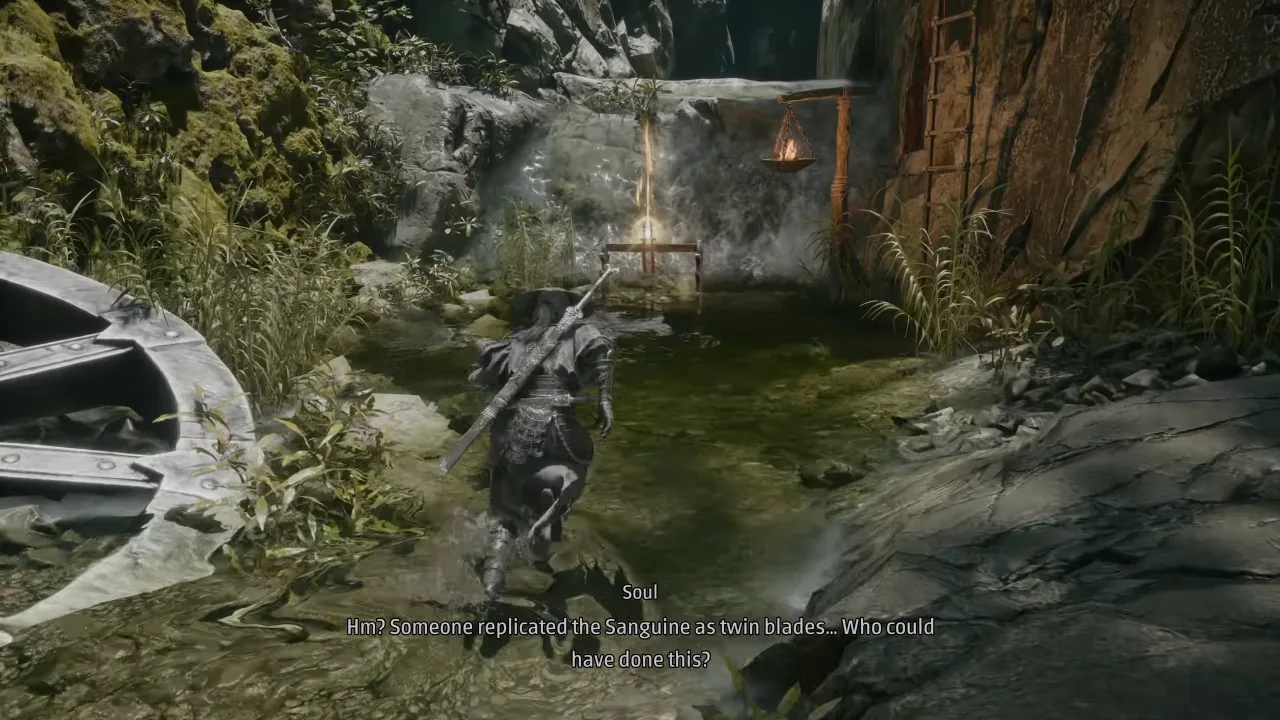
After the conversation with Yu’er, turn around and scramble up the scratched ledge to proceed. Walk a short distance ahead to find another primary weapon, the Sanguine Twin dual blades, on a weapon rack next to the ladder and hanging fire. You can equip them in your secondary weapon slot to have a strong backup for the upcoming battles.
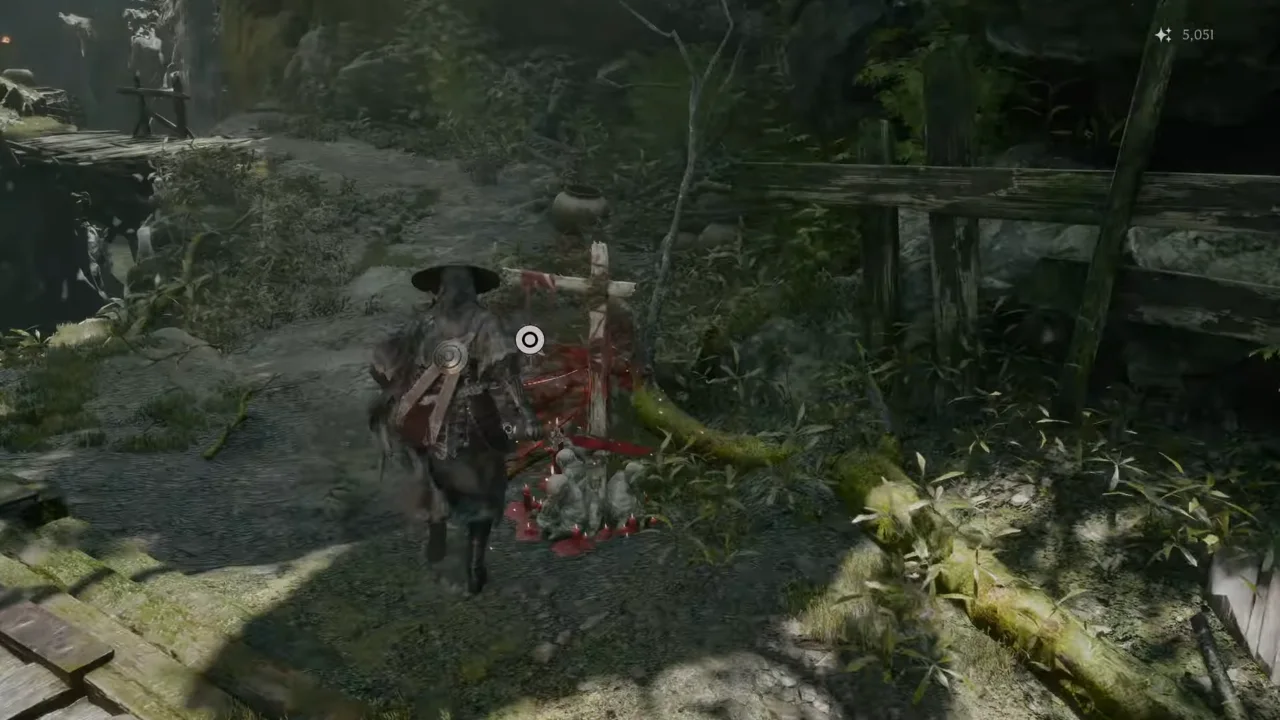
Another bell is nearby, as you probably have already figured out by the threads’ pull. Climb the ladder to activate the First Meeting with Yu’er Bell. Smash the wooden crates beside the bell to loot Forged Metal, an important upgrade material used to upgrade one-handed weapons to Level 10. If you have spare Remnant Dust, I’d suggest you unlock Steady Composure on the skill tree to let your parries and dodges disrupt enemy combos.
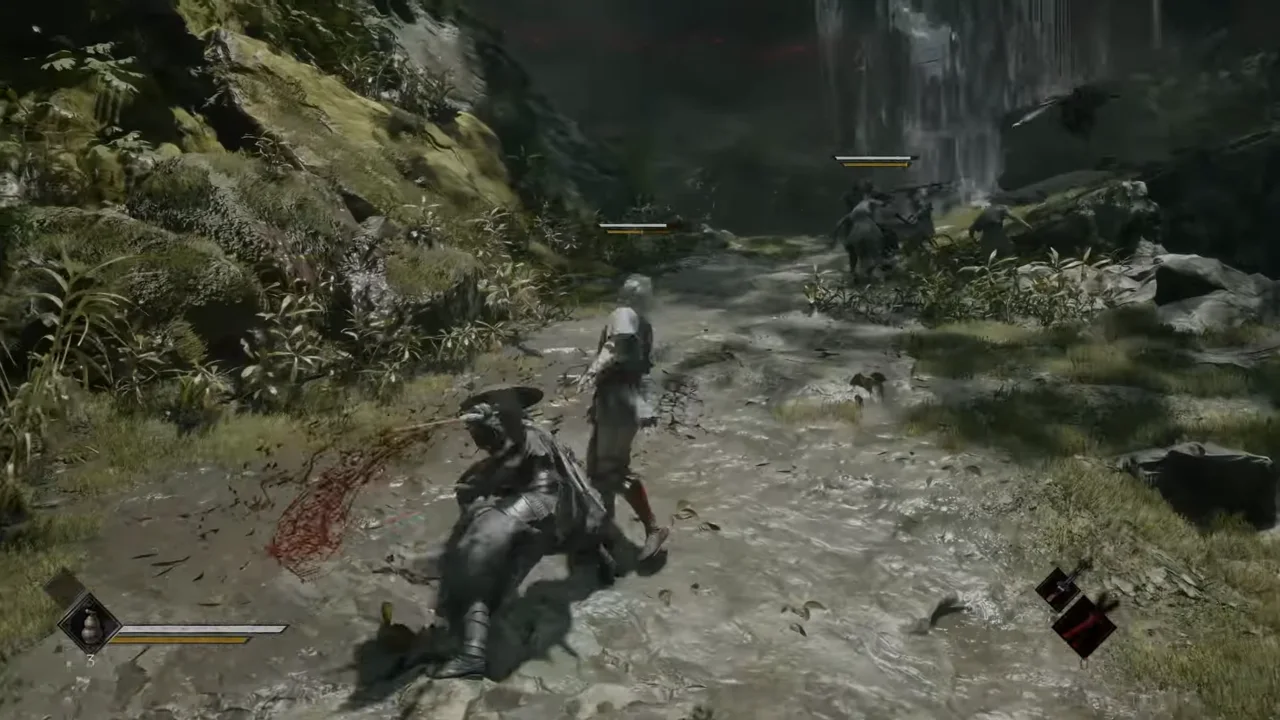
Head down the mountain road toward a big waterfall where you’ll come across a few Maskwalkers fighting each other. Before you approach them, drop down near the stone lantern to find a hidden cave for Remnant Dust and Traversal Talisman. Climb back to the road, kill the enemies who survived the internal conflict, and claim the Battle Wraps accessory from their corpse to get a flat +5% increase to all attack damage.
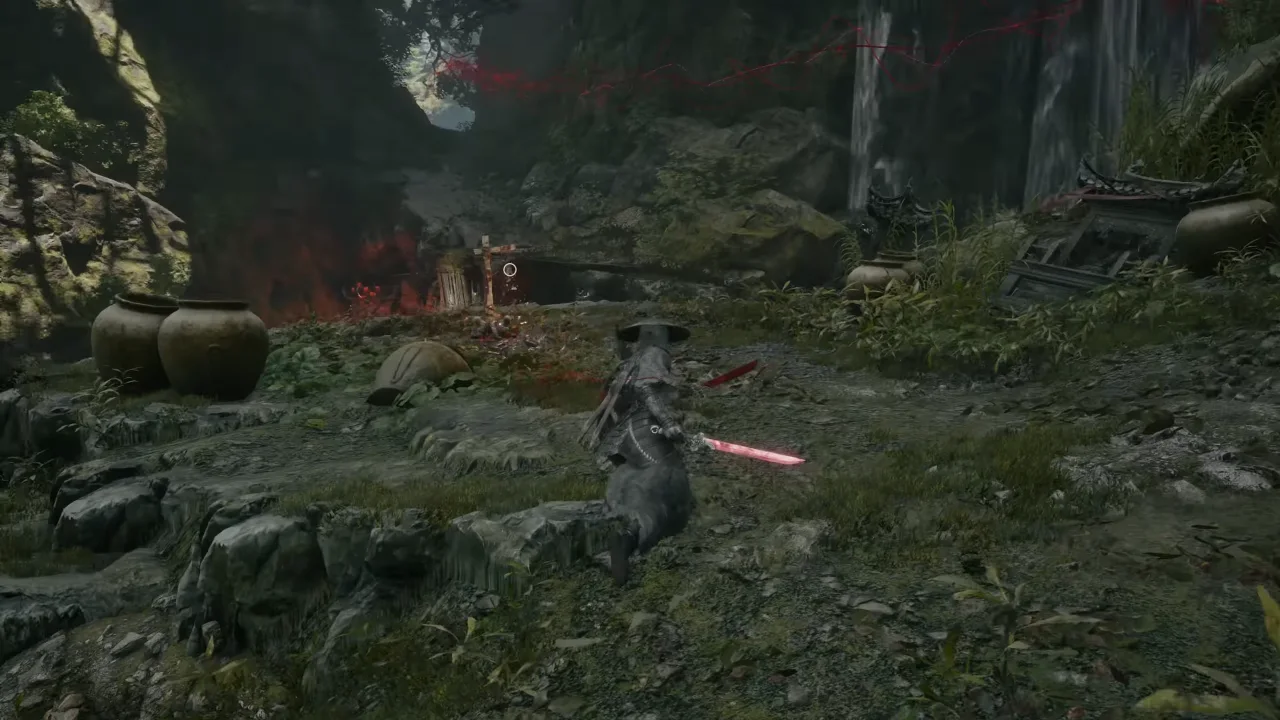
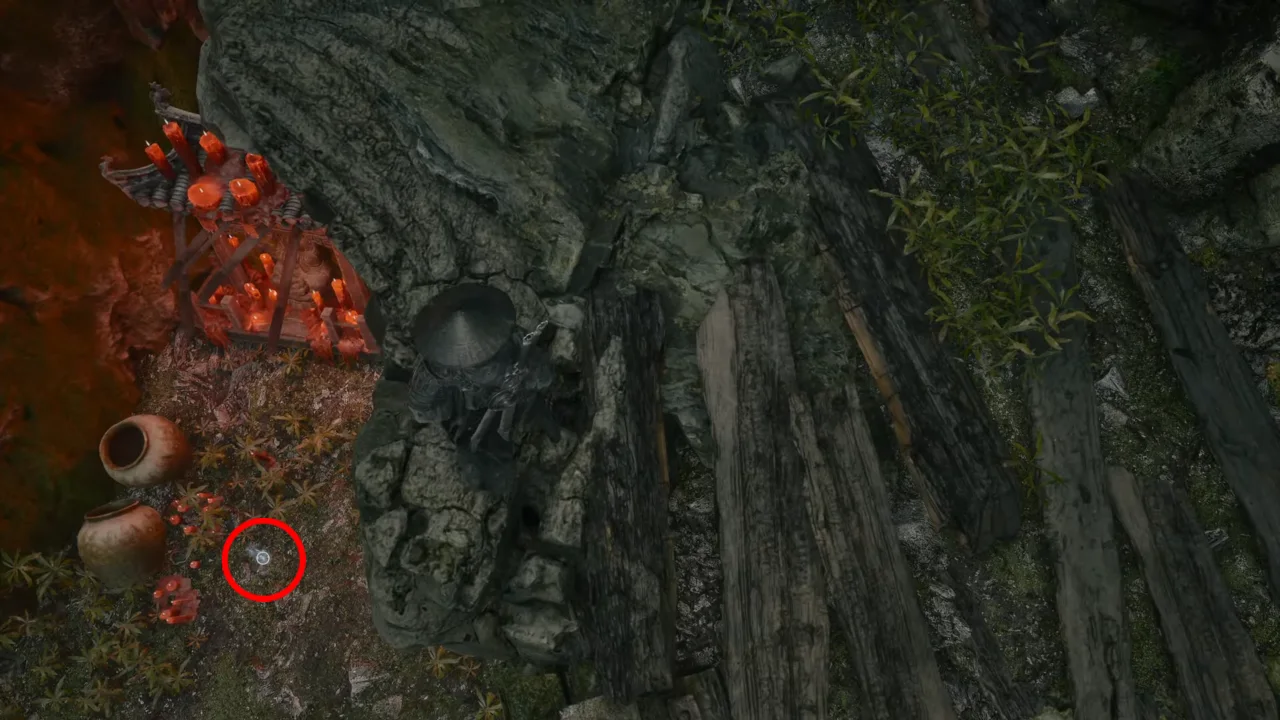
An impassable web of red threads blocks your way forward, so you can’t continue for now, but you can activate the Red Thread Barrier Bell on the left. To dispel this barrier, you must find and destroy the occult puppet anchoring it. Grapple across the chain beside the bell to jump over the gap, drop down to grab Forged Metal in front of the statue. Climb back up and follow the floating threads winding through the upper branches.
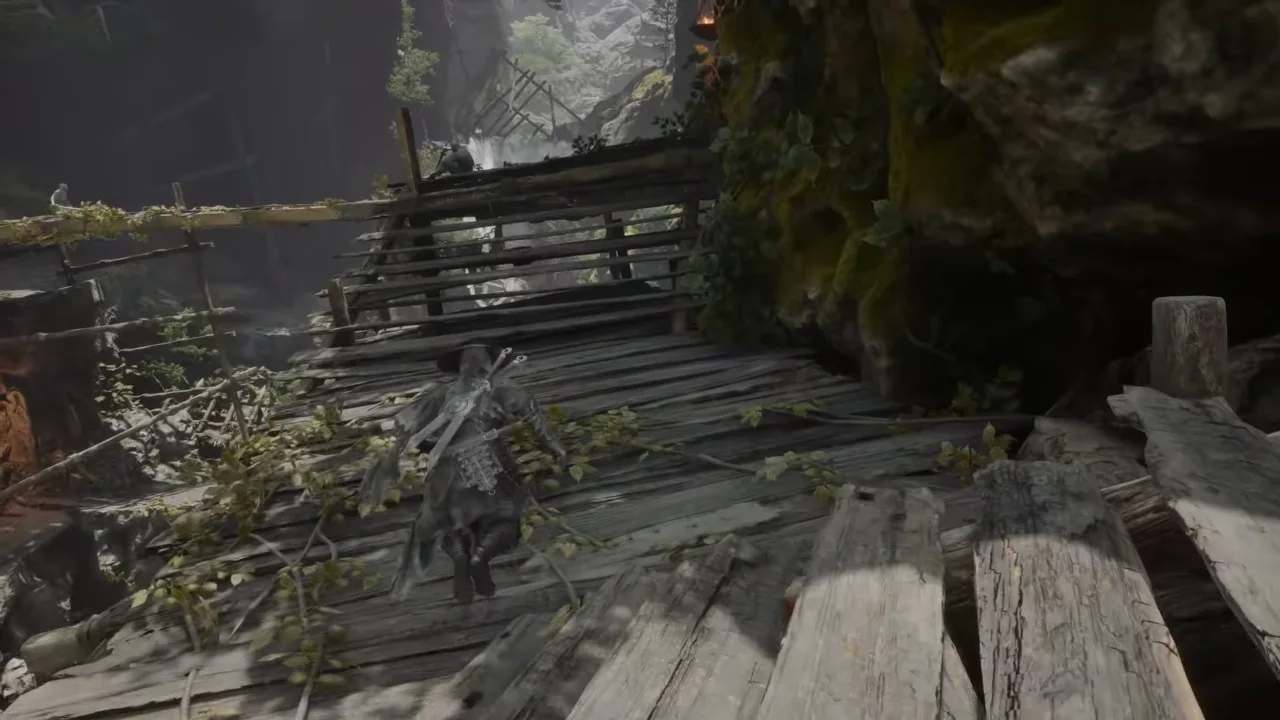
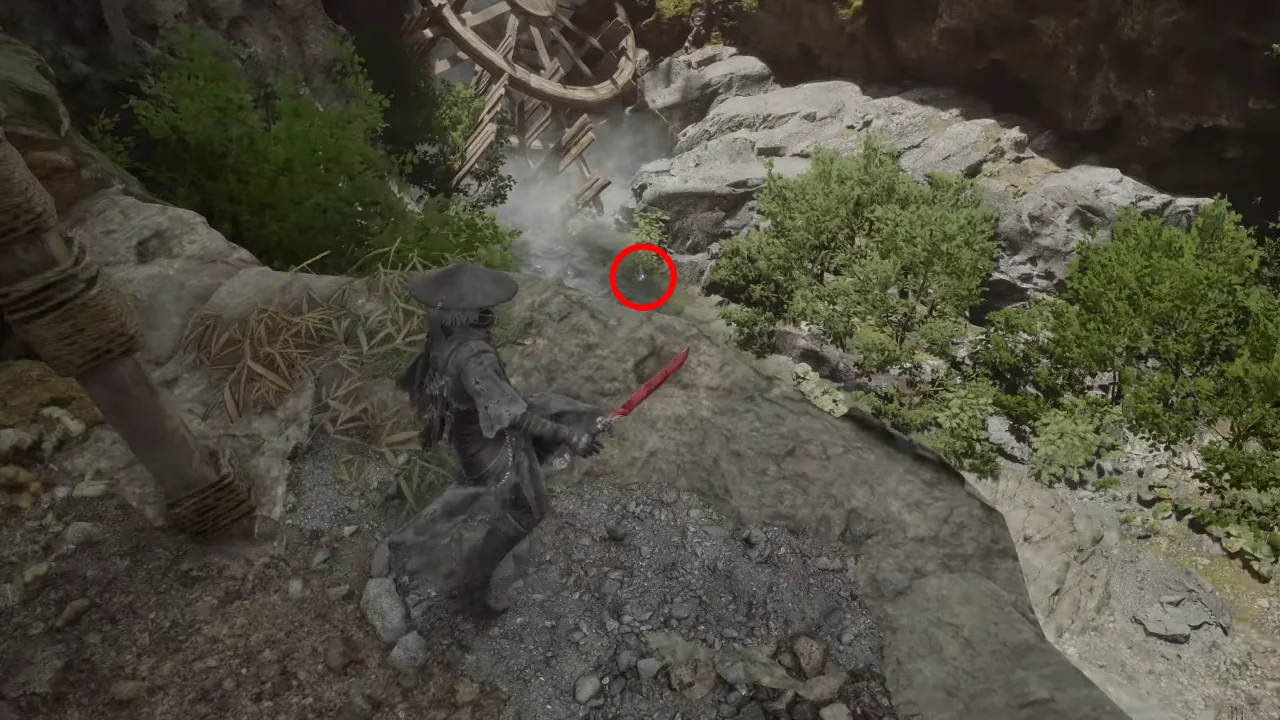
Walk along the wooden catwalk and take out the enemies along the way. Pick up the Solvent (a necessary upgrade material) found on the edge of the boards, then drop near the broken waterwheel to claim an Exotic Copper Ingot, another upgrade material required to level up Martial-type Phantom Edges to Lv. 10.
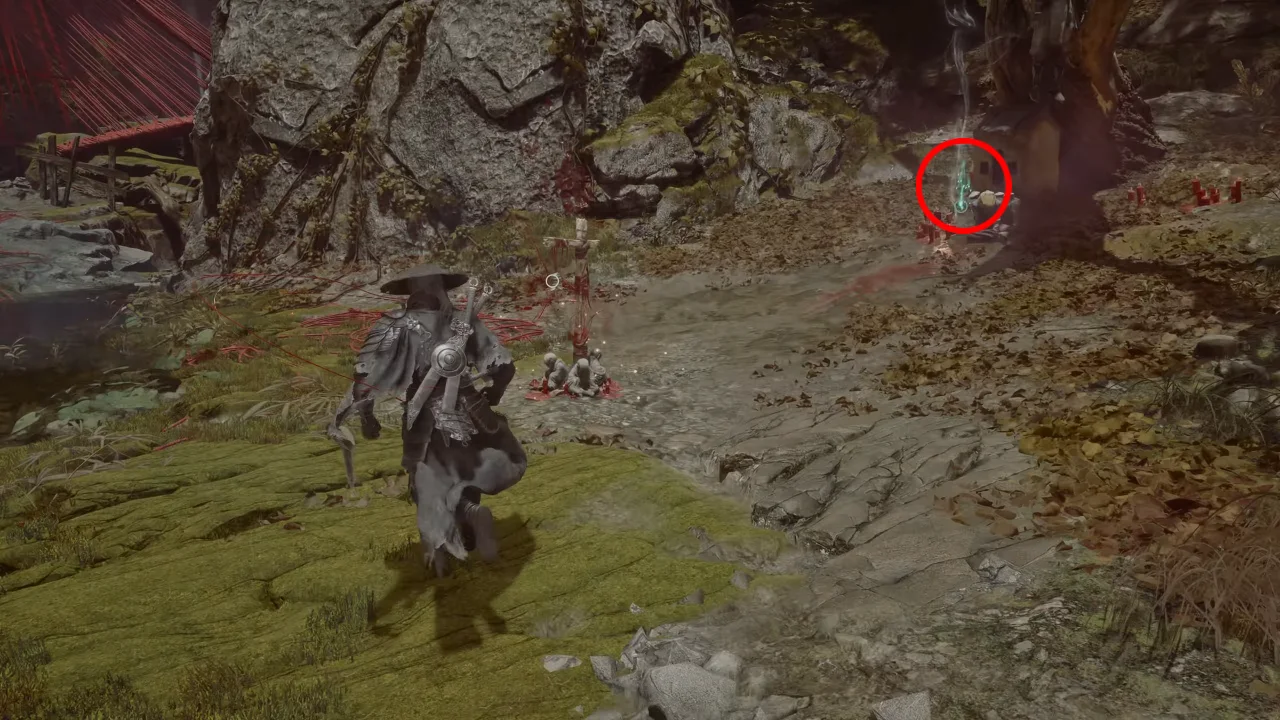
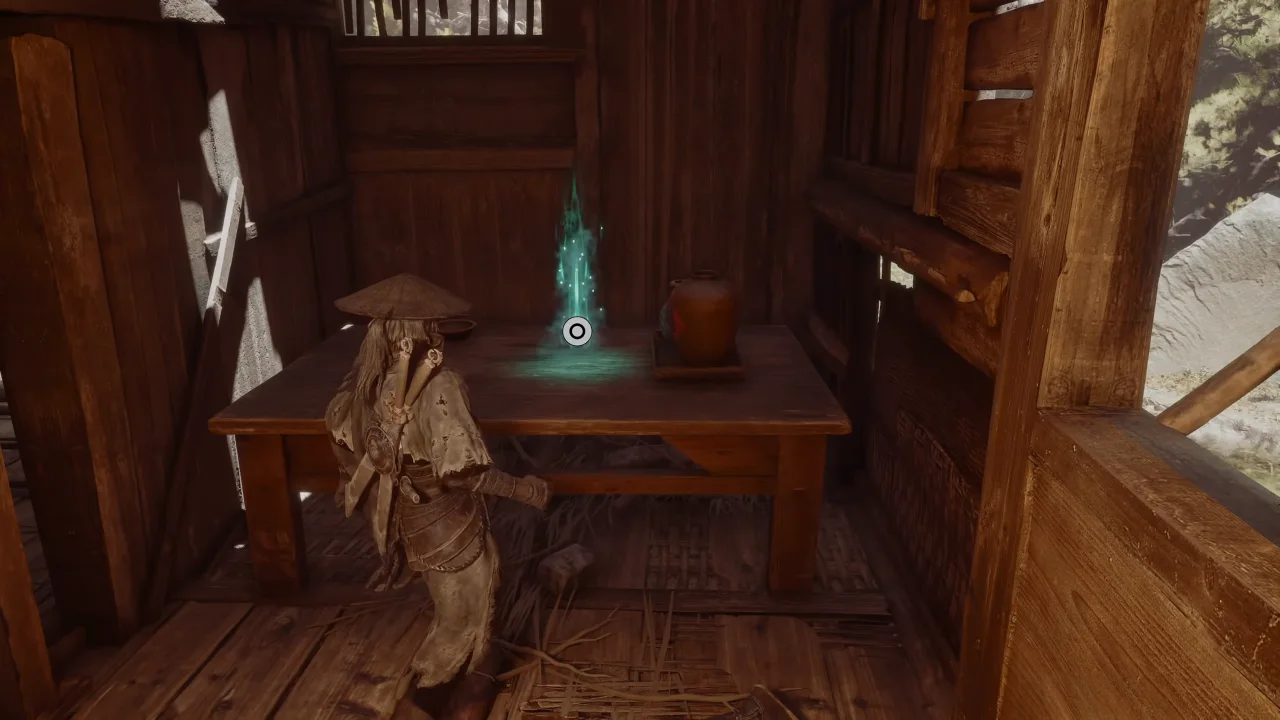
Follow the riverbed opposite the waterwheel, and fight your way past the enemies to find the Broken Puppet Valley Bell near the river edge. Then, take the shiny green The “Four Axes” Case Files: The Four Axes Rebellion: Calamity scroll off the ground by the tree, which will add the Four Fierce Axes tale to the log. Next, get inside the hut across the water to collect another shiny green scroll named The Four Axes Rebellion: Chaos.
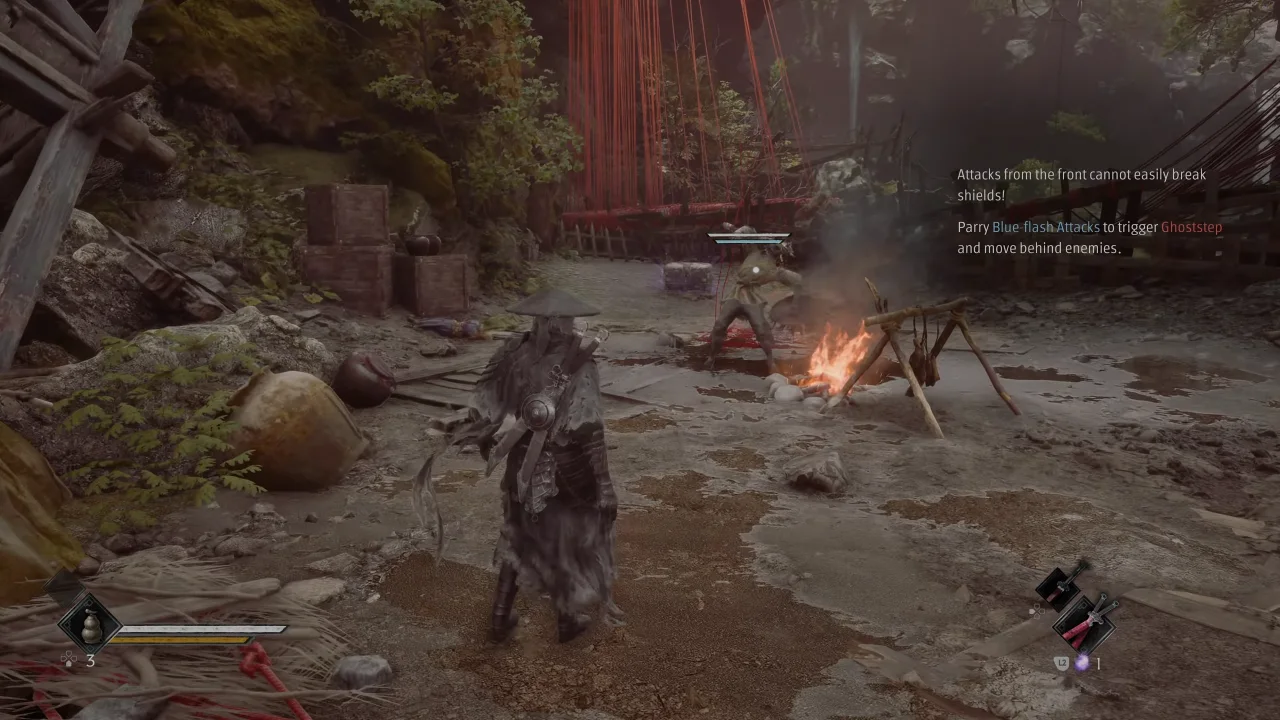
Track the red threads ahead into a dead-end clearing where you will confront the puppet brute. This enemy hides behind an armored shield that deflects frontal strikes. Wait for him to wind up his blue flash attack, parry on time to trigger a Ghoststep, and teleport behind his back to shred his Sha-Chi.
Once the enemy is dead, a cutscene plays in which the threads vanish, opening the path forward. Before leaving, loot Solvent by the rocks and open the chest in the area to claim a Sha-Chi Amber Fragment. Collect four of these items to increase your maximum Sha-Chi by 10%.
Defeat Jagged Steel, the Frenzied Brute
Use Broken Puppet Valley Bell’s Traverse to fast travel back to Red Thread Barrier Bell to take the newly opened route. Just when you’re about to pass under the threads, two Maskwalkers ambush you in a cutscene, though The Hunt drags them away with weapons and taunts Soul, saying he’ll be waiting for him.
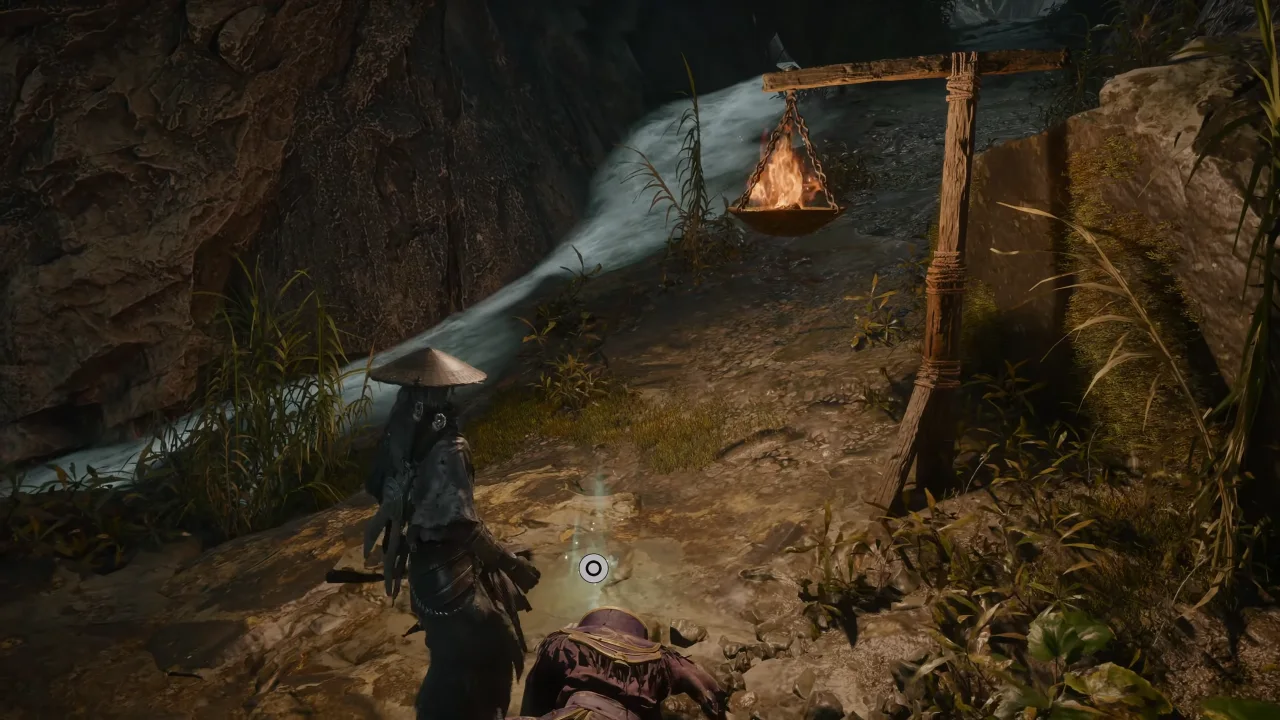
After that, walk through the threads and collect Wulin Tales: Captain Chen Zhu’s Secret Letter from the dead body under the hanging fire. Head a little further to find a dying Iron Mask near another fire lantern. Talk to him, and he warns you about a rusted, jagged greatsword that inflicts fast and deadly hemorrhaging. Walk behind the waterfall to enter the main boss fight.
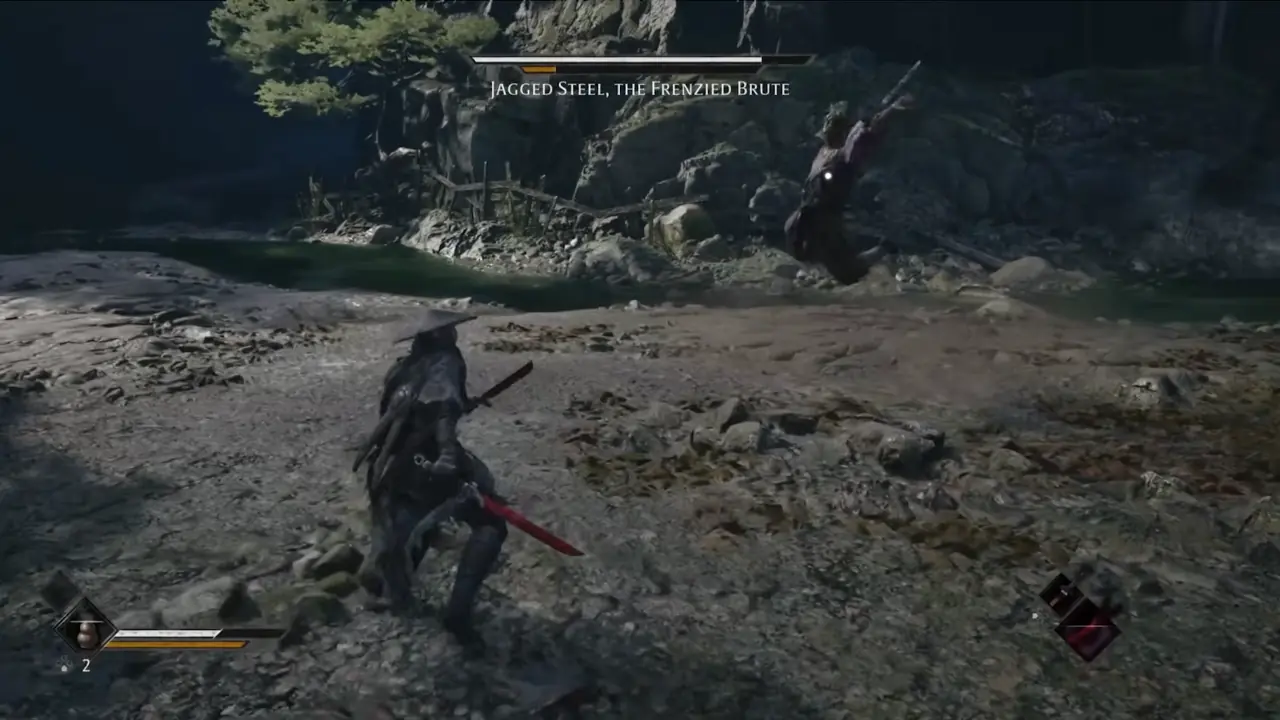
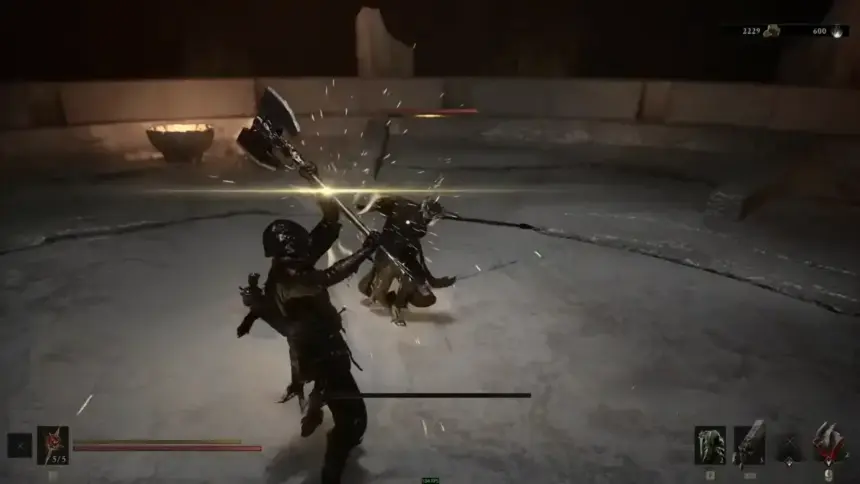
On your arrival, Jagged Steel will be busy in combat with two minions. Let them distract the brute for a moment to shave off a fraction of his guard meter, but take them out quickly so their stray pokes don’t break your defense. Every blocked hit from his saw-blade cleaver fills your red Bleed meter shown in the bottom corner of the screen. A full meter causes Blood Loss, which drains a big part of Soul’s health.
Keep a comfortable mid-range distance to bait his leaping vertical cleave. When he goes airborne, dodge forward through his legs. Jagged Steel’s landing recovery is very slow, which leaves his spine completely vulnerable. Slash him with standard combos with your newly unlocked Sanguine Twin right in his back.
When your Sha-Chi runs dry, switch to the main Sanguine weapon to instantly top off the gauge bar and continue the assault. After the boss’s guard breaks, strike with your weapon art to pin him down. Defeating Jagged Steel gives you 6,600 Remnant Dust and the Jagged Steel one-handed sword.
Make Way to the Mandate Outpost
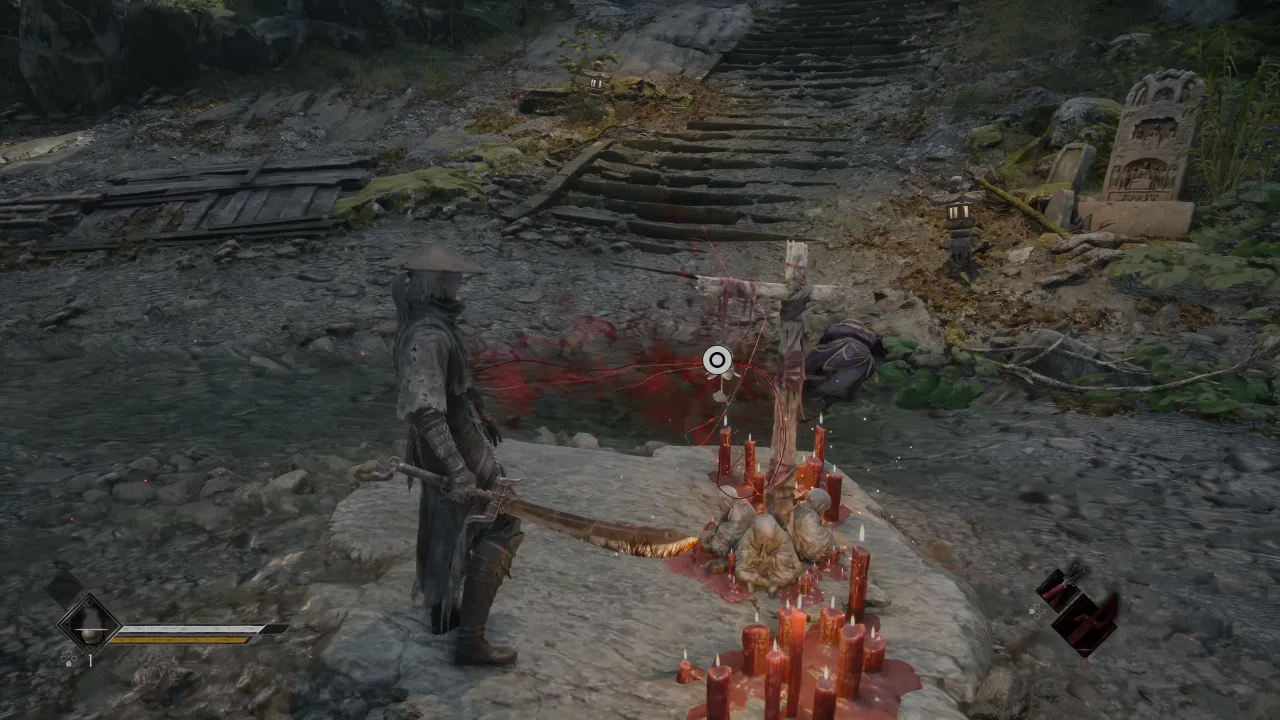
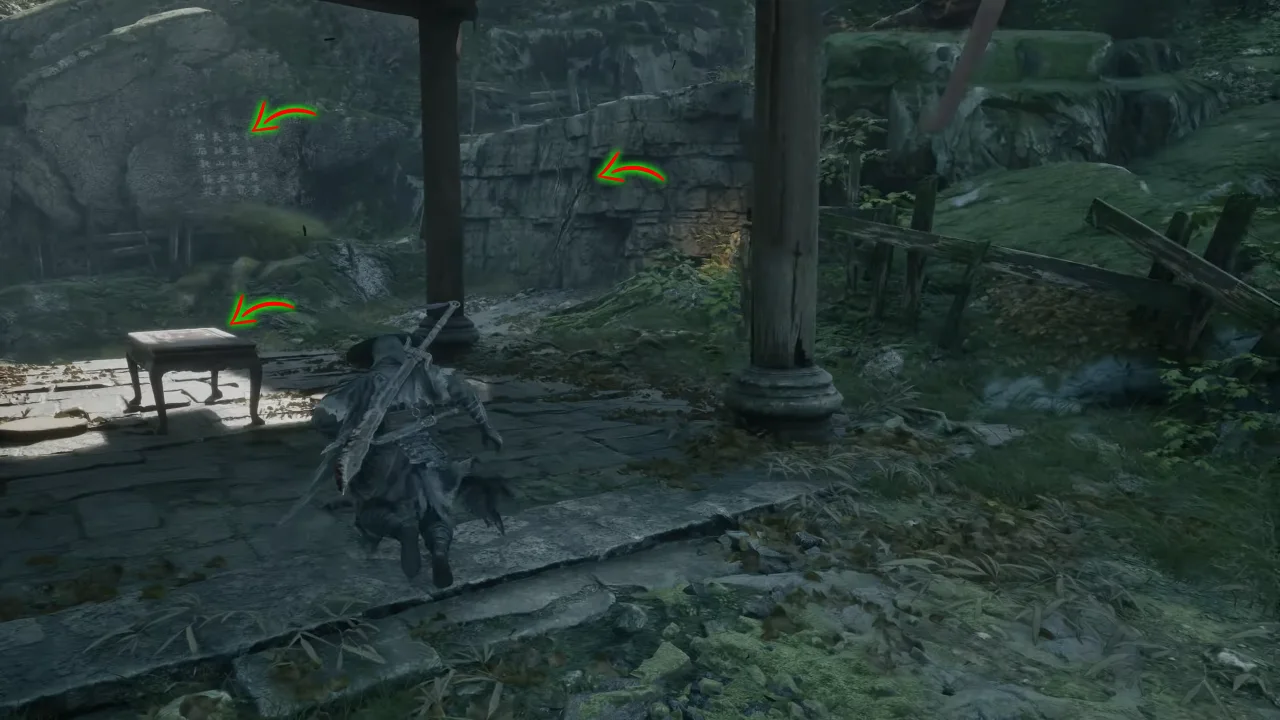
Ring the Rustblade Pavilion Bell right before the stairs. Check the muddy embankment under the collapsed bridge to collect two Forged Metal pieces. Climb the steps next to the bell, and when you reach the scratched ledge, go right to find the Reflections: Outposts, Rare Places of Rest chronicle on a table. Next, read the carved writing on the wall at the opposite end to earn some Remnant Dust.
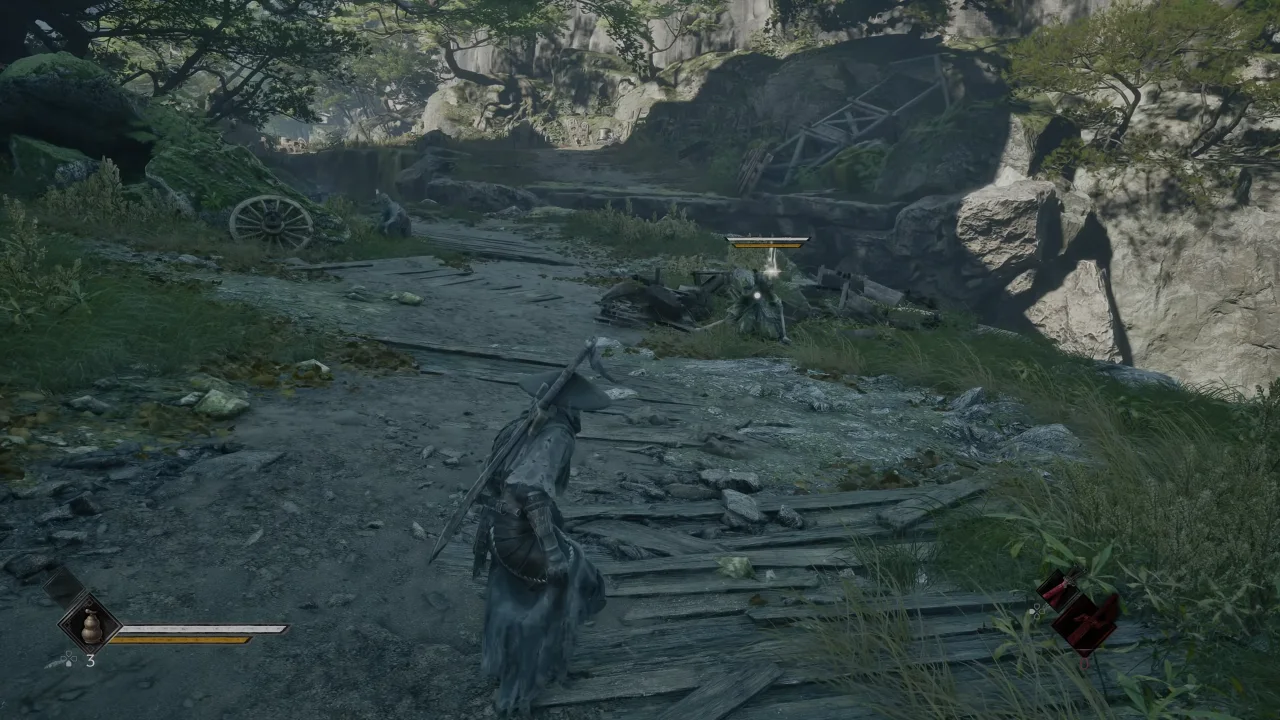
Scale the ledges above the pavilion to face an ambush by three tough Maskwalkers. Keep them clustered to avoid getting flanked, and deflect the dual-wielder’s lunges. You will receive a Sha-Chi Amber Fragment upon beating them. Collect Remnant Dust next to where enemies appeared, then open the chest along the way for Twinned Metal, a material that upgrades Dual-Wielded weapons to Lv. 10.
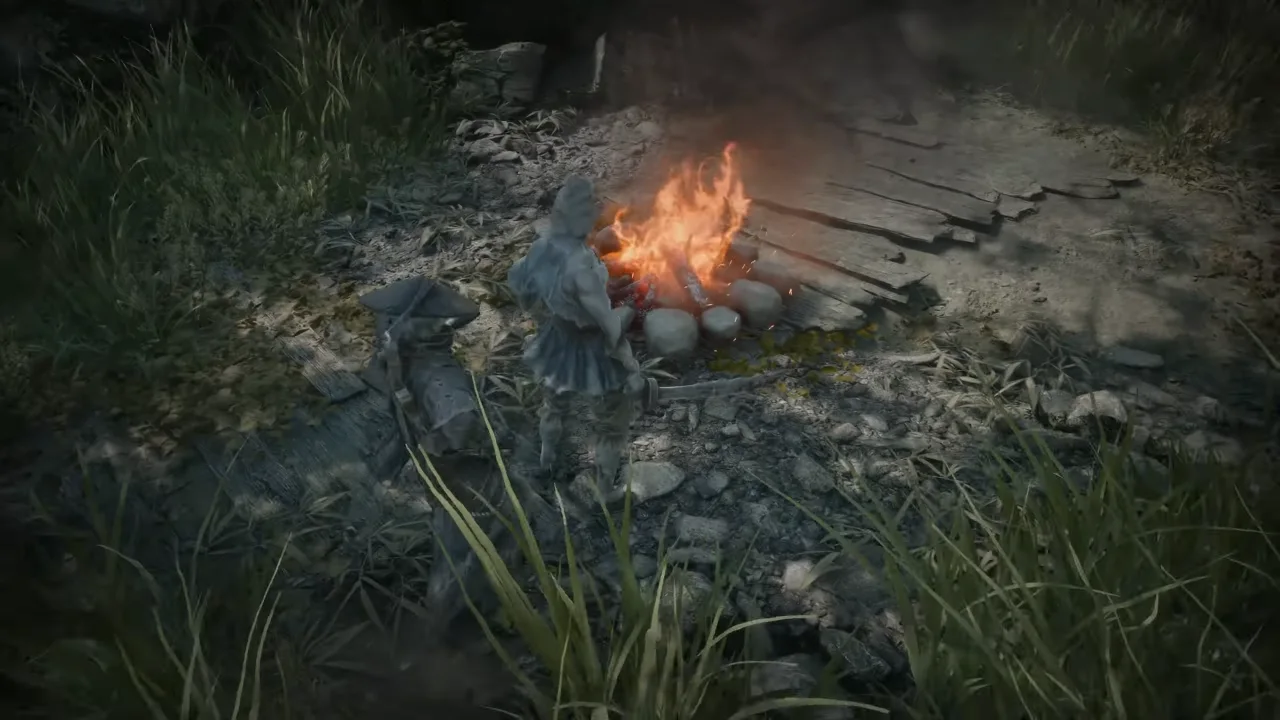
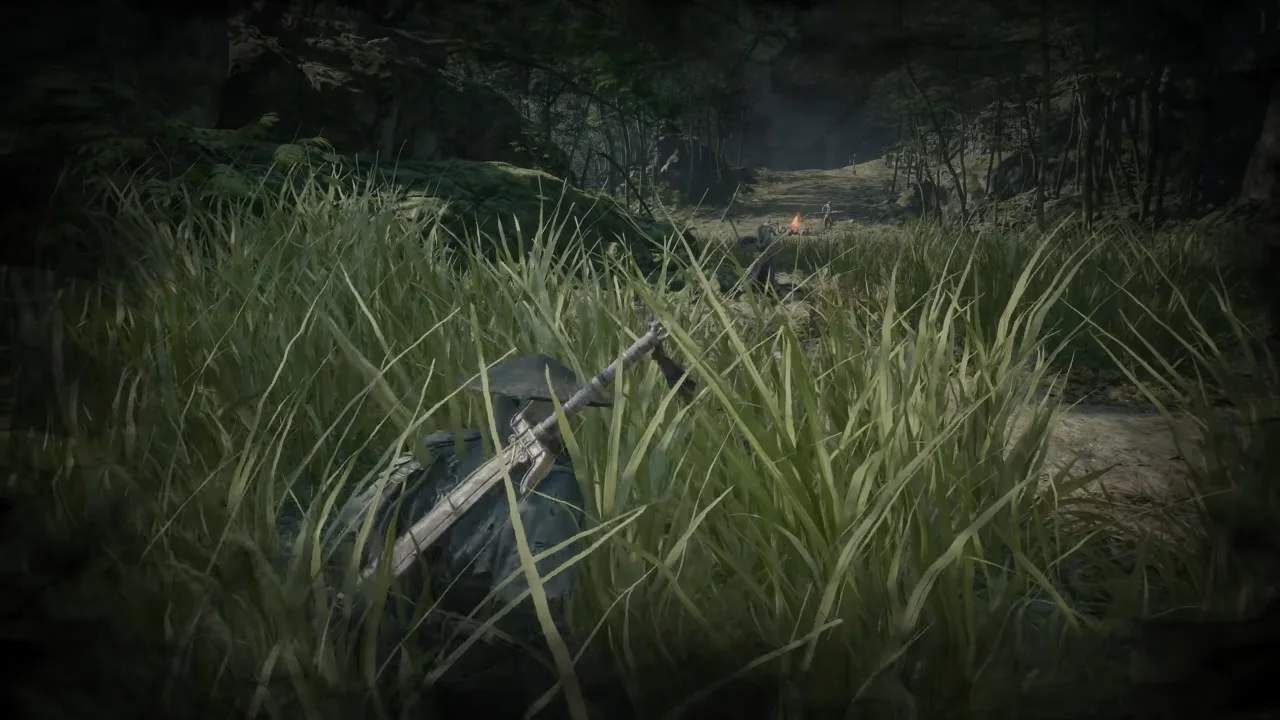
Swing across the chain to the other side, pick up the Remnant Dust on the wooden overlook, and enter the tall grass. Crouch-walk through the stalks to stay hidden, and chain-assassinate the sentry by the campfire. Move while staying crouched into the next patch of grass and take out the remaining Maskwalkers the same way.
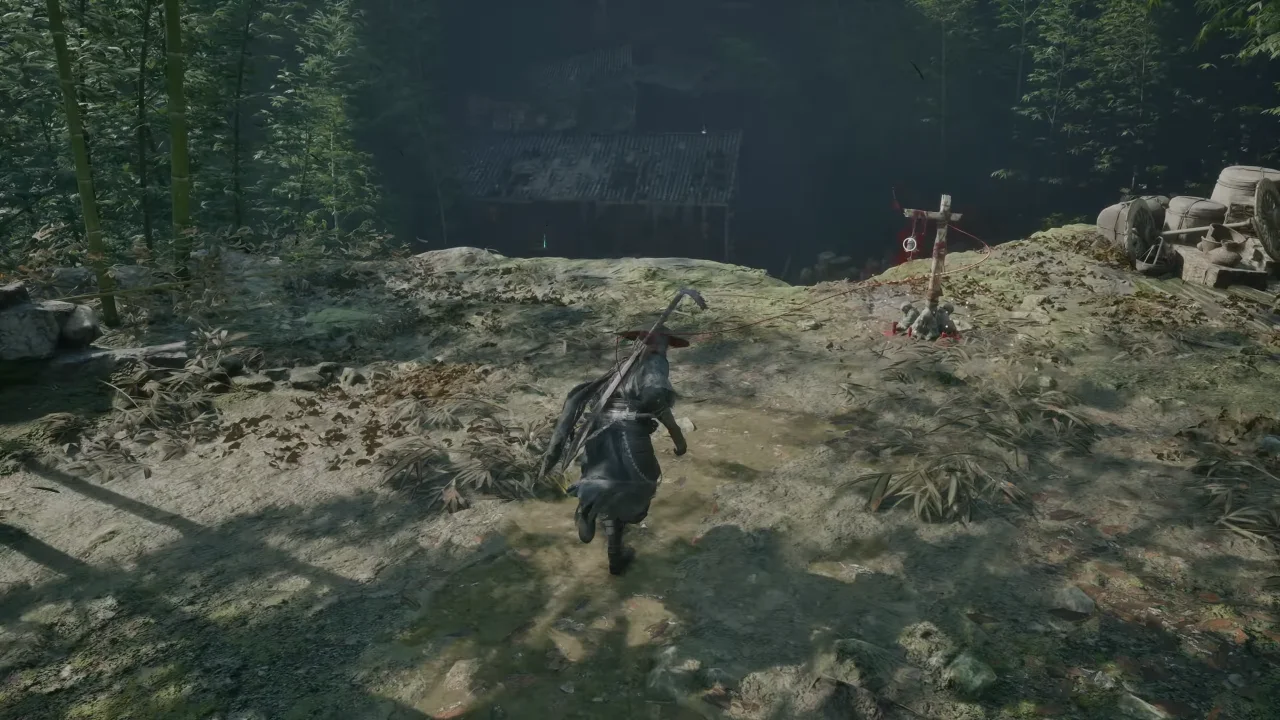
On the far side of the encampment, there’s Outpost Courtyard Bell. Drop onto the tiled roofs below to execute the courtyard guards near the campfire.
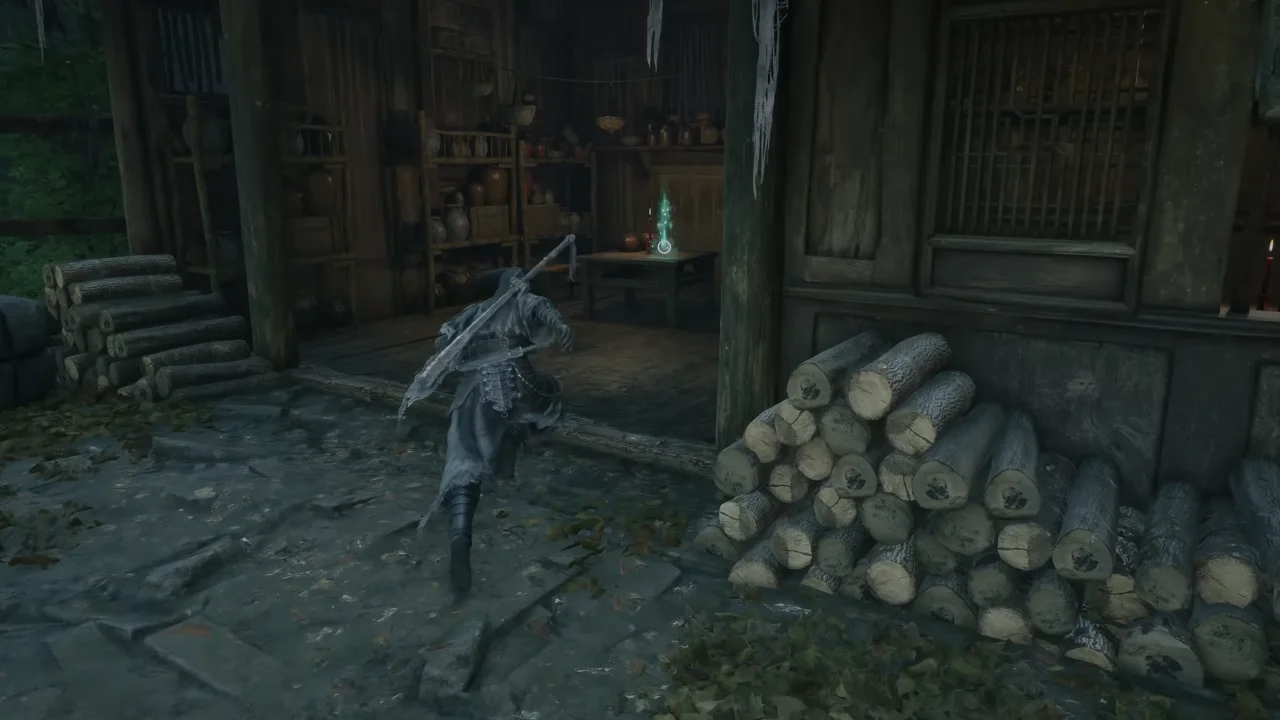
Once done with the enemies, collect The Four Axes Rebellion: Confusion inside the building, loot the three Solvents from its rooftop, and two Twinned Metal in the second-floor room.
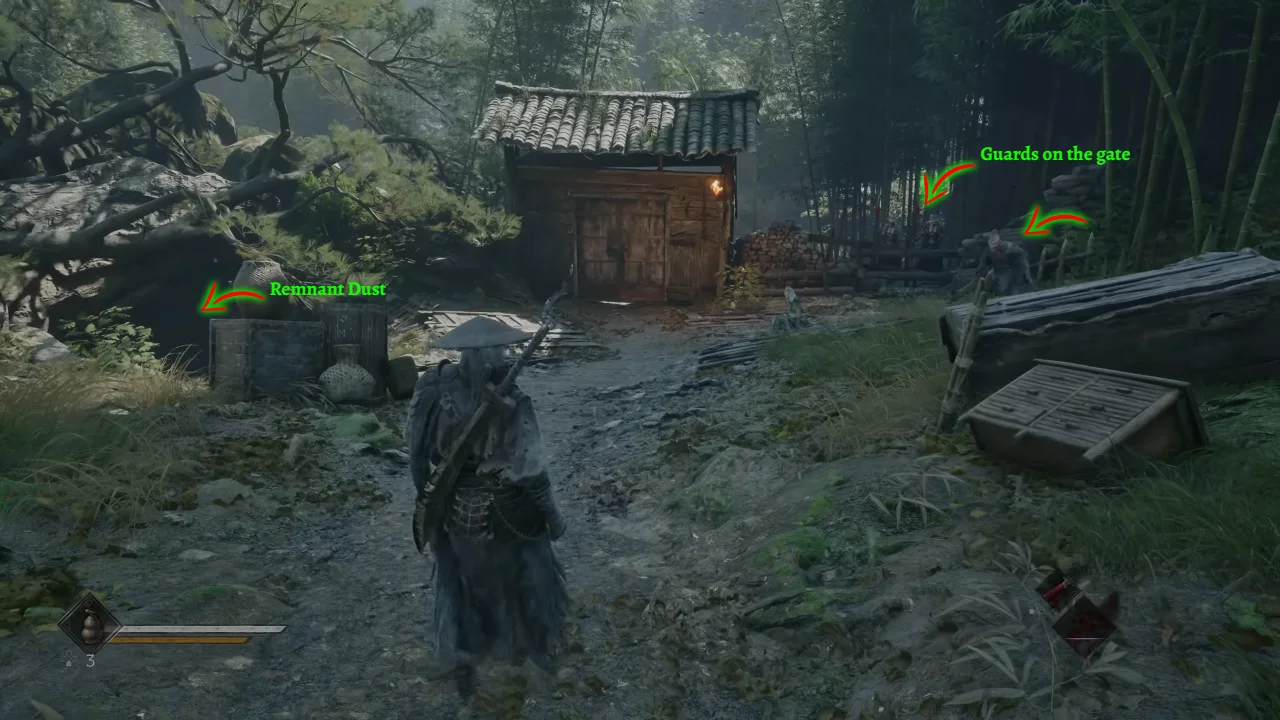
Head down the ramp toward the main gate to fight some charging Maskwalkers while friendly Outpost archers assist by picking off enemies with arrows from a distance. Finish off the survivors, check the left side for a small cave-type space just before the main gate to collect Remnant Dust in front of the iron gate, and note the door’s location for later. You need the Cell Key to unlock it, so ignore it for now and talk to guards by the stockade to get entry inside the Mandate Outpost.
Explore Inside the Outpost
Inside the outpost, pick up the purple Weapon Reforge Talisman from the supply cart. The item lets you reset any weapon upgraded past Level 10 to recover your spent materials.
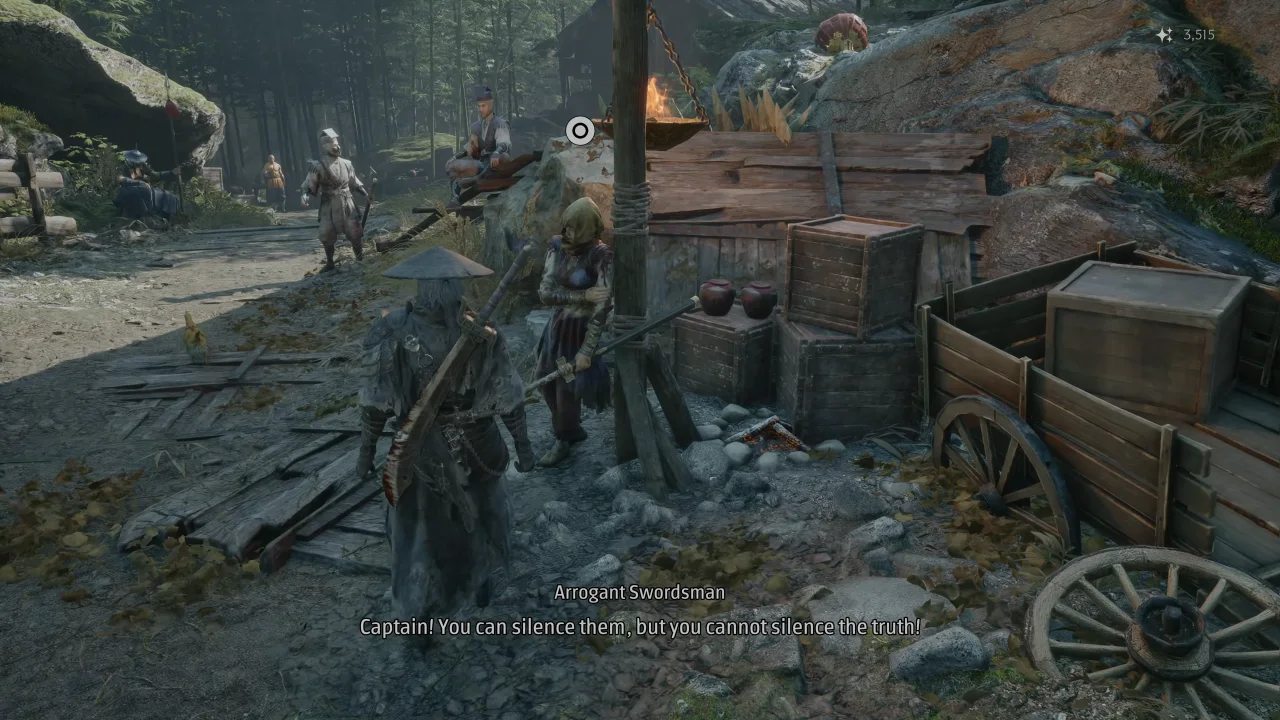
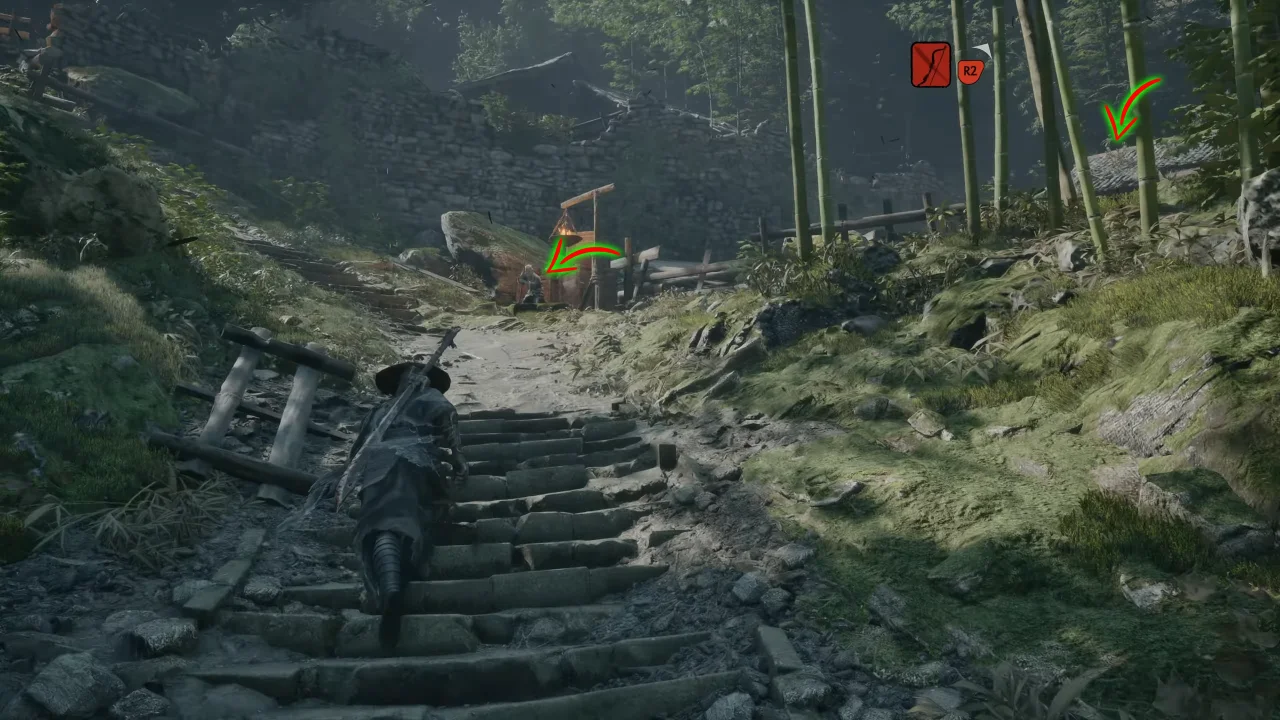
Take the time to speak with the outpost NPCs:
- First, talk to the woman named Baishan Guardian to learn about the current output situation.
- Next, talk to the Swordsman Captain behind her to find out about a bound Maskwalker imprisoned behind the camp.
- Speak to Huijue, the yellow-robed monk of Kuye Temple standing near the bamboo thicket, who mentions his missing master Bi Hai, who went to the Village of Wu, but there’re still no words of him. You can agree to help him find his master for an optional side quest.
- Follow the trail heading up and talk to Old Beggar sitting on the right. Enter the double-story house to his right to find 3x Twinned Metal, 3x Solvent, and the Petrified Mandate Disciple. He spills some beans about Axemaster, the next main story boss you’re soon to fight. Exhausting his dialogue will add the new side tale Four Fierce Axes to your log.
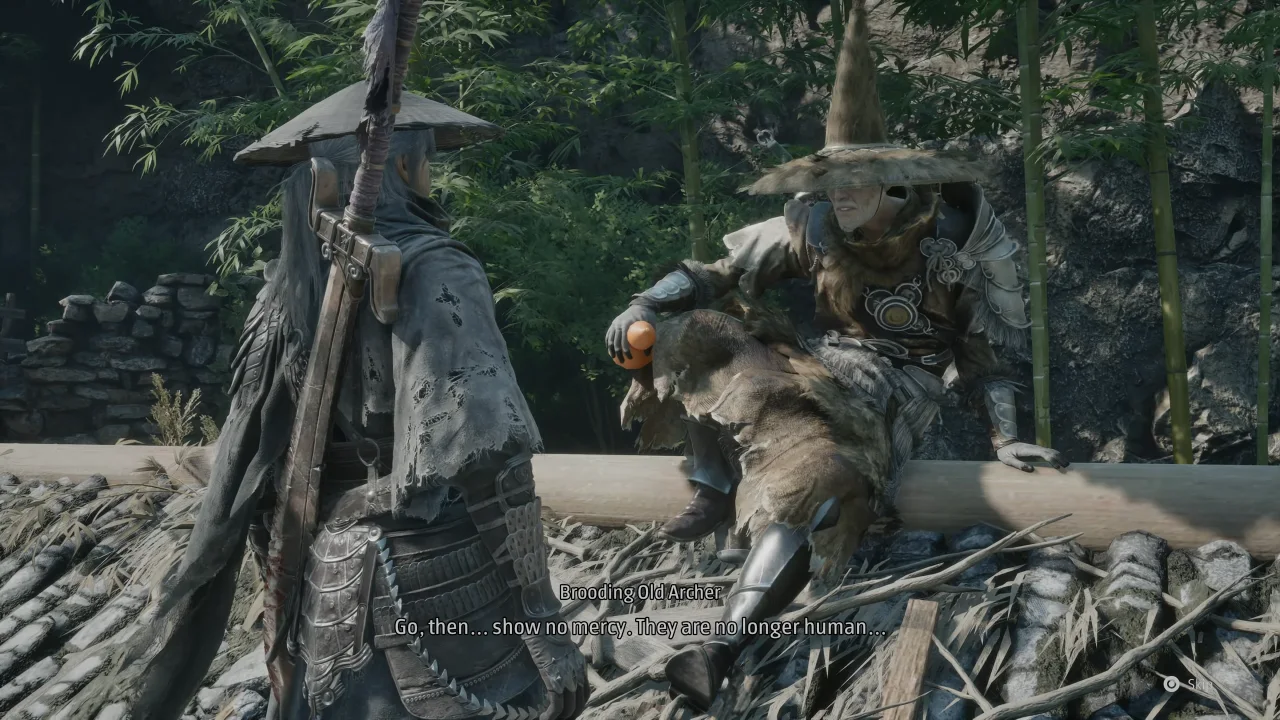
- Head up to the neighbor’s roof by climbing the scratched wall to meet the Brooding Old Archer. Speak with him to start the missable Purge the Sect tale, which tasks you with clearing corrupted archers from the nearby camp. Further, pick up the Twinned Metal off the ground right underneath his roof spot.

Go upstairs past the beggar, and you’ll find Forge on top, a blacksmith fellow who’s here to assist you by Lady Inanis’ orders. Exhaust all her dialogue to unlock the weapon upgrade system. She can upgrade your current swords and blades, so do it as you like. Get the Sanguine Reach two-handed polearm leaning against the weapon rack right behind her, collect the Solvent in the bucket, and activate the Outpost Bell. Eavesdrop on the two guards across from the Forge to unlock the Festering Secret tale.
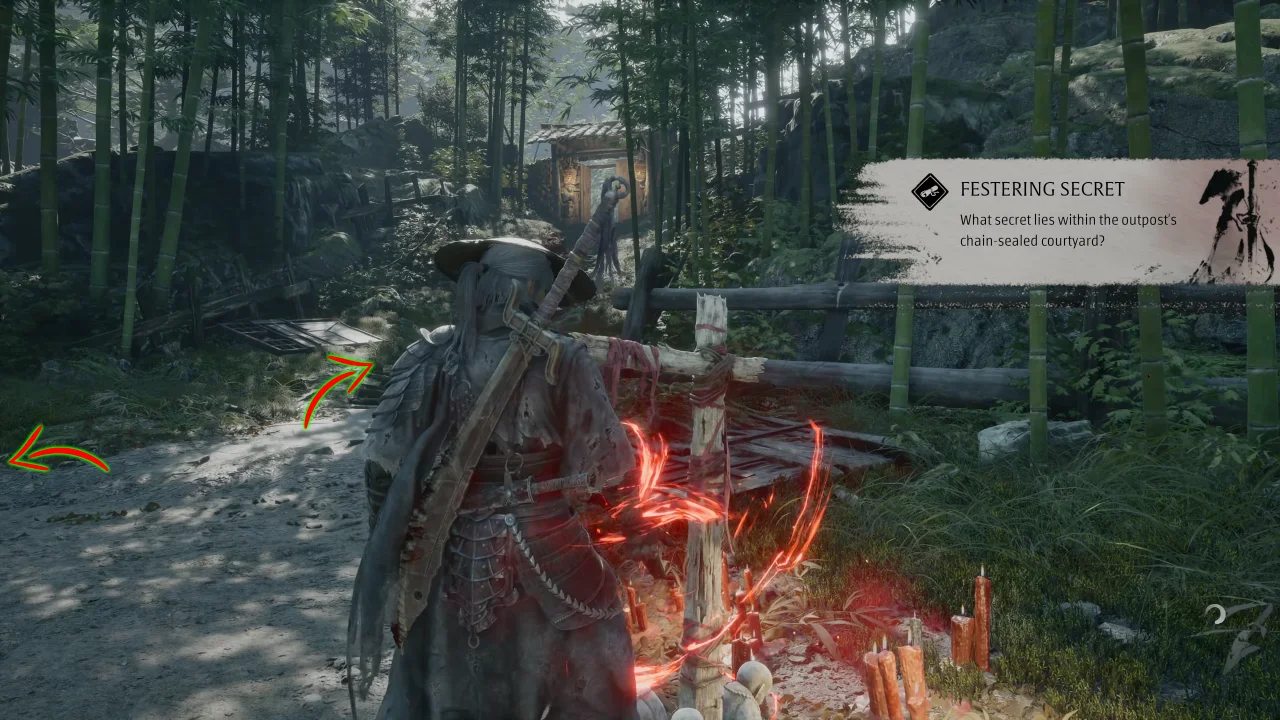
Ring the Outpost Bell, and just next to it, you’ll hit a fork with paths splitting left and right. Left is what we have to take for the quest, but we’ll first go right to collect a few valuable items, including Darkfire Charcoal, Remnant Dust, Solvent, and the Cell Key for the locked iron door. Head up the steps and take a sharp turn toward an abandoned bunkhouse.
With the key secured, return all the way down to the Outpost’s main gate and use the Cell Key to unlock the underground holding cell you passed earlier. Inside, you’ll find a glowing purple Blackstone Fragment. Collect four fragments to permanently increase Soul’s baseline Attack and Guard Break by 10%.
Defeat Peng Meng, the Axemaster
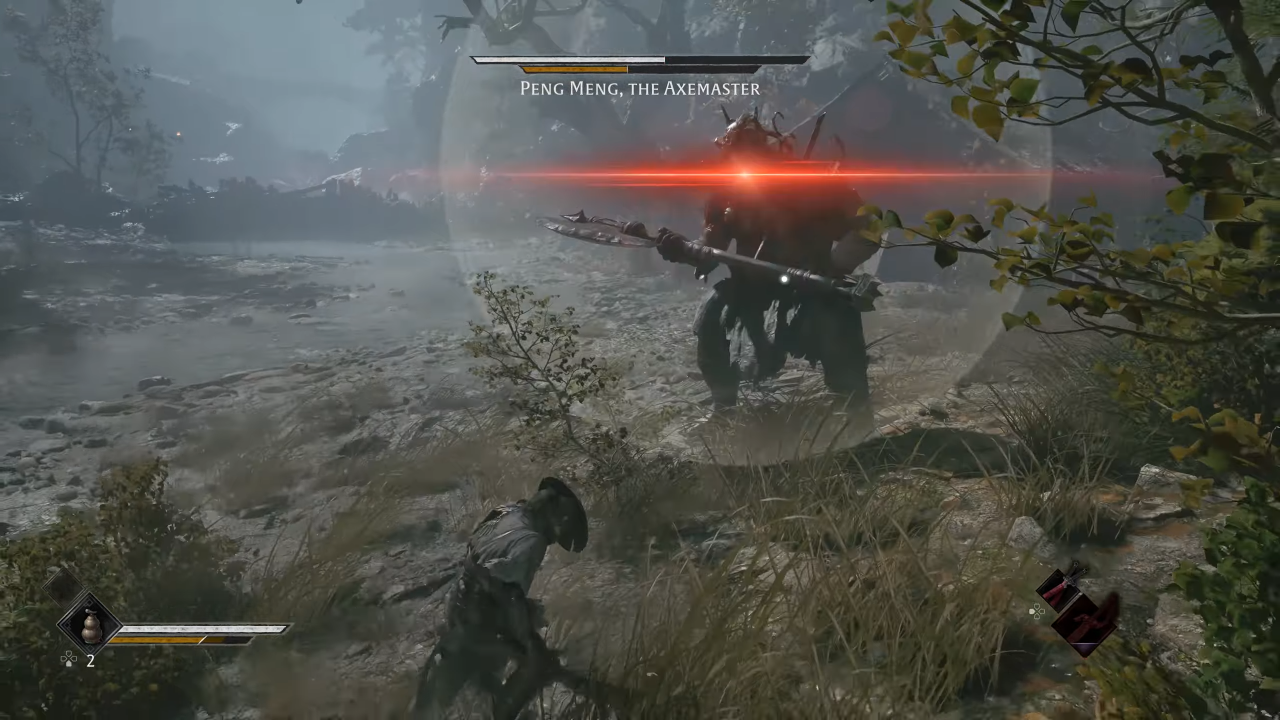
Return to the same fork, follow the left path this time, and then the stone lanterns uphill through a ruined torii gate. You reach an open ground where a cutscene introduces Peng Meng, the Axemaster boss, who breaks free from heavy iron restraints.
Peng Meng is the eldest of the Four Fierce Axes, and unlike the erratic swings of Jagged Steel, his attacks are calculated, cover a lot of distance, and wear heavy armor that ignores your attacks. Slaying Peng Meng rewards you with 9,000 Remnant Dust, a note titled Axemaster’s Final Request, and your very first Phantom Edge: Dread Axe.
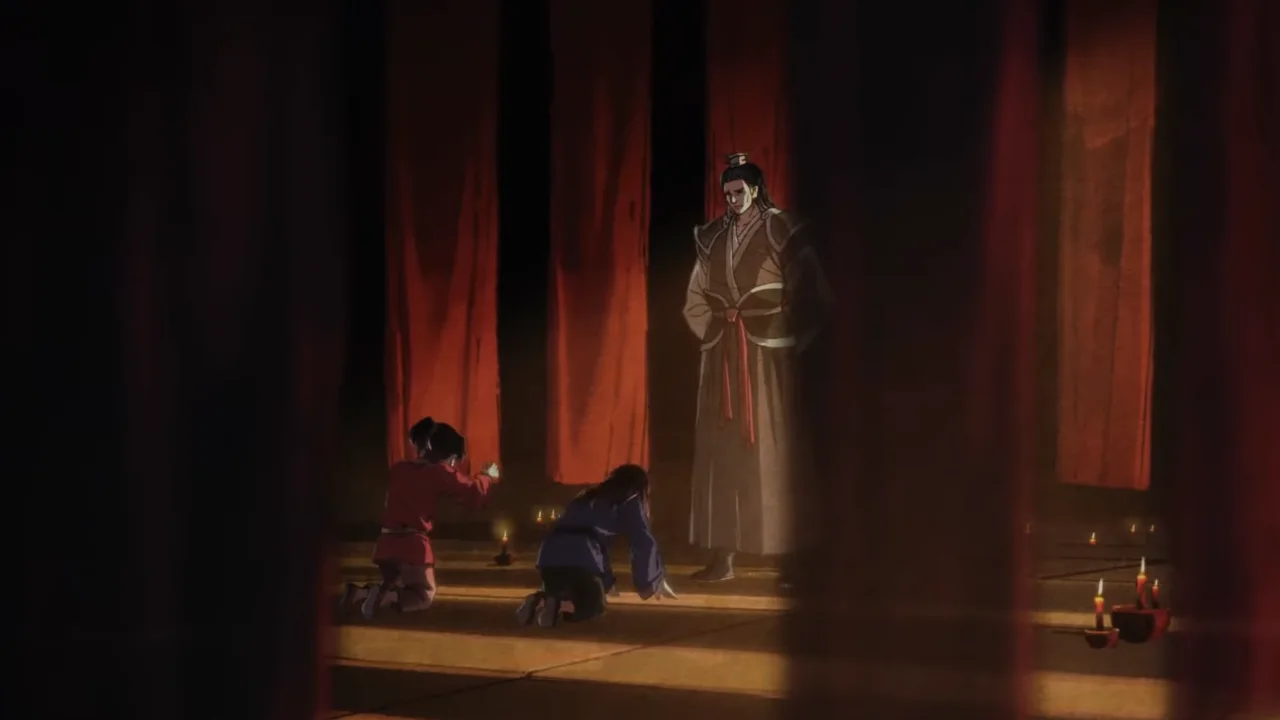
Interact with the Crane Bell in the arena to trigger a flashback that shows young Soul and Zuo Shang from 23 years ago when they fought Ethereal Swordsman. This is also when Master Mu Tianmiao recruited these orphan kids into the Wulin.
Note: Each memory relived by resting at the Crane Bell advances Soul’s death clock and shortens his life by one day.
Destroy Chain Barriers and Reach the Sha-Chi Tower Overlook
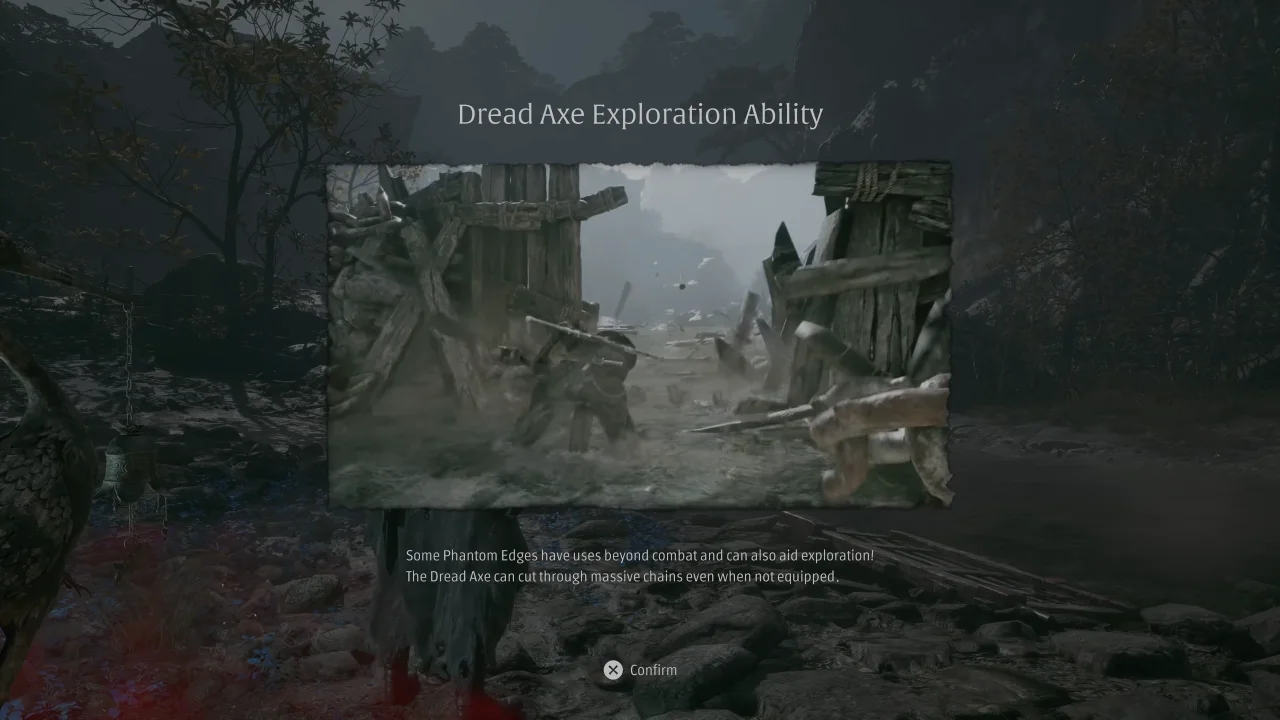
Equipping the Dread Axe offers Soul a powerful secondary attack that smashes right through wooden shields. Even better, you can use it to get around by striking heavy iron chains with your Phantom Edge to break them open. You should further upgrade your Dread Axe after collecting the required upgrade materials to get the most out of it for the rest of your campaign.
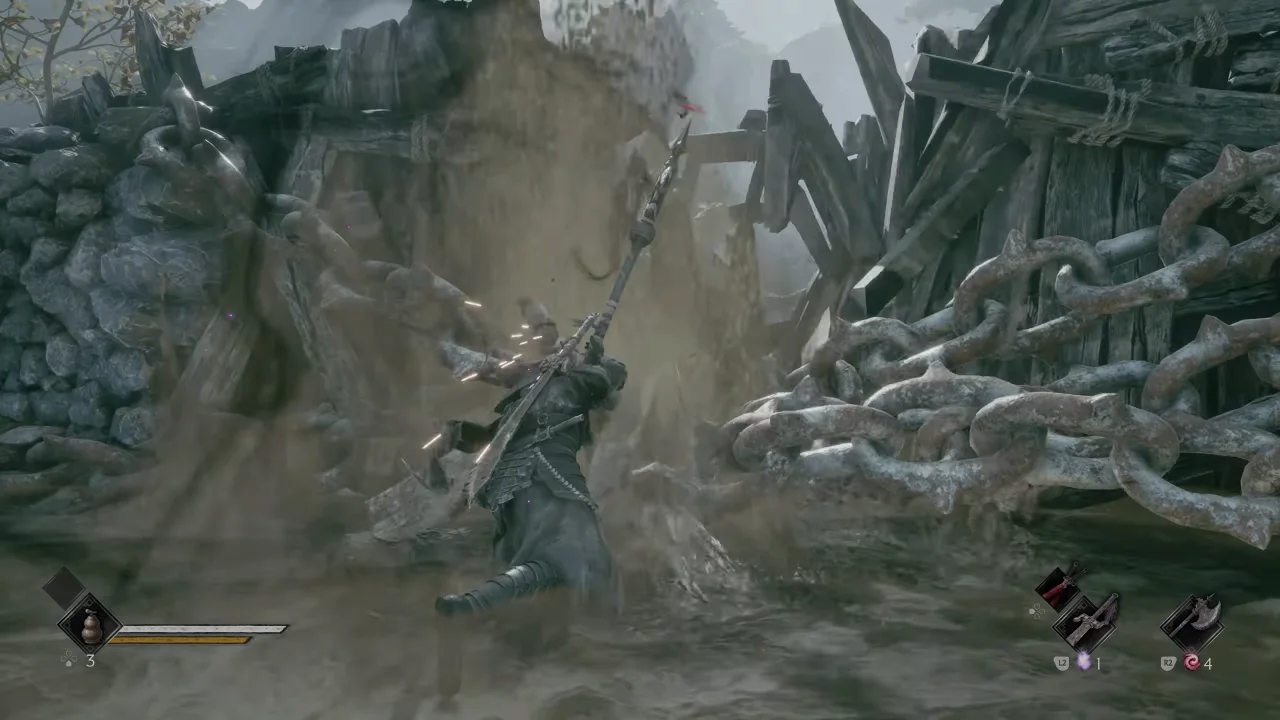
Go back to the Outpost Bell and use the Dread Axe to smash the chain barrier next to the guards you eavesdropped on earlier. Clear the infected Mandate disciples to progress the Festering Secret, collect another Sha-Chi Amber Fragment from the house, and return to the main road to speak with Yu’er standing near Forge’s shop to receive Yu’er’s Medicinal Recipe, which unlocks the new Apprentice Healer tale.
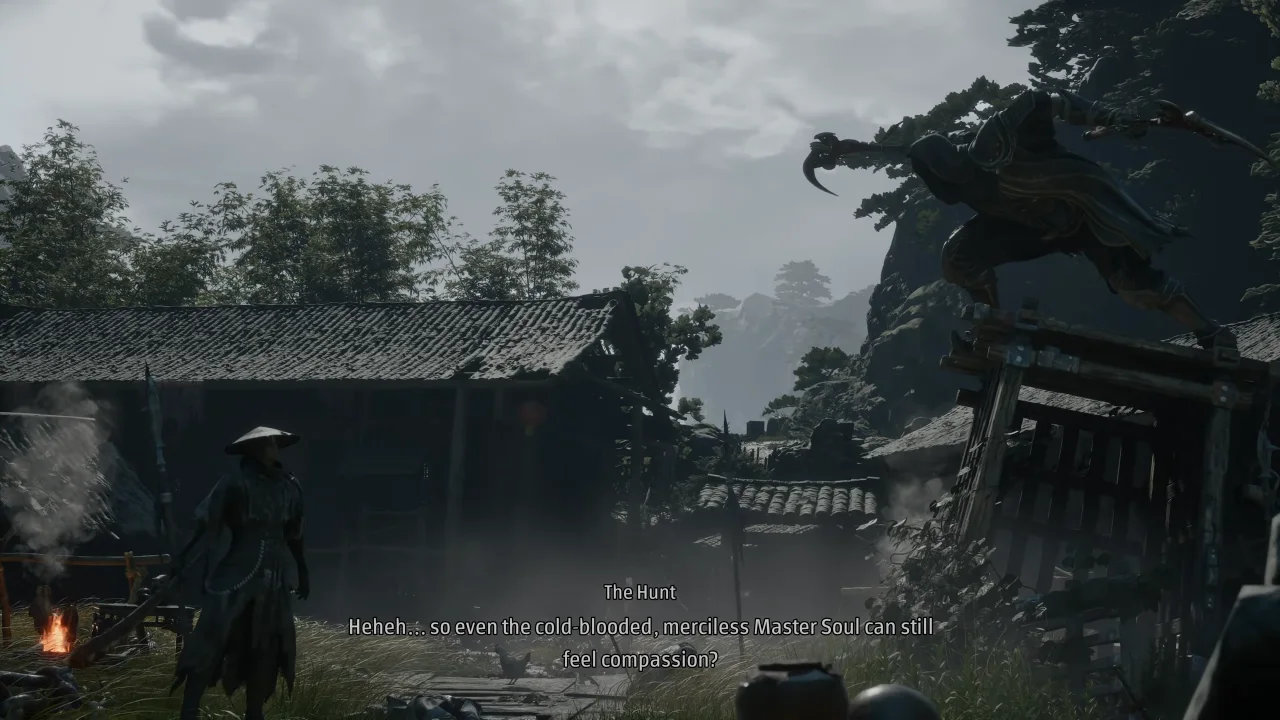
For the main quest, return to the Peng Meng arena and break the chain barrier with Dead Axe to clear the northern mountain pass. Follow the uphill road to reach a destroyed mountain outpost littered with dead guards. A cutscene plays showing The Hunt atop a watchtower roof, who mocks Soul’s futile struggle before vanishing into the peaks.
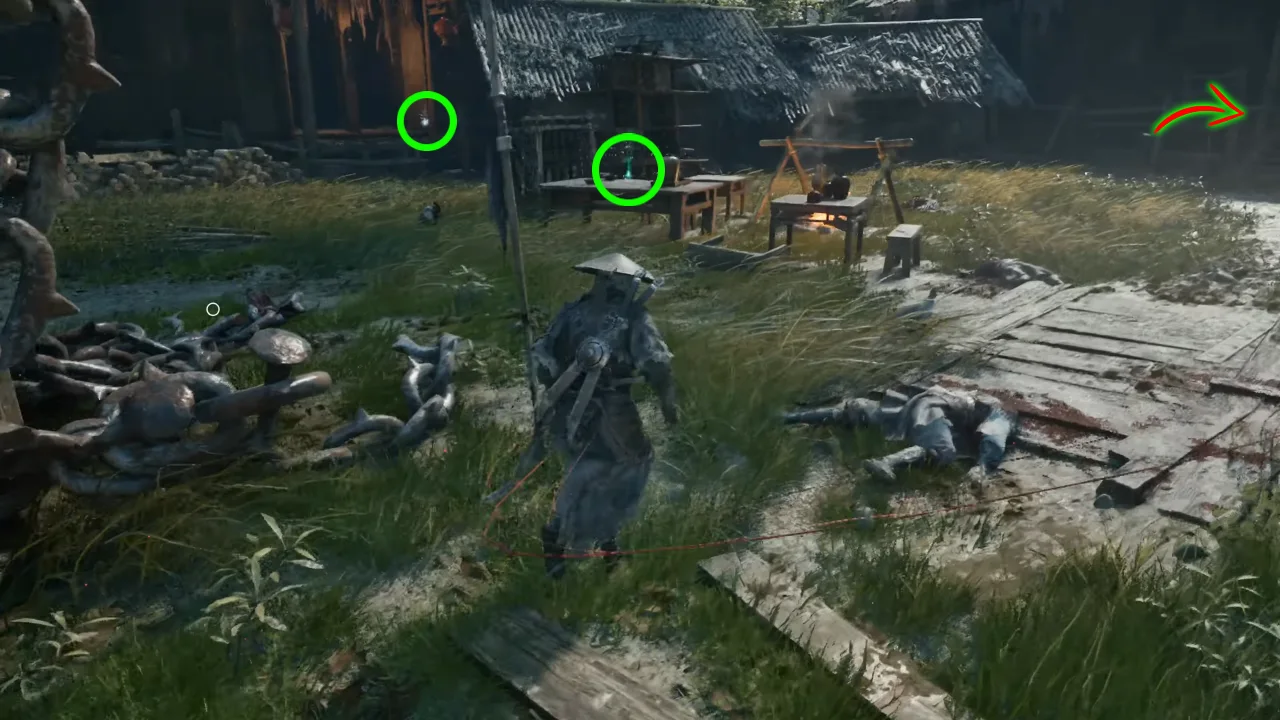
Activate The Axemaster’s Holding Cell Bell in the center of the camp. Then search the courtyard and buildings to collect Captain Wu’s Final Letter, an Inventory Report, two Forged Metals, and a Weapon Reforge Talisman. Drop into the stream running along the right of the settlement. Defeat the water-logged brutes downstream to loot a chest for Twinned Metal, Forged Metal, and Broadplate Metal.
Head upstream through the creek bed. Rather than charging into the clearing, pick off the patrolling Yellow-Robed Brute to lure out the hidden shield warriors one by one. Use the Dread Axe to crush their shields, eliminate the twin-axe target at the back, and harvest the glowing Blood-Stopper Vine at the dead end to progress the Apprentice Healer quest.
Move up the rock incline and use the Dread Axe to destroy the chained barriers on your right. Read the Battle Report beside the fallen soldier, open the chest to acquire the Focus Pill (which reduces Sha-Chi consumption by 30% and regenerates health over 15 seconds), and pick up the Traversal Talisman behind the crates.
Return through the barrier, cross the high wooden bridge, and break the last chain that blocks the way down the cliff path. Pick up the Phantom Reforge Talisman from the ground and step onto the overlook. Soul stops as a sweeping view of the colossal, smoking Sha-Chi Tower fills the horizon. Cross the rope bridge to activate the bell, wrap up Against the Flow. Next, we’ll have Chapter 3: Steel and Steam.