


Destiny 2 The Edge of Fate campaign begins with its first mission, “The Invitation,” and it wastes no time dropping Guardians into a whirlwind of new mechanics, tough enemies, and many environmental puzzles. The guardians have landed on the distant planet Kepler in The Edge of Fate, and this mission is an introduction to the DLC’s major themes, including the new Matterspark ability, the Nine, and the long-lost technology you’ll be interacting with throughout the campaign.
Although the first half of the mission is a simple shootout through futuristic ruins, things get intense fast with shielded enemies, secret tunnels, and multiple pylon-charging puzzles. Here’s how to complete “The Invitation” in Destiny 2 and unlock the content of The Edge of Fate expansion.
- Read more: Destiny 2 Ritual Initiation Quest Guide
Destiny 2 The Edge of Fate: The Invitation Guide
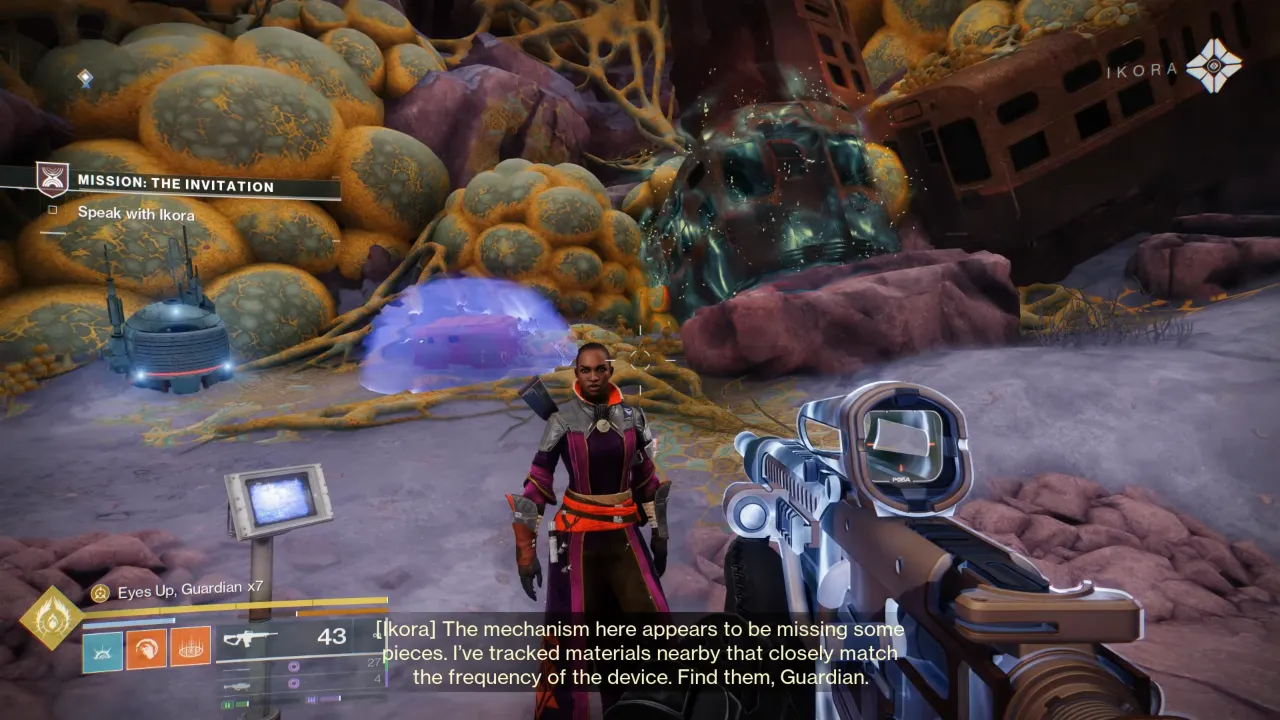
The mission begins when you answer a distress signal on Kepler, landing with Ikora Rey and the Drifter by your side. The initial task is to push through Corsairs, a new Fallen enemy, and Wretches. These nimble, airborne enemies pack a punch and are often backed by Vandals and Shanks. Clear the area to rendezvous with Ikora and talk to her, who asks you to investigate further and collect the missing materials for the mechanism.
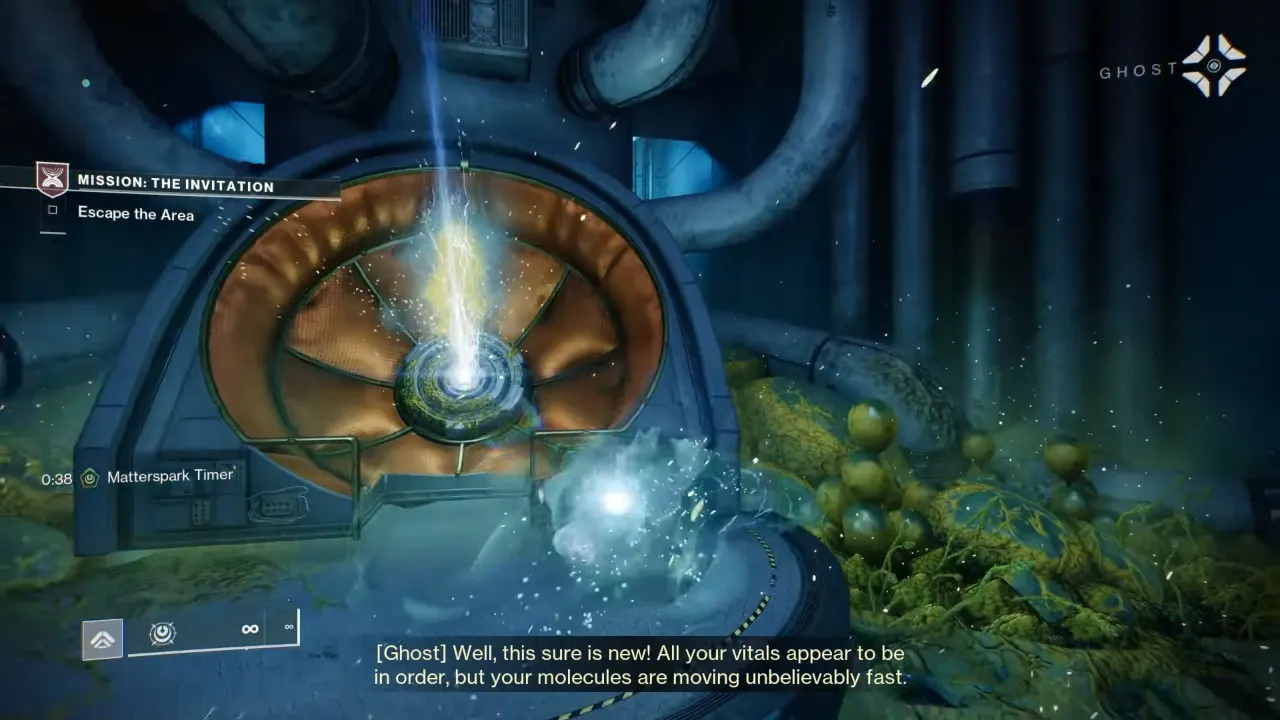
Reach a terminal radiating arc energy where you’ll unlock the Matterspark, a new ability with a major role to play throughout The Edge of Fate. Matterspark changes you into a glowing energy sphere, giving you the power to roll through tight vents and pipes, jump and dash across large gaps, and attack energy pylons or panels to power systems.
You have to switch into and out of this glowing orb at many moments in campaigns. One Matterspark form only remains active for 45 seconds before you turn into a normal character, so if it runs out while stuck inside a tunnel, you’ll die instantly. However, recharge panels and interaction gates are everywhere around these areas.
House of Exile Overseer Boss Fight
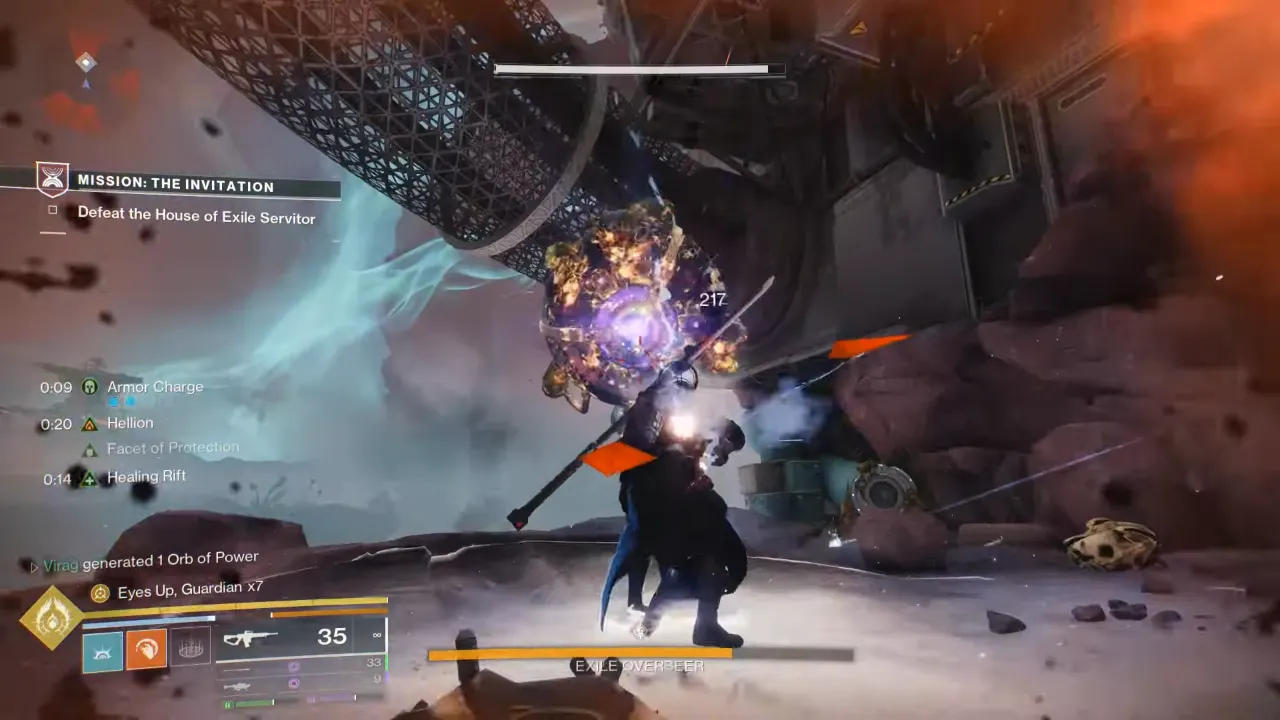
Ahead is your encounter with a Fallen Servitor, the Exile Overseer. It’s the first main boss fight in the DLC. After draining about half its health out of double stamina parts, the Overseer activates an invulnerable shield and forces you to solve a mini-pylon puzzle.
Use Matterspark to enter tunnels on both the left and right sides of the arena. There is a pylon inside each tunnel, one on the cliff’s edge and the other on the bottom rocky area, which you must charge with the attack input while in ball form (R2 on PlayStation). Once both pylons are charged, the boss’s shield drops, and the fight resumes. Many other enemies will spawn in the arena, so deal with them first to avoid extra trouble. After defeating the Overseer, collect your loot and push forward.
Find Materials & Defeat Crystalline Captain
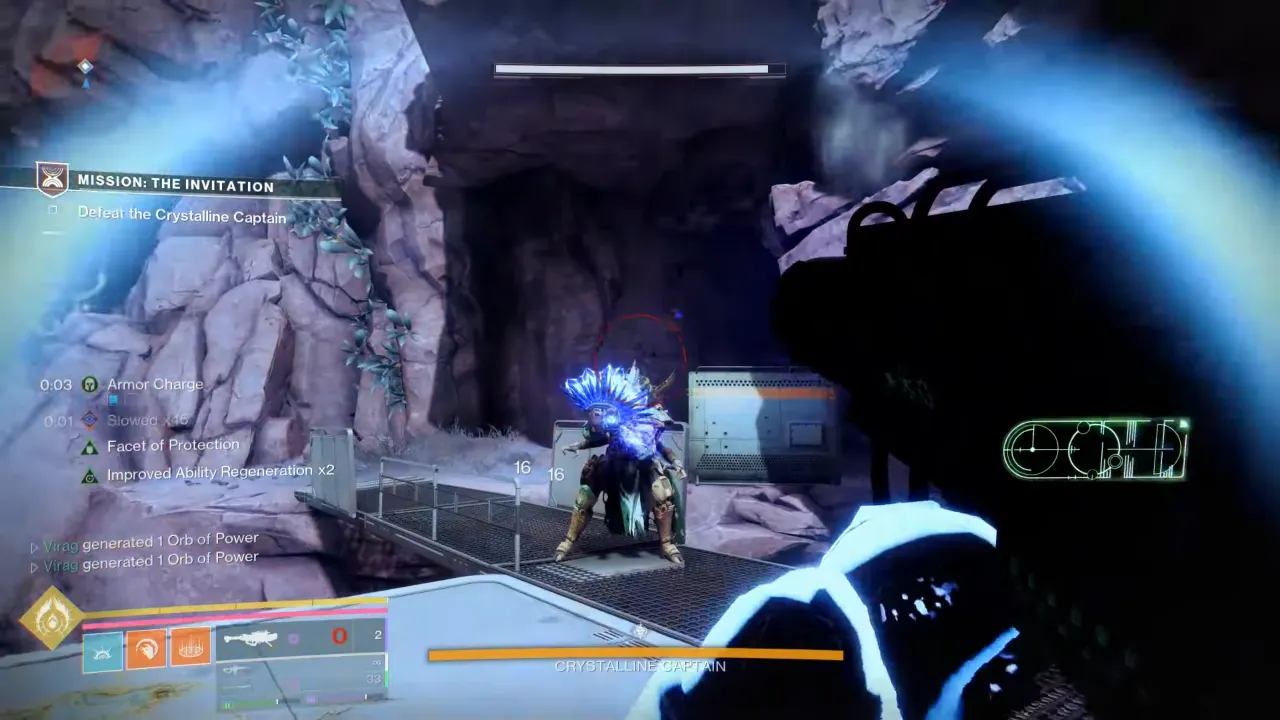
After the fight, you’ll get a new directive to find Materials. This will lead you to the second major boss, the Crystalline Captain. Unlike the Overseer, this enemy doesn’t rely on shields or puzzles mid-fight but brute force and backup troops. Once you take him out, the mission throws another curveball your way when you have to charge three pylons to progress.
Find and Charge Pylons
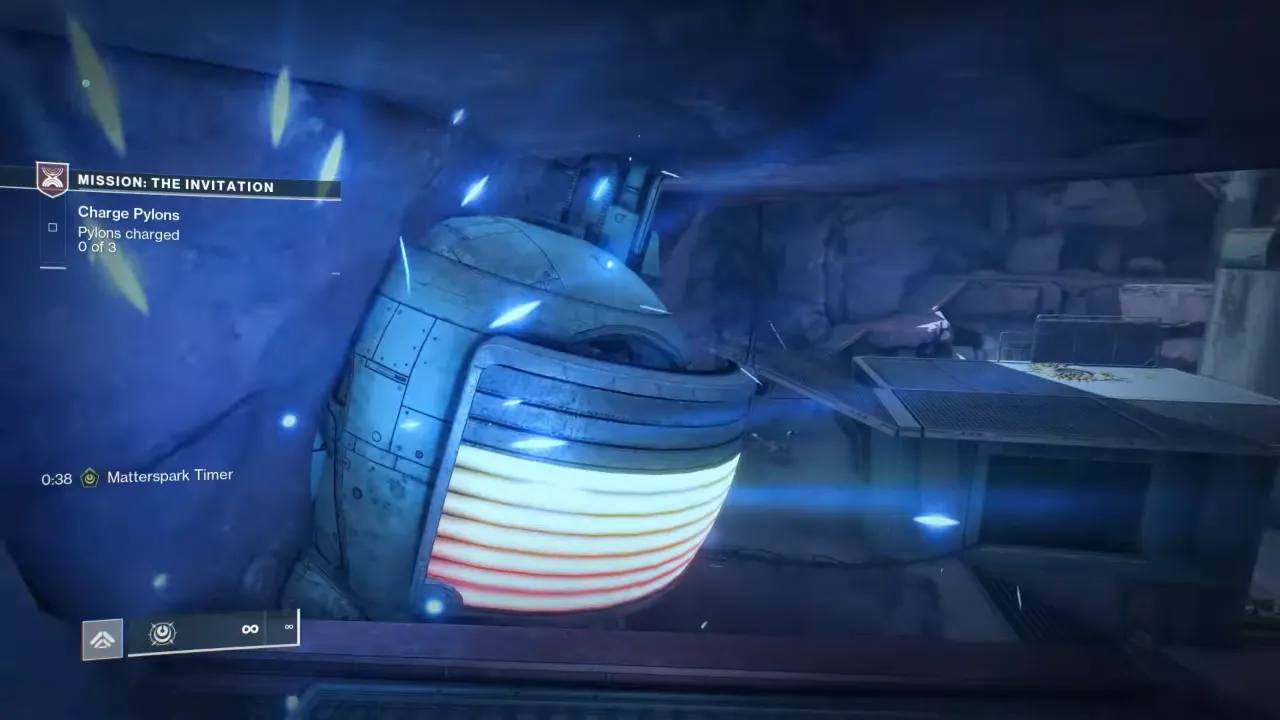
All three pylons are in the same arena where you beat the Crystalline Captain, but none of them are marked clearly. Here’s how to find each one and charge it:
- Pylon #1: After defeating the boss, look toward the center of the room just ahead of where you first entered Matterspark. You’ll see the first pylon near the original terminal. Enter Matterspark form and attack the pylon to charge it.
- Pylon #2: Turn left from the center to find a tunnel embedded in the wall. Use the small ramp nearby to jump into the passage. Activate Matterspark, dash through the pipe, and you’ll reach the second pylon in a corner. Charging it here will spawn Heavy Shanks, so be prepared for a quick firefight.
- Pylon #3: On the far right side of the arena is a raised platform you can’t reach on foot. So, use Matterspark and execute a Jump + Dash combo to reach the higher spot. Once on the ledge, charge the third and final pylon. You might need a couple tries to land the jump, but it’s the only way up.
Once all three pylons are activated, the power will be restored, and a new objective is to find the Acceleron.
Charging the pylons results in the locked door on the ground area opening. It contains a loot chest with the Acceleron inside, so to access it, head down to the lower floor on the right from the main arena. Look along the left wall as you descend to spot a pipe entrance. Enter it in Matterspark form, follow the tunnel, and it’ll spit you out inside the locked chamber. Open the chest to get the Acceleron.
Defeat the Archon’s Vessels

On your back to the Mechanism, there’s a Rally Banner and one last arena fight against three Archon’s Vessels. Two of them are surrounded by barrier domes, and you’ll have to step inside the dome to do damage as shooting from the outside won’t work. It’s a close-quarters, movement-heavy fight. Stay mobile, clear adds as they spawn, and burn the Vessels down one by one. Once they’re defeated, get the Mysterious Object, Strangelet Capsule.
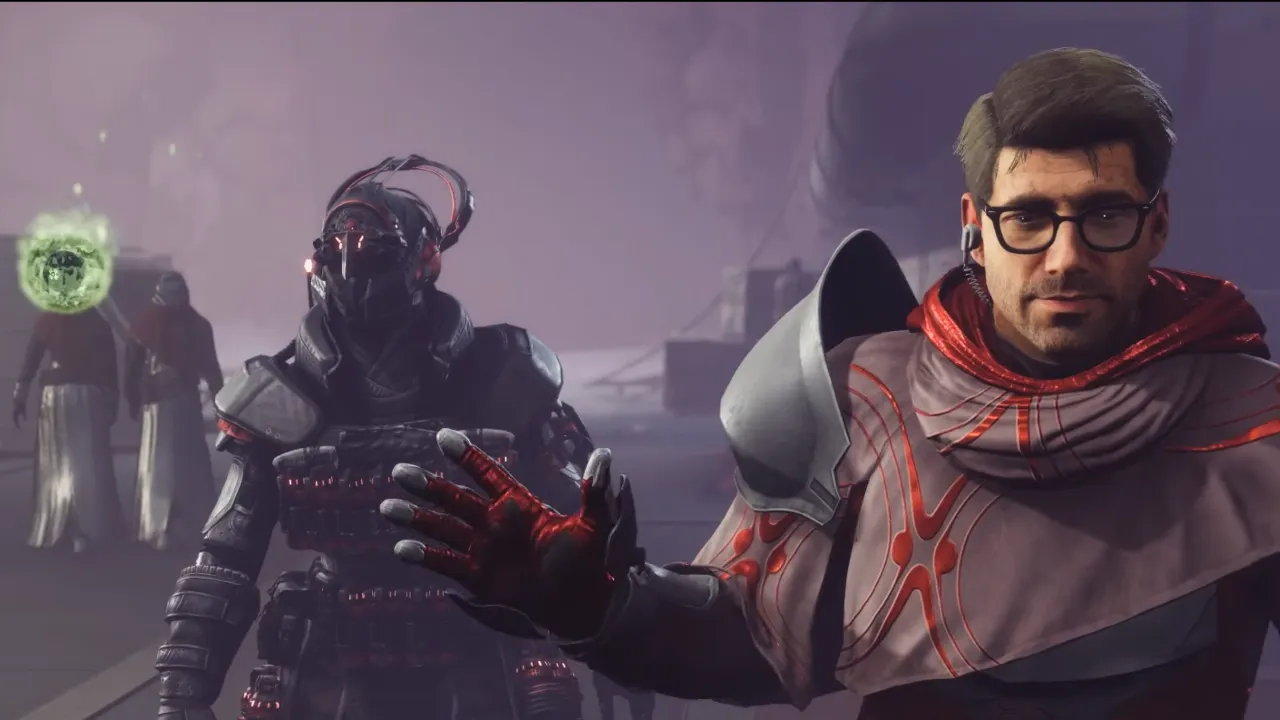
After that, go to the Mechanism and activate it; a story cutscene will trigger including Lodi, Ikora, and Ghost. Lodi has a connection to the Nine and plays a crucial role in what’s coming next.
Back at the Altar of Relativity
The mission ends as you return to the social space on Kepler after exhausting cutscenes and dialogues with Lodi. Here, you’re prompted to:
- Insert the Strangelet Capsule into the Altar of Relativity
- Realize it’s powerless
- Activate two levers located around the area and perform the Rite of Ignition to restore power
Once the Altar is powered and you’ve interacted with it, meet Dean Rebecca near the Altar. Rebecca speaks using fragments of a strange language you can’t fully understand yet. Your Ghost suggests you gather more data to decode what she’s saying, which leads to a new objective.
To investigate nearby Vex activity, go to the Vex-infested area marked on the HUD and defeat Vex enemies to obtain telemetry data. As you fight, you’ll summon a Barricade Mind, a hard Vex mini-boss; take it down and after that, find a terminal nearby and interact with it. At this terminal, you will decode the data and unlock a new ability, Rosetta. It allows your Ghost to understand basic Aionian language—the strange text and speech that you’ve encountered during this mission and will continue seeing throughout The Edge of Fate.
Head back to Dean Rebecca and talk to her to go on a new quest objective: Track down Orin. Your map will direct you south toward the Caldera region. Before you reach Orin, the mission ends with a new cutscene, and it unlocks the main Edge of Fate campaign questline. This is where you’re handed two parallel objectives: Exile’s Accord and Central Academy. You have to complete both to advance the campaign, but the order doesn’t matter, and it’s up to your preference.


