


The Promised Light is the final Lost Chapter quest and Jianghu Legacy in Where Winds Meet‘s Qinghe region, with tricky puzzles, intense platforming, and a tough multi phase boss fight. After you complete it, you’ll earn excellent rewards, unlock the Yaksha Rush Mystic Skill, and open up the Halo Peak Campaign, where you can farm the boss in solo or online modes. Below is a complete walkthrough of The Promised Light quest, including all its objectives from pagoda climb to Tian Ying’s defeat.
How to Complete The Promised Light in Where Winds Meet
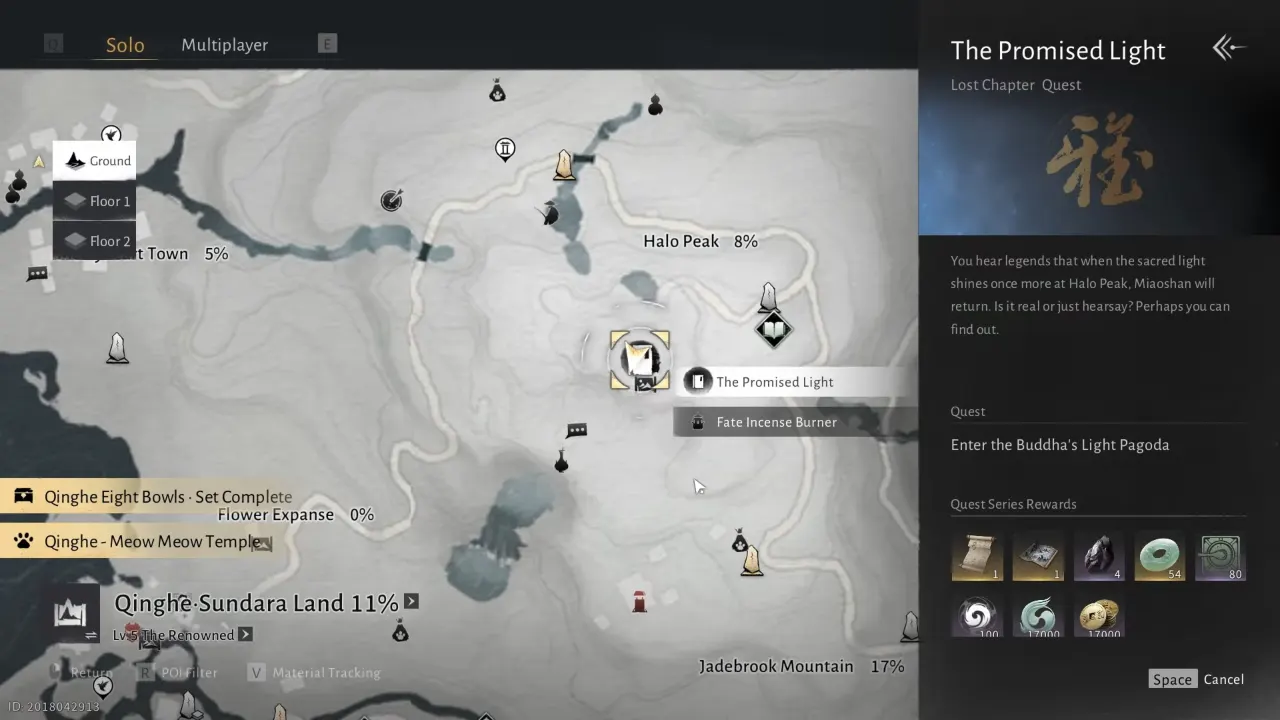
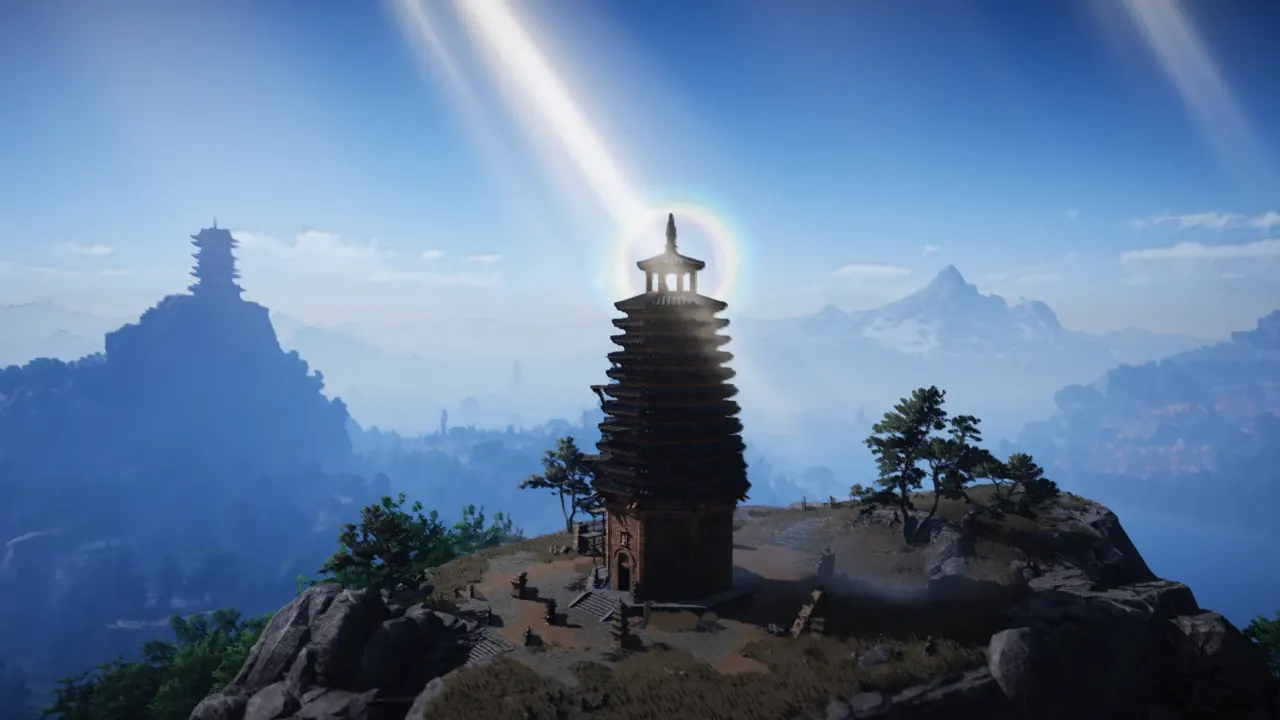
To unlock The Promised Light, you’ll need 6,000 Qinghe Exploration Points and talk to the Wayfarer in Sundara Land to start the quest, which will then appear in your Jianghu Legacy tab. To track, select it from the tab in the Exploration menu and inspect it to reveal its location on the map. From there, the trail leads to the summit of the Buddha’s Light Pagoda, where the legend of Miaoshan begins.
You also need the complete Buddha’s Light Jade to enter the dungeon. This requires two halves:
- Buddha’s Light Jade: Yang – Reward from the Palace of Annals campaign.
- Buddha’s Light Jade: Yin – Reward from the Bodhi Sea campaign.
Both jade halves are awarded automatically after defeating every campaign’s final boss.
Place the Buddha’s Light Jade Atop the Pagoda and Get Inside
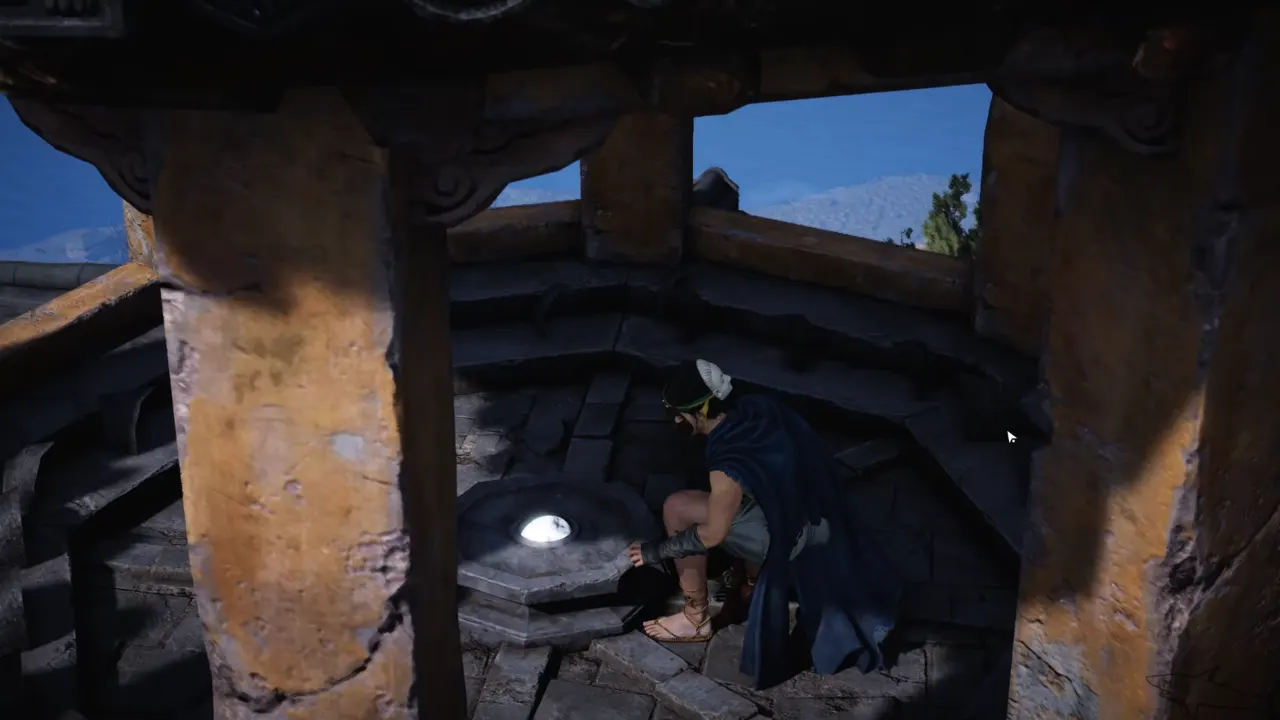
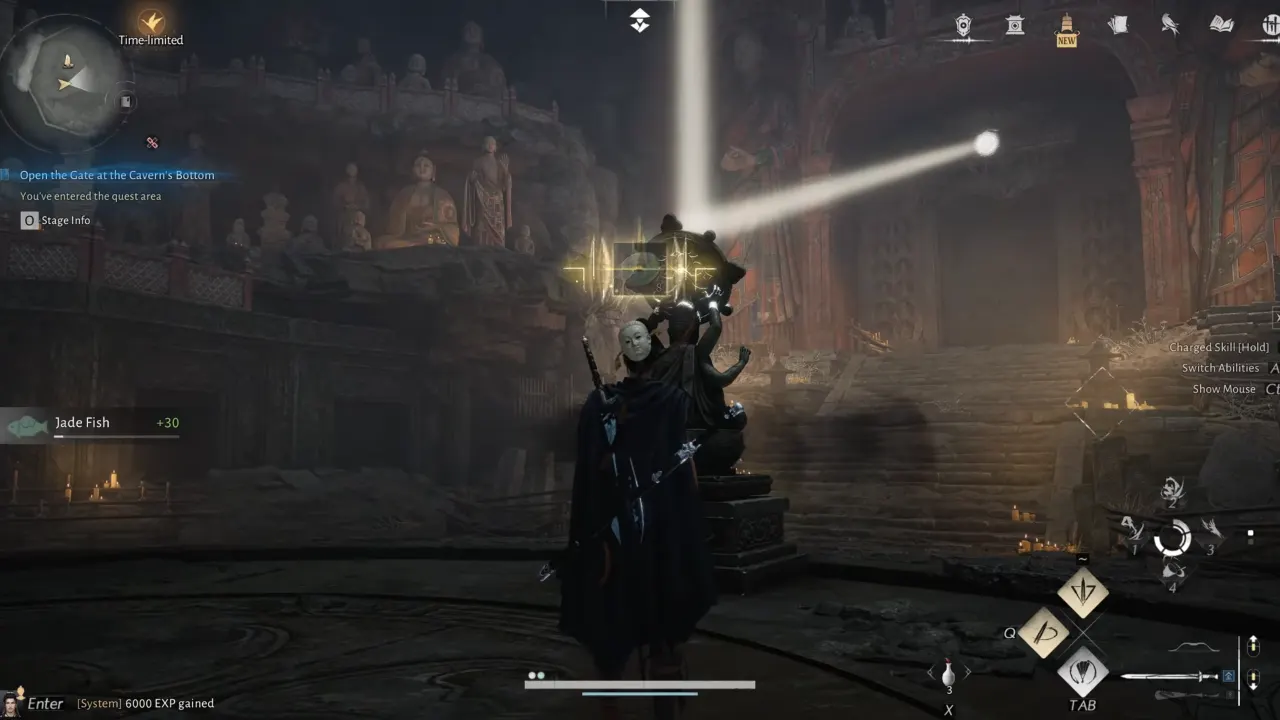
Head to Halo Peak in Sundara Land, where you will find the Buddha’s Light Pagoda with its main ground level doors locked. Use the scaffolding and attached wooden platforms on the exterior to climb to the very top. Interact with the small pedestal in the center. The mechanism only accepts the Jade during the Wu Hour, but you don’t need to wait. Open the clock menu and advance the time to Wu Hour (12 PM). Place the Jade to trigger a cutscene that will unlock the door on the first floor.
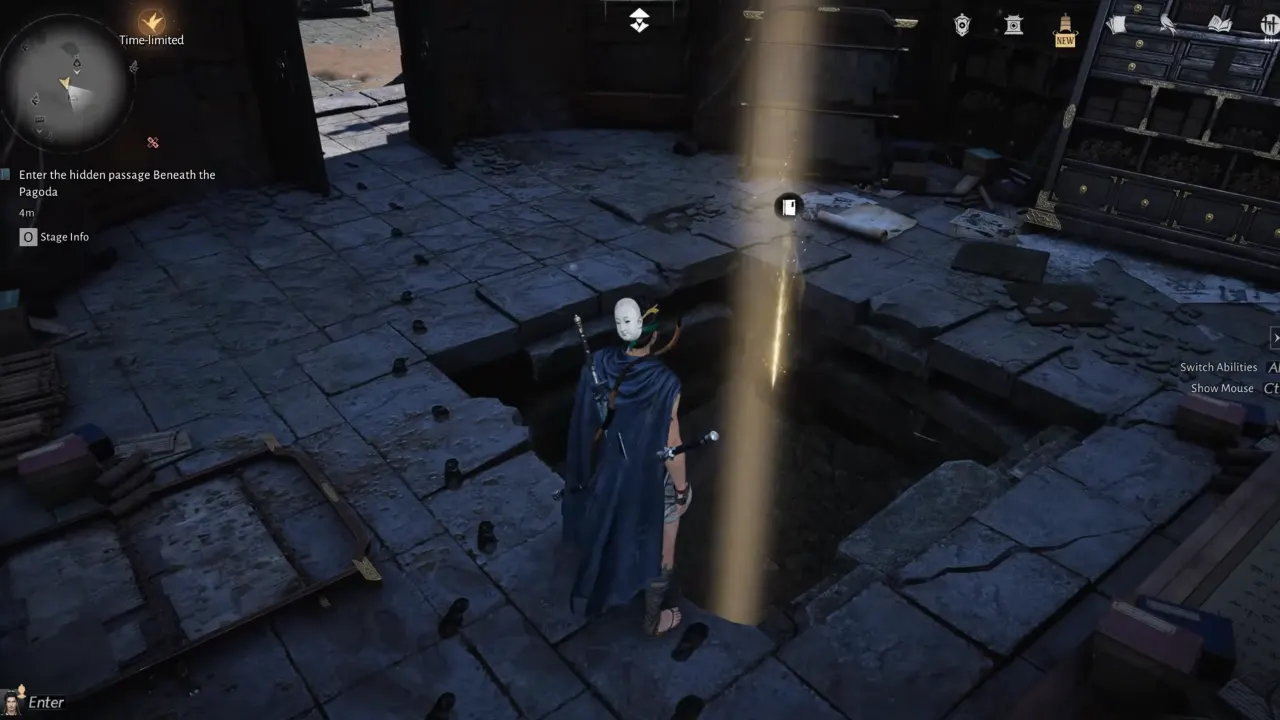
Drop down from the top, enter from the door, and activate Wind Sense to highlight footprints in the room. If you follow them towards the wall, you will find the lever embedded in the floor. Pull that lever, and a contraption in the ceiling will light up a circle on the ground and pop open a stone door below.
First Light Puzzle (Below the Pagoda)
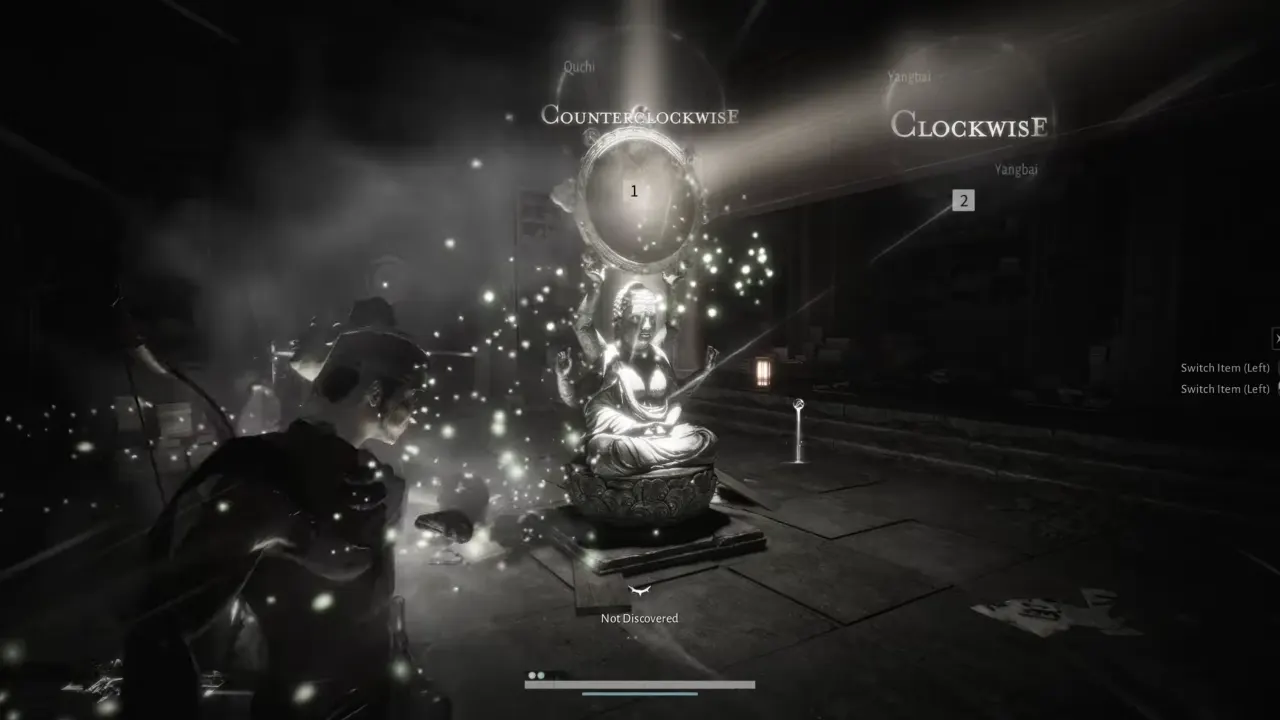
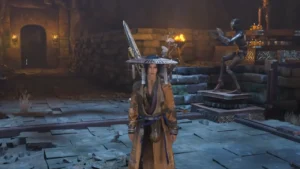
Drop from the opened path, and you will encounter the first mirror puzzle below in the small chamber. A Buddha statue in the middle holds a bronze mirror redirecting a beam of light. What you need to do is:
- Target the statue and use the Meridian Touch mystic art.
- Rotate the statue clockwise once. The beam will hit the hole (redirect onto the symbol) on the right wall and unlock the new door.
Bronze Mirror Contraption Puzzle
Move through the hall into the next room to face a more complex version of the previous puzzle. In the chamber, you will find seven Buddha statues, each holding a bronze mirror. You’ll need to guide the light beam to hit a specific symbol on the far wall behind the statue to open the door.
Make sure Meridian Touch is active, then follow these exact steps:
- Turn Statue #1 Clockwise once.
- Turn Statues #2, #3, and #4 twice (direction does not matter).
- Turn Statue #5 Counterclockwise once.
When the light hits the final frame by chaining through the mirrors, the next exit will open. Crouch and crawl through the narrow hole in the rubble to continue forward. When you’re crawling underneath, the floor will give way, and you’ll drop into a big chamber below.
Defeat The Mechanical Puppets
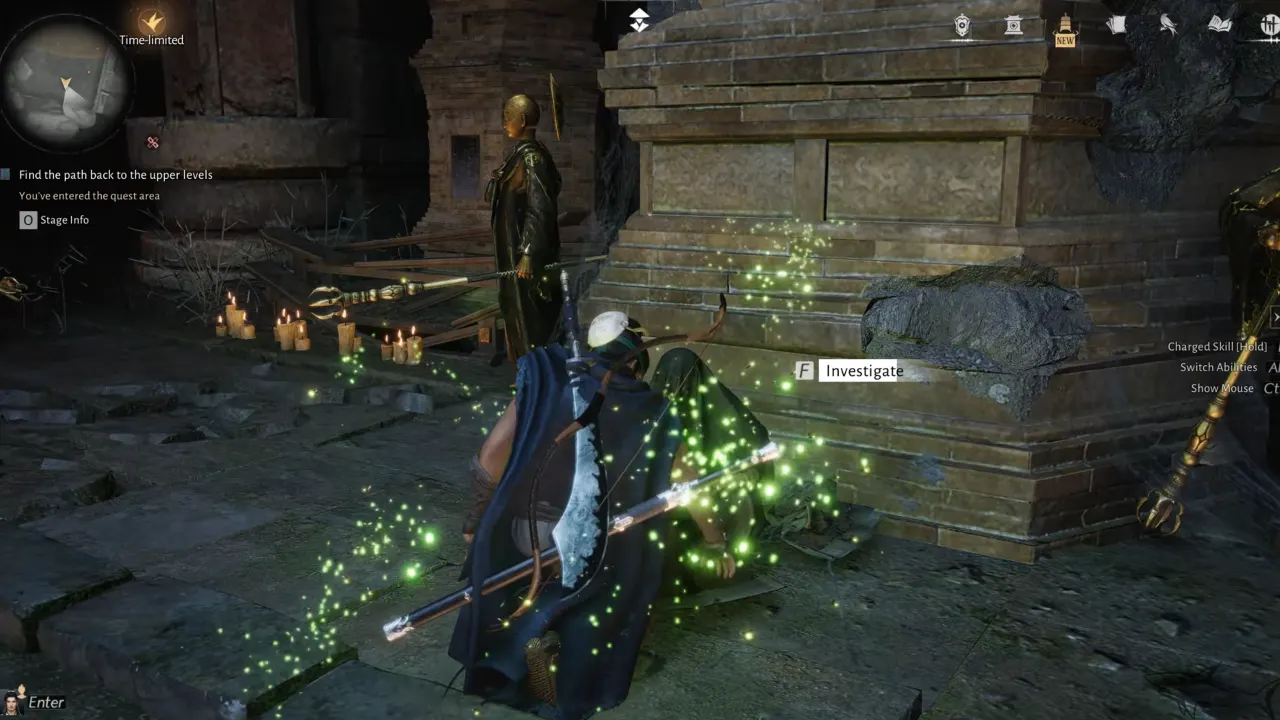
Next, you have to find the way back to the upper levels. In this room, you’ll find bronze statues scattered around the room and a dead body propped against a pillar. Interact with the corpse to read the Anonymous Journal. Right after you finish reading it, three Halo Peak Residents (Mechanical Puppets) will attack you, who are immune to normal attacks. The only way to deal damage is to parry/deflect their strikes.
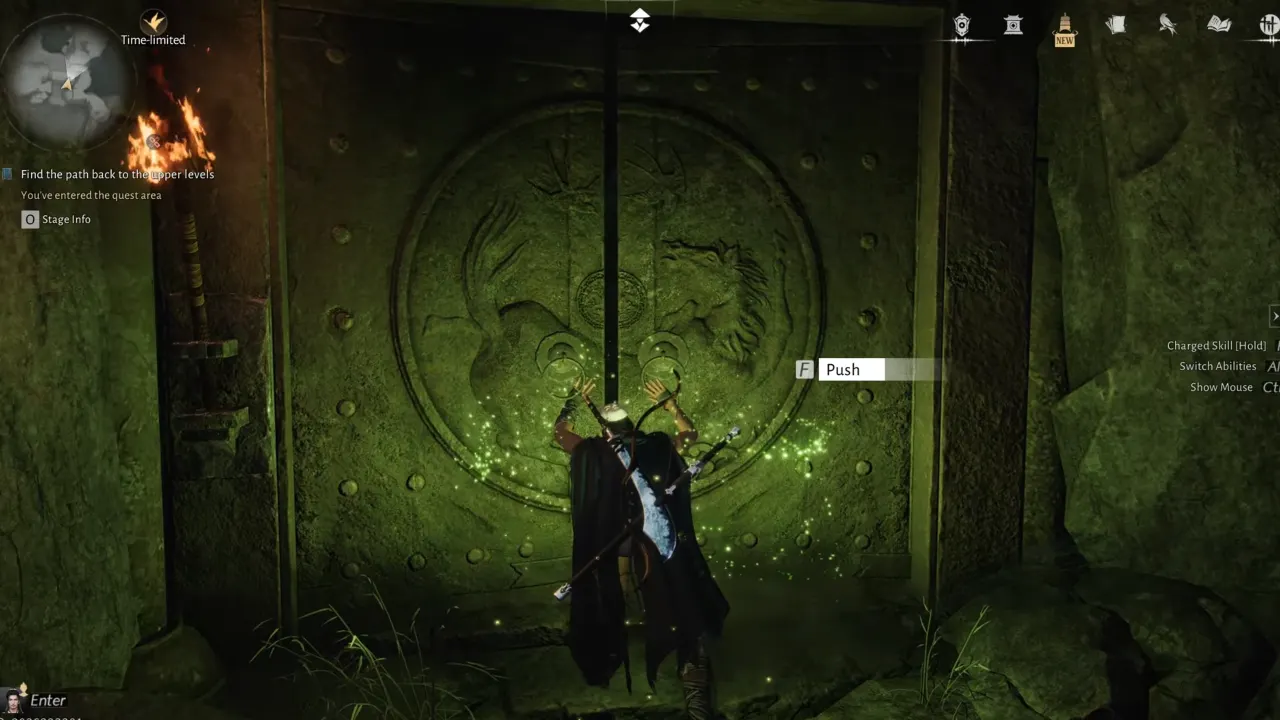
Defeat all three to obtain the Arhat Hall Key and use it to open the door in the room. Go past it to a fork in the path. Jump over the barrels on the left to loot a chest, then take the narrow passage on the right to pass through a tight corridor.
Defeat a second wave of Mechanical Puppets in the room, then head upstairs and open the next door at the top.
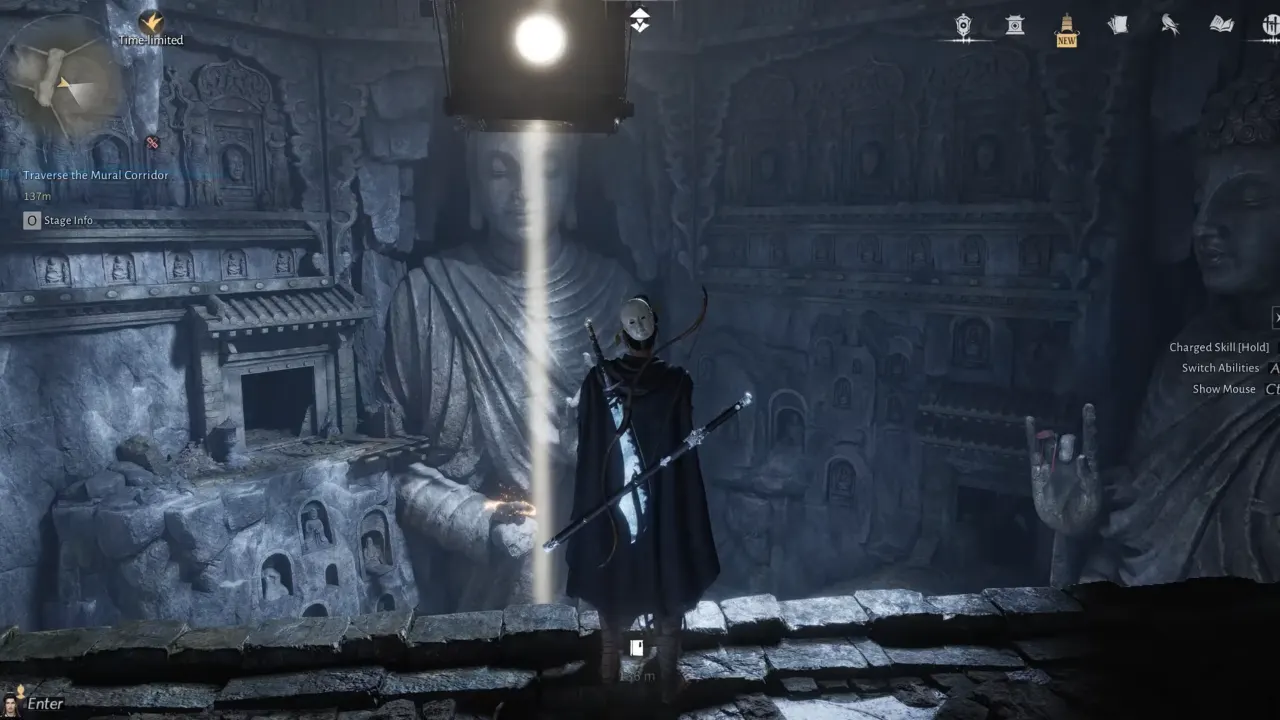
The Mural Corridor
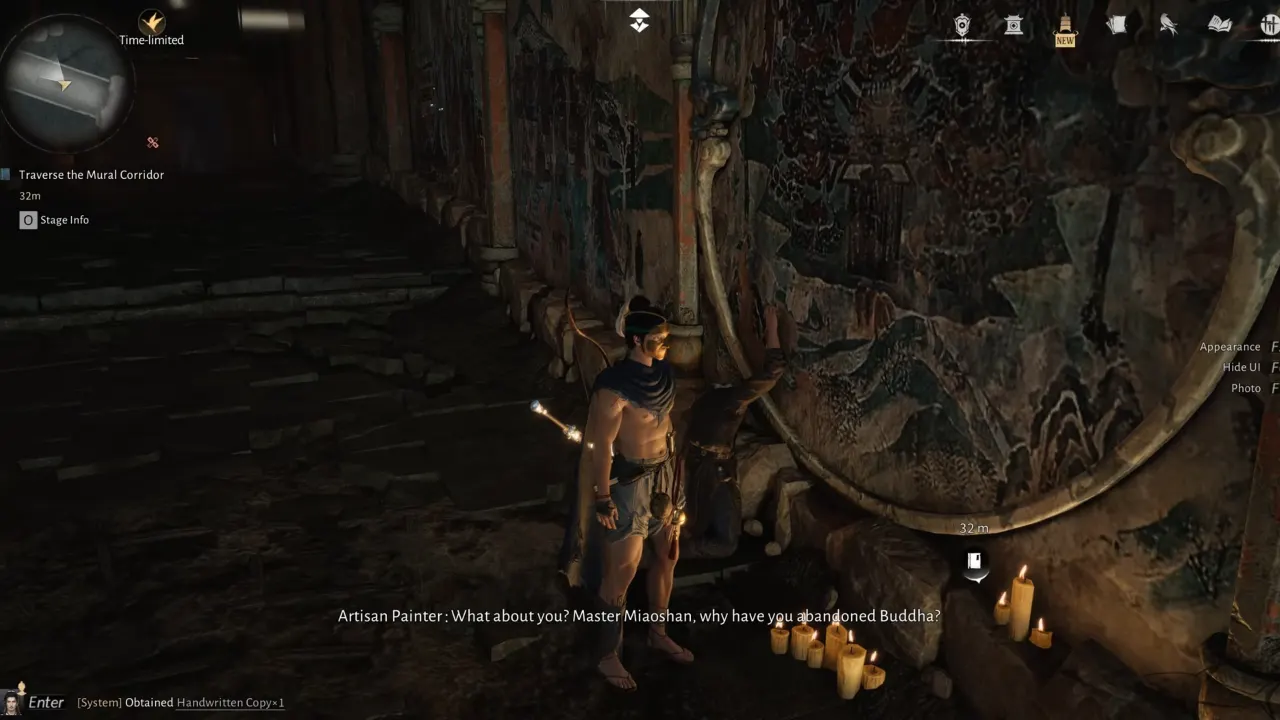
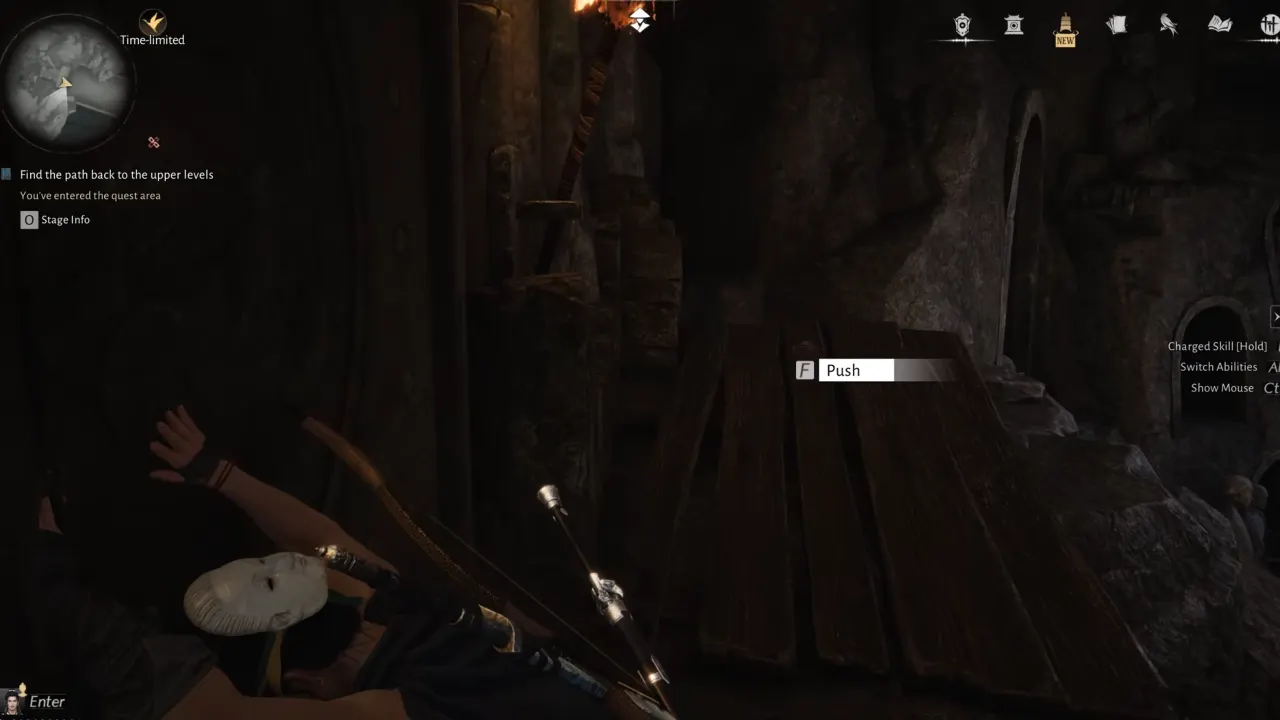
Through that door, you are now in the Mural Corridor. Crawl under the fallen pillar. Look to your left and drop down to a destroyed platform to get a hidden chest. Further down the corridor, you will find a sparkling mural and a dead NPC holding a Handwritten Copy. Take the scroll and compare it to the mural to learn some lore about the upcoming boss, Tian Ying.
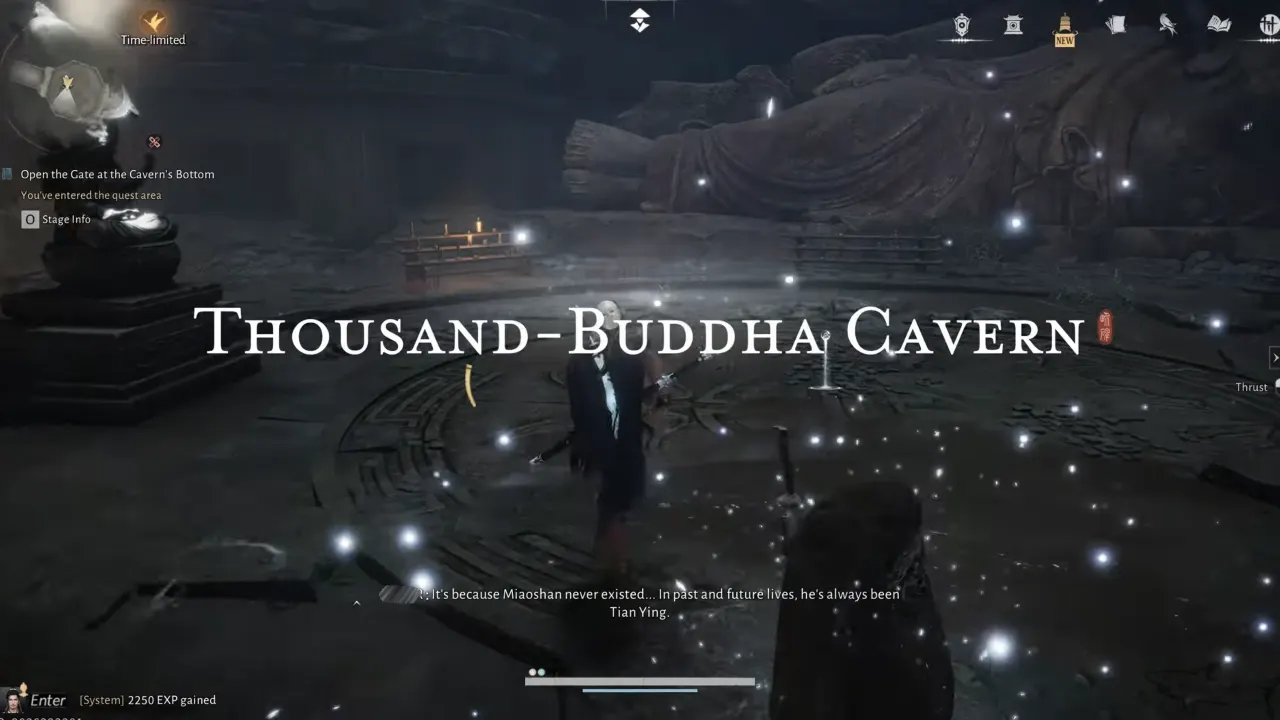
Continue forward to trigger a cutscene that reveals the massive vertical drop of the Thousand-Buddha Cavern — a large vertical room with a giant Buddha statue and wooden platforms spiraling down it.
Explore the Thousand-Buddha Cavern
In the cavern, immediately activate the Hero’s Tomb on your left. This will be your respawn point if you fall anywhere in this section, and you will likely need it.
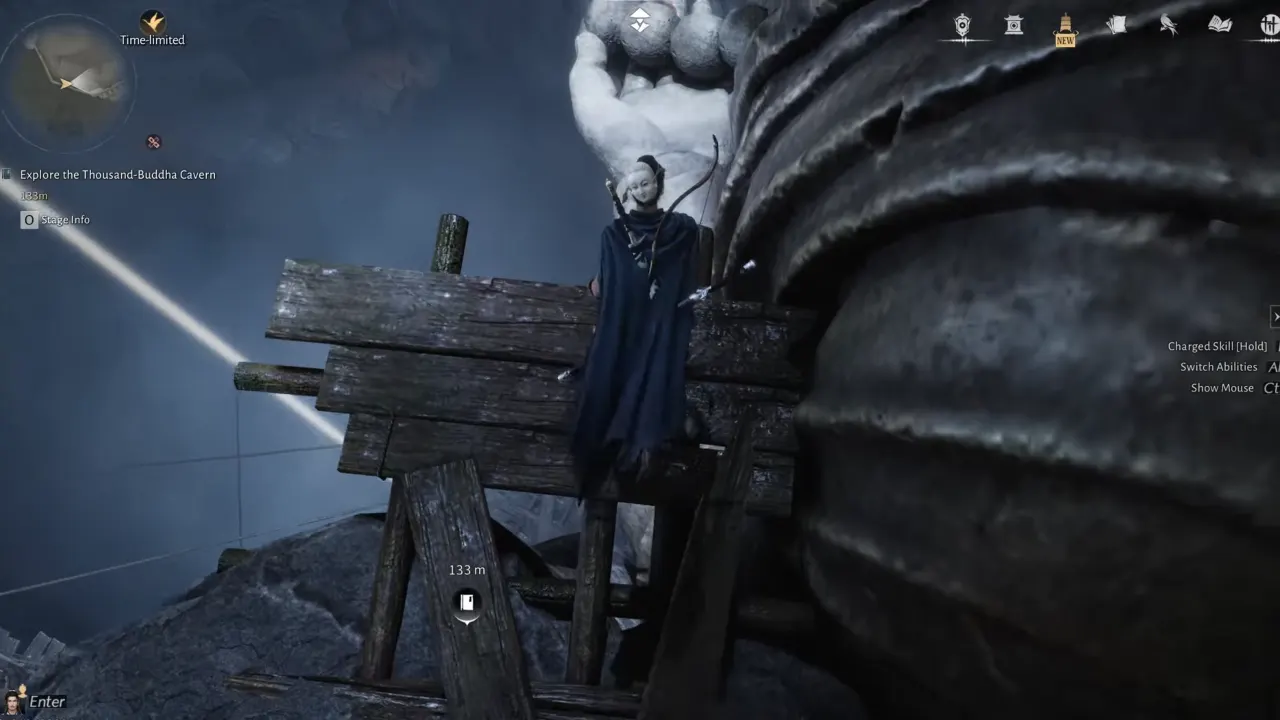
- Head down to the first wooden ledge, then drop onto the Buddha statue’s hand.
- Next, jump down toward the next passage.
- You’ll find a small doorway blocked by fallen pillars — crouch to squeeze through.
- In the middle of the corridor, pick up Moon & Mountain: Tian, a quest item book.
- Exit the passage, turn left toward a Buddha statue for a chest and a compendium entry.
- On the other side, peek down to find a roof, drop on it, then drop again to land on a wooden platform.
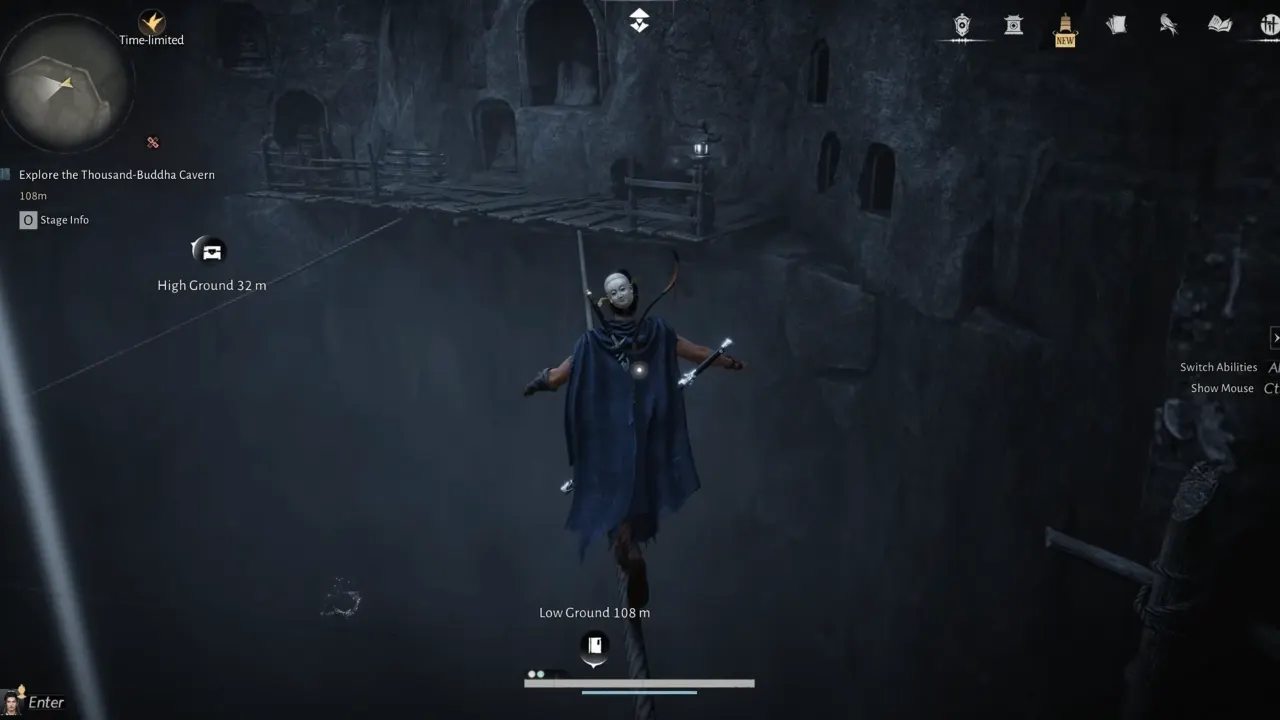
In the end, you will reach a series of rope bridges. There will be a wooden platform with a rope that leads to a dead end. Look directly below it. Walk to the middle of your current rope, align yourself, and drop straight down onto the lower rope. The other side has a rock platform to continue. Drop to a wooden platform below the rock edge, then drop once more. A cutscene kicks in showing the ground crumbling beneath you.
Escape the Collapse and Open the Bottom Gate
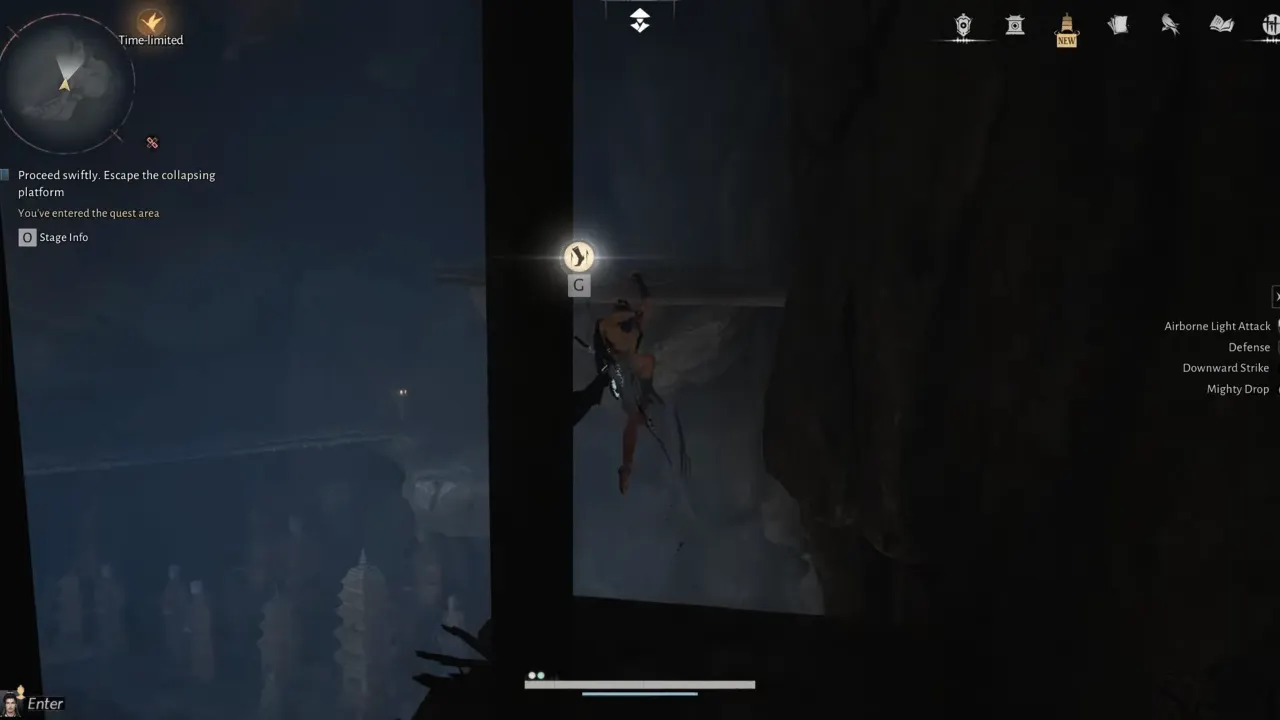
The cavern will start to collapse, and the next part is all about speed. Run hard, watch your screen closely for Quick Time Event (QTE) prompts to jump and dodge falling debris. Once you cross the final wooden bridge, the collapse will stop.
Platform your way down to the very bottom to activate the Boundary Stone to unlock the Thousand-Buddha Cavern waypoint.
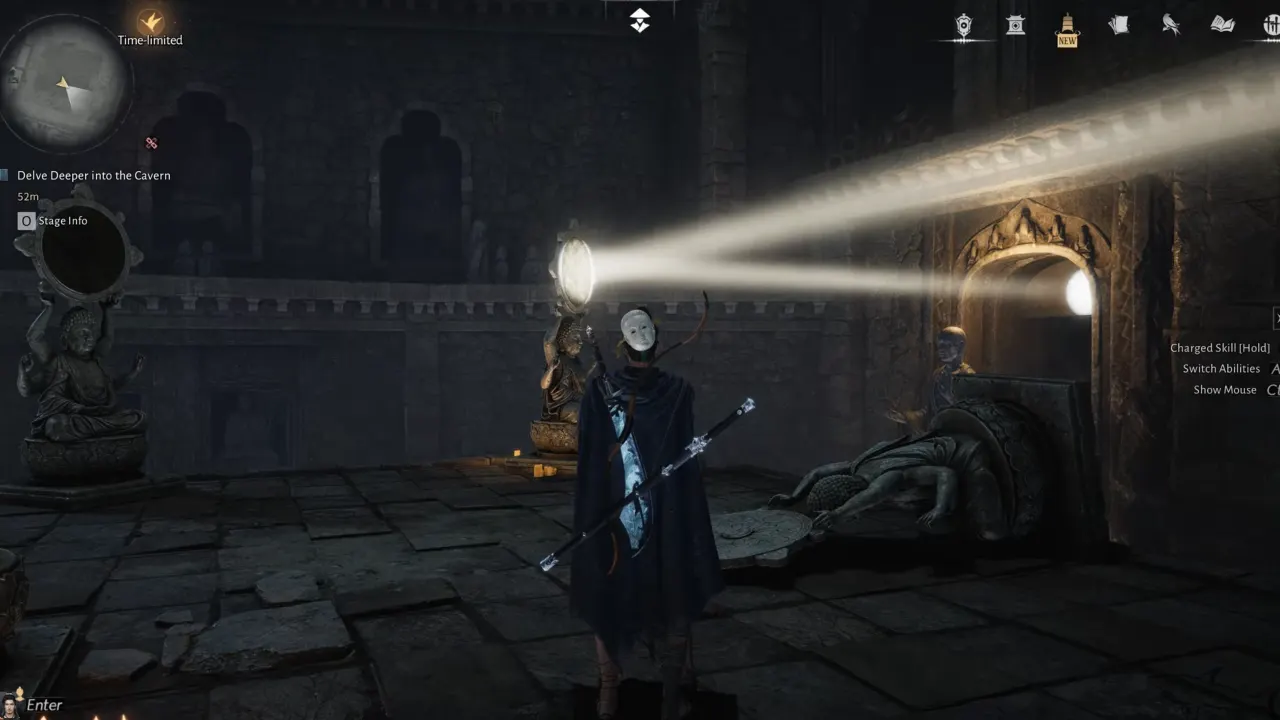
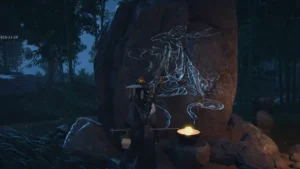
You will face one final mirror puzzle. Use Meridian Touch to rotate the statue twice in any direction. The beam will strike the symbol, opening the sealed stone doors to the Buddha Grotto. Another Hero’s Tomb is right before the boss arena, so use it before the fight.
Defeat Tian Ying (Miaoshan)
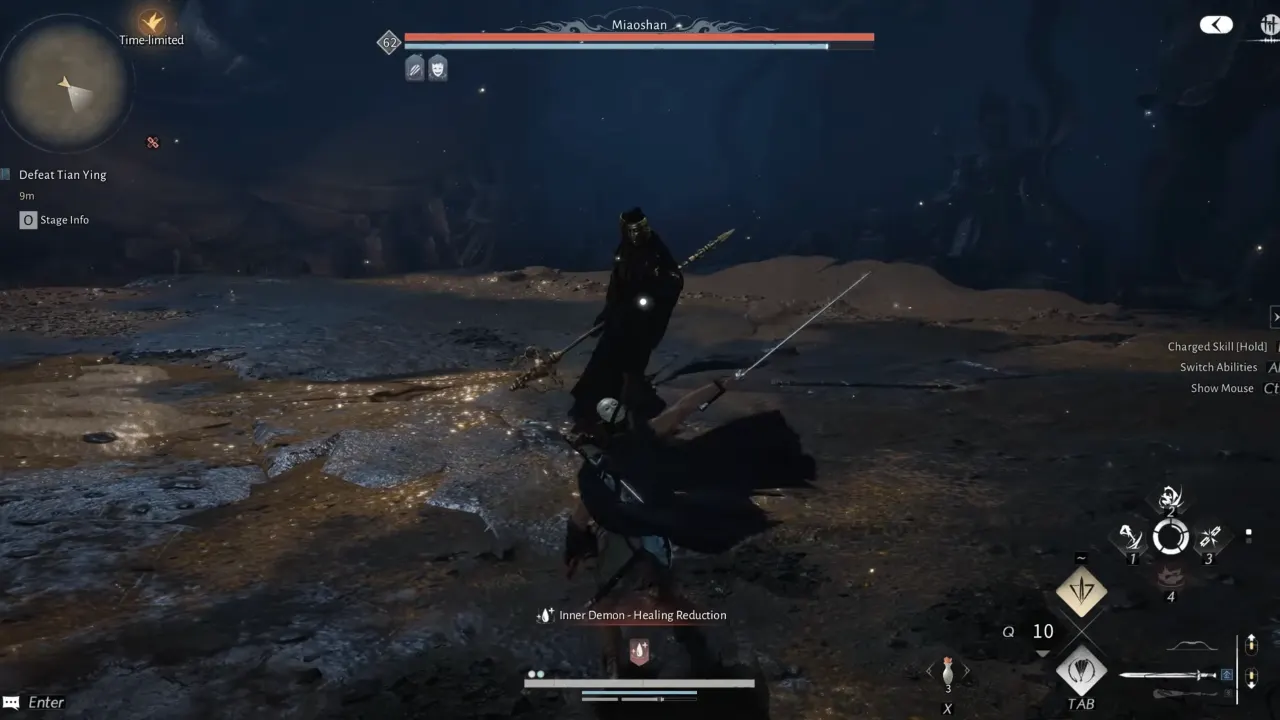
Tian Ying (also called Miaoshan) is a three-phase boss and the toughest fight in this quest. Visit our detailed guide page on how to beat Tian Ying in WWM. Once defeated, a cutscene will play with a giant Buddha statue falling over the boss, and the battle arena will collapse. A short cutscene trigger that shows Young Hero and dead Tian Ying falling in the water.
Escape the Underwater Cave
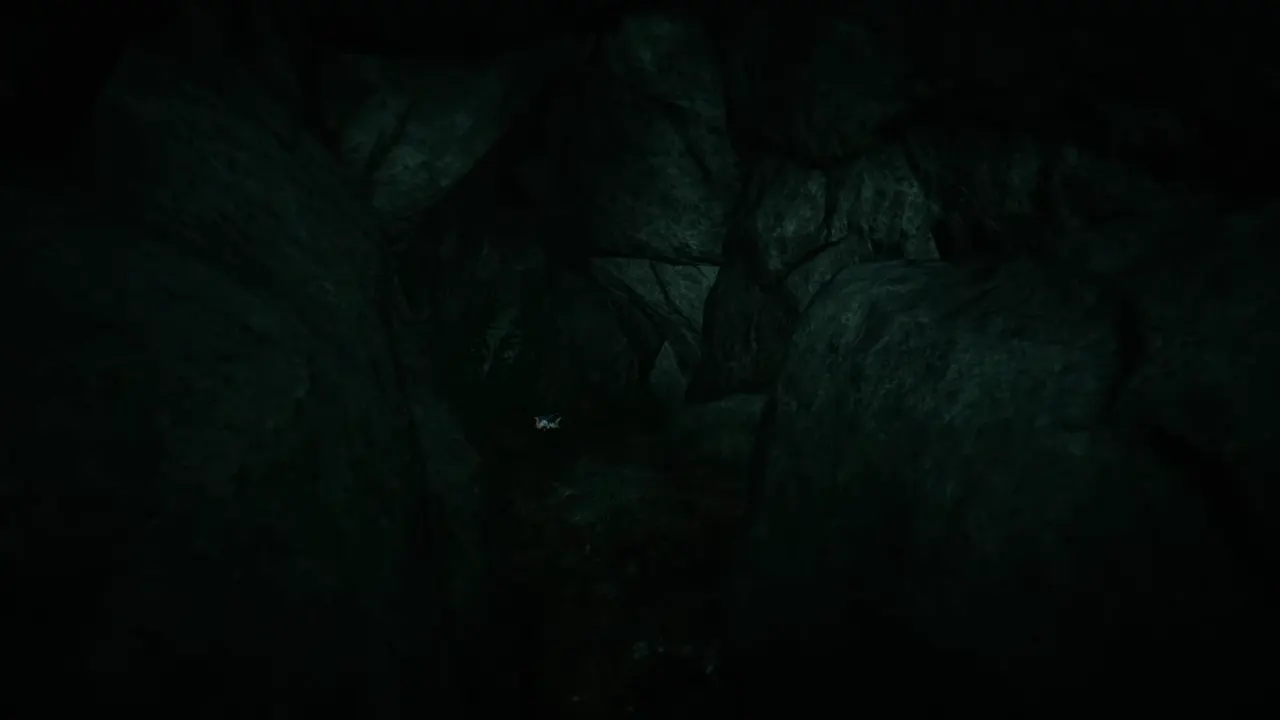
Once you wake up underwater, swim toward the small cave directly ahead and follow the quest markers to continue. You’ll surface on a small island filled with red flowers called the Floral Expanse Beyond. Reach the island to complete The Promised Light quest.
The Promised Light Rewards
Clearing this Lost Chapter nets you a massive payout and unlocks the highly farmable Halo Peak Campaign.
- Yaksha Rush Mystic Skill
- Medicinal Tales ×1
- Lv. 1 Ebon Iron ×4
- Echo Jade ×54
- Qinghe Exploration Points ×80
- Enlightenment Points ×100
- Character EXP ×17,000
- Zhou Coins ×17,000
In the Halo Peak Campaign, you can refight Tian Ying in Solo or Online modes for additional rewards, including Greaves, Halo Peak Cosmetic Chest, Oscillating Jade, and more. The cosmetic drops are rare, so expect to grind the campaign multiple times to unlock the full Enlightened Mind appearance.


