


Spotting is one of the most useful mechanics and must-have skills in Battlefield 6, lets you mark enemy soldiers and vehicles to give your squad enemy placements. If done right, your team gets better map awareness to likely win gunfights you’d otherwise lose. It’s important for Recon class to snipe at best to score clean headshots hundreds of meters away.
How to Spot Enemies in Battlefield 6

To spot in Battlefield 6, set aim sight on an enemy and press Q (PC), LB (Xbox), or L1 (PlayStation). If spotting is done, an orange icon appears above the target’s head and on your minimap. The mark lasts a few seconds visible to your team for that duration.
You can’t spam the spot key, there’s a short cooldown between tags. Always prioritize high-value targets like snipers, vehicles, or players pushing an objective. You can also ping empty areas with the same key to alert teammates or call out specific spots.
Spotting feeds your team real-time intel. Even if you can’t finish a kill, tagging an enemy gives someone else the chance. It also keeps your minimap active with updated enemy positions, which is crucial in intense firefights or when visibility drops. It also earns you assist points whenever your marked enemy gets killed. Smart tagging means better teamwork and higher scores.
The ping wheel helps with quick, silent communication. It works with the Middle Mouse Button (PC) by default, but can be rebound in Options → Infantry Keybinds → Ping. You can ping enemies, objectives, vehicles, or supplies, and it works even when you’re downed, giving you a chance to warn your squad or point out opponents before they finish you off.
How to Spot Enemies as Recon
Recon players have the best spotting tools in Battlefield 6. Their gadgets and traits automatically mark enemies and keep intel for the squadmates.
Motion Sensor
Motion Sensor is your bread-and-butter gadget for Recon class. Drop it near objectives, chokepoints, or contested areas, it’ll emit pulses that automatically detect nearby enemies. Anyone caught in the pulse appears on your squad’s minimap even if they’re behind cover. It remains active even after you die unless destroyed or replaced.
Position it smartly: halfway between an objective’s center and its perimeter usually gives the best coverage. You’ll get early warnings when enemies start to push in.
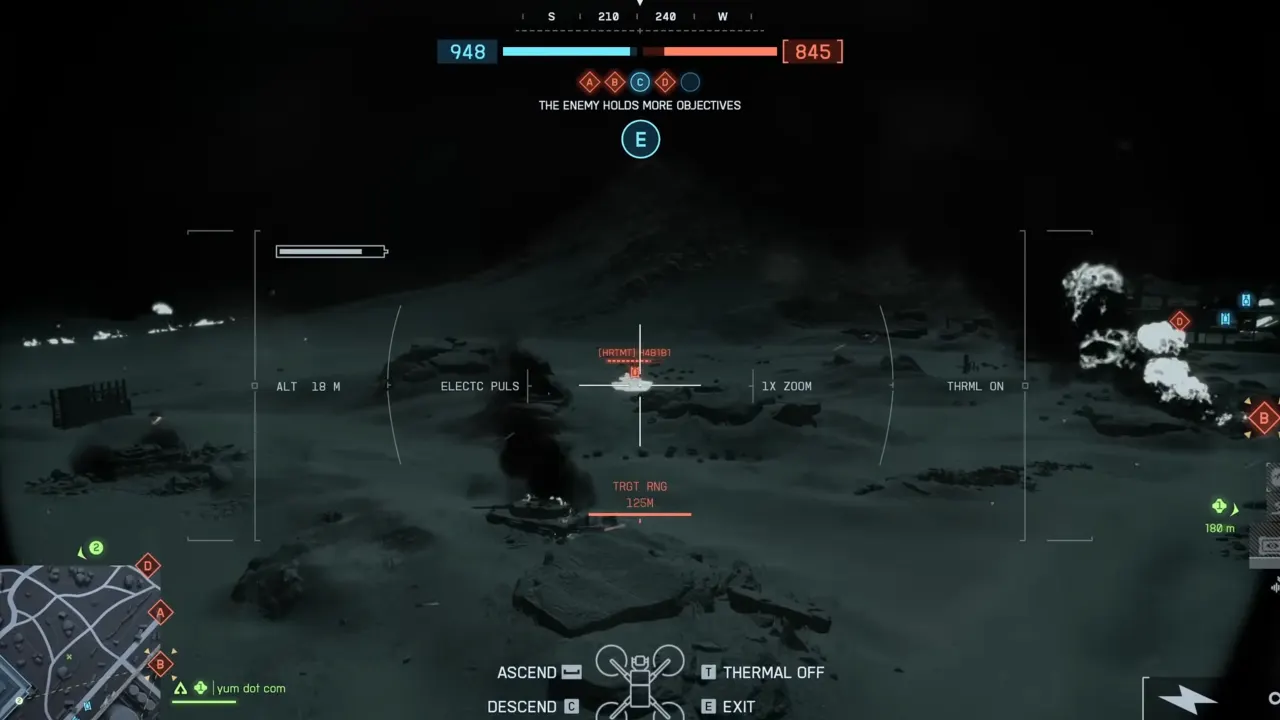
Recon Drone
Fly it into position and hover over enemy groups. It keeps your reticle on a target for half a second marks them for 5 seconds. It’s fragile, sure, a few bullets can take it down but in the middle of a chaotic fight, most players are too busy to notice a tiny drone above their heads. A skilled drone pilot can light up a complete enemy squad before the fight even begins.
Throwable Proximity Detector
A quick and dirty way to scout corners or tight spaces. Throw it like a grenade toward a suspicious area, and it will spot any enemies in its radius for a couple of seconds. The effect is short-lived, but it’s great when you breach a building or expect an ambush.
Passive Recon Perks
- Aim-Spot: Tags enemies you aim at.
- Target Acquired: Marks any enemy you hit.
These perks take a lot of mental load off your shoulders; simply focus on shooting and positioning while the game handles the tagging.
UAV
A short-term drone that follows you for about a minute, automatically scanning enemies within 100 meters. On objectives or choke points, a UAV can turn the tide of a match.
Visual Settings to Improve Spotting
Visibility can make or break spotting. Adjust these if enemies blend a lot in the environment:
- Slightly increase gamma on dark maps to reveal shadow movements.
- Don’t max out FoV — too wide reduces target clarity at distance.
- Tune contrast/brightness per map, high for urban areas, and moderate for open fields.


