


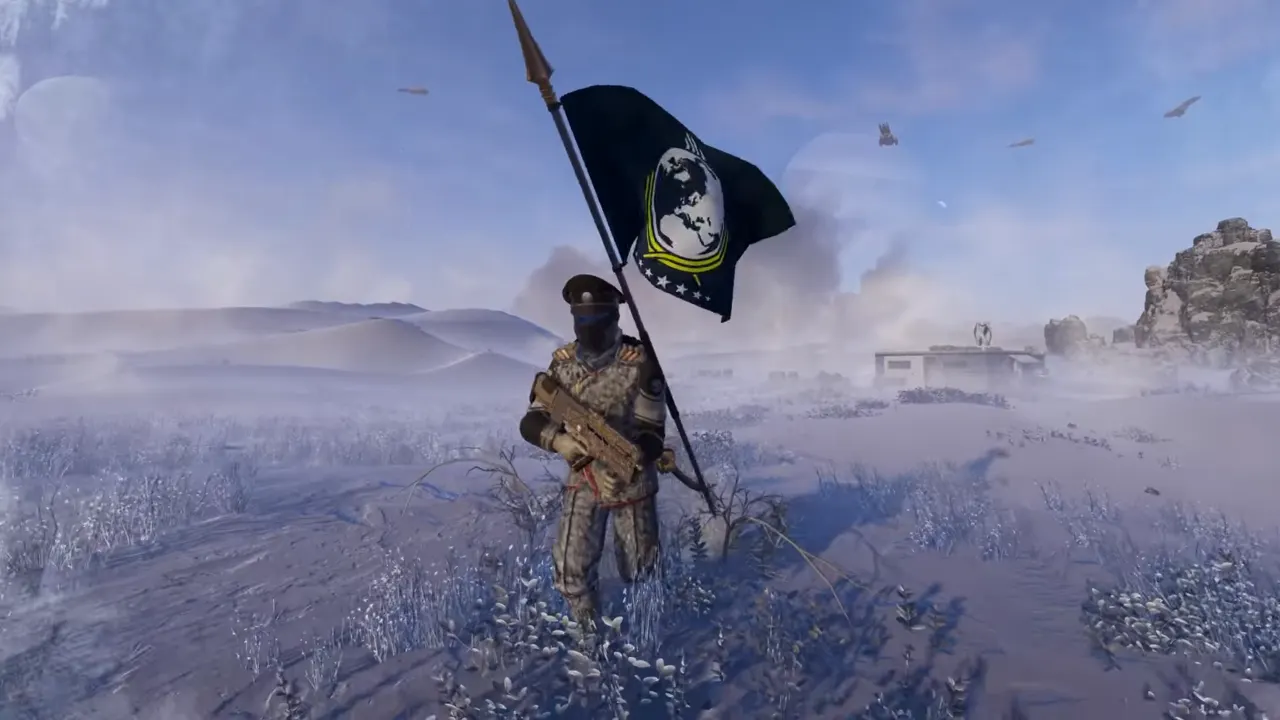
CQC-1 One True Flag is a Supply Stratagem in Helldivers 2, a full support-weapon dedicated to Super Earth’s colors, which doubles as a stun-heavy melee weapon and a battlefield statement. This melee stratagem sacrifices firepower for patriotic flair, but once you get the hang of it, it can be pretty amazing to use in a fight. To roleplay a ceremonial standard-bearer or put it to work on higher challenges, here’s how to get the One True Flag in Helldivers 2, call it down, and plant it properly.
How to Unlock the CQC-1 One True Flag in Helldivers 2
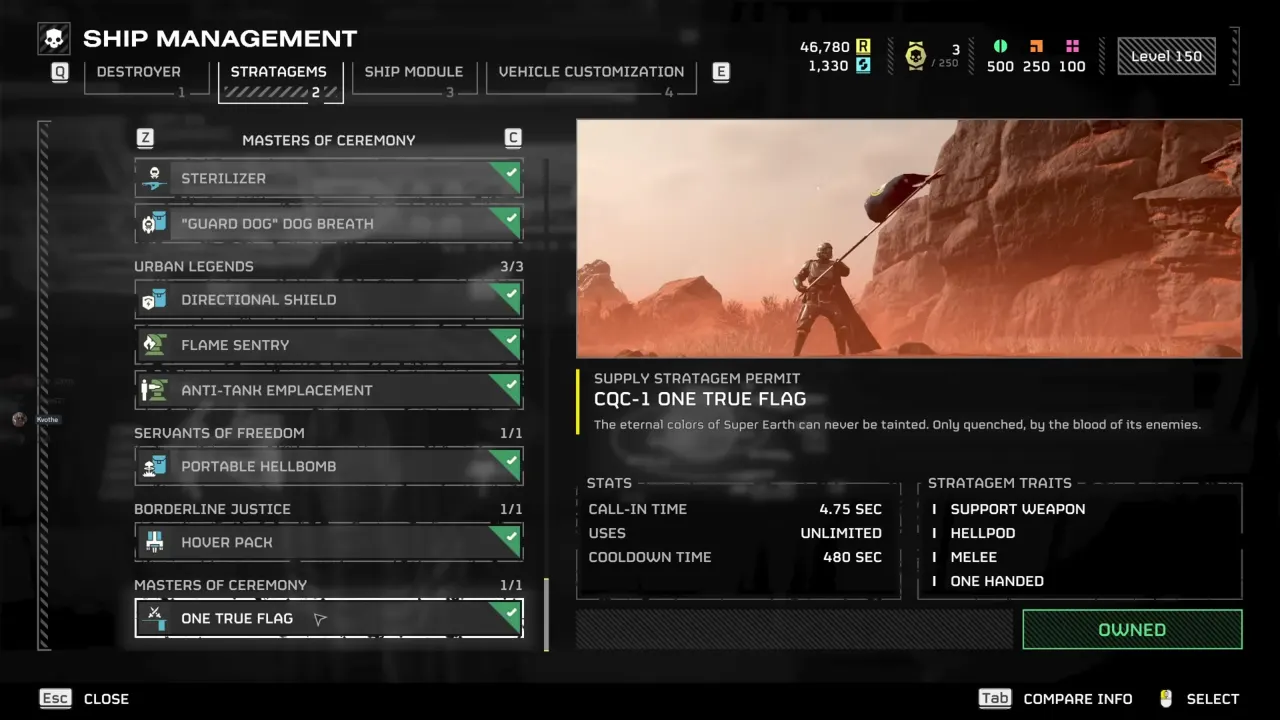
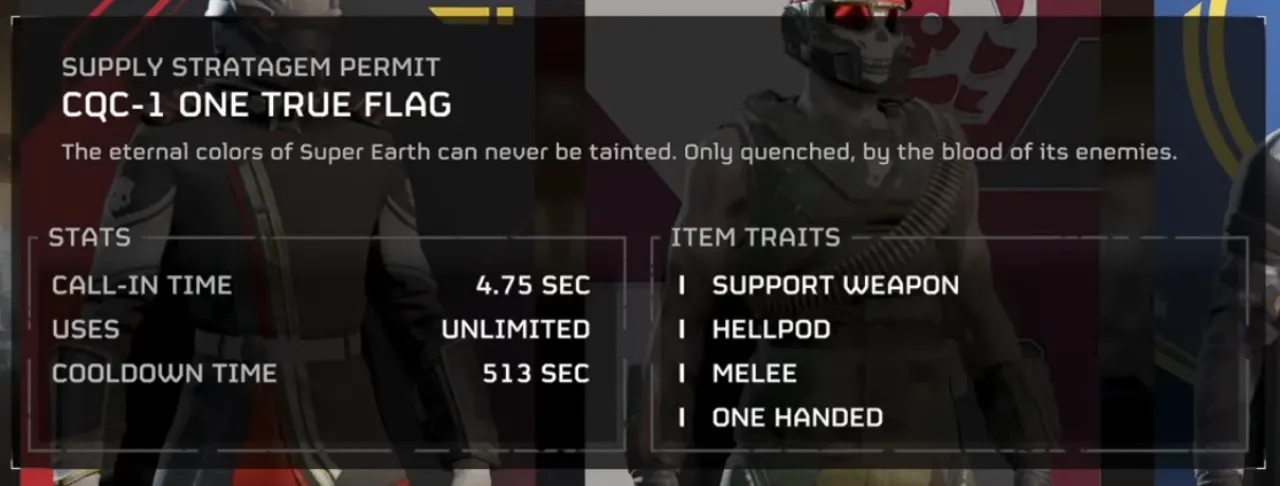
The CQC-1 One True Flag is unlocked in the Masters of Ceremony Premium Warbond. Go to the Warbonds terminal on your ship and select Masters of Ceremony. The CQC-1 flag can be found on Page 3 and requires 110 Medals to unlock. Once purchased, equip it from your stratagem loadout like any support weapon. It consumes a Support Weapon Stratagem slot, which means you have to choose it over autocannons, railguns, and other heavy hitters.
Using default controls, the One True Flag stratagem’s code to call it is Down, Left, Right, Right, Up. Call-in time runs 11.65 seconds with a 480-second cooldown between deployments (the longest of any support weapon). Ship modules can reduce this: Streamlined Request Process cuts support weapon cooldowns by 10%, Morale Augmentation drops all stratagems by 5%. Even with both upgrades, you’re looking at 410 seconds between flags. The long cooldown exists because the flag is durable, reusable, and meant to be carried forward. So, don’t lose the flag carelessly.
You can activate the One True Flag exactly like the Jump Pack or Hover Pack. On PC, hold Space (the climb button) and on console, hold X on PlayStation or A on Xbox. When moving in any direction, hold the key to thrust the flag forward at 117 RPM. The flag deals 110 standard damage and 55 against durable targets with Medium armor penetration on direct hits. Further, every thrust applies a large stun effect with 35 stagger force, similar to the Stun Lance.
The One True Flag is not much different from CQC-19 Stun Lance, such as:
- Medium armor penetration.
- Strong stagger and push force.
- Built-in stun on hit, even on giant robots or enemies.
- Long forward thrust with precise reach.
It excels at 1v1 control, where it locks enemies in place while you or your squad ends their life. It’s mainly effective against unarmored or lightly armored targets or any machine that likes to rush or fight up close.
How to Plant the One True Flag in Helldivers 2
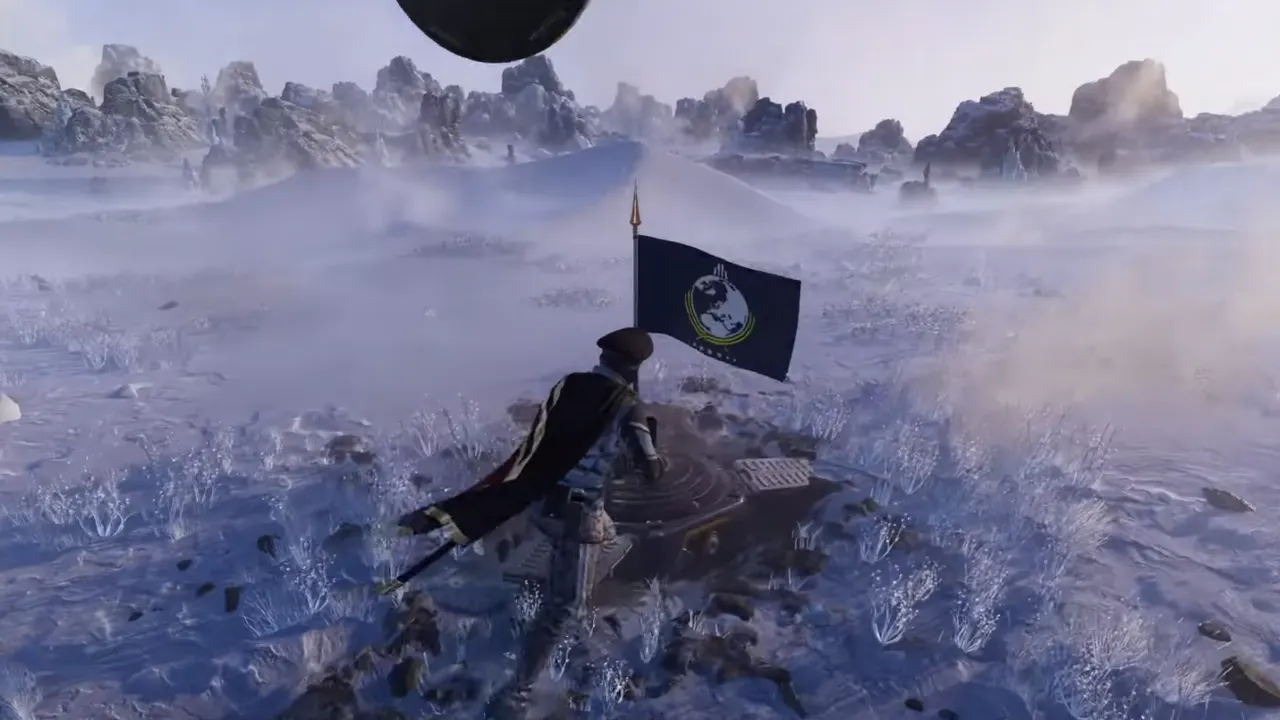
To plant the CQC-1 One True Flag, open the utility/drop menu, choose Drop, and the Helldiver will plant the flag upright. Instead of falling to the ground like a normal tool, the flag plants itself at your feet, dealing damage to anything at the impact point—enemies, allies, objects, it doesn’t matter what comes in the way. Its damage gets increased by Peak Physique (100% increase), Rock Solid (100% increase), or Reinforced Epaulettes (50% increase) passives.
Planted flags stick to surfaces and large enemies. You can impale Chargers, Bile Titans, Hulks, and even attach flags to FRVs and Exosuits. Following the patch that introduced “high-performance alloys for pointier flagpoles,” you can plant the flag to living or dead enemies. The eternal colors of Super Earth get quenched by enemy blood exactly as intended.
With that said, a few situations don’t allow its use. If the surface won’t accept this weapon, it stays in your hands, and if you have worn the SH-32 Shield Generator, you can’t plant CQC-1 either—the shield interferes with the planting animation.
Never let the flag touch the ground by dropping it normally. Always use the drop command to plant it properly because letting it fall constitutes high treason against Super Earth.
One True Flag Stratagem Effects
The flag stuns on every hit, so it’s powerful against Fleshmobs in Illuminate missions. Most enemies get knocked out by the stun, so you can take control in one-on-one encounters. Since melee damage ignores armor, the flag smashes right through defenses that stop most other weapons. Equipped with the stun, you can chain attacks against lone threats effectively. You get 25 swings before your stamina runs out. Even then, you can keep attacking, but hits will slow down.
Don’t let the flag’s size fool you; its range is the same as the Stun Lance. The thrust targets specific enemy parts, which makes headshots possible for critical damage. But the attack arc is pretty narrow; you can’t sweep multiple enemies like you could with broader melee weapons.
One True Flag can be paired with disposable anti-tank gear. EAT launchers and Commandos allow you call heavy weapons when required, use them, then pick the flag back up. Your backpack slot remains free for Shield Generators (excellent combo), Hellbomb Packs, or Guard Dog Drones. Want more anti-armor? Thermite grenades are reliable and don’t eat up your stratagem slots.
Loadout Synergy
The Ballistic Shield pairs very well with the CQC-1 One True Flag. Unlike other melee weapons that force you to move the shield aside to strike, the flag thrusts directly forward. Thanks to that, you can maintain frontal protection and jab enemies at once, covering the flag’s narrow attack angle with defensive coverage. Shield Generator Pack creates a surprisingly viable tank build. It’s even possible to complete level 10 difficulty missions using flag and shield, where you can use the stun to control engagements, and the shield will absorb damage from behind.
The main weapon choice is important since you have to give up the Support slot for the flag stratagem. You will want anti-infantry and some anti-armor gear. Eruptor, Crossbow, or Liberator Penetrator are all strong against Overseers, Harvesters, and Interlopers, mainly when melee fights aren’t involved. To take down Fleshmobs, the Purifier kills them in about six or seven shots and even stuns Harvesters.
Gas, stun, or thermite grenades are a lifesaver. Gas grenades stop Fleshmobs from charging, thermite rips through heavy armor, and stun grenades create an opening for flag strikes. When it comes to stratagems, think about area denial and automated support. EMS Mortars stun enemy groups to keep the battle under control. Orbital Lasers, 500kg bombs, and MG turrets provide the firepower you lack in the Support. Strafing runs are great to clear patrols before they overwhelm you.


