


MS-11 Solo Silo (or M5-11 Solo Silo) is the new stratagem in Helldivers 2, introduced on Sep 4, 2025 into the arsenal with the Dust Devils Premium Warbond. Unlike other heavy weapons, it’s not a gun you carry or a turret you babysit—it’s a miniature missile silo you call down from orbit, set up, and fire. The Solo Silo is real overkill, and that’s why it’s so good and powerful. To get the most out of it, you need to understand how Helldivers 2 MS-11 Solo Silo works and when it’s best to use.
How to Unlock the MS-11 Solo Silo Stratagem in Helldivers 2
The Solo Silo is on Page 3 of the Dust Devils Warbond, in the bottom row and unlocking it requires 110 Medals to reach its slot. You have to clear the preceding unlocks in that row before claiming it. Once unlocked, it’s permanently add to your stratagem list, but you must equip it in your loadout before deploying on missions. It costs a hefty 9,000 Requisition Points to bring into battle, and as it’s a single-use weapon, you’ll want to think carefully about whether it fits your mission plan.
How Does the MS-11 Solo Silo Work in Helldivers 2
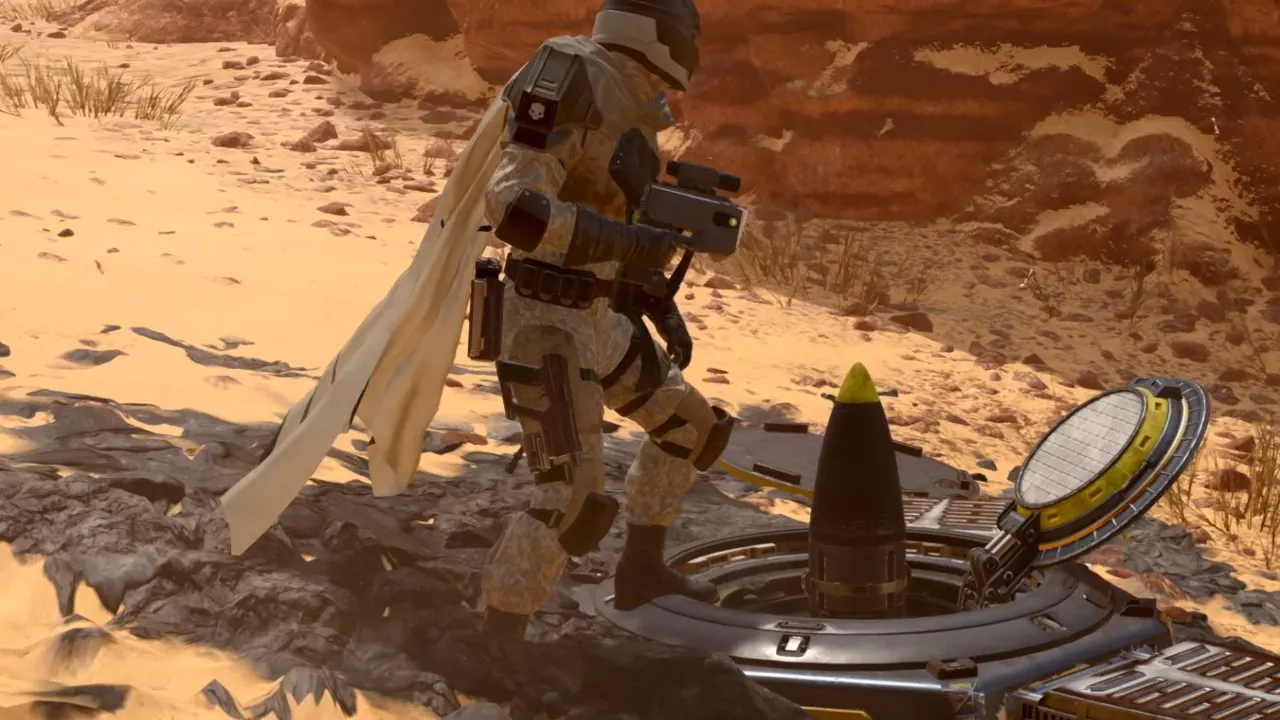
MS-11 Solo Silo doesn’t behave like most stratagems. Instead of dropping a weapon into your hands, it plants a missile silo into the battlefield — a one-shot launch site you can set up anywhere. When it slams down, the warhead sticks out of the ground, ready to fire. Next to it you’ll find a Targeting Remote, which is what you’ll use to control the missile.
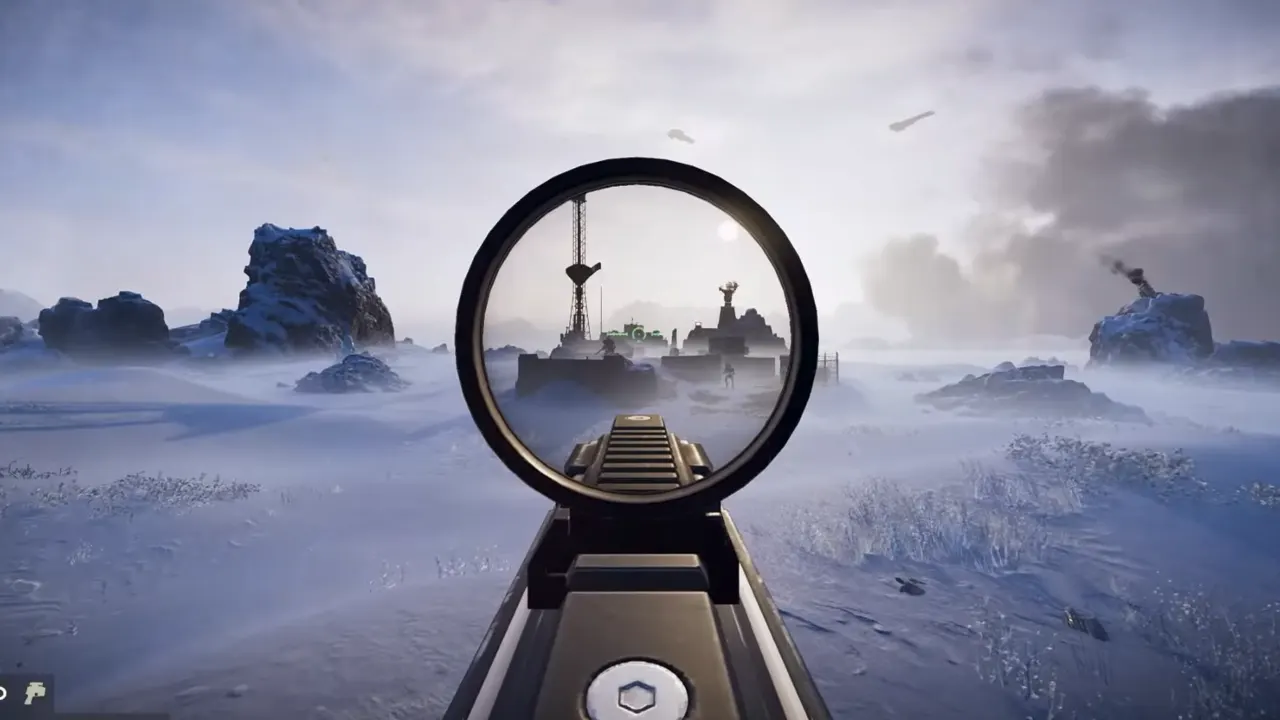
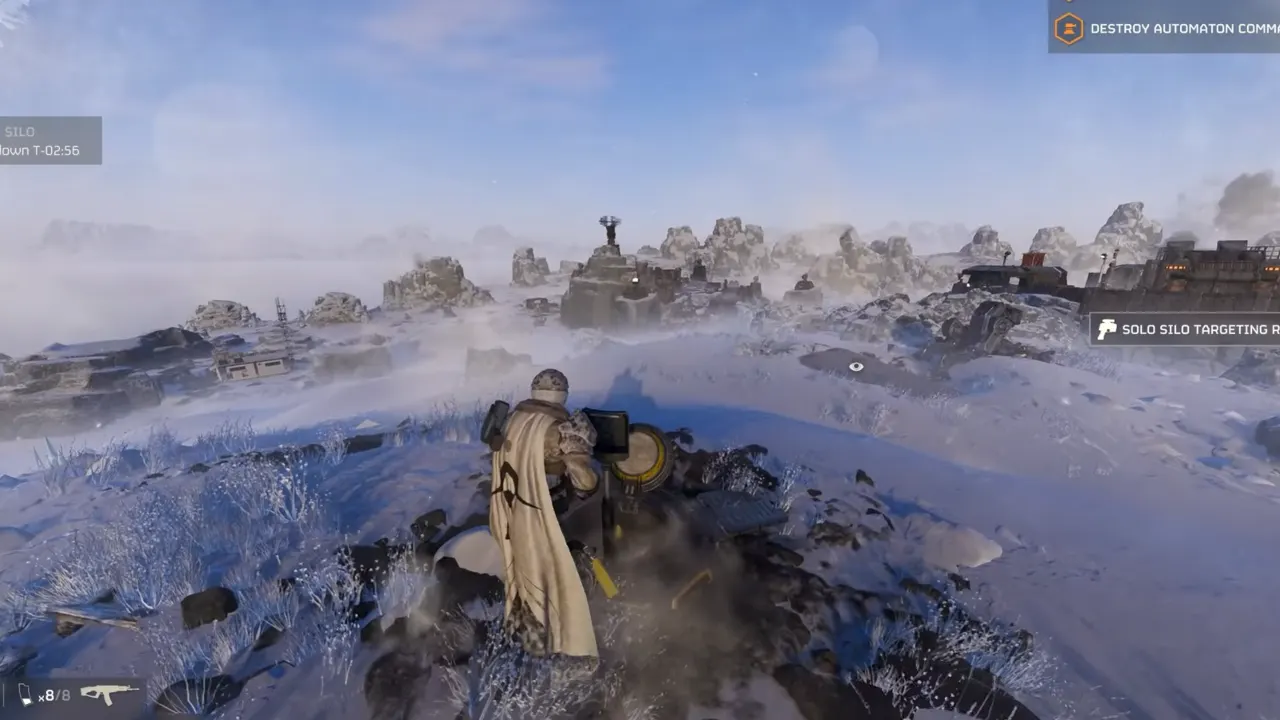
The remote equips consume your support slot, meaning you can’t carry more stratagems at the same time. But because the Solo Silo is only good for one launch, you can simply fire it off, ditch the remote, and grab your main support weapon again. The remote works (and even looks) like a pistol with a scope attached. You aim it, paint a target with the laser, and fire, the silo then sends its missile straight up before curving it down onto the marked spot. It doesn’t matter where you are on the map; unless the silo remains on battlefield, the missile will launch on your command.
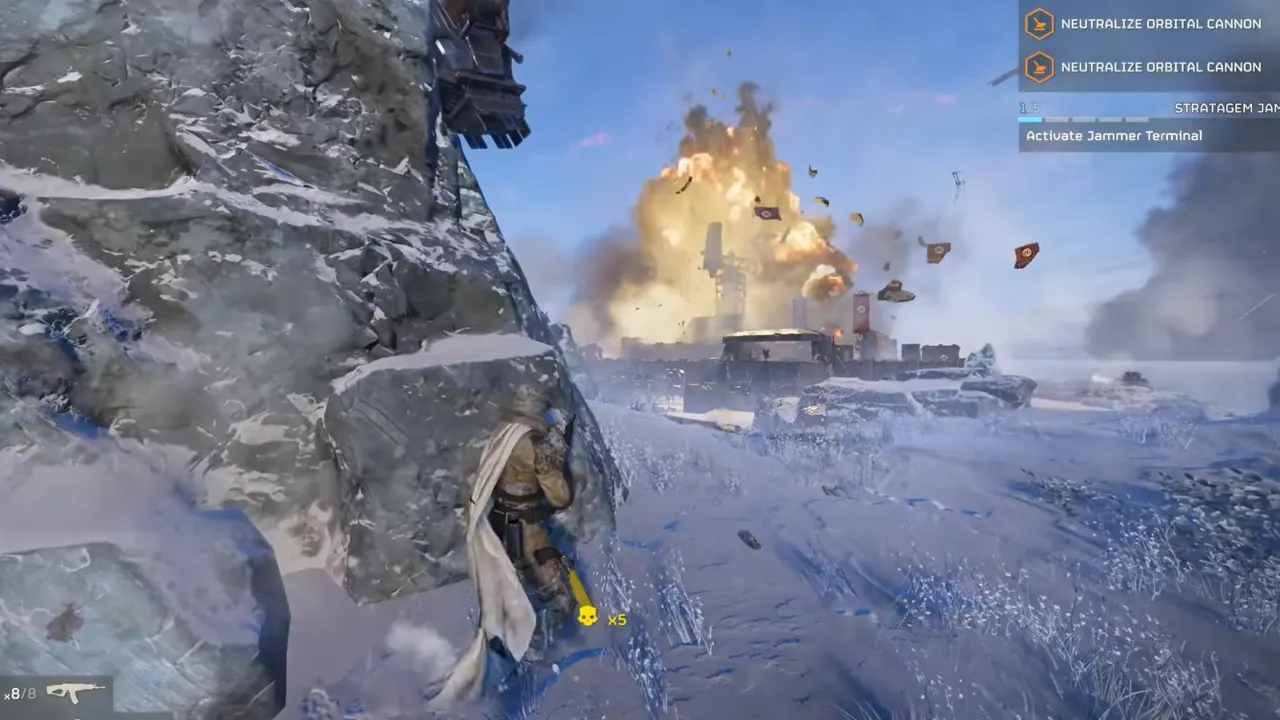
The blast radius is massive, which can destroy heavily armored enemies and tear apart structures. That said, it’s just as lethal to allies, so firing near your squad is a recipe for disaster. You’ll also want to avoid standing next to the silo when it fires, since the launch shockwave can knock you down.
Damage and Area of Effect
The Solo Silo’s strike has two blast profiles, depending on the target radius hit:
- Smaller Impact Zone
- Inner radius: 3 m | 1500 damage | Anti-Tank V
- Outer radius: 6 m | up to ~1499 damage | Anti-Tank IV
- Shockwave: 6 m | Anti-Tank V
- Larger Impact Zone
- Inner radius: 10 m | 2500 damage | Anti-Tank III
- Outer radius: 25 m | up to ~2499 damage | Anti-Tank II
- Shockwave: 35 m | Anti-Tank III
What these stats refer is that the MS-11’s strike will delete anything in direct impact range and heavily stagger or obliterate enemies further out. It’s a powerful anti-armor option, designed to crack open tanks, Titans, and fortified nests.
By default, the Solo Silo has a 180-second (or 3-minute) cooldown. That’s long enough that you can’t rely on it repeatedly without planning around downtime. However, ship modules cut that down:
- Morale Augmentation (Bridge): -5% cooldown (171s)
- Streamlined Request Process (Patriotic Administration Center): -10% cooldown (162s)
- With all upgrades active: 153.9s
Deployment time also drops with upgrades from 7.75 seconds base to 4.75 seconds. This makes a big difference in intense fights when your life depends on every bit of second. As you can call another silo after cooldown, it’s better on long missions if you keep cycling them in between fights.
When to Use the Solo Silo
At 9,000 Requisition Points a shot of MS-11 Solo Silo, it’s best treated as a surgical tool for the serious problems on the battlefield. Its strength lies in deleting a single high-priority target or wiping out a fortified cluster.
It’s great against heavily armored enemies like Chargers, Hulks, and Bile Titans. These units normally soak up tons of rockets or coordinated fire. With the Solo Silo, one well-placed missile can end the fight instantly. Timing is most important, the missile has travel time, and big creatures rarely stand still. Aim at where they’re moving, not where they are, or you’ll watch them disappear in a single fiery blast.
It’s also invaluable for defensive or objective-heavy missions. If you hold a point against endless enemy groups or need to clear a fortified nest, land the silo at safe distance behind your lines and launch strike at the incoming swarm to buy breathing room. Remember that the Solo Silo is fragile, enemies will destroy it if they reach it so fire quickly or place it somewhere out of the way.
Where it doesn’t work is against scattered mobs or low-level objectives. Spending 9,000 RP to kill a few Scouts or stragglers is a waste when cheap stratagems cover that role very well. In short, the Solo Silo in Helldivers 2 is best saved for the “oh, hell” moments when a giant boss or overwhelming mass threatens to break your run.


