


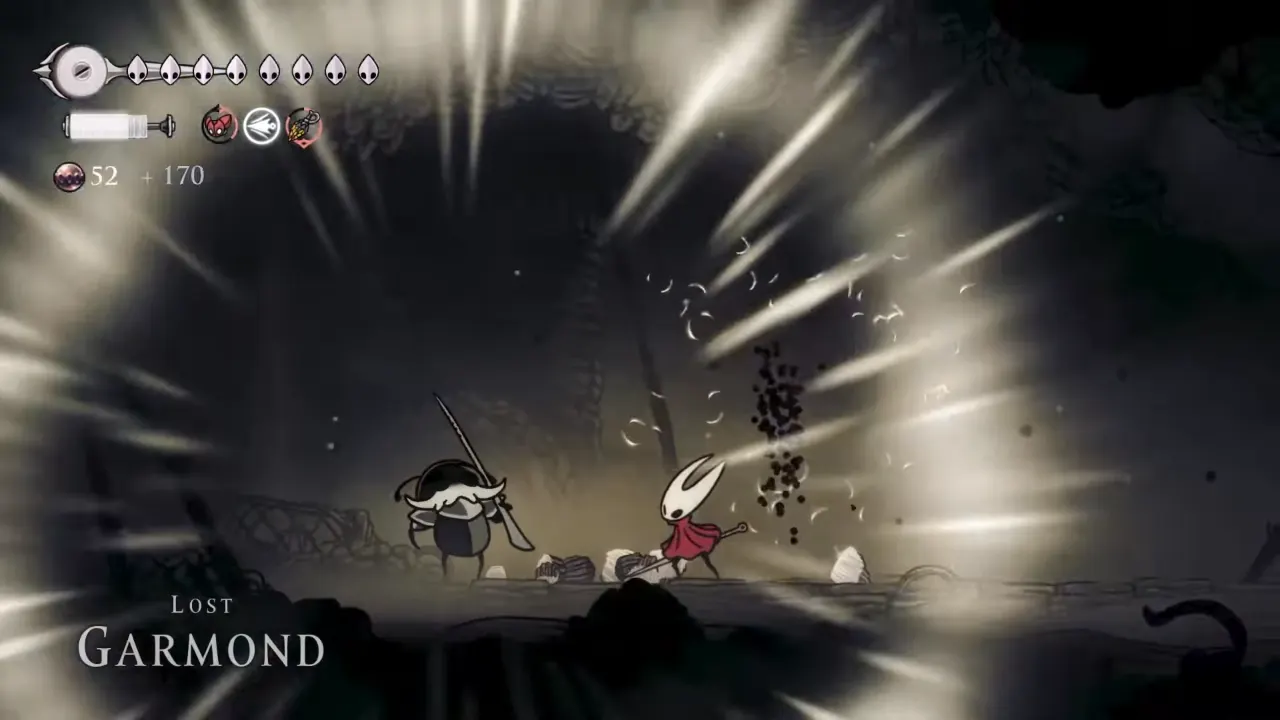
Lost Garmond is a late mid-game boss in Hollow Knight: Silksong you encounter in the Blasted Steps during the Hero’s Call wish. He is a corrupted knight bound by a black thread and fights with a mix of disciplined melee patterns and explosive void-based attacks. The fight tests your spacing, patience, and Silk management rather than reflex speed.
Old knight consumed by black thread.
A tragic fate for a once hounorable bug. Those void soaked threads… Their physical might is nothing compared to the corruption they wreak upon a soul.
Where to Find Lost Garmond in Hollow Knight: Silksong
You can only access this battle during the progress through the Hero’s Call wish. Travel to the Bellway Station in the Blasted Steps and rest on the Blasted Steps Bellway Bench. After the rest, you’ll see Zaza, Garmond’s loyal companion, waiting nearby. Follow him west through the tunnels below the station, and it leads into a wide, dim arena littered with debris. When you enter the area, approach Lost Garmond to trigger a short cutscene before the fight begins.
Recommended Setup
Lost Garmond’s movement is slow, so you don’t need a highly specific build. The right combination of charms and tools can make a big difference in combat against the boss:
- Everbloom: Prevents Silk drain from his void attacks, almost mandatory.
- Warding Bell or Fractured Mask: Gives enough durability to survive a two-hit combo.
- Voltvessel or Cogfly: Adds chip pressure and helps punish him from a safe range.
- Witch Crest: Speeds up Silk recovery during Bind. His large hitbox makes this consistently useful.
Since the arena is wide and flat, prioritize movement and recovery over burst damage. Healing during the fight is possible, but only after his longer move animations.
How to Beat Lost Garmond in Hollow Knight: Silksong
Lost Garmond isn’t a boss that overwhelms you with speed or sudden phase changes; he fights at measured, deliberate pace. Once you’ve read his attack moves, the complete duel demands patience and timing. Every swing, jump, and projectile has clear tells, and once you stop overcommitting, the fight will be under control.
He’s slow but powerful. Every strike hits for two Masks, and unless you use the Everbloom, his void-infused attacks also drain your Silk, limiting your recovery options.
Double Thrust
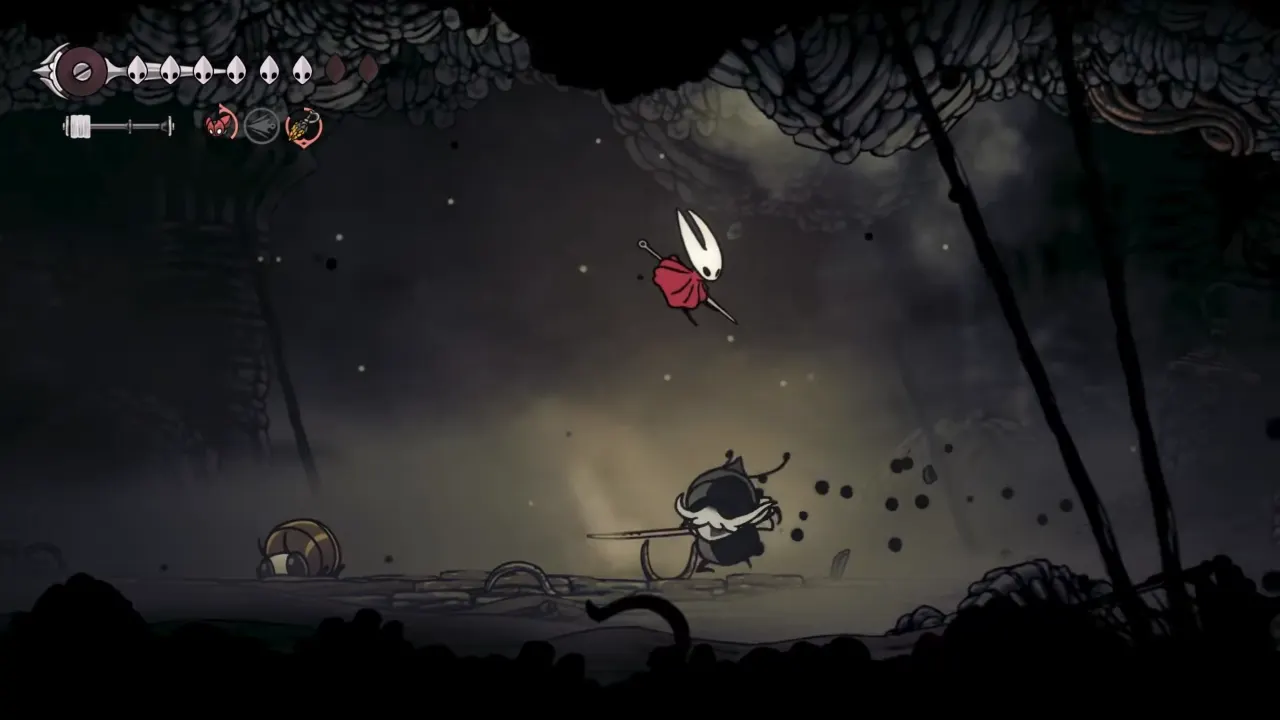
This is his quickest melee combo and the one that punishes impatience the most. He lunges forward twice in quick succession and often repeats the sequence immediately. You’ll recognize the wind-up by his stance when he lowers his head slightly and plants his feet. Sidestep or backdash both thrusts, then move in once the second jab ends. Be cautious as he sometimes chains into a third thrust right after, so wait that half-second before striking.
Sweep Swings
Garmond’s widest attack and one that catches overeager players. He swings his weapon multiple times left and right (six times to be precise, three times on both sides), covering a huge horizontal area. The attack looks slower than it is — the hitbox lingers for a moment after each swing. Keep mid-range, step backward during the entire series, and once he finishes, dash in from his backhand side (the direction opposite his last swing). That angle lets you land two or three strikes before he resets his stance.
Void Projectiles
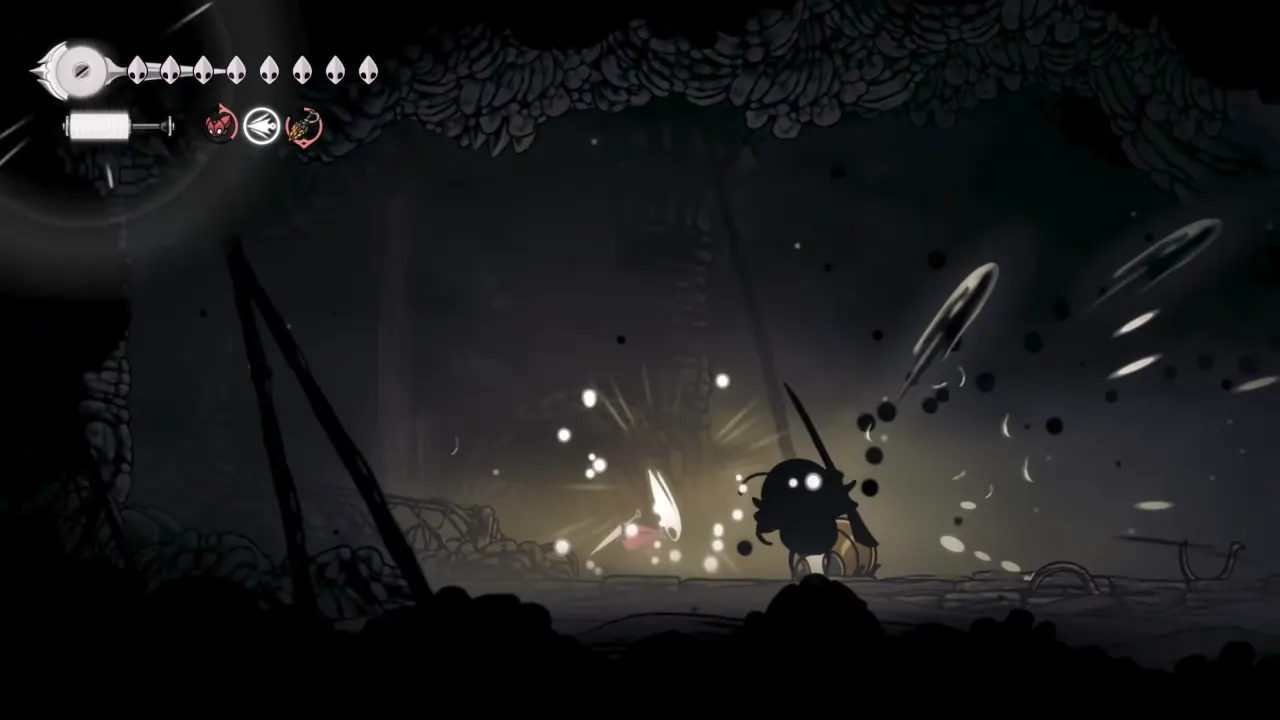
Garmond’s most punishable move and your best opportunity to deal heavy damage. He turns pitch black, then launches four void bolts in arcing trajectories, each one higher than the last. Dash behind him right after the first projectile leaves his body. All shots fire forward, so his back remains completely unguarded for the attack duration. You can safely land a few hits or even use offensive tools like Cogfly or Voltvessel for bonus chip damage.
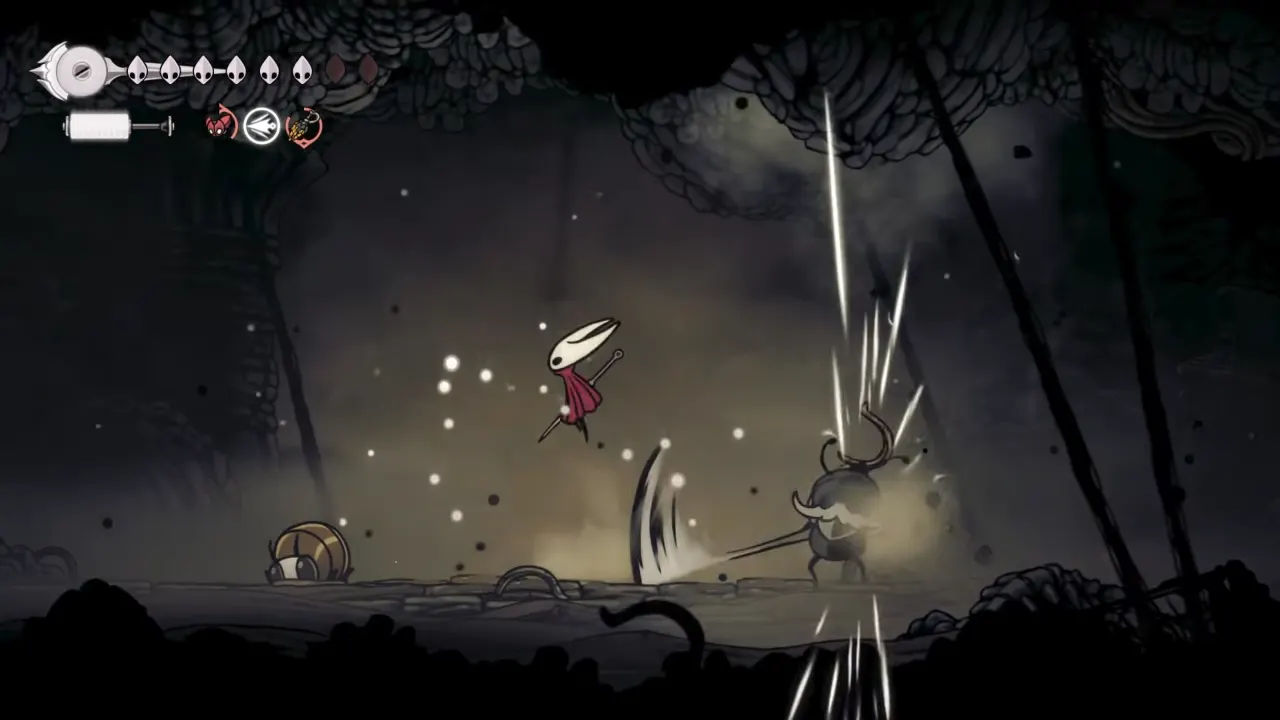
Spear Smash (Dive Attack)
Garmond leaps into the air and drives his spear into the ground, then four black void orbs release two on each side, which expand into spinning blades. Move away from his landing zone when he jumps to be out of the projectiles’ AoE. Once the blades vanish, rush back in and hit him a few times before resetting your distance. As soon as the void blades dissolve — that’s about a two-second punish window.
Fight Strategy
- Keep moving. His slow shuffle means you control the pace, so circle him and bait attacks rather than forcing trades.
- Stay mid-range. Close distance only when you’ve seen his combo end.
- Exploit projectile windows. Go behind him during his Void Bolt attack to land safe long combos.
- Heal only after slam or projectile attacks. Every other move recovers too quickly to Bind.
- Be patient. The fight doesn’t escalate — once you learn spacing, Lost Garmond becomes a rhythm fight, not a reaction test.
Lost Garmond Fight Rewards
Once you have defeated Garmond, Hornet receives these rewards:
- Hero’s Memento – a heirloom reward for the Hero’s Call wish.
- Thread of Remembrance – Expands void entries in the Hunter’s Journal.
- Journal Entry – Unlocks Garmond’s full background story.
Zaza appears at Garmond’s side after the fight and remains there permanently, thus marking the arena as complete.


