

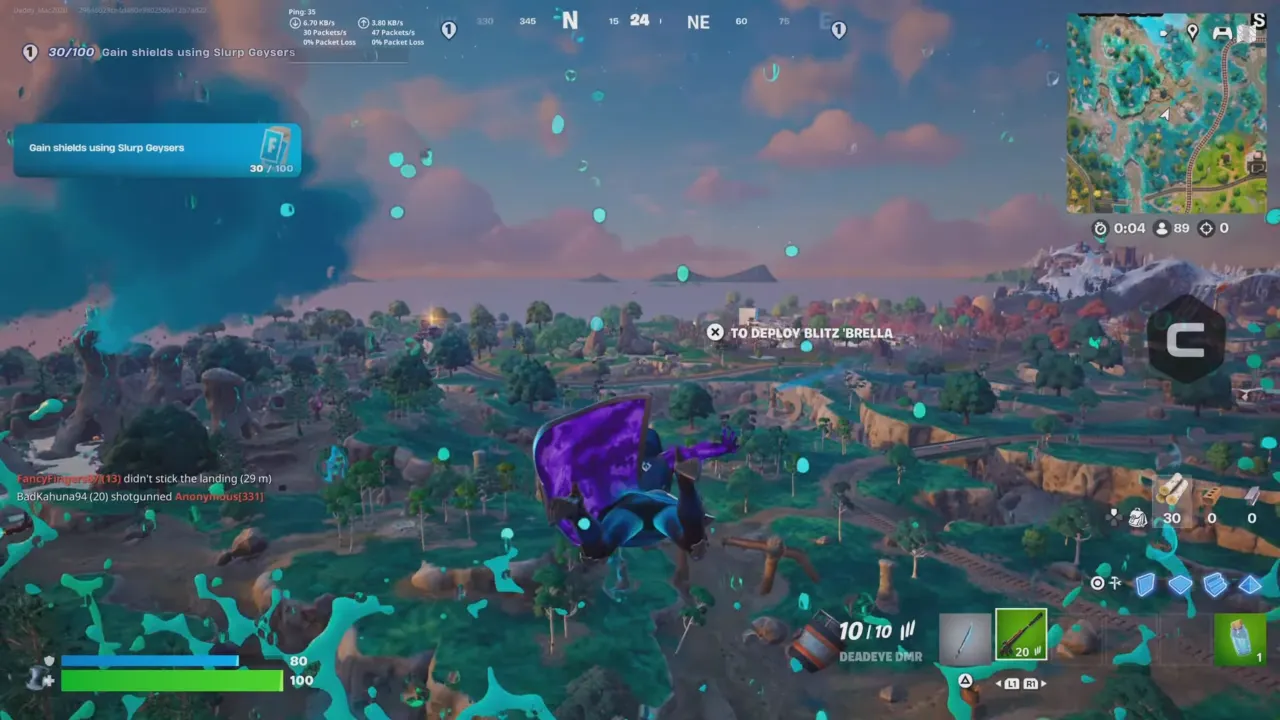
Fortnite’s Chapter 6 Season 4 throws players into bug-infested chaos, and survival means more than just good aim; you should know where to get shields to survive the intense situations. That’s where Slurp Geysers come into play. These bubbling fountains of Slurp juice shoot you into the air for rotations and restore shields on the fly. If you’re completing the Week 4 quests for an easy XP boost or just need a reliable mid-fight refill, here’s the guide on every Fortnite Slurp Geyser location and how to use them to your advantage.
Where to Find Slurp Geysers in Fortnite
There are four main Geysers spread across the island in Fortnite Chapter 6 Season 4. Each has its own benefits in play, depending on how you rotate and when you choose to contest the area. They’re easy to spot once you know where to look—bright blue liquid bubbling up inside a rocky pit. Every Geyser is located in bug-heavy zones where both NPC enemies and other players are drawn to the same resource. So always ready for a fight throughout these areas.
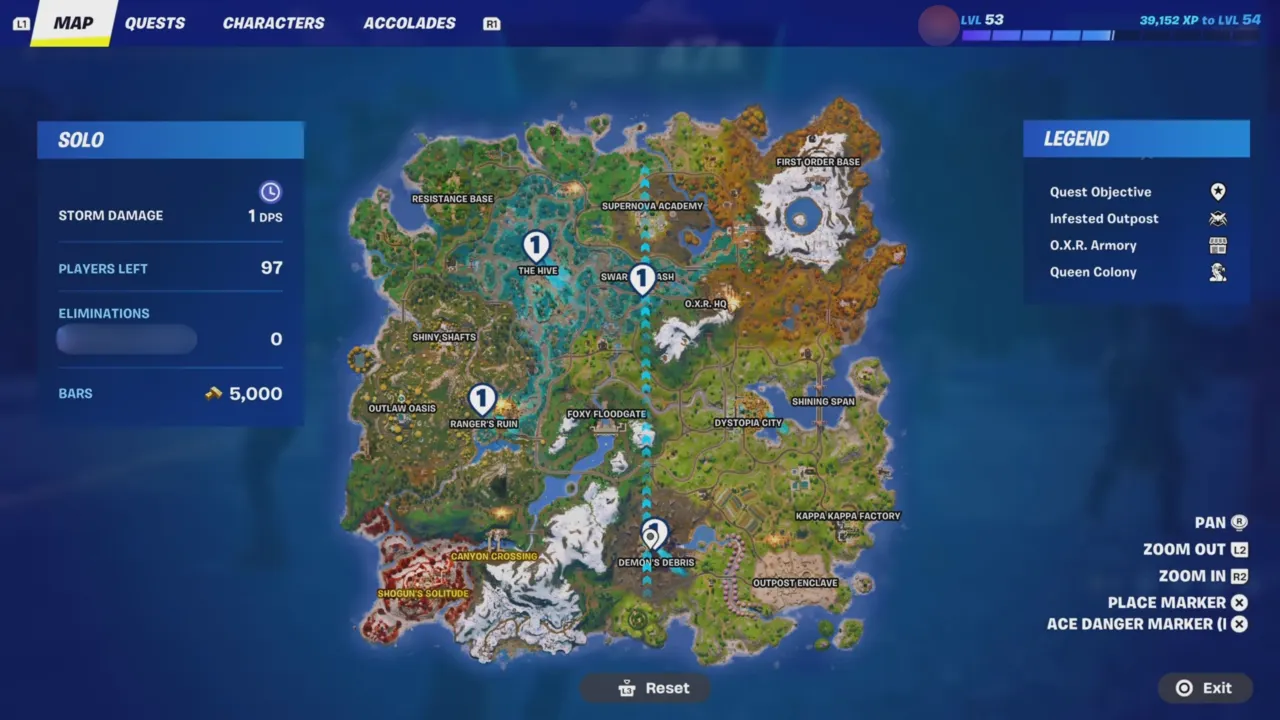
These are the best locations to find Slurp Geysers:
The Hive (North-Central)
If you want instant action, The Hive is the right Geyser location. It’s right in the middle of the upper part of the map, which makes it a magnet for players looking to farm quick shields. Because of that, don’t expect peace and quiet here—you’re just as likely to leave with a full shield bar as you are to get ambushed while waiting for the eruption. From here on, rotations are easy in pretty much any direction.
Ranger’s Ruin (West Side)
Out west, things remain calm, so it’s a good spot with less to no fights. Ranger’s Ruin doesn’t have as many squads, which makes it a nice fallback for players who want to gear up before joining the encounter. It’s tucked away enough that you can usually heal without pressure, but still close enough to key loot spots that you’re not wasting time. This is the Geyser I hit if I’m aiming for a slow, more controlled match.
Swarmy Stash (Central-East)
At Swarmy Stash, the terrain gives you natural cover while you heal, and it doubles as a convenient pit stop if you’re rotating from the eastern side of the map. With a smart mind, you can pop shields here and be ready for third-party nearby fights. Be careful though, players know it’s a good mid-game refill spot.
Demon’s Debris (South)
Way down south is another Slurp Geyser at Demon’s Debris, and this one is a clutch tool when the storm starts closing. Holding it gives you both healing and a launch pad to reposition in tight circles. Squads that control this area in the late game can keep their shields topped off while forcing others to fight uphill. It’s one of the most valuable Geysers if you’re planning for a Victory Royale push.
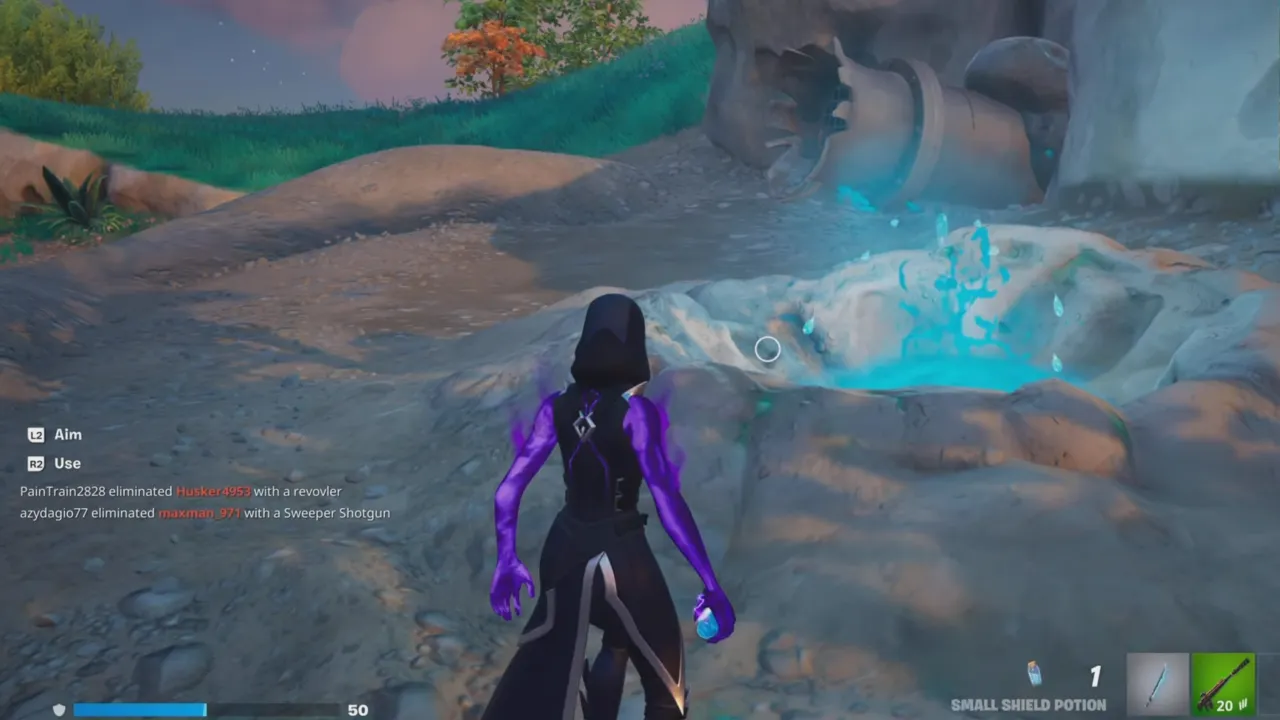
How to Use Slurp Geysers for Shields in Fortnite
- To activate and use Slurp Geyser, stand on its bubbling circle.
- Wait roughly 10–15 seconds for it to erupt.
- The eruption launches you sky-high and grants 30 shields.
- Glide back down and repeat until you’ve got what you need.
For the Week 4 challenge “Gain shields using Slurp Geysers”, you’ll need 100 shields, which works out to four eruptions. Keep in mind that if you’re already at full health, the Geyser gives a shield but if not, it’ll heal HP first.
To stay alive at these heavy traffic spots, it’s recommended to first scout before standing in one because lots of players camp these locations for easy eliminations. Even if you don’t need shields, the launch can help escape third parties or cross tough terrain. Further, you’d better bring a squad. Holding Slurp Geysers solo is risky—one sniper shot while waiting for activation can ruin your plan. Even outside of quests, Slurp Geysers are one of the most valuable tools this season. They save inventory slots, offer repeatable healing, and can completely flip a fight if timed right.


