


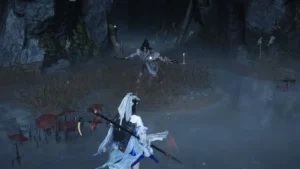
Tian Ying is a Campaign Boss in Where Winds Meet, the final enemy of Qinghe’s questline, and one of the hardest game fights. He comes at you with three completely different identities—warrior, monk, and assassin—and every version with its special moves, fight style, and punish windows. The duel is very long, and to win it, you need clean parries & dodges, smart movements, and must enter the arena with strategy and resources stocked up. Here’s everything you need to know to defeat Tian Ying boss in Where Winds Meet.
Where Winds Meet Tian Ying Boss Location
Tian Ying appears at the end of The Promised Light, the final side quest of Qinghe’s region. You won’t be able to trigger this quest until you’ve built up 6,000 Qinghe Exploration Points, which in other words means reaching Area Exploration Level 6. Once the threshold is achieved, head to the Wayfarer in Sundara Land to start the quest that leads you to Tian Ying’s arena.
After you defeat Tian Ying in this fight, his Campaign Boss version will be added to your map. This rematch lets you burn 20 Energy Points per run in exchange for extra rewards that scale with your current World Level.
Best Setup to Fight Tian Ying
Tian Ying’s duel isn’t suitable for early game builds. Every mistake in the arena incurs punishment, and damage accumulates fast, mainly in the second and third phases. You need to take a few minutes to prep before you even think to enter the arena:
- Weapon and Gear: Upgrade your main weapons’ tier, especially Fan or Vernal Umbrella for ranged play, or Sword to deal with the boss in phase 3. Further, check your armor for set bonuses. Even a small armor rating drop is worth it if you get extra MAX HP.
- Combat Skills: Meridian Touch is a very crucial Mystic Art skill you would better have unlocked when you come here because it will help you to cancel Tian Ying’s deadly shockwave attack in the first phase, and upgraded Star Shift (Dodge) makes it easy to survive through the end of the battle. Whatever main weapon abilities you use, make sure their vitality requirements don’t exceed your character’s cap.
- Healing: It’s the most important part in any hard boss fight. So first, visit the Clinic to clear any illness if you have, upgrade your healing capacity, and unlock strong medicine with Medicinal Tales. Further, craft better healing items and conserve potions when possible, using Fan self-heals.
It’s optional, but we highly recommend bringing an NPC companion. Yuan Jin’gang is the best companion because he has great ranged Qi damage, long-range stagger power, and he can break Tian Ying’s stance from a distance.
How to Beat Tian Ying in Where Winds Meet
Phase 1
In the first phase, every Tian Ying attack has clear telegraphs, wide arcs, and good tempo. You must preserve your health in this part and focus on breaking the boss’s Qi bar. If you lose a lot of HP here, you will handicap the entire fight. Tian Ying pressures you with space control and ground pulses. Keep a mid-range stance, force him to commit first, and parry the final strikes of his strings instead of all hits. Once you exhaust the enemy’s Qi, switch to your melee weapon, dump full combo, attack him, and then instantly reset the distance for the next phase.
Phase 1 Moves
- Dominion Step: Tian Ying briefly moves forward for a burst and slam palm on the ground that releases micro tremors—easy parry bait, but it punishes rush.
- Golden Pulse Collapse: Tian Ying smashes his staff on the ground, which results in a charged golden shockwave with a huge radius. Cancel it instantly with Meridian Touch or retreat far/umbrella-hover if it’s on cooldown.
- Gilded Cutter Wave: Tian Ying raises his staff for a vertical slash that fires a golden energy arc. This is easy to parry, or diagonal dodge if preferred.
- Meteor Spur Combo: He performs a gold meteorite sparkle telegraph followed by two sweeping staff attacks; the last sweep accelerates to catch late parries.
- Turbine Fourfold: Tian blindly swings his staff for a 4-hit combo and delivers a fourth strike with a spim. Early hits are slow, but the final spin is the parry window.
- Aureate Spray Break: Tian Ying spins his staff and smashes it on the ground, which erupts molten gold upward, followed by a delayed shock pulse. Move out of the splash zone right away.
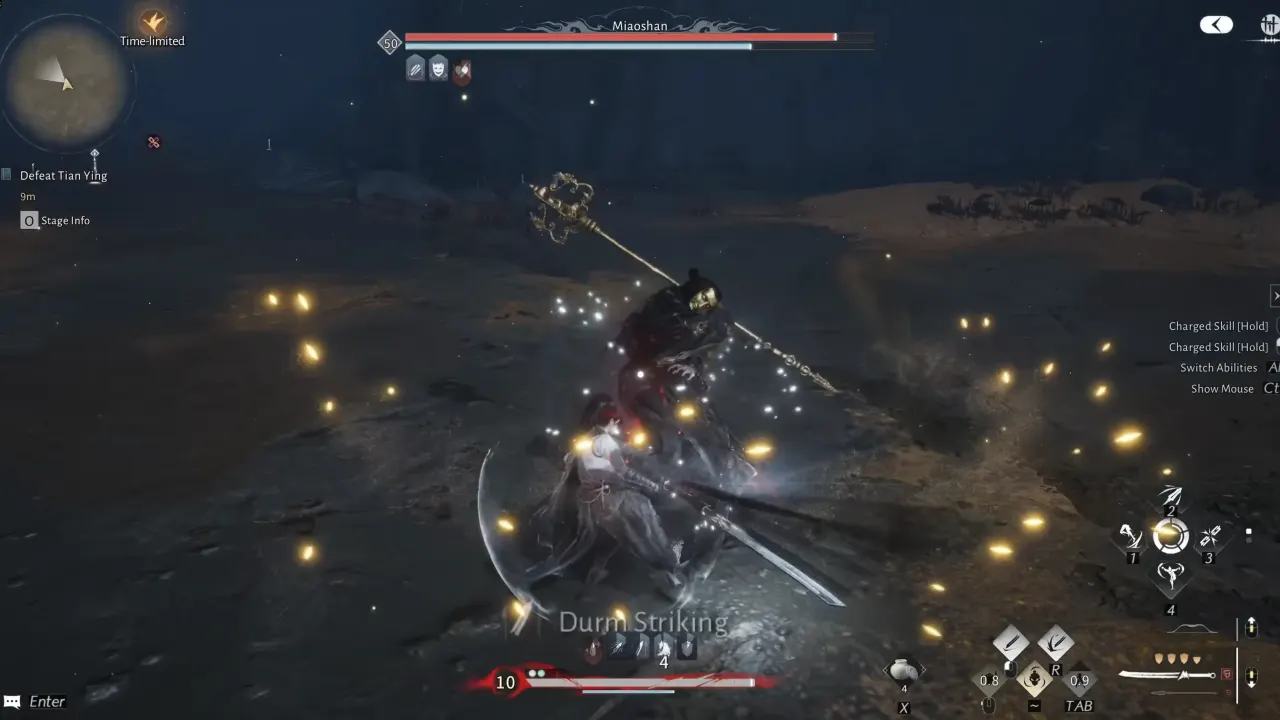
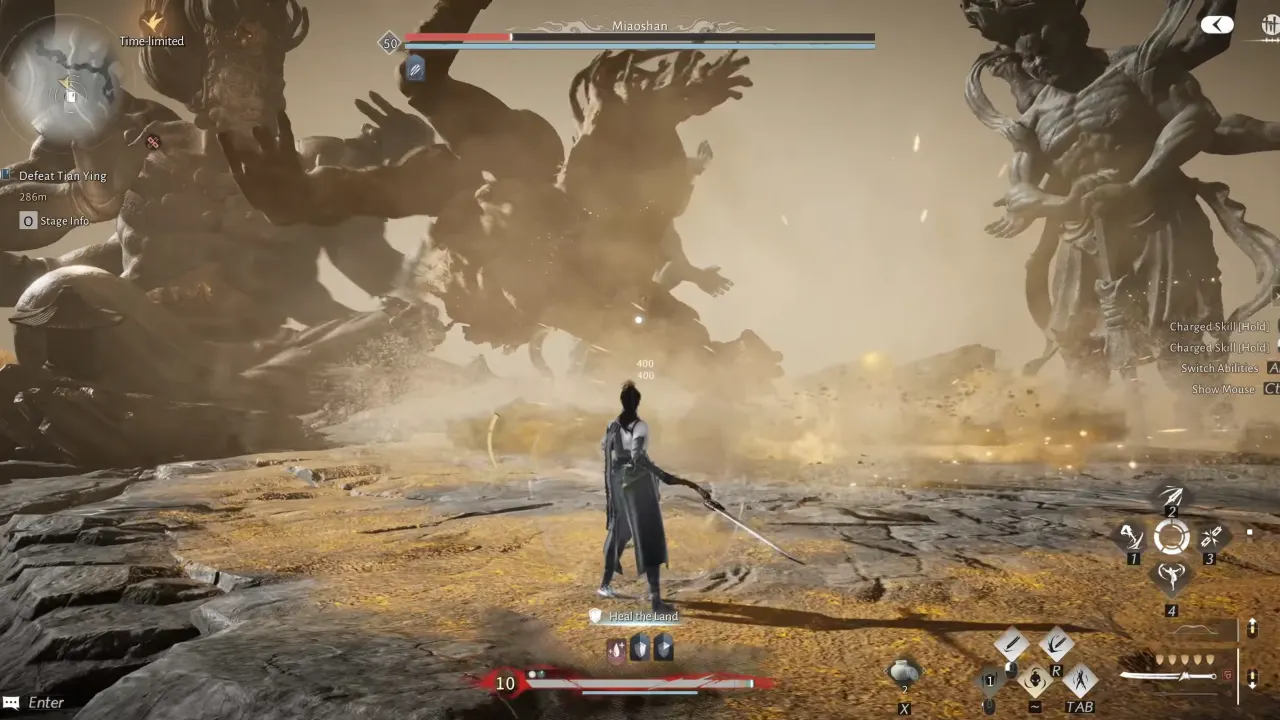
Phase 2
In this phase, Tian Ying abandons staff and changes to sand manipulation, where he summons the Buddha statue. Damage mostly comes from panic movement, so be patient, keep the right distance, and have control over things. Stay on the outer third of the arena and make the statue rotate to you rather than staying in its arcs. Let Tian Ying come to you, attack only the final string, and always sprint to the blind spot whenever he lifts into the air to use the Enlightenment sweep. Heal only if you fall below ~60%, and avoid melee scrambles unless his statue is desynced.
Phase 2 Moves
- Sand Barrage: Buddha statue fires a sand bolt as Tian Ying dives in with a delayed overhead smash. Ignore the projectile and parry the smash.
- Dustfall Volley: Tian Yi summons a Sand Statue that strongly punches the ground, and Tian Ying finishes with an axe-kick. Dodge the statue’s pulses and parry the final kick.
- Assassin String: He attacks with this combo: Jab → spinning elbow → jab → delayed turn-punch from his back—final punch has a micro-feint meant to bait early parries.
- Scripture Rupture: Tian Yi shifts ground punches between him and the statue, creating staggered AOEs. Instead of parry, weave between pulses.
- Pillar of False Enlightenment: Tian Ying levitates and summons a giant Sand Golem behind that sweeps its arm, then double-hammers the arena—sprint to the arena side lane (blind spot) to get out of its AoE.
- Rush & Retreat Kicks: Tian Ying rushes forward to deliver multiple spin-kicks, then retreats quickly. Every kick is easy to parry, but the pattern differs mid-string.
- Cascading Ascension: He spins-kicks with his staff, then performs a left rising uppercut and ends with a right punch smash, where time mismatch requires double parry reads.
- Asura Grip: After a red glow, Tian Ying rushes from some distance, summons the Sand Golem that restrains and ground-slams multiple times. A perfect parry at the start is the only answer.
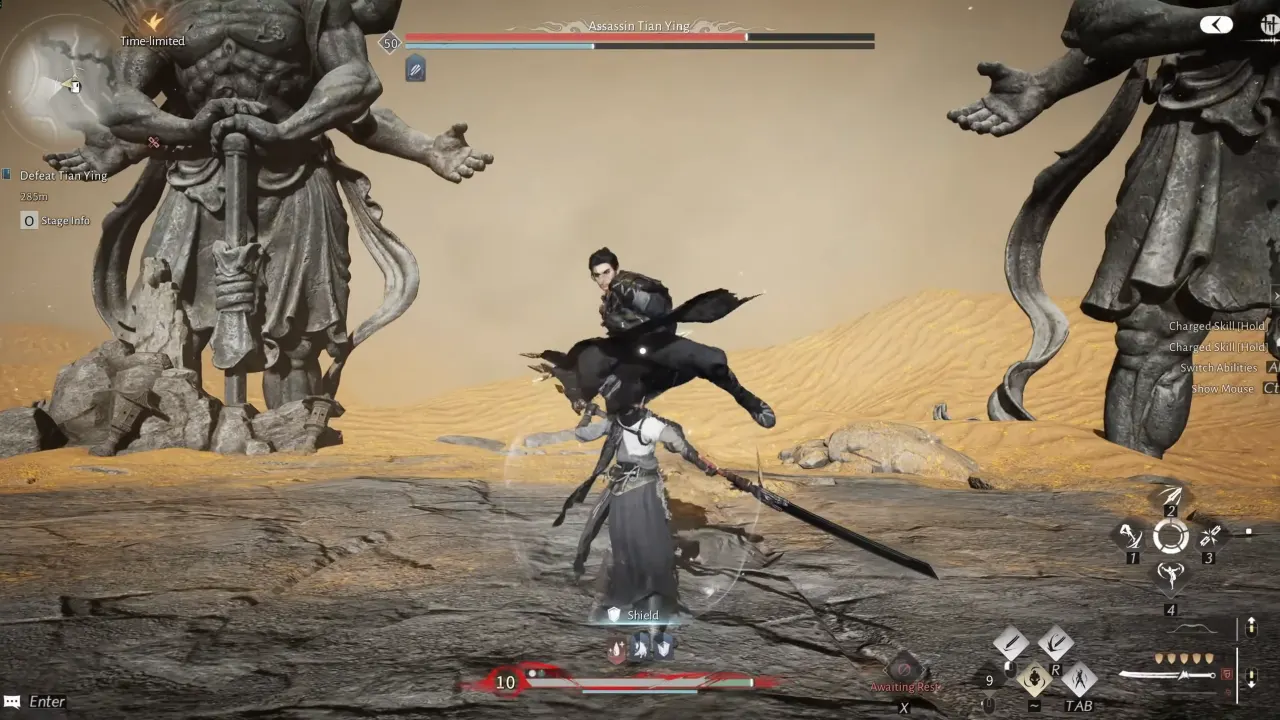
Phase 3 – Assassin Tian Ying
Phase 3 reveals Tian Ying’s actual profession: the fastest assassin of the Jianghu. His movement becomes erratic, timing will be deceptive, and sand clones clutter the field with overlap threat angles. Here, ignore the clones and parry the real Tian Ying. Every clean parry removes one clone, and the fight will become a fair duel as they all vanish. You don’t need to attack clones, just outrun them, bait Tian Ying’s ambush, and punish the boss instead. When clones suddenly slide toward you, Tian Ying moves around for a back-attack, so parry it. Use your Sword for this final battle stage because it has a quick startup, can control boss recoveries, and allows a two-hit and dodge loop strategy.
Phase 3 Moves
- Shadow Spiral: A multi-angle sweep dash flurry where Tian Ying circles you with fast cuts and finishes with a delayed back-stab; only the final rear strike needs parry.
- Sand Phantoms (Tri-Form Summon): Tian Ying flies into the air and summons three sand clones in an inverted triangle. Every successful parry on the real Tian Ying destroys one clone, and dummies’ attacks are merely serious.
- Backstep Ambush: In the clone chase, the phantoms rush toward you while Tian Ying slips behind you for a surprise hit. Ignore the clones and parry his rear-entry attack.
- Assassin’s Strike: Tian Ying rushes forward with an upward slash, followed by a rotating blade spin. Both hits can be parried, though the spin has a slight delay.
- Sand Veil Rush: Tian Ying performs a triple-angle dash pattern when he teleports quickly twice as feint and only strikes on the third dash. Parry or dodge the final lunge.
- Mirage Step: Tian Ying slows down, then blinks twice in short teleports before reappearing at an offset angle for a precise thrust. The attack instantly follows the second teleport—parry as he spawns.
- Aerial Blade Waltz: He leaps high with a heavy downward slash and then strikes with two tight spin cuts. The safe parry is the landing blow before the spins.
- Blade Descent Chain: Tian Ying attacks descend with an upward jump slash and a sudden rush for thrust; the descending cut can be parried to break the chain.

Tian Ying Boss Rewards
From The Promised Light quest:
- Echo Jade ×30
- Qinghe Exploration ×50
- Character EXP ×5000
- Coin ×5000
- Yaksha Rush ×1
- Medicinal Tales ×1
- Lv. 1 Ebon Iron ×4
The Campaign boss fight gives the rewards based on the world level you encounter Tian Ying.


