

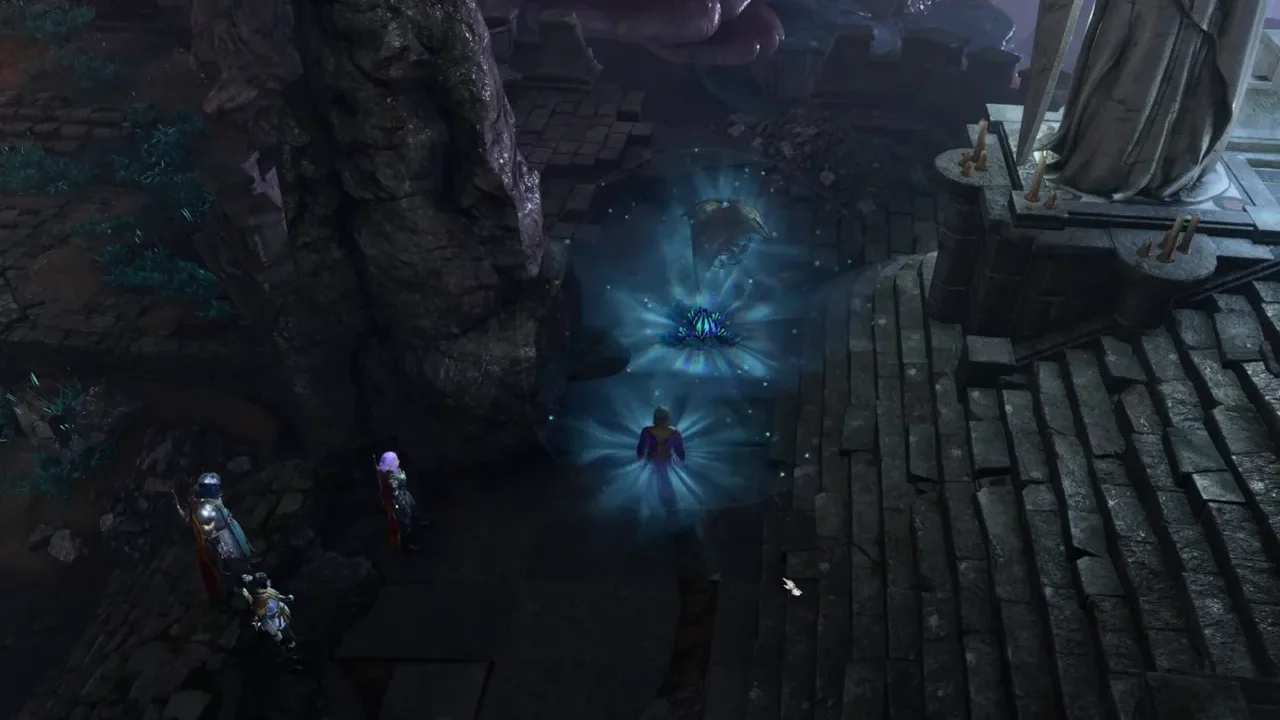
Arcane Tower in Baldur’s Gate 3 is Lenore De Hurst’s abandoned home you can explore during Act 1 in the Underdark. Although it’s optional, skipping it will be a mistake. It contains a massive amount of loot, required ingredients for side quests, and a staff in the basement that’s valuable enough to last you well into Act 2. Though the main challenge is aggressive magical turrets that shoot as you approach the tower, and a locked-down elevator inside that makes the journey tough until you restore its power.
Don’t worry, our Baldur’s Gate 3 Arcane Tower walkthrough shows the Arcane Tower location, how to disable Arcane Turrets, and how to fix the elevator generator to freely explore the tower sections.
Baldur’s Gate 3 Arcane Tower Location

Arcane Tower can be found southwest of Underdark – Beach in the southwestern part of the Underdark map. You’ll find it after passing through Torchstalk Gulch, an area filled with red mushroom clusters and floating embers from Torchstalk fungi. Watch for a Bulette burrowing nearby. The tower entrance has great stonework that opens into a front garden, guarded by two Arcane Turrets, so blindly approaching it can be tricky. Turrets operate on real-time detection, but once they spot you, the fight will trigger.

How to Disable Arcane Turrets in Baldur’s Gate 3

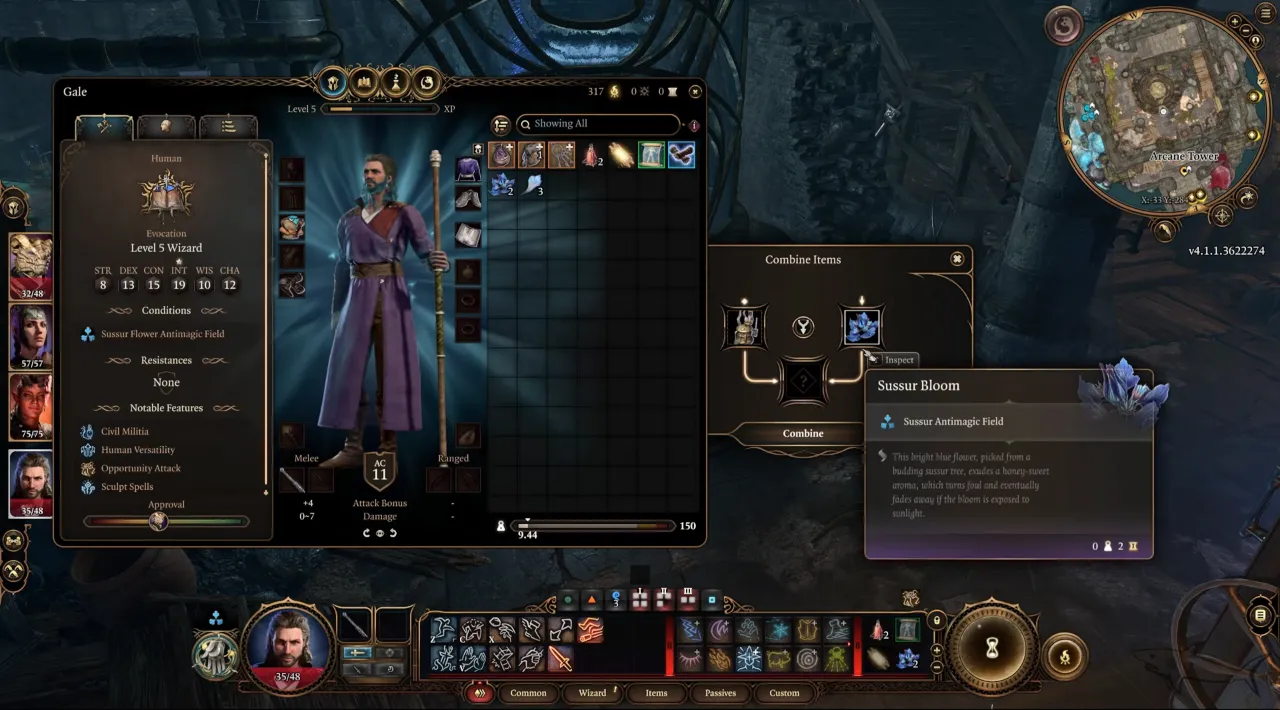
Sussur Blooms can easily disable the magic turrets in Baldur’s Gate 3 thanks to their Sussur Antimagic Field. You can find these blooms from the Sussur Tree just north of the Arcane Tower. Once there, pick at least three flowers, but remember, they’ll also temporarily shut down your own magic until you carry them.
To get to the Sussur Tree, you will have to fight Hook Horrors and Filro the Forgotten. Once the enemies are dead, collect the blooms (two in the main area, one up the cliff towards the north). If the cliff bloom is tricky, drag and drop it nearby, then collect it to avoid the gas.
Return to the tower entrance, change to turn-based mode to stop the turrets from taking infinite shots while you panic, and send your fastest party member ahead with the blooms in his/her hand. Drop one flower near every turret to disable them. You’ll need to neutralize four turrets total—two outside and two inside the tower, right behind the entrance.
In my playthrough, I ungrouped the party and sent Astarion solo while the rest of the companions hung back. You can use Dash to sprint past the turrets to the base of the tower. You don’t actually need to destroy them to get inside; just survive the run to the backyard.
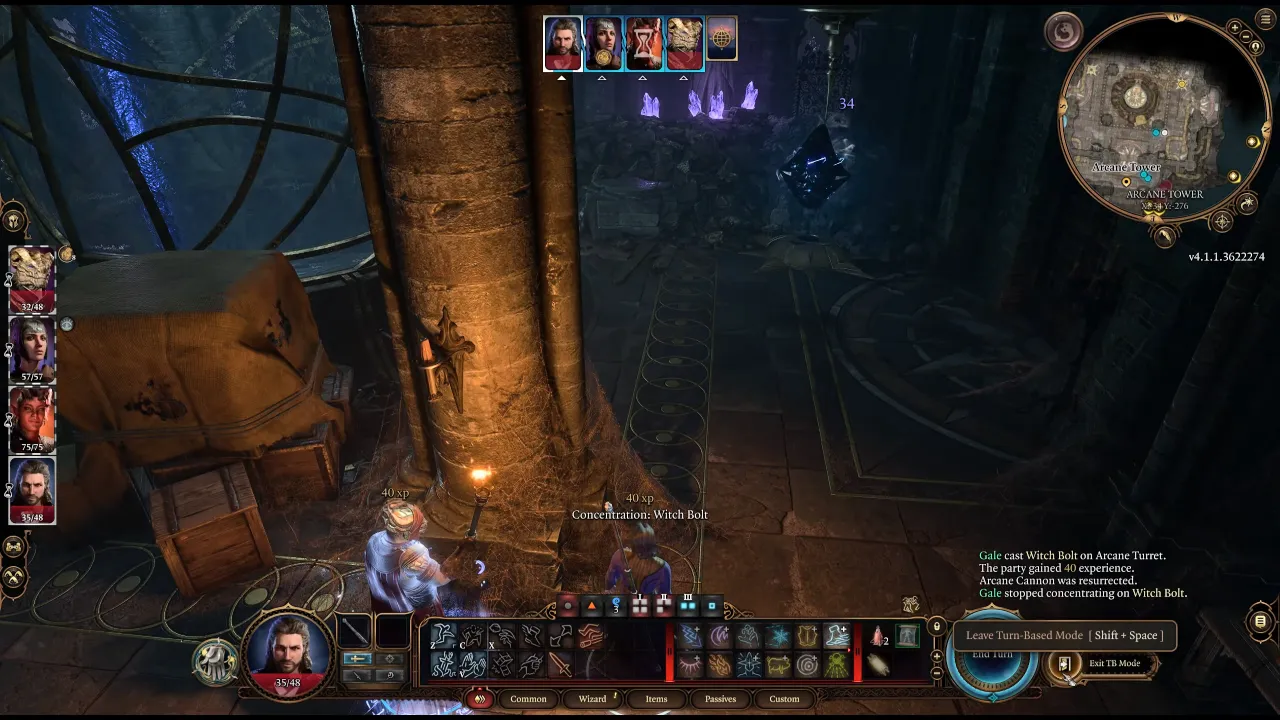
If you lack blooms, these constructs are vulnerable to Lightning damage. Witch Bolt or Shocking Grasp can work well, but they are tanky. It’s better to dash from cover to cover behind rocks or statues to break their line of sight or sprint past using jump and Misty Step. Everything is possible, but they’re slower or riskier than nullifying the magic.
Before you enter, check the nook behind the first turret. The locked chest contains Skybreaker, a light hammer with the Searing Smite spell. Nearby, you’ll find ingots, a letter, and a dirt mound that can be dug with a shovel to get a Scroll of Stinking Cloud and some gold.
How to Get Inside the Arcane Tower and Restore Power

The main locked door requires a DC 15 Sleight of Hand lockpick check, or you can break it down, which has 36 hit points. There’s also a broken window to climb through on the left. Within the entrance level (second floor), two more Arcane Turrets lurk. Use the Sussur Blooms to deal with them or hide behind pillars to avoid their fire.
Read the Dusty Book in the northeastern corner, which turns into Evil’s Ascent and unlocks crucial dialogue options for a later riddle. On the northern balcony, you can find the Chest of the Mundane. When you look inside, the chest seems to have only junk, such as spoons and bowls. Remove the junk items from it or place a Sussur Bloom near the chest, which will break the illusion. This loot treasure has a magical aura that disguises high-value items as trash.
Inside the chest, you’ll find Mystra’s Grace (boots that grant Feather Fall), Scroll of Mage Armour, Scroll of Protection From Evil and Good, a Hearthlight Bomb, and ingots. Take the Chest of the Mundane with you as it’s the best tool to manage inventory in Baldur’s Gate 3. Once you store heavy items in it, their weight drops to 0.5, but returns to normal when taken out.
How to Reach the Generator Room on the Ground Floor

Once collected all the loot, exit through the door to the southern balcony on the second floor. Jump down to the blue mushrooms on the tower’s exterior, then hop across to the lower balconies. You can either use Feather Fall from Mystra’s Grace or Potion of Feather Fall to jump straight down without fall damage.

Cast Misty Step to teleport down safely, and use Fly if you have the ability, but the mushroom platforming is the better way. After you’ve reached the backyard at the tower’s very bottom, you will find that the back door to the ground floor is locked and requires a DC 15 check to lockpick, but there are easy ways to enter.
There’s a small hole at the southern wall that a Druid in Wild Shape (Cat/Spider) or a Familiar/Mage Hand can crawl through and pull the inner lever to open the door. Ungroup and pick the right solo character or choose yourself to send inside through the hole. In the room, you will see Withered Blue Petals near the furnace, and a book titled “Treatise on the Antimagic Properties of Sussur Tree Flowers” on the workbench spells it out.

To fix the elevator generator in Baldur’s Gate 3, you need a Sussur Bloom. If you didn’t bring one from the Sussur Tree, don’t worry. There is a small garden right outside the back door, which has a Sussur Tree. Go to the garden, and interact with the tree to pick up a Sussur Bloom.
Return to the room, interact with the generator in the centre of the room to open the combine menu, and insert the Sussur Bloom. The machine will hum to life, light the arcane lamps, power the elevator, and permanently deactivate all Arcane Turrets. Once the elevator activates, it also nets 25 XP and the Regeneration inspiration for the Guild Artisan.
You can now explore the Arcane Tower freely without worrying about enemies. Before leaving the room, open the Gilded Chest at the mezzanine level near the elevator to get the Uncovered Mysteries necklace (a rare piece that lets you cast Detect Thoughts). The barrels and crates around the area have mushrooms and crystal alchemical ingredients.
First Floor
Regroup the party and take the activated elevator up one level to get to the greenhouse. There isn’t much combat gear here, but it’s a goldmine for alchemy. You will find Tongue of Madness and Timmask Spores, needed for the Help Omeluum Investigate the Parasite quest in the Myconid Colony.
The crucial item in the room is the Threadbare Book placed on the western shelf. It contains the phrase “How can I trust? How should I know? How can I show myself, my darkest me?” which unlocks extra dialogues during puzzle talk with Bernard upstairs. Further, loot all camp supplies and pick the shovel if you don’t have one.
Third Floor
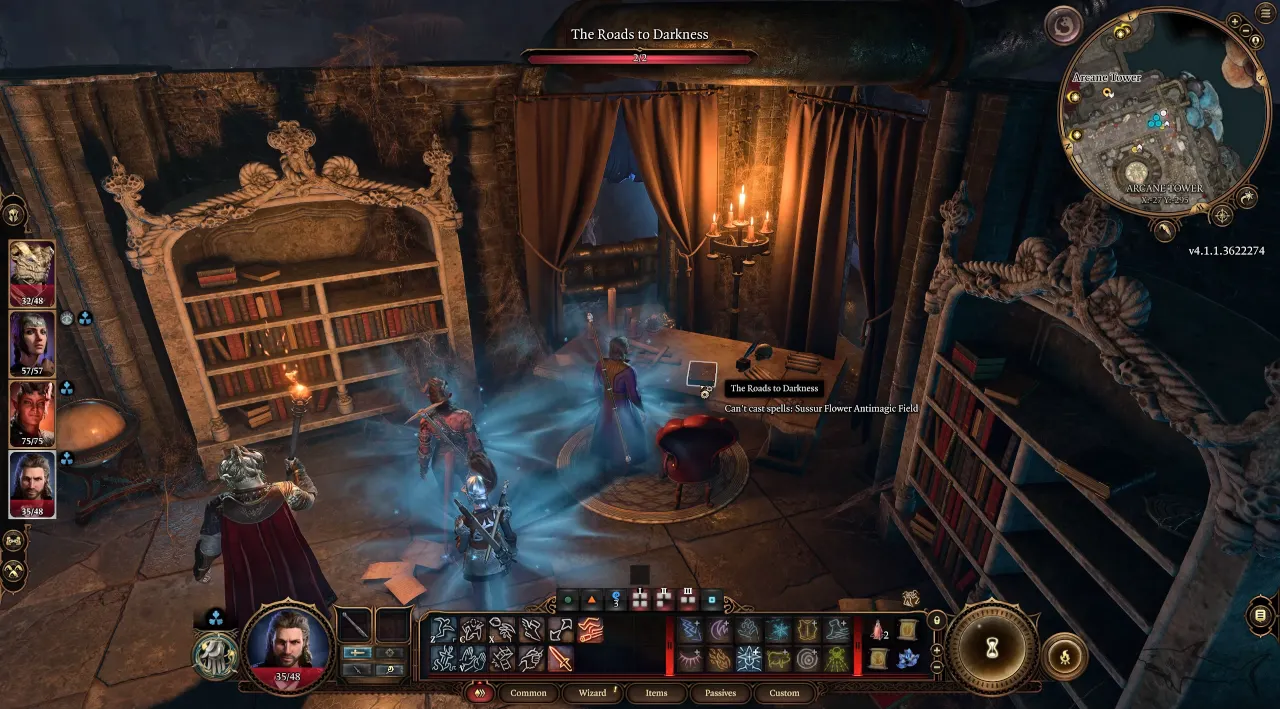
Ride the elevator up two more floors to reach Lenore’s personal quarters. This floor is filled with items that will allow you to peacefully interact with Bernard. The first and most crucial is The Roads to Darkness book on the desk in the southeast corner, which has the opening line by which you should greet Bernard to avoid combat. It teaches your character a poetry line about being a “rescue from a lonely wake.” Nearby, An Open Letter on Oppression and Peacocks offers amusing commentary about keeping bears as pets in Baldur’s Gate.
On the table near the elevator, take the Torn-Out Paper—another dialogue option for Bernard. If Lae’zel is in your party, she can instantly read the Orpheus, Prince of the Comet, Part One: Betrayal on the bookshelf. Without her, you’ll need The Careful Art of Tir’su Ciphers from the nearby table or pass a DC 20 Intelligence check. Deciphering it will trigger the quest to discover Prince Orpheus’s history.
The Handwritten Letter (becomes “Letter from Amarith” after reading) on Lenore’s desk reveals the sad story of her dog Myrna, and explains the Bulette roaming outside. You will get an option to place an Autumncrocus on Myrna’s grave in Dread Hollow if you haven’t visited it yet, which helps to get approval from Gale, Karlach, and Wyll.
Loot the wooden chest by the bed for Mage’s Friend, a ring that grants +1 to Arcana and Religion checks. Don’t miss the gold, Alchemist’s Fire, and Scroll of Flaming Sphere within the room. If you earlier went to the Sussur Tree area for Sussur Bloom and dug up the grave to find a Dog Collar, equipping it and pressing the button near the window will dispense a raw steak – a sad little detail about Lenore’s pet, Myrna.
Fourth Floor: Bernard Puzzle Solution

The elevator opens into Bernard‘s domain. This magical construct stands guard with a few Animated Armours, and he only speaks in poetry using lines that are easy to understand if you have read the books. When Bernard greets you with a line from The Roads to Darkness, respond with “Or art thou friend, a rescue from my lonely wake?”
Talk to him again and use this line: “How can I trust? How will I ever know? / How can I show myself, my darkest me?” (Requires reading the Threadbare Book). Bernard will respond by placing the Guiding Light ring on the table next to him, which is necessary to access the Arcane Tower basement. With the above dialogue options, Bernard won’t turn hostile, and it gives 50 XP plus the Heart of the Creator inspiration for Entertainers.
Bernard’s Commands
Bernard will respond to specific stanzas you’ve found:
- “How can I trust? How will I ever know? / How can I show myself, my darkest me?” (from Threadbare Book) – Bernard places the Guiding Light ring on the desk.
- “These empty sheets are all that’s left of you. / The last of all the thoughtless gifts you gave.” (from Patched Parchment on the nearby table) – Bernard gives you a Potion of Greater Healing.
- “The silence stretches on – I’m all alone. / Please, can I hold your hands, for just a while?” (from Torn-Out Paper) – Bernard hugs you and speaks as if you’re Lenore.
- “There is a light in every living thing. / It’s crawling t’wards the surface to survive.” (from Evil’s Ascent) – Bernard and all Animated Armours turn hostile and attack the characters.
If you fight Bernard instead, you’ll get the Light of Creation glaive—an uncommon weapon with 1d10+1 damage and 1d6 lightning, though it can stun the wielder. You can’t pickpocket the Guiding Light ring, so you must either get it peacefully or kill him.
Make sure to break the Stool of Hill Giant Strength in the corner behind Animated Armours. It looks like a normal stool, but breaking it drops a Club of Hill Giant Strength that sets your Strength to 19. Check the bookshelf for a lever (DC 18 Perception check) that will open an alternate route to the basement. Lastly, loot the area to obtain Broken Machinery, Trap Disarm Toolkit, and three scrolls, including Magic Missile, Grease, and Dimension Door.
The Secret Arcane Tower Basement

Equip the Guiding Light ring, step back onto the elevator, and interact with the new button you’ll find on the panel to descend to the basement. Alternatively, you can use Misty Step or Fly to teleport through the gap in the wooden stairs from the first floor, use Mage Hand to activate a lever hidden under the staircase, opening the secret wall, then shoot the lever with a ranged attack through the staircase gaps, or lastly, pull the lever near the bookshelf on the fourth floor.
Once in the basement, pick the Staff of Arcane Blessing uncommon Quarterstaff, which has 1d8 damage, grants the Bless spell, and Mystra’s Blessing offers 1d4 to Saving Throws and Weapon Attack Rolls, and 2d4 to Spell Attack Rolls.
There is a Gilded Chest to the staff’s right that you should open. It contains The Sparkswall ring (immunity to electrocution, resistance to lightning damage), De Hurst’s Diary, 118 gold, Elixir of Vigilance, Scroll of Slow, and a Greater Elixir of Arcane Cultivation. The shelves and scattered items yield more Timmask Spores and Tongue of Madness, Basilisk Oil, and many scrolls, including Enlarge, Bestow Curse, Scorching Ray, Fly, Web, Slow, and Protection From Evil and Good.


