


An Unholy Prophecy is a 07 Jianghu Legacy (Lost Chapter Quest) in Kaifeng City of Where Winds Meet that takes you into the underground locked sections of the Martial Temple. The Mysterious Painter draws you into an investigation involving Bai Qi, the God of Killing, and you journey through a series of trap halls, bell-and-knocker puzzles, and weapon retrieval routes that unlock the temple’s hidden arsenal chamber, and in the end, fight against the Shi Zhen boss. Our walkthrough explains how to start the An Unholy Prophecy quest and walks you through all the objectives to complete the legacy.
How to Start An Unholy Prophecy in Where Winds Meet
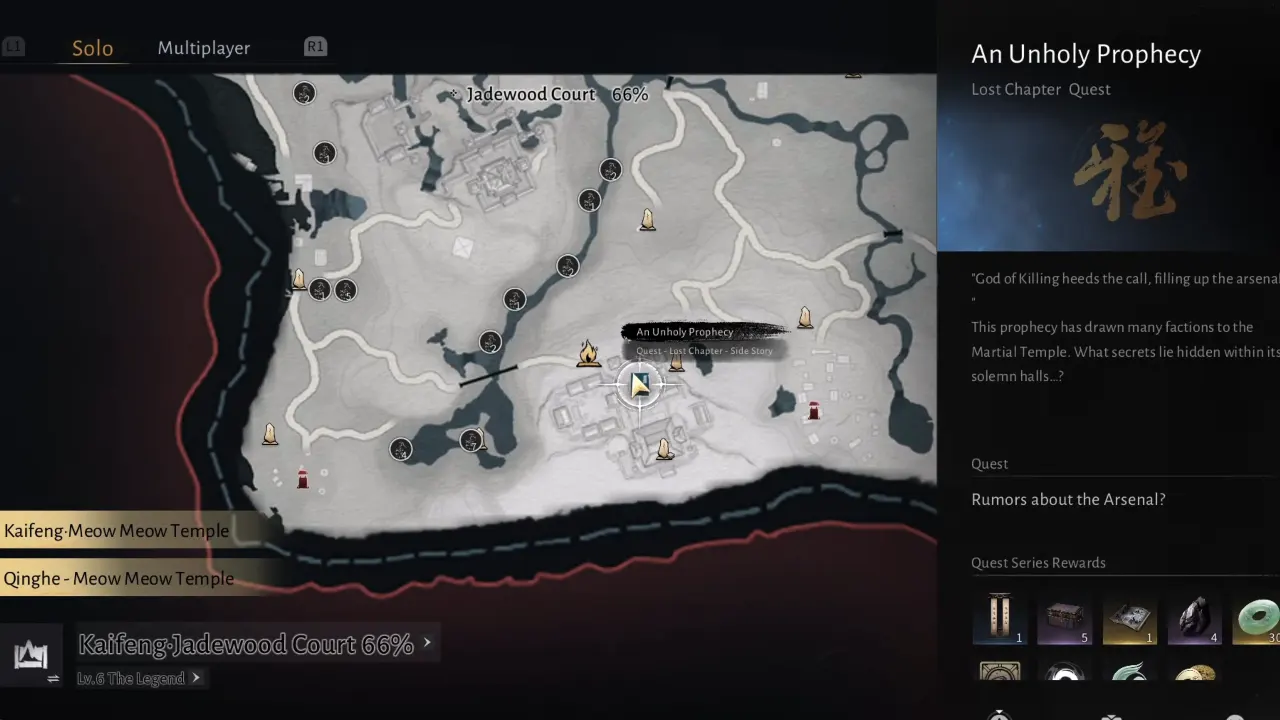
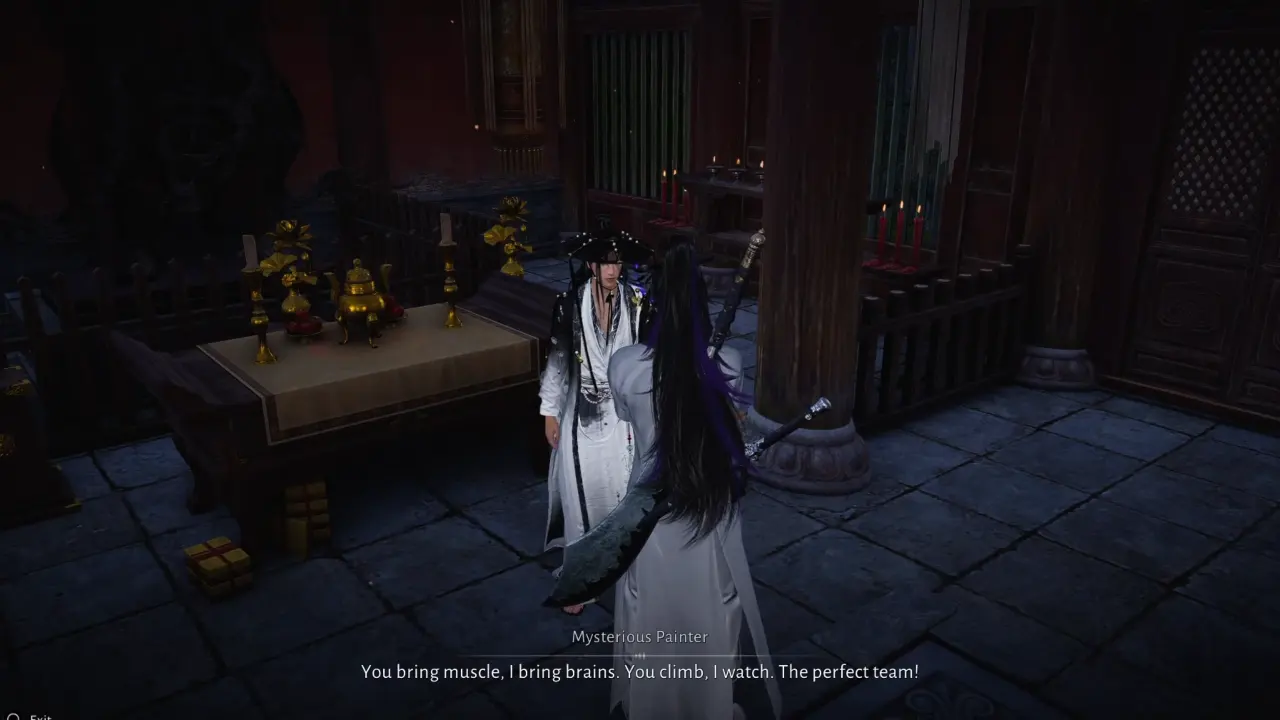
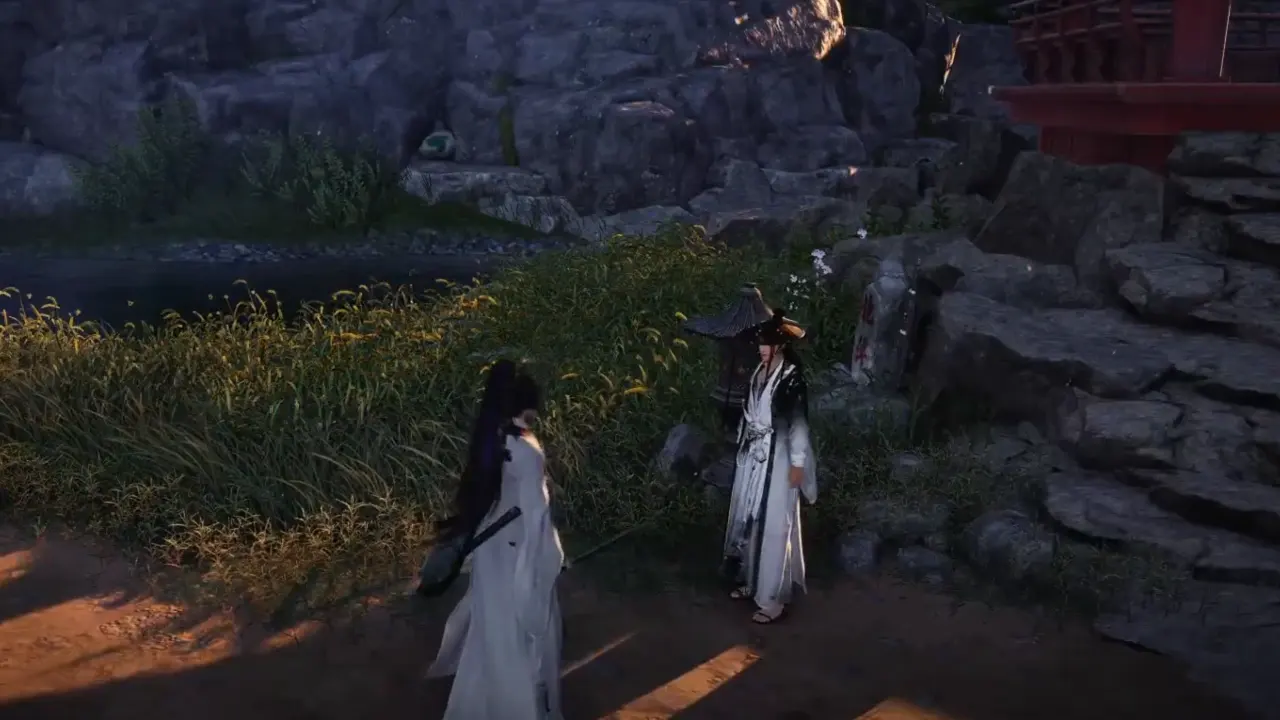
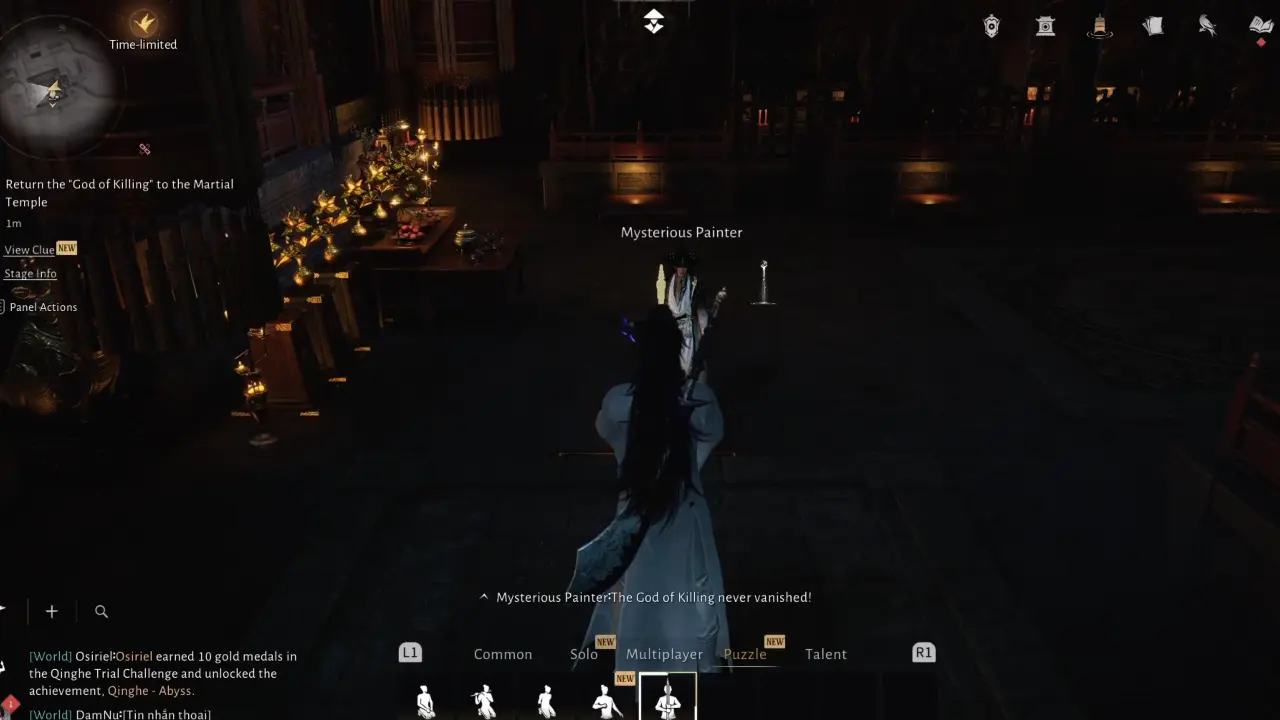
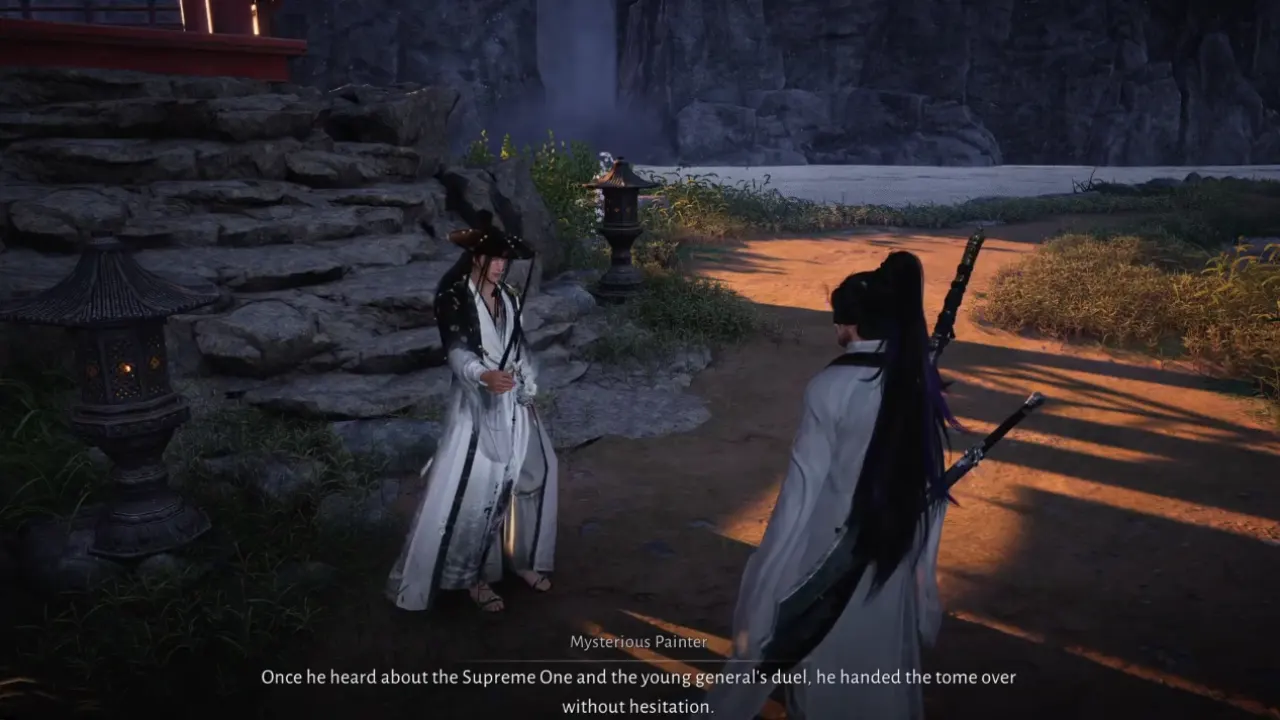
To trigger the An Unholy Prophecy quest, visit the Martial Temple located southeast of Jadewood Court in the southwestern part of Kaifeng. Talk to the Mysterious Painter in the temple hall to start the quest.
Before you trigger An Unholy Prophecy, bring Fire Arrows (a refill quiver is available inside the temple) and make sure to have Meridian Touch unlocked because you need it to open the locked doors during the quest.
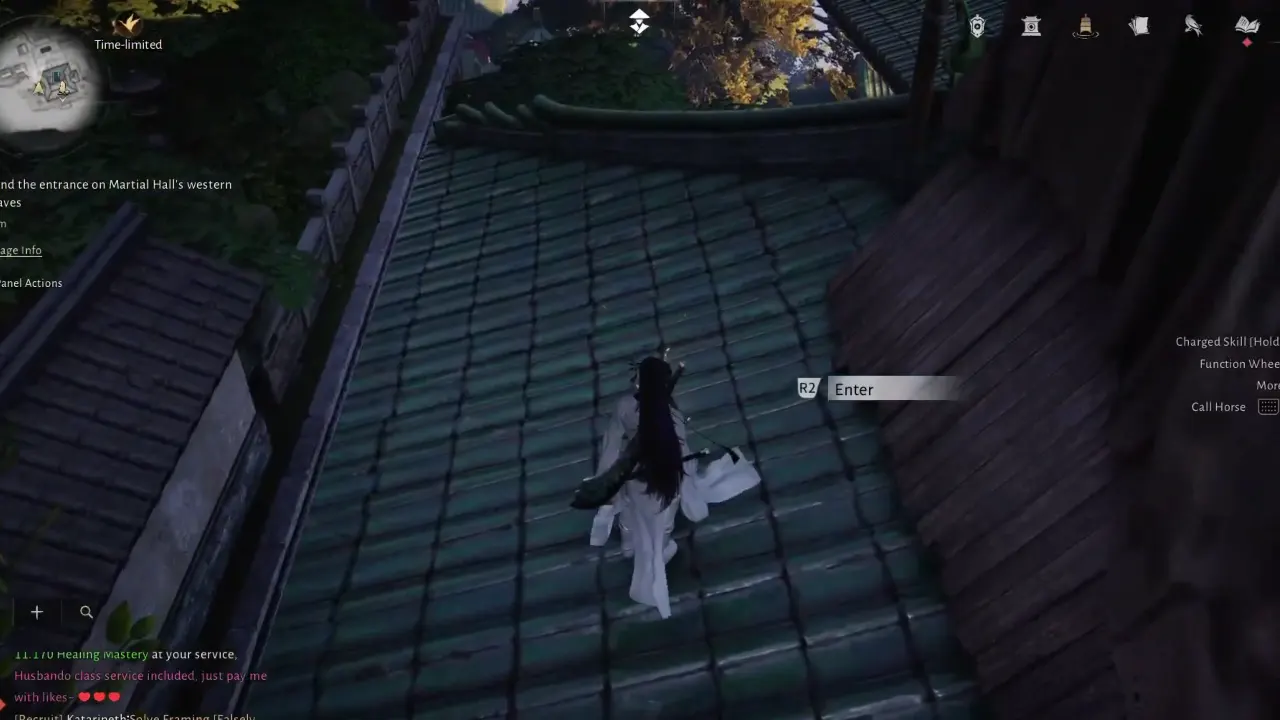
After the conversation with the painter, the quest asks you to find the entrance on the western eaves of Martial Hall, and the marker leads you to the temple’s rooftop. Use the Lightness Skill to directly land on the pointed spot or climb to the roof and interact with the ‘Enter‘ prompt to get inside the Martial Hall.
How to Search for the Traces of the God of Killing
![]()
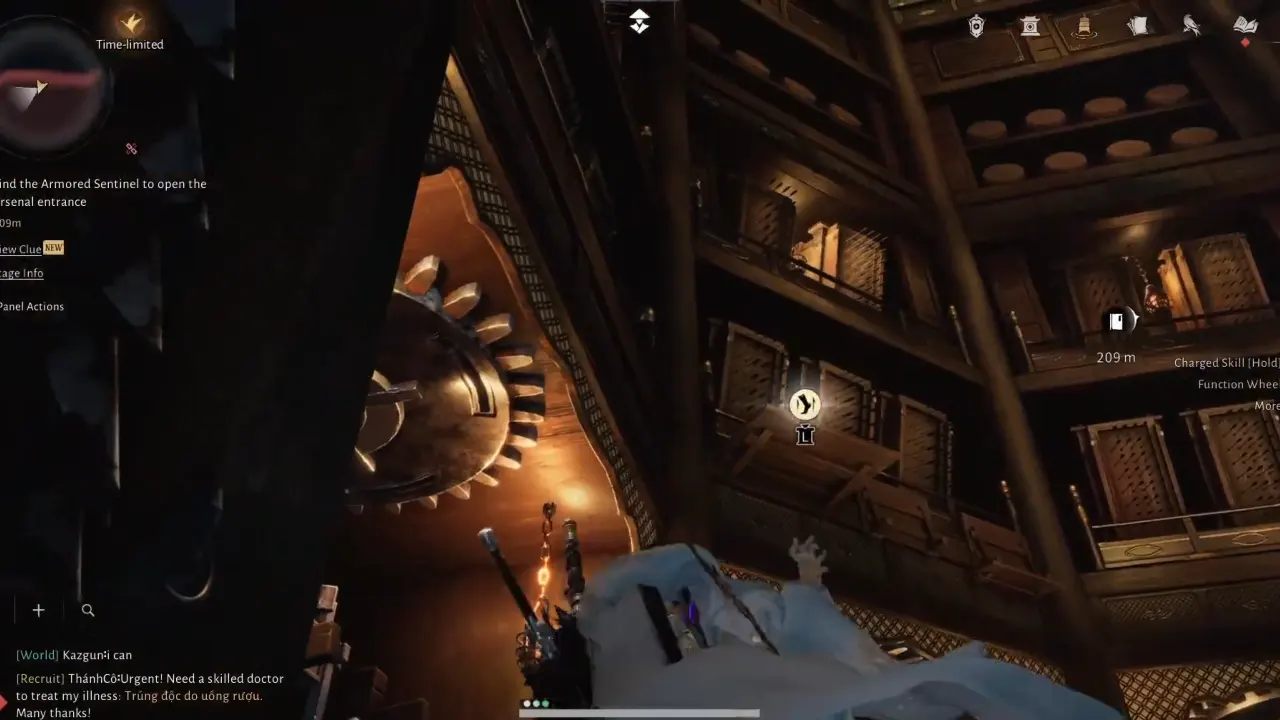
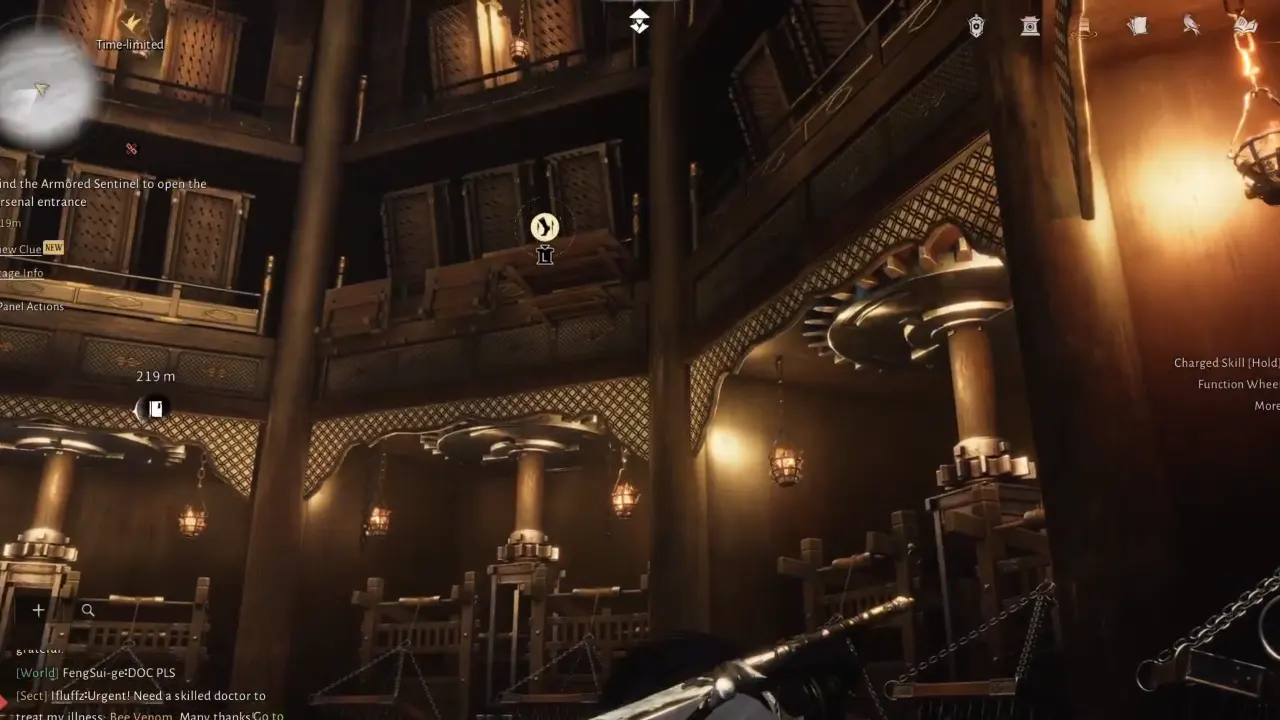
Once inside the Martial Hall, speak with the painter again and exhaust all the conversation scenes. Next, you need to find the God of Killing traces in the darkness. First, shoot three unlit braziers with fire arrows hanging from the ceiling. Aim at each and throw an arrow to burn them with fire to expose hidden corridors and activate the next mechanic.
The Mysterious Painter then explains the clue linked to Bai Qi’s “pose.” Next, stand on the highlighted platform in front of him and use the An Unholy Prophecy emote you just unlocked from the Puzzle emote tab. The moment you emote, the same platform where you stand drops you into the temple’s sealed underground area.
[related_list titles=”Where Winds Meet A Drastic Cure Walkthrough, Where Winds Meet Woven With Malice Quest Walkthrough, Where Winds Meet Tian Ying Boss Guide”]Explore the Martial Hall’s Underground Area
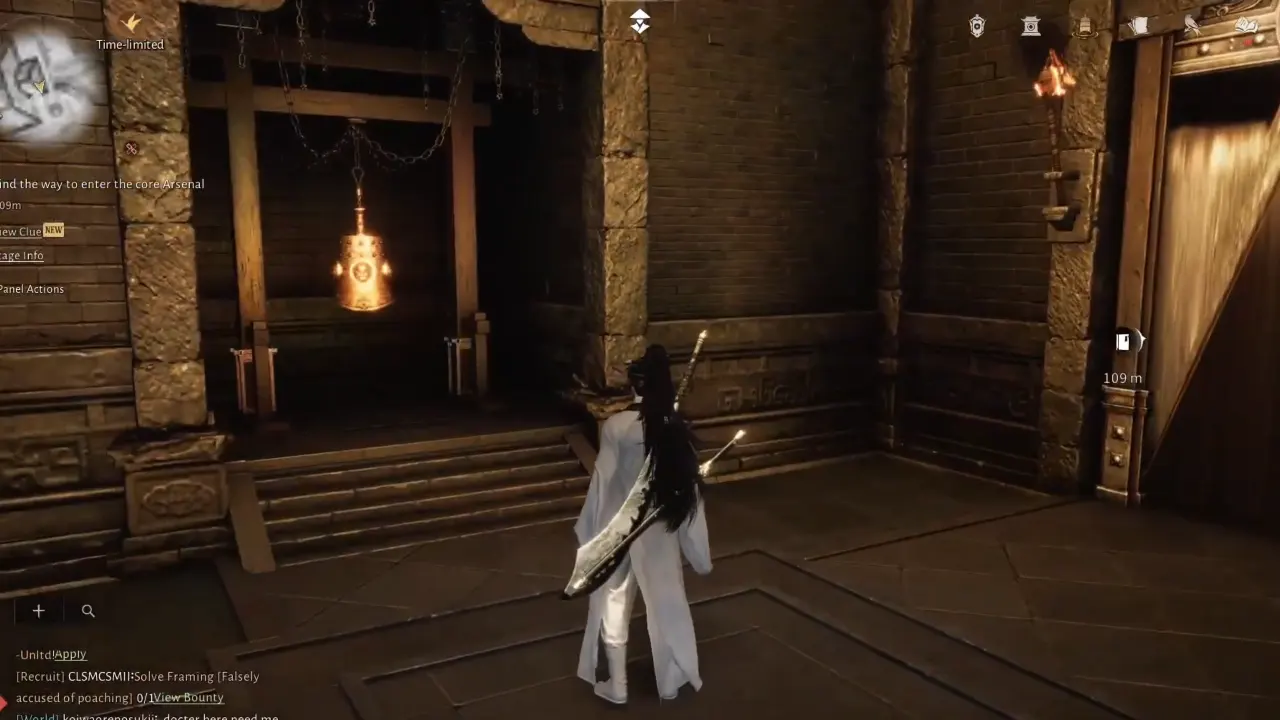
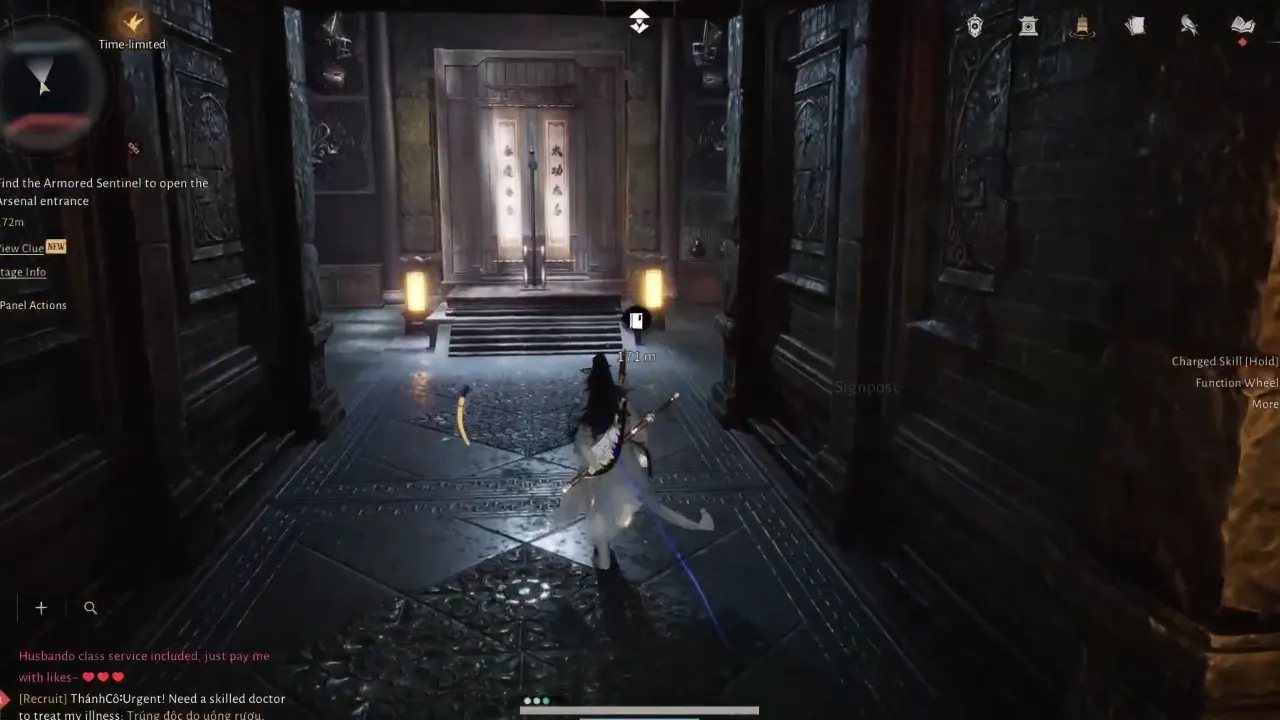
Follow the long corridor down the stairs until you come across a locked door where the guards attack you. Kill them first, then shoot the bell with an arrow to ring it and immediately use Meridian Touch on the door’s knocker to open it. If you delay it even a second, the lock resets.
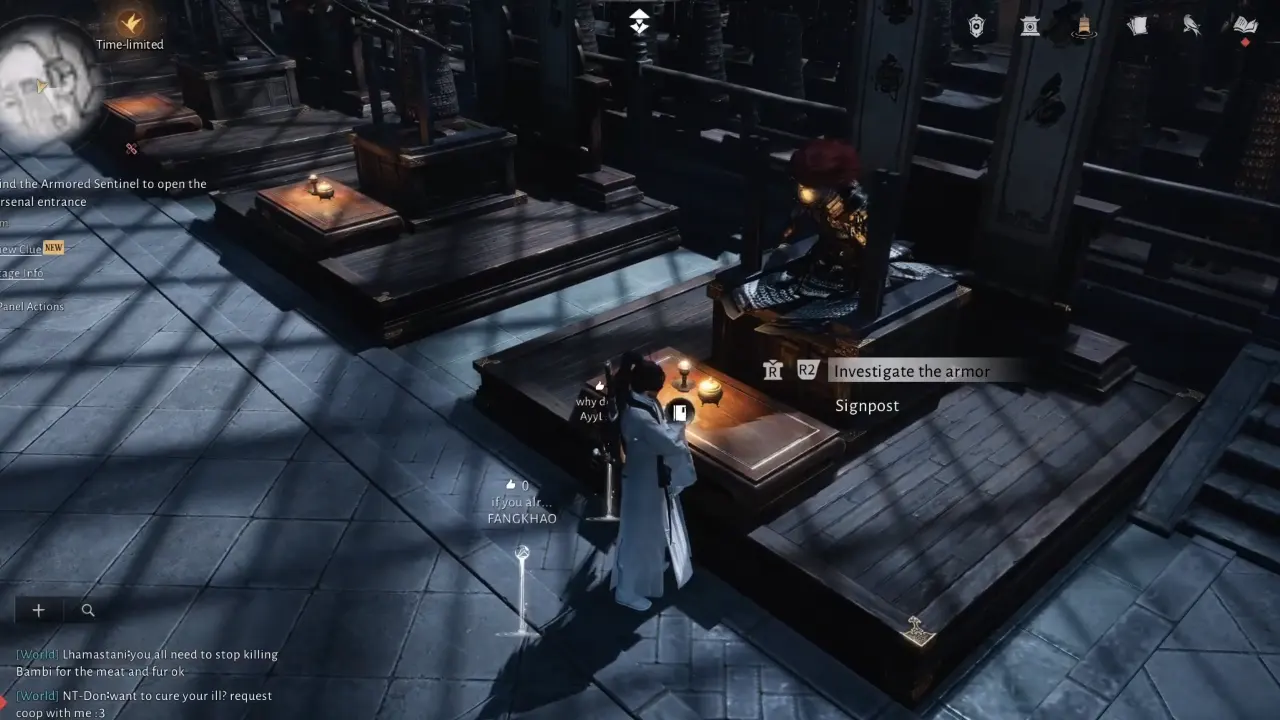
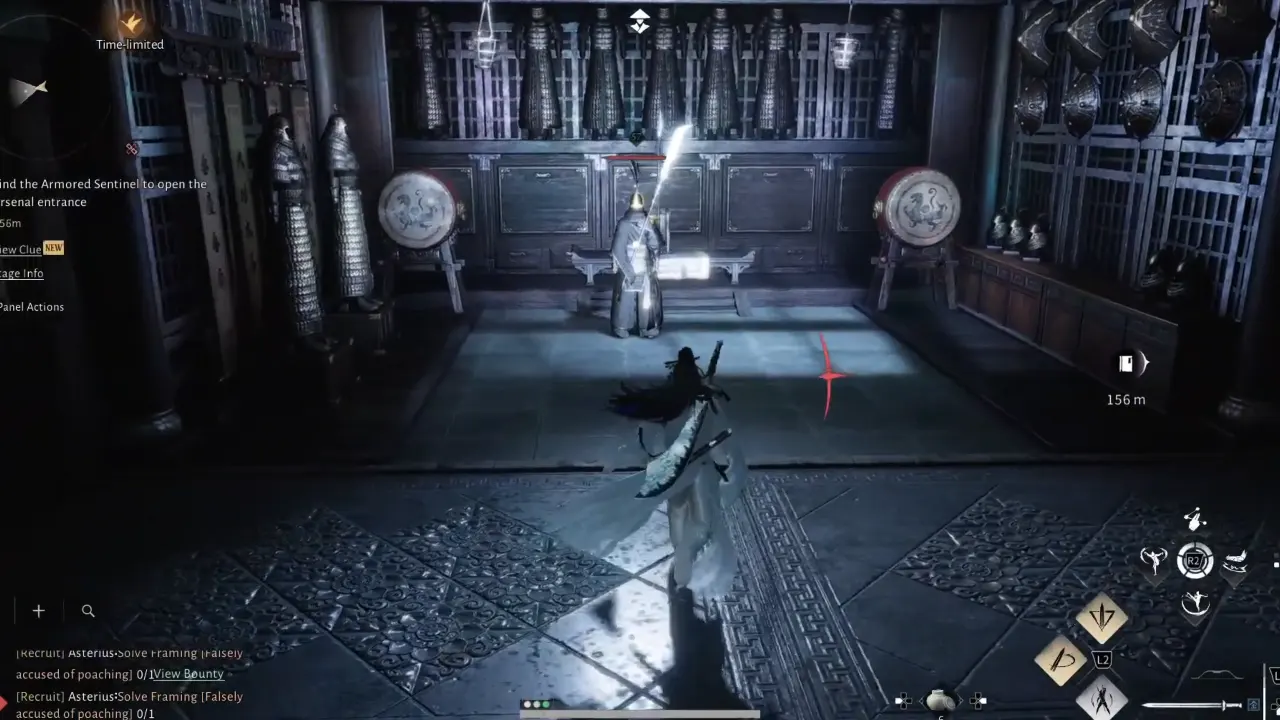
Past the door is the Grand Arsenal Hall, filled with armor displays and three guards. Take them out—eliminate the banner-bearer first, so he can’t heal the others. Interact at the marked spot to learn that an armor set is missing two weapons: a long weapon and a short weapon. They can be found in the left and right wings of the hall, and you have to retrieve weapons by visiting both wings.
If you accidentally recycled old spear/sword relics before the quest existed—don’t panic. The weapons required for this quest now spawn fresh inside each wing. Simply rerun the corridors and get them to complete the objective.
How to Find the Long Weapon in the Left Wing
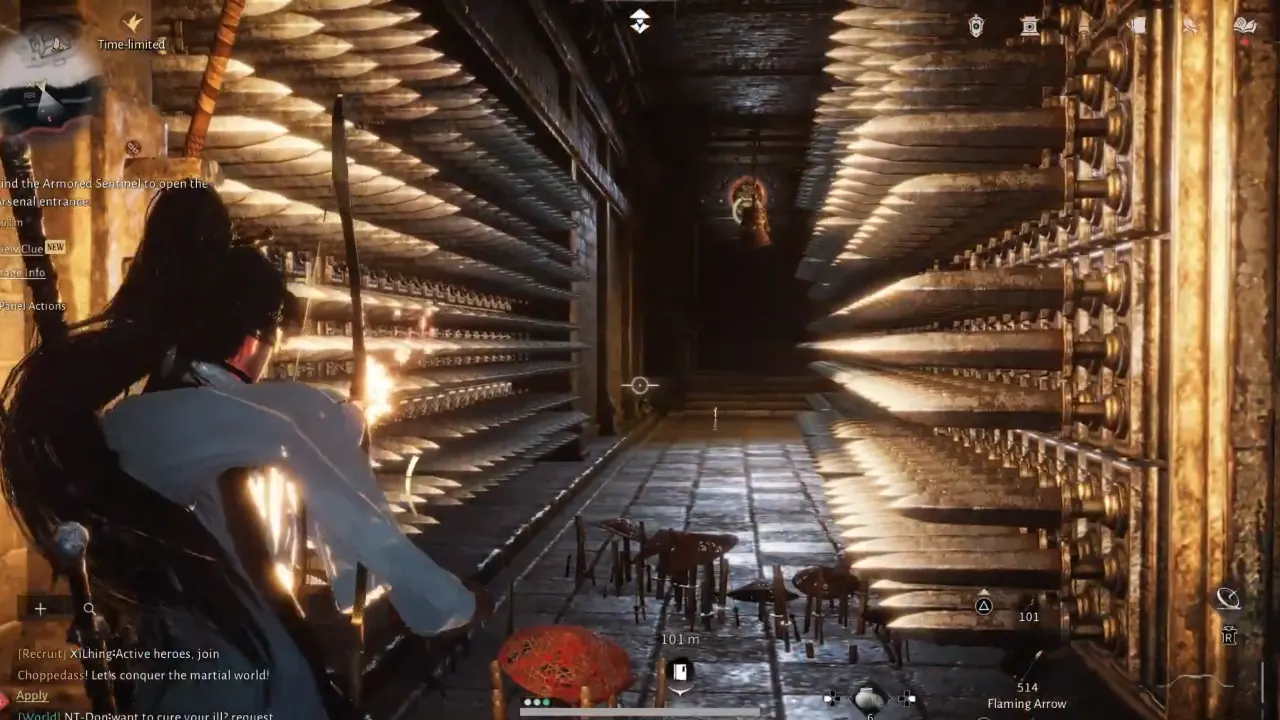
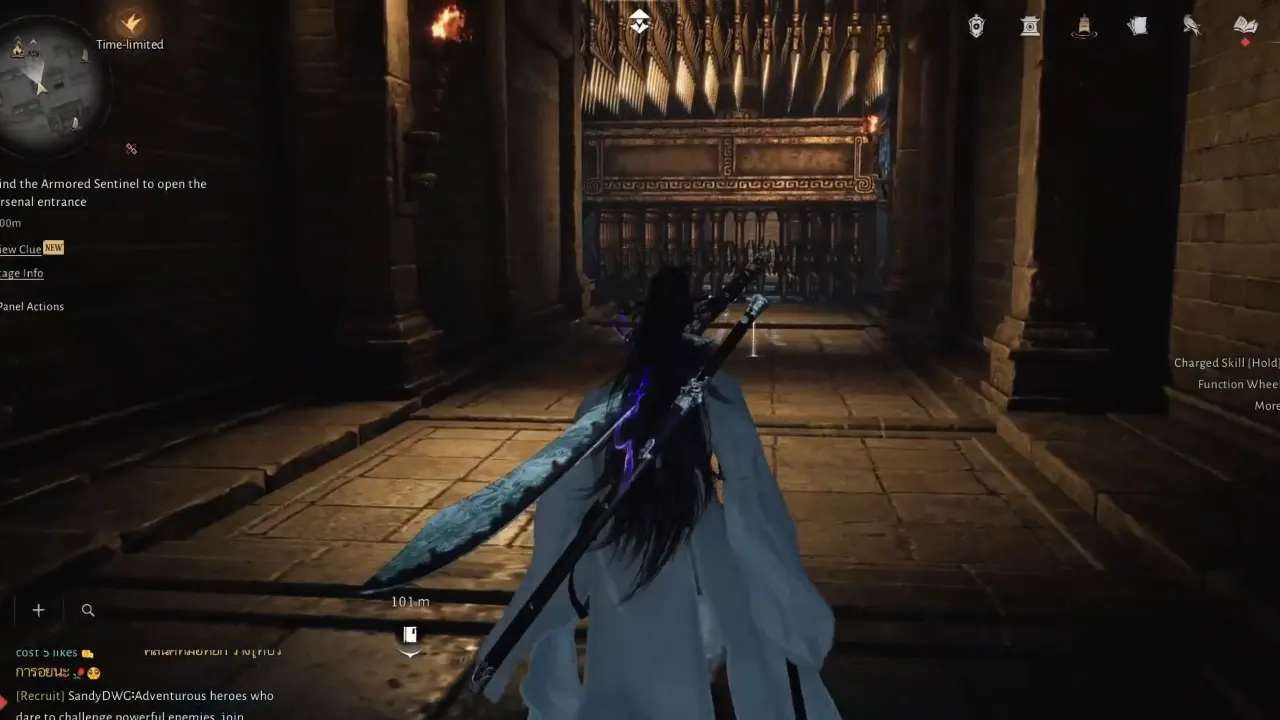
The left side is the milder branch and is easy to walk through, so it’s better to go this way first to retrieve the long weapon. Take the stairs down and step into a hallway lined with moving wall-mounted spikes. They fire in pairs and will chunk your health if you mistime a dash. Pass through them when a spike retracts, dash during the window, wait in the gaps. At the end is a lever you can pull to stop the traps—enemies rush you immediately afterward. If you feel wicked, pull the lever again when they are in between traps to let the spikes handle them.

Past the traps is the second bell and knocker puzzle. Same as previous, shoot the bell with the arrow and instantly use Meridian Touch on the knocker to crack open the door.
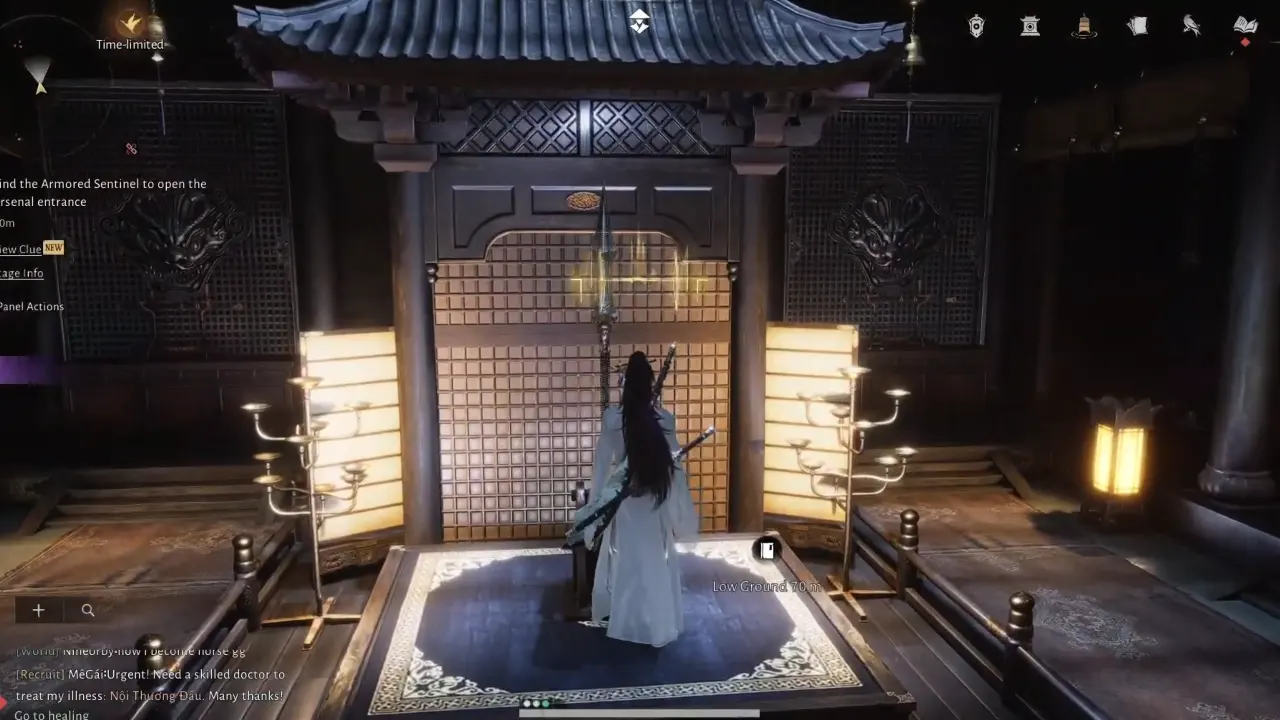
In the next room, a lone guard protects a long spear, so defeat him, collect the spear, and walk past the left door to continue ahead.
The corridor leads you to a large round room with spiked traps beneath. Look to the left to see interactable marks by which you can interact to jump, move, and reach the other side of the hallway; falling below means a game-over screen.
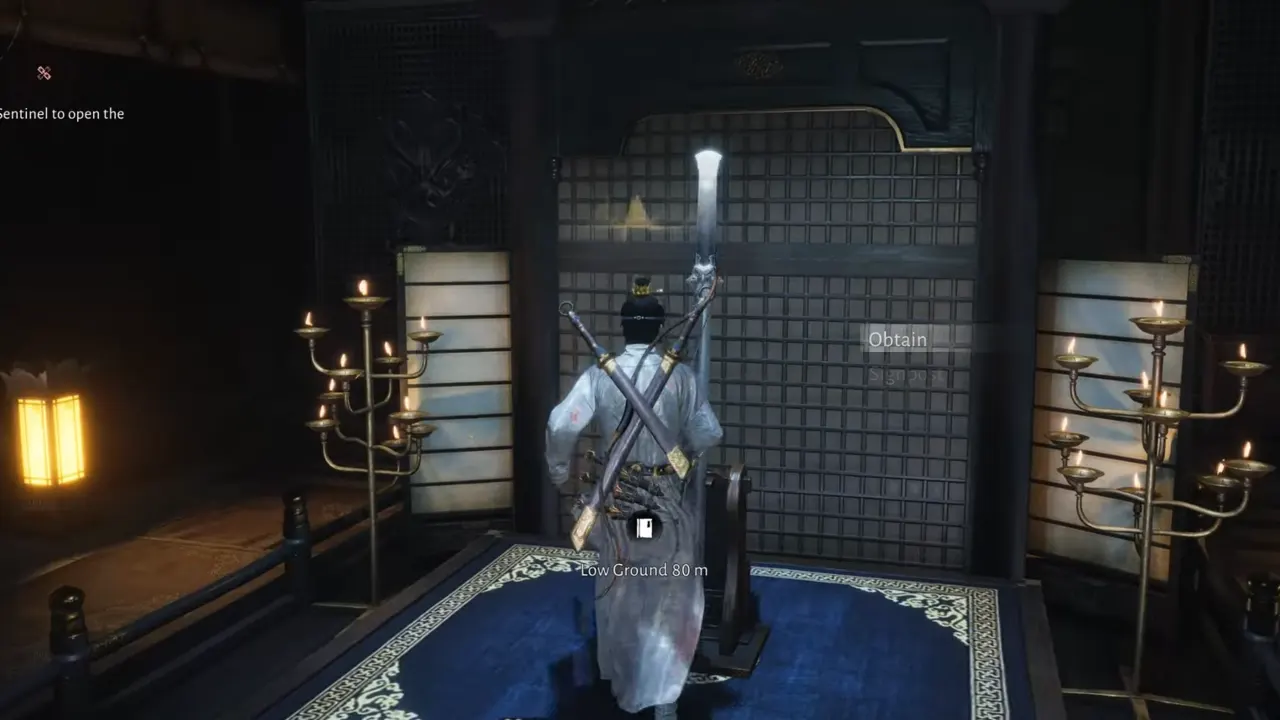
On the other end of the hall, you will find Spear: Rampage in the small chamber, waiting to be picked.
After collecting the spear, walk past it to get to the corridor with two more sets of wall spikes. These are faster—dash the moment the path opens. Behind the traps is another sealed puzzle door and the Silver Spear of Discipline inside the small chamber that you are here to get.
Pick the long spear, and follow the passage from the door behind to face some enemies. Defeat them, and you will return to the Grand Arsenal Hall, where you need to interact with the armor set and choose ‘Long weapon returned‘ when prompted to place the obtained spear beside the armor to mark this objective half complete.
How to Find the Short Weapon in the Right Wing
Head to the right wing from the hall, go down the stairs, and you’ll come across similar but different in move downward-striking spikes. The first trap is simple: crouch and move to avoid it.
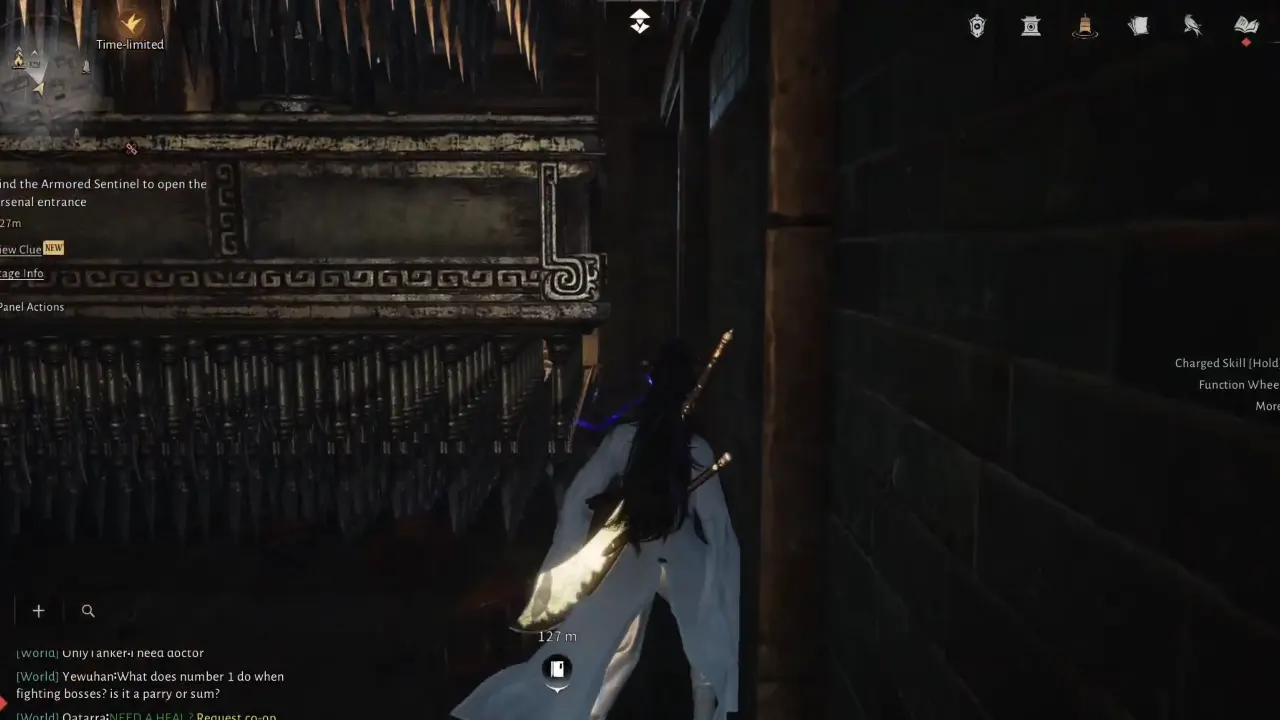
The second trap set can’t be moved past with crouch. Instead, stick to the right wall where a tight space is out of the spikes’ reach and carefully walk past them.

Next comes the similar bell-and-knocker puzzle you encountered in the previous wing. Pull the lever first to disarm the traps, then shoot the bell to ring and immediately use Meridian Touch on the knocker to open the door.
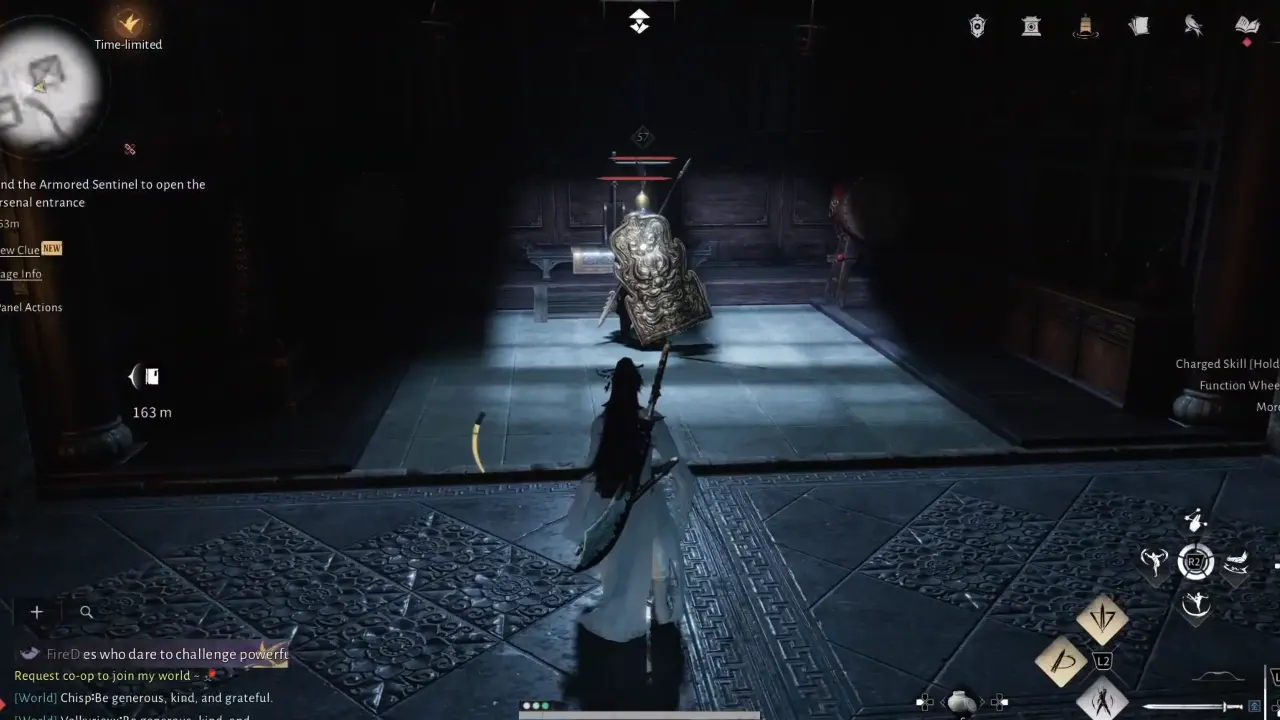
In the room, a shield-wielding guard is protecting the sword. A silent one-hit kill is possible if you land it cleanly; if not, use Tai Chi skill to break his guard instantly. Take the sword once he’s defeated.
After that, open the door and walk the hallway until you reach a big circular chamber full of spike pits. While standing at the end of the hallway, look right to see interactable marks and use Cloud Step to hop across the platform tops to get to the other hallway side and collect the Triumph Sword displayed in the chamber.
The last hallway behind it has another sequence of falling spikes. Don’t rush—walk and crouch through the reset window until you reach the final bell-and-knocker door. Pull the lever to stop the traps and follow the same process to unlock the door. Inside the small chamber, you’ll find the Blackcloud Long Sword you are required to retrieve in this wing.

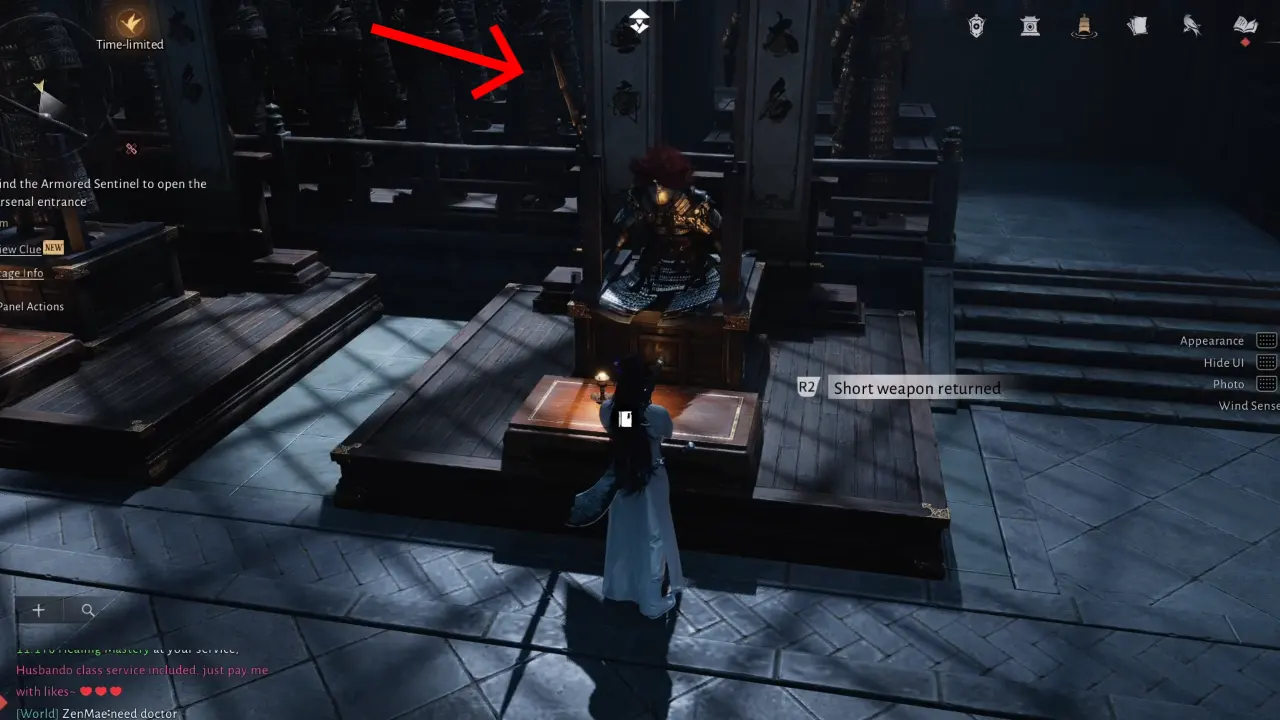
Follow the next corridor behind, defeat the guards on the way, and you’ll shortly reach the Grand Arsenal Hall. Interact with the prompt at the armor set location and select ‘Short weapon returned‘ to place the retrieved sword right of the armor. Once both missing weapons are placed back in their spots, the armor restores to its condition, and a short cutscene plays, revealing a concealed stone doorway behind the hall.
Enter the Revealed Door and Venture Deep into the Hall
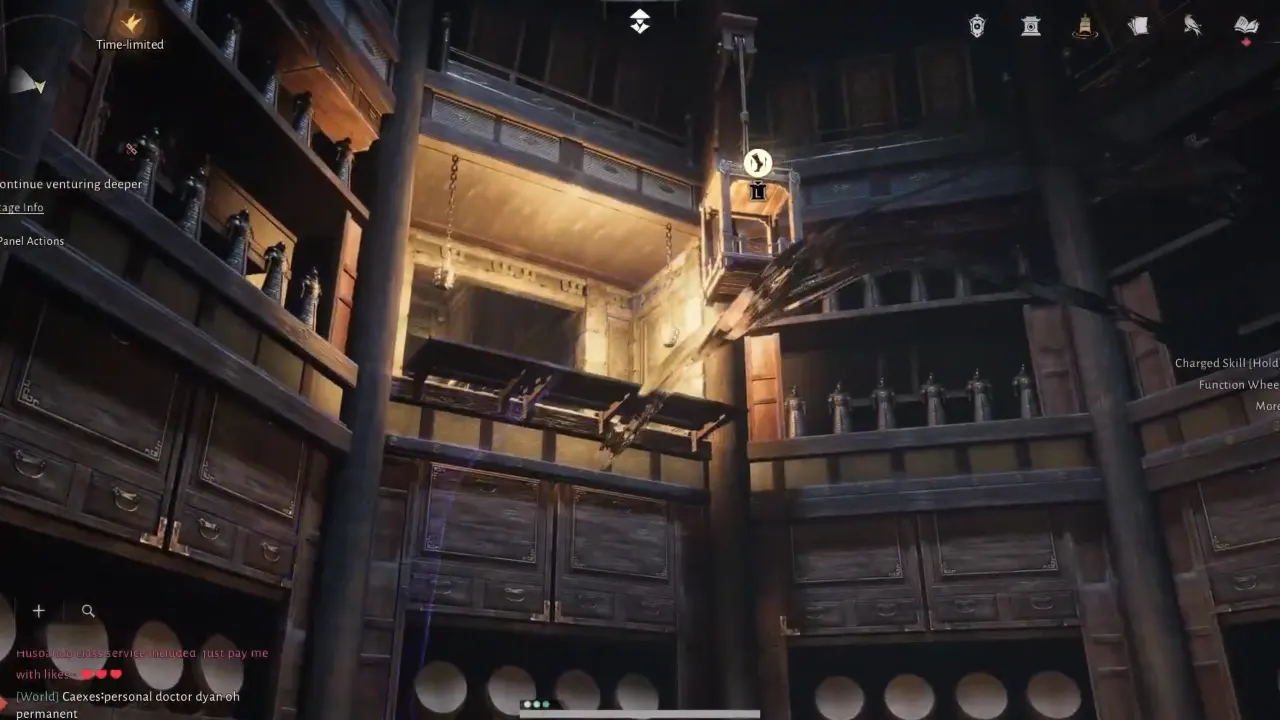
Head inside the hidden, move down the stairs, and follow the hallway to come across a circular trap chamber, this time with a rising spike floor. As soon as you use Cloud Step to jump and land on the first platform, the spikes pit will start to rise, so quickly move to the top to reach the other hallway end.

Once there, move upstairs to find a small treasure room and open the chest placed in front to kick off the boss fight.
How to Beat Shi Zhen Boss
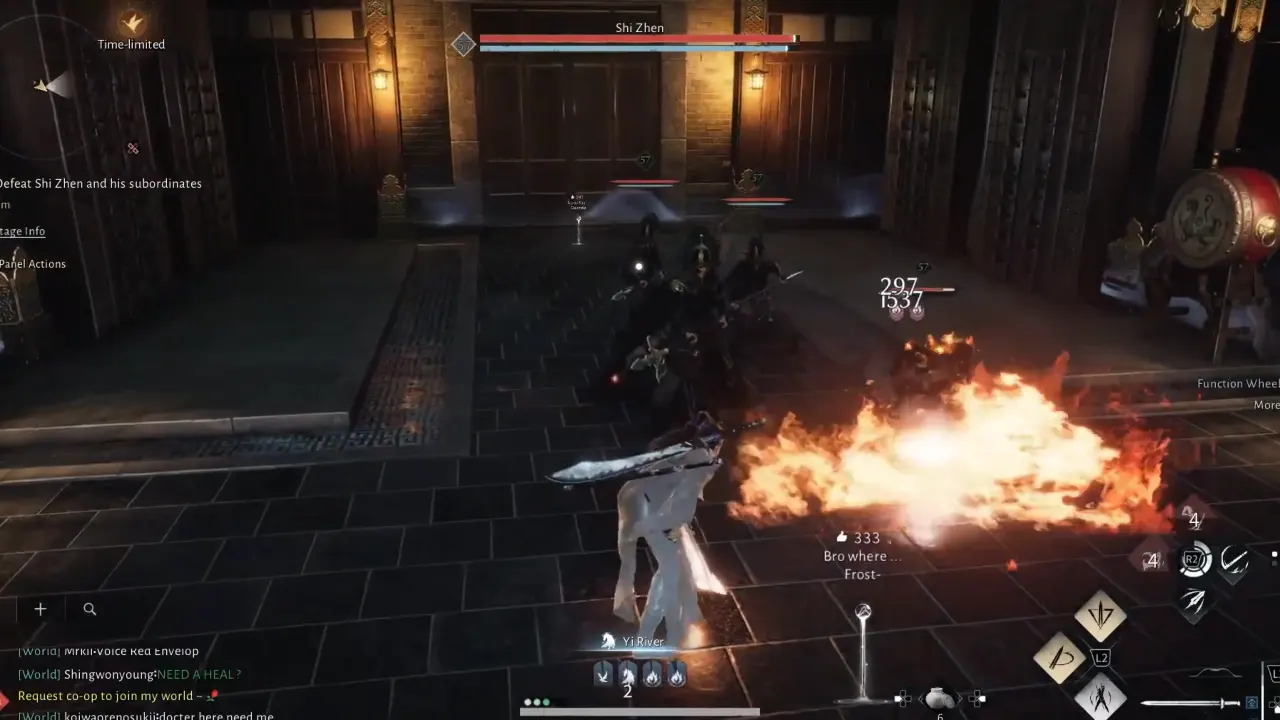
Shi Zhen doesn’t enter alone as he arrives with four guards. Charging the boss first usually gets you swarmed, so kill the guards first and then deal with him. The minions are aggressive and hit your back during Shi Zhen’s heavy swings. Shi Zhen’s attacks deal heavy damage but have clear wind-ups.
Dodge toward his weapon side to reduce recovery time and counter right away. Don’t get baited into long combos; chip him down between big swings. Once Shi Zhen is defeated, another cutscene triggers, and after that, open the chest to collect the rewards, which ends An Unholy Prophecy.
An Unholy Prophecy Quest Rewards
Follow the marker to move out from the tunnel toward Jade Mirror Pond, where the Mysterious Painter waits outside. Speak with him, and you’ll receive all these rewards:
- Fame and Fortune Hanging Scroll
- Custom Chest ×5
- Medicinal Tales
- Lv. 3 Ebon Iron ×4
- Echo Jade ×30
- Kaifeng Exploration ×50
- Enlightenment Point ×100
- 20,000 Character EXP
- 20,000 Coins


