Celeste’s Sizing Things Up quest sends you onto the snowdrifts of the new Pendola Pass map to investigate the colossal fallen Emperor machine, especially its legs. Between exploring steep terrain, dodging patrol bots, and dealing with rival squads, the mission can get messy if you don’t know the exact interact zones.
And since this mission requires you to extract with a quest item, the ARC Conductive Coupler, and take a photo just like in Ruined Homestead, bring a camera that you’ll get automatically when you accept this quest, and make sure you’ve unlocked the Safe Pocket to keep your loot secure before deploying topside. Here’s the exact way to complete every objective of Sizing Things Up in ARC Raiders.
Take a Photo of the Emperor’s Leg by the Bridge Outside Old Town
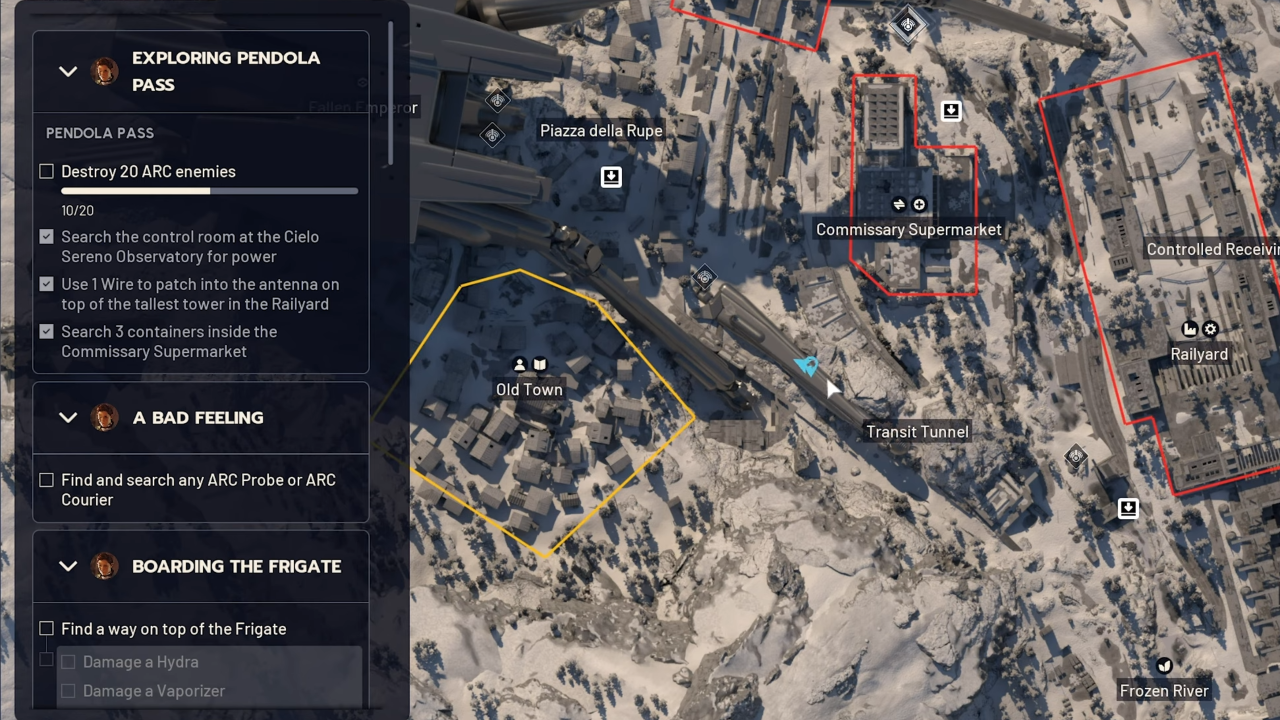
Your first objective requires scouting the southern front leg of the Emperor near Old Town on the southwestern side of Pendola Pass. Look east toward the bridge running over the ravine directly outside Old Town. One of the Emperor’s massive front legs is found next to this overpass.
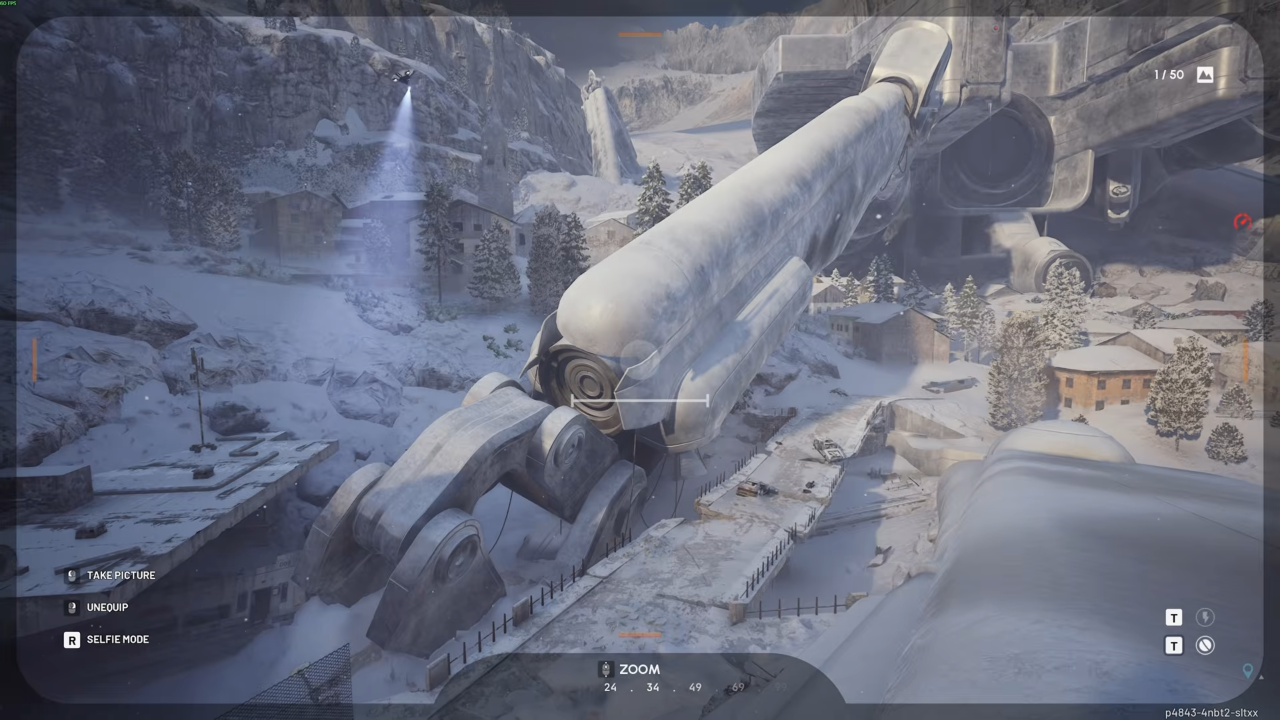
Stand along the road or the rubble embankment on the bridge and look toward the lower leg joint. Open your gear wheel, equip the Basic Camera, and aim down sights (Right Mouse Button / Left Trigger). Center the leg assembly and bridge in your viewfinder and snap the shot. If the objective fails to register, adjust your angle slightly to bring more of the joint structure into frame, then take a pic again.
Note: This objective shares a branch with an optional probe inspection near Almatera Station; completing one locks out the other.
Analyze the Exposed Area on Top of the Emperor’s Leg Near Railroad Junction
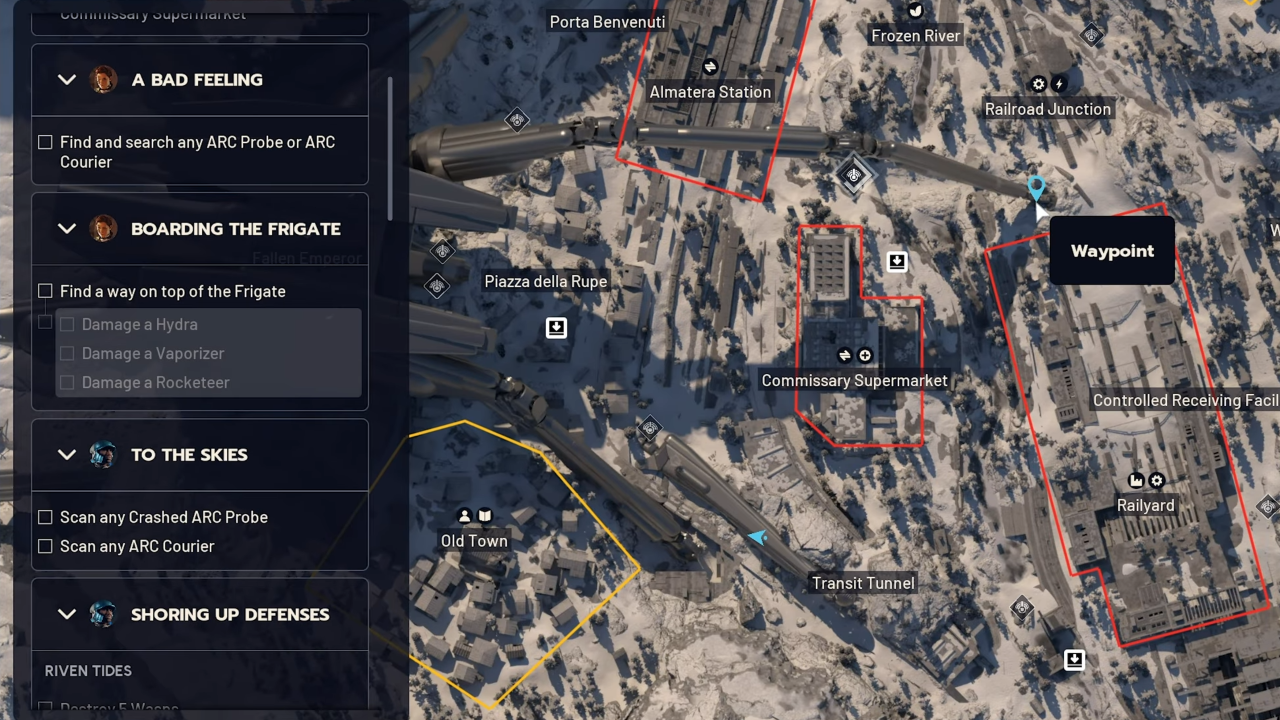
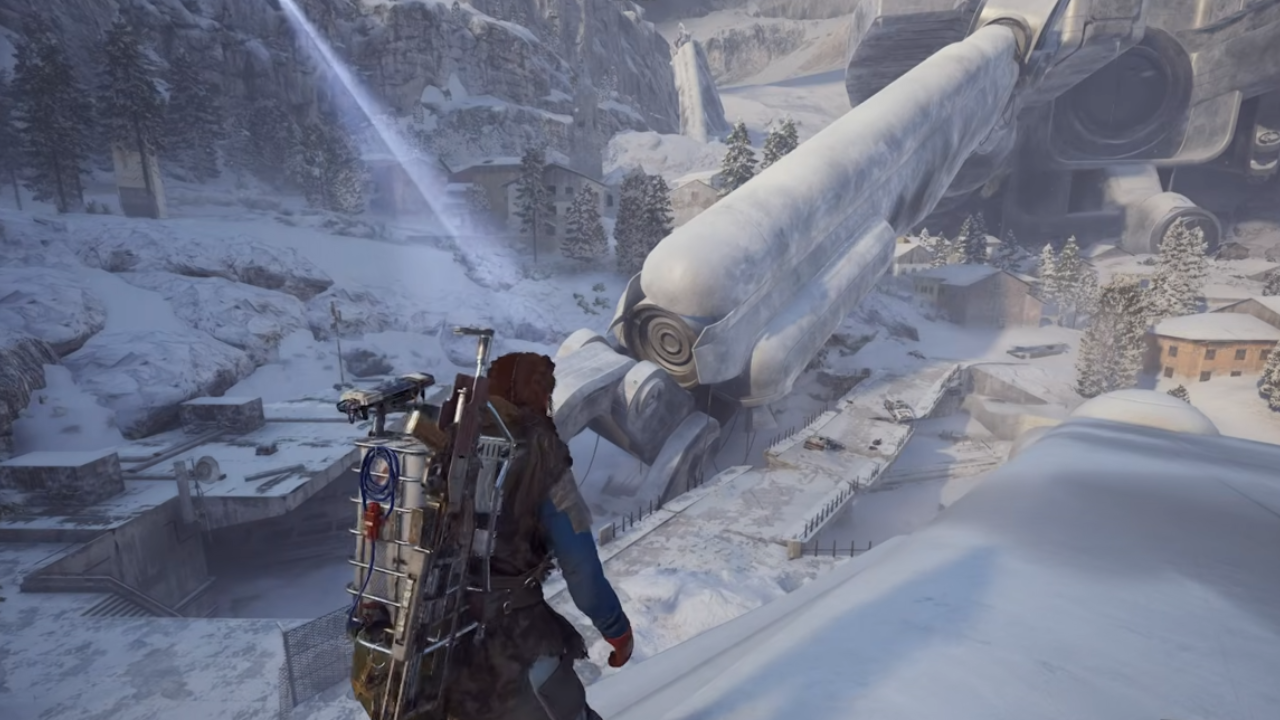
Next, you have to move toward the middle section of the map to inspect another part of the giant machine. Head northeast toward the center of the map past the Commissary Supermarket to Railroad Junction. The Emperor’s central leg stretches all the way across this sector and plants into the snow south of the railroad tracks.
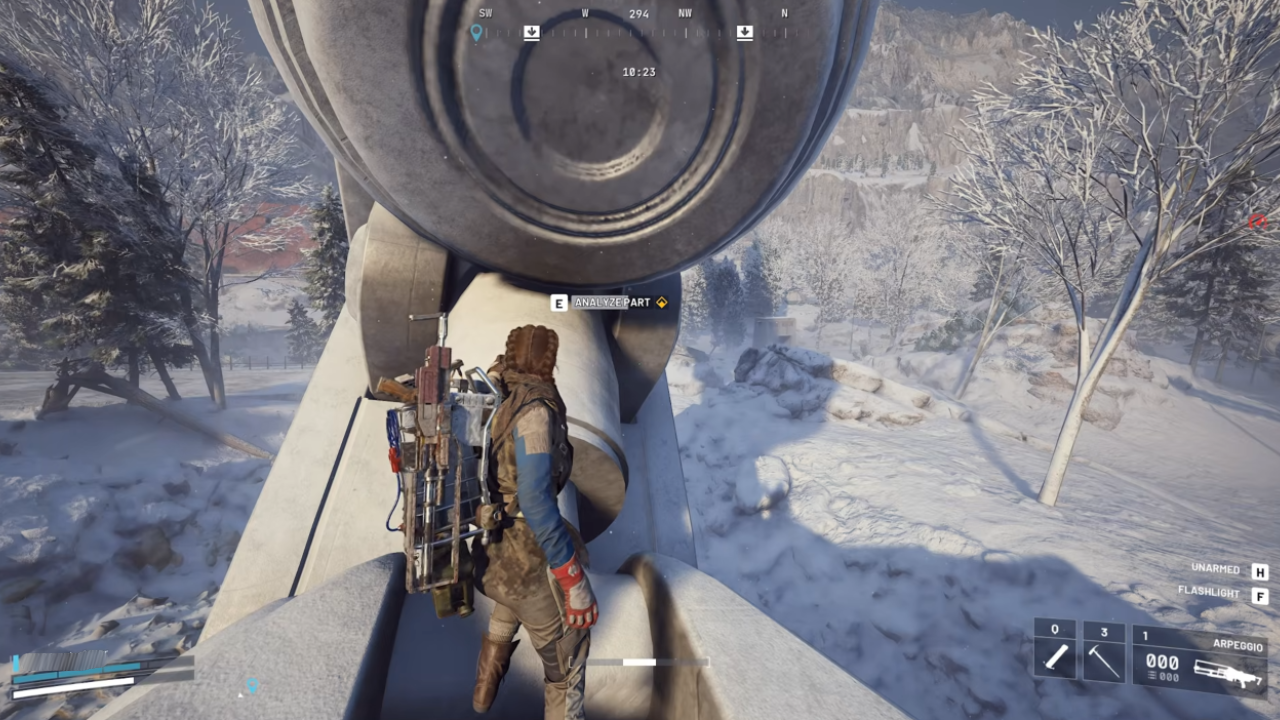
Climb up to the base where the leg joint touches the ground, then scramble and mantle directly onto the flat, angled plating of the ankle part. Walk along the top of the metal casing until you hit the interact point, and press & hold the key when the ‘Analyze Part’ prompt appears to complete this step of the quest. Once the scan bar finishes, your logbook will update to the final phase of the contract.
Reach the Base of the Emperor and Search the Buried Harvester Payload
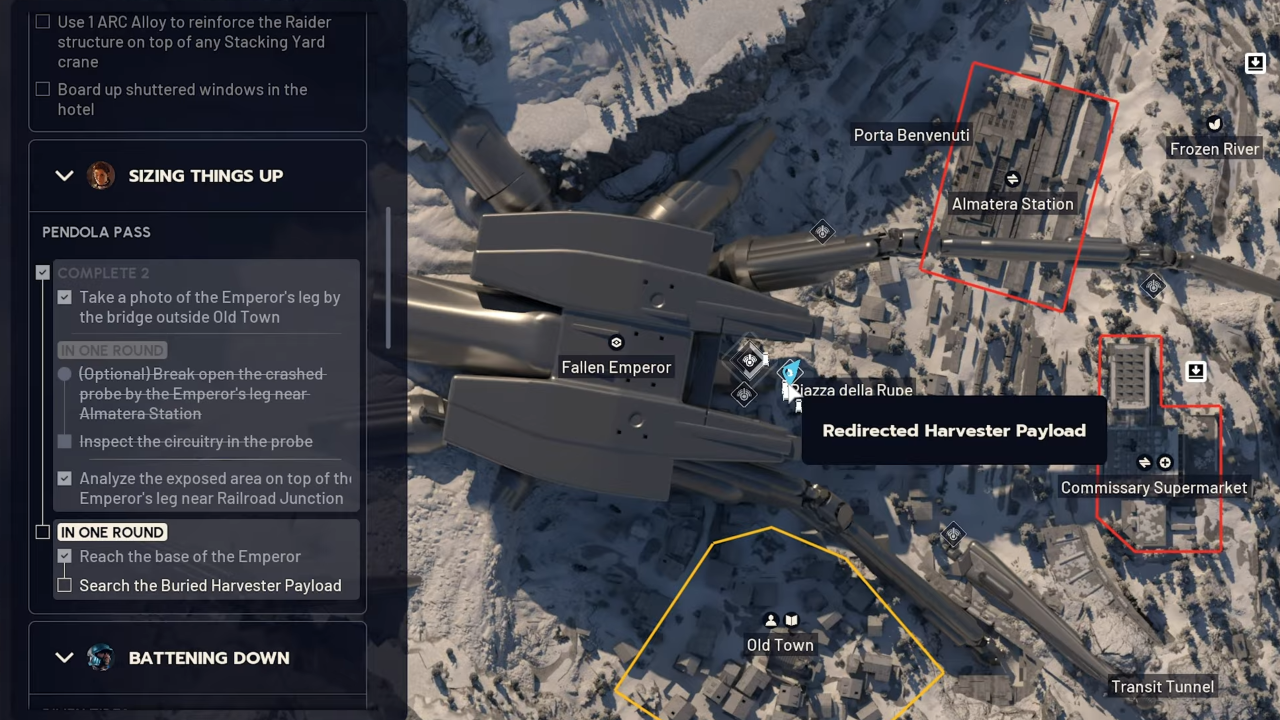
For the final objective, sprint west toward the main body of the Fallen Emperor, located just below Piazza della Rupe. As you approach the gargantuan core plating and the circular hatch, your objective tracker will register “Reach the Base of the Emperor” and immediately trigger the final hunt “Search the Buried Harvester Payload.” Do not get distracted by the transmitter towers or usual ARC scrap crates scattered along the slope.
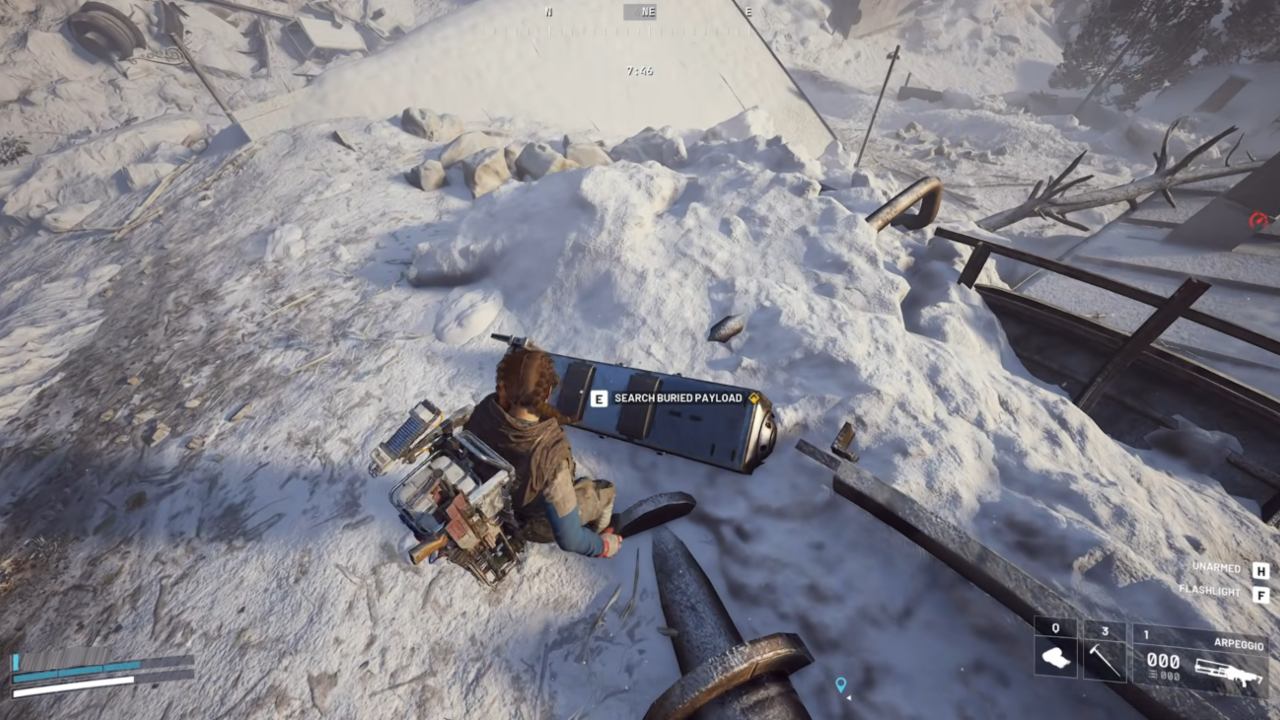
Instead, drop down along the snowbank just below the Emperor’s massive chest portal. Find the elongated, metallic cargo pod (Harvester Payload) half buried diagonally in the snow and twisted rebar, then interact with the Search Buried Payload prompt to progress, and once more to pick up the ARC Conductive Coupler from the snow.

Extract and Claim the Rewards
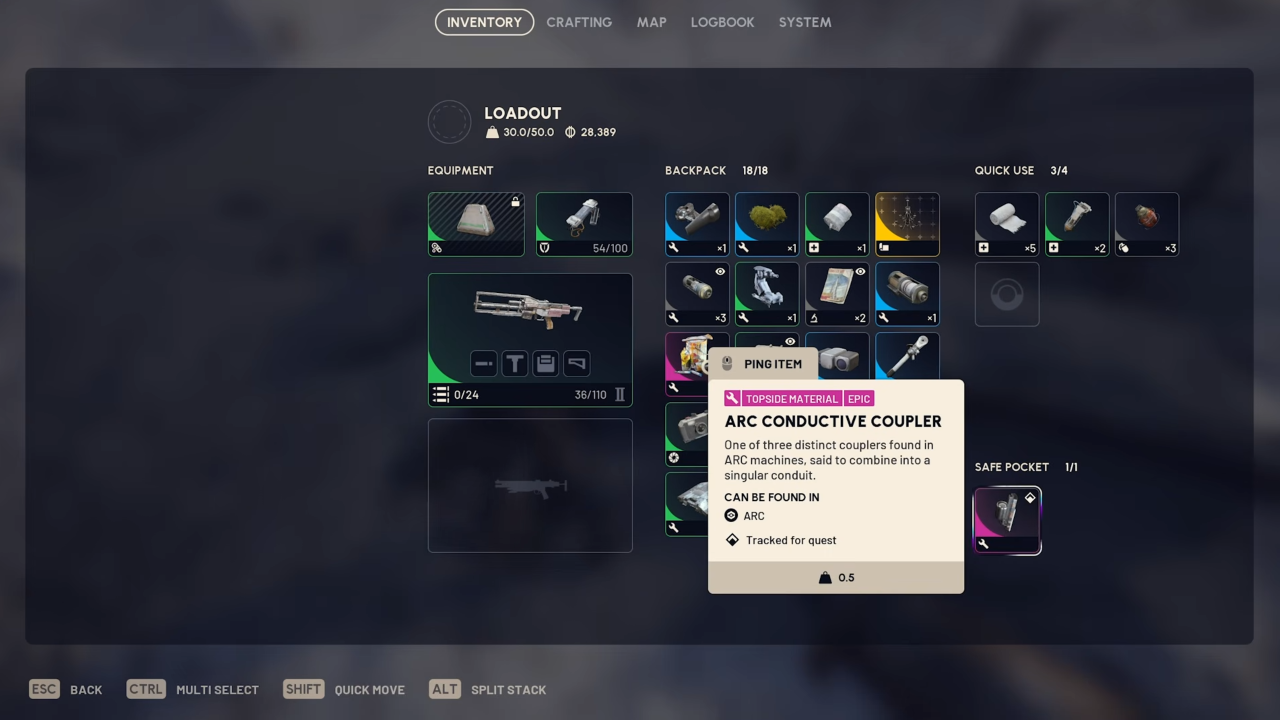
As soon as the coupler fits in your inventory, open your backpack and move it into your Safe Pocket. If you catch a stray sniper round or get swarmed on the way to exfil, the item will stay protected. Head to the nearest extraction terminal like the Gondola station or an available Raider Hatch, and return safely to Speranza. Pay a visit to Celeste at her shop to deliver the coupler and claim your payout:
- Bettina I Assault Rifle
- Adrenaline Shots 3x
- Exodus Technical Handbook
- Heavy Ammo x60
- 5,000 XP