

The Attack on Titan crossover introduces a short but complex questline into Assassin’s Creed Shadows, and the game barely tells you how to unlock it. Once you trigger the first objective, you will move through a castle siege, a cavern with platforming challenges, and a Titan chase sequence, along with many collectibles connected to every branch of the Survey Corps. This walkthrough guides you through completing the Assassin’s Creed Shadows x Attack on Titan crossover quest, tells how to start it, all rewards you can get from it, and the best ending choice.
How to Start the Attack on Titan in Assassin’s Creed Shadows
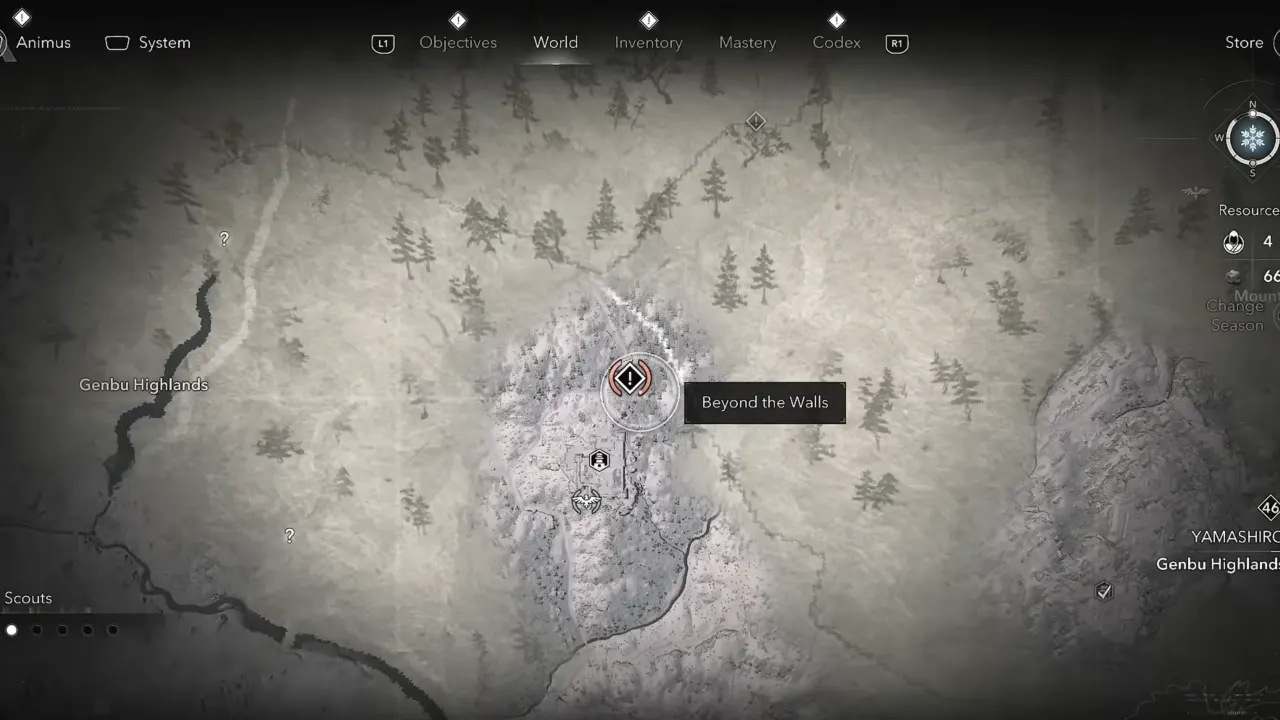
The Attack on Titan story begins with a side quest Beyond the Walls, but it won’t appear on the objective board. Head to the northern part of the Yamashiro region, right on the road that borders Omi. Fast travel to Hanazono Castle and ride northeast to reach the destination located between Genbu Highlands and Mount Hei.
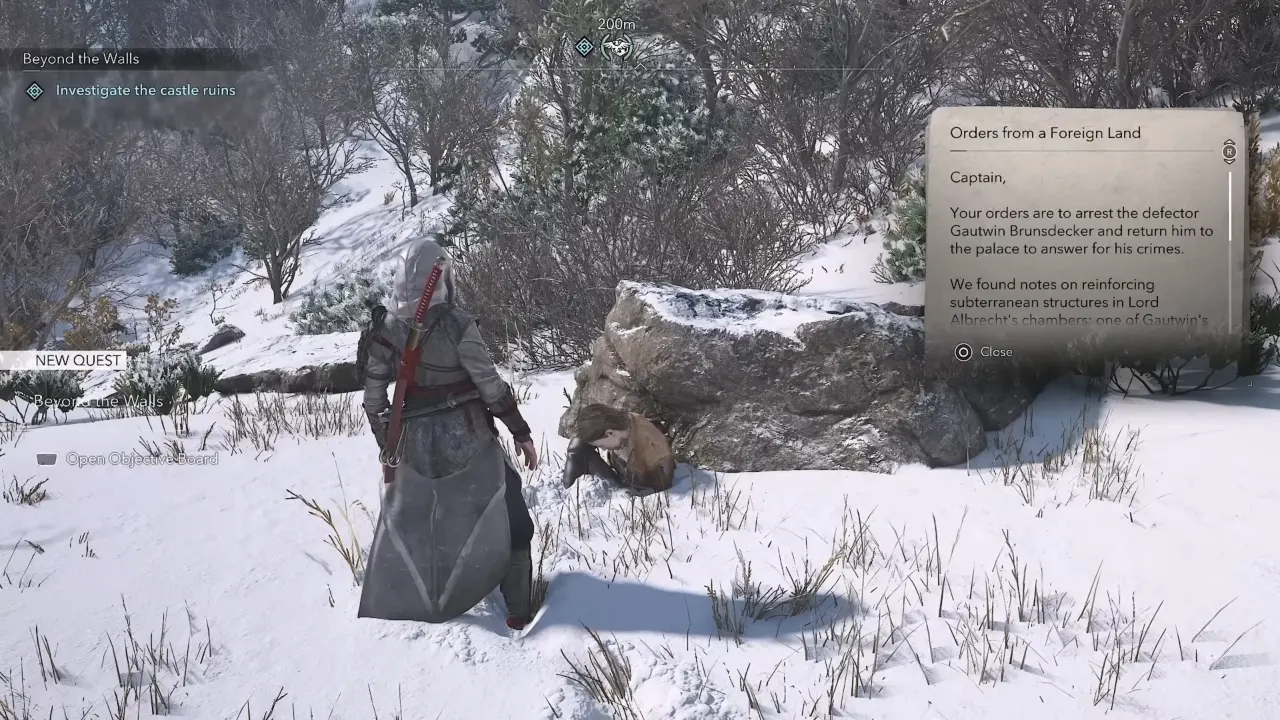
You’ll come across bodies of Scout Regiment members from Attack on Titan. Loot the captain lying beside a boulder to read his letter, which starts Beyond the Walls and officially drops Naoe and Yasuke into the Attack on Titan story quest. Now return to the Hanazono Castle and climb from outside to enter it.
Assassin’s Creed Shadows x Attack on Titan collaboration event is a limited-time, only available until December 22, 2025 in Patch 1.1.6 or later. Yasuke must be available as playable character to unlock AoT quests, since many quest sections need his strength to get through.
Beyond the Walls Walkthrough

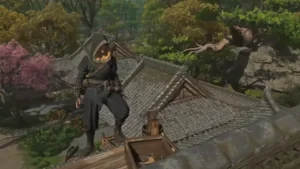
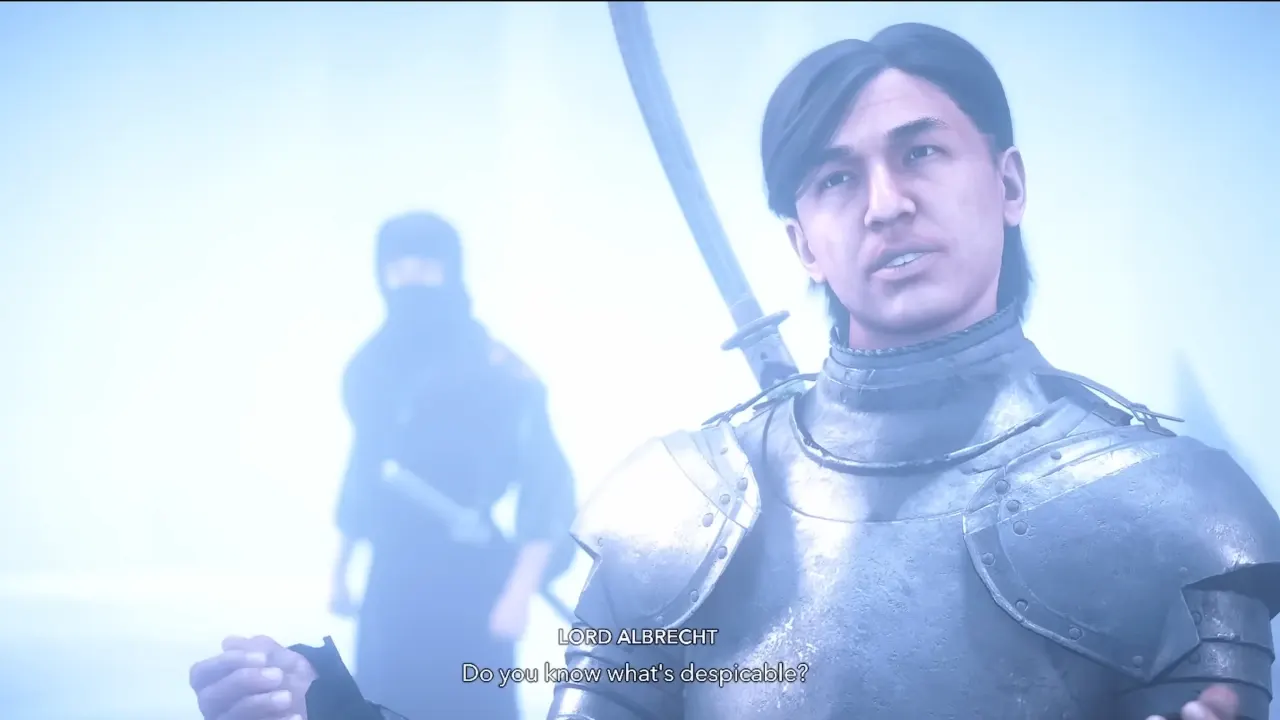
The letter reveals that the Survey Corps was on a hunt for a Titan Shifter who defected from Paradis Island. Bad luck to them, they ran into Lord Albrecht and his fanatic followers. Once you get close to the Hanazono Castle, you’ll hear enemies’ voices investigating a captive. Don’t take any fight to avoid alerting the castle guards; sneakily move by jumping through the ruins to reach the rooftop where the captive is held. Drop down, kill all the enemies, including Samurai Daisho, and free the captive.
The courtyard has a lot of armored enemies, including two Daisho whose posture pools make Naoe’s life miserable unless she has top-level gear. We recommend using Yasuke here because his raw damage and stagger resistance will manage this conflict. Once enemies are killed, open the red chest near the hostage room to get the Protector’s Helmet (Legendary) and Damage on Parry engraving.
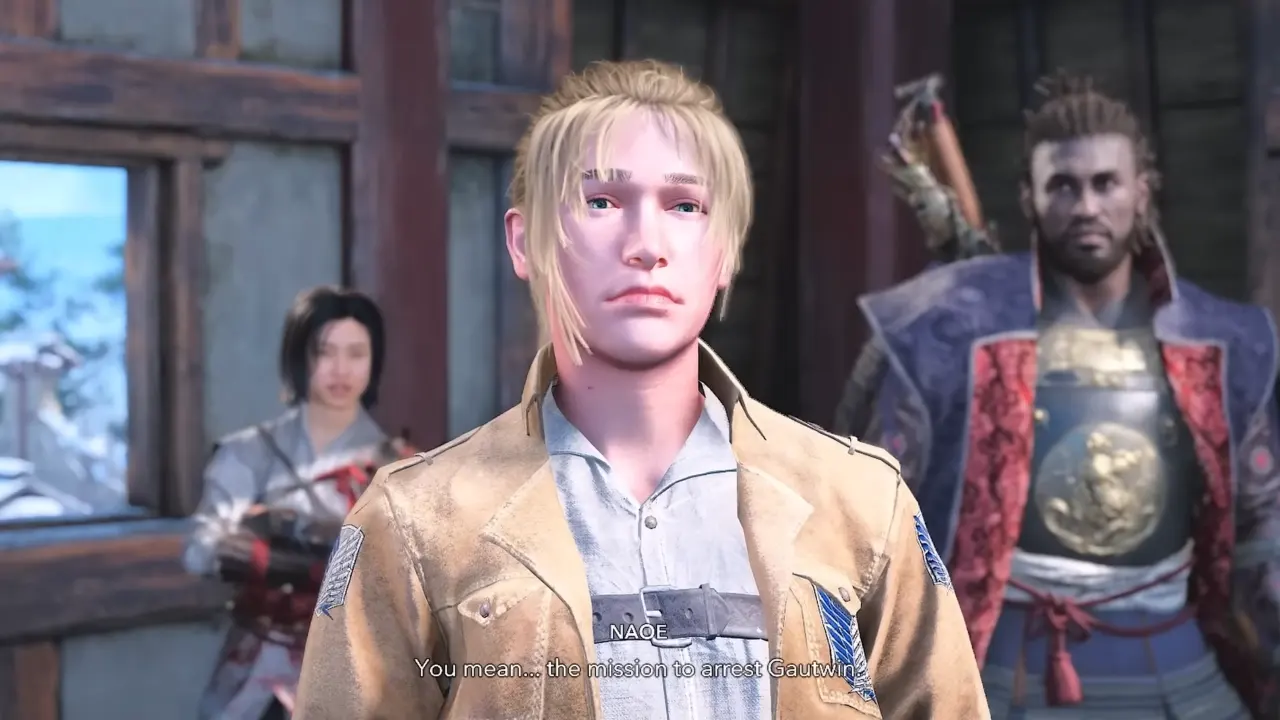
Free the captive, Ada, a lone survivor from the Survey Corps team. She explains that Gautwin (the wanted Titan Shifter, or they call Titan) was tricked by Albrecht and dragged underground. After an important conversation during the cutscene, Ada opens the underground entrance and goes down. You will then see two choices on screen:
- We’ll help to protect the people.
- It’s a chance to hone our skills.
Pick whatever you want, as they don’t impact the story, and then choose “I’m ready to follow Ada.” Beyond the Walls ends here, you receive 1000 XP, and the next Descent quest starts right away.
Descent Walkthrough
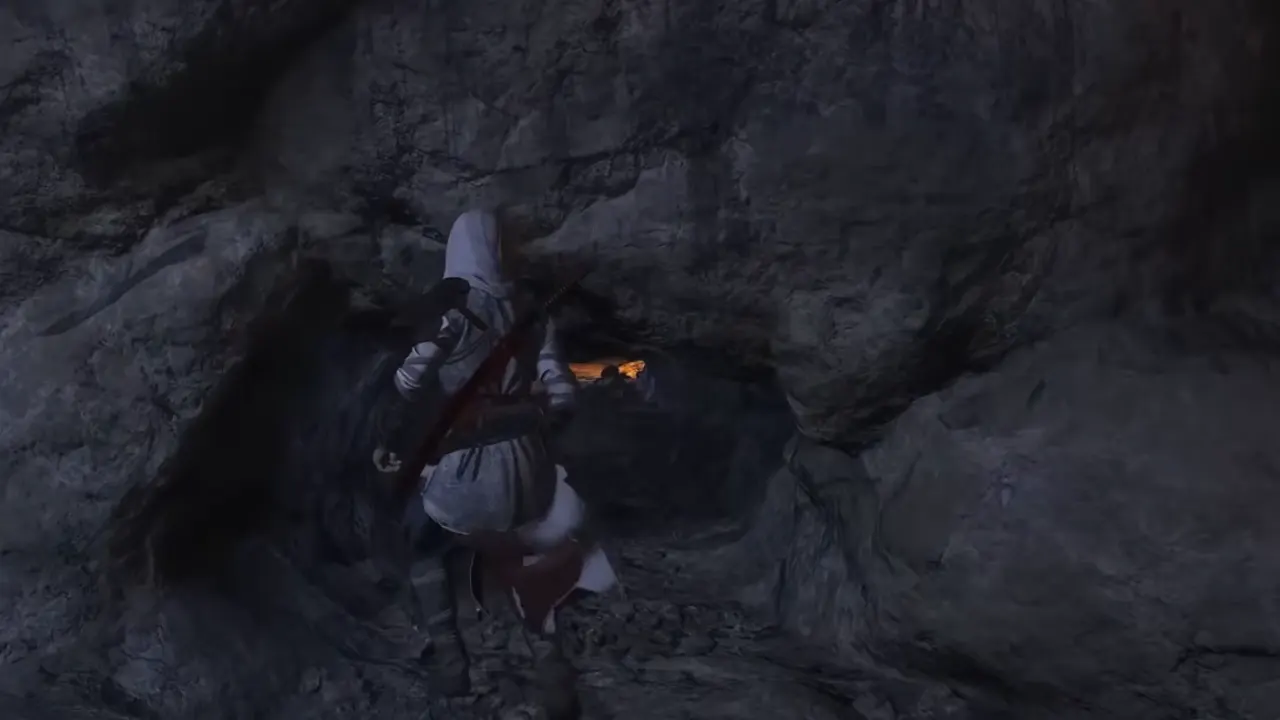
After a cutscene talk in the underground, Naoe has to squeeze through the tight opening to infiltrate the cave network. Once inside the cave from the opening, move forward and take a full right to reach a small tunnel. Crawl through it, and follow the cave path until you reach the chest on the right and the explosive jars in front.
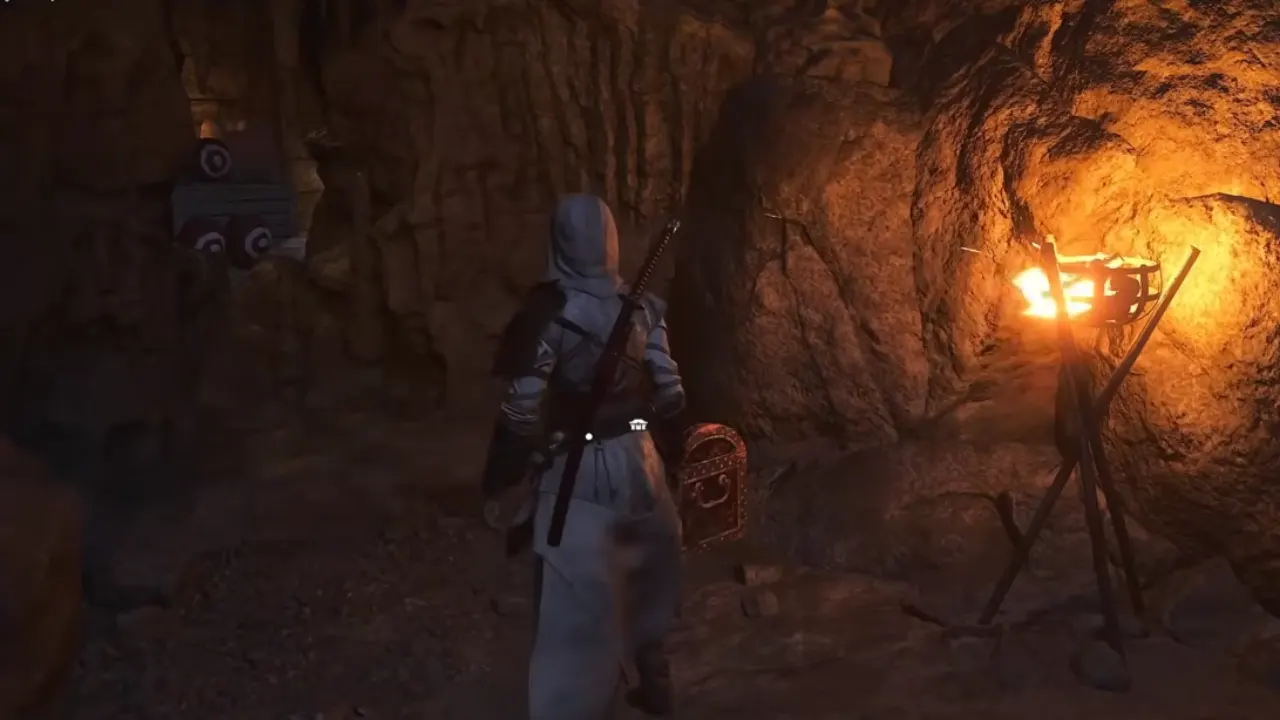
Loot the chest to get the Training Corps Emblem Banner and hit the explosive jars with a shuriken to blast them and clear a path for Yasuke and Ada. Go back and crawl through the same tunnel from where you came.
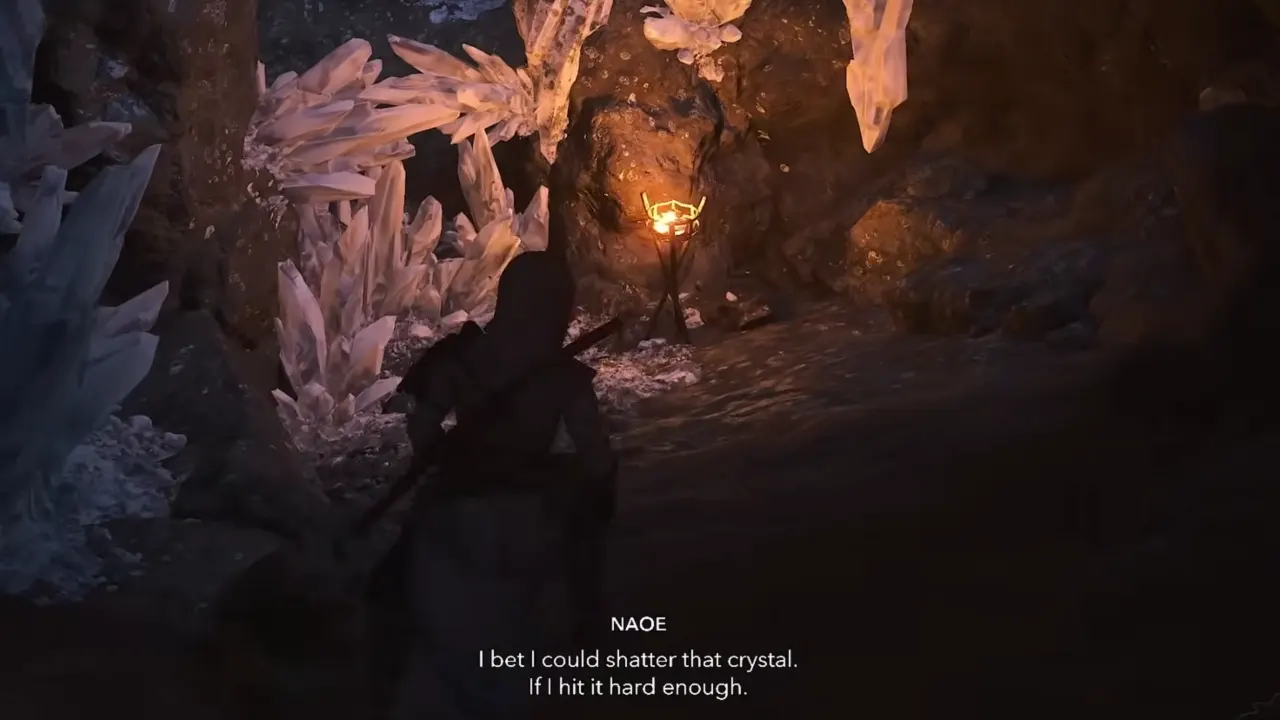
You will find a new opening that the blast has opened; climb the stone and move further into the cave. You will come across the crystals from the Titan’s hardening ability that block the path, but any weapon will shatter them.
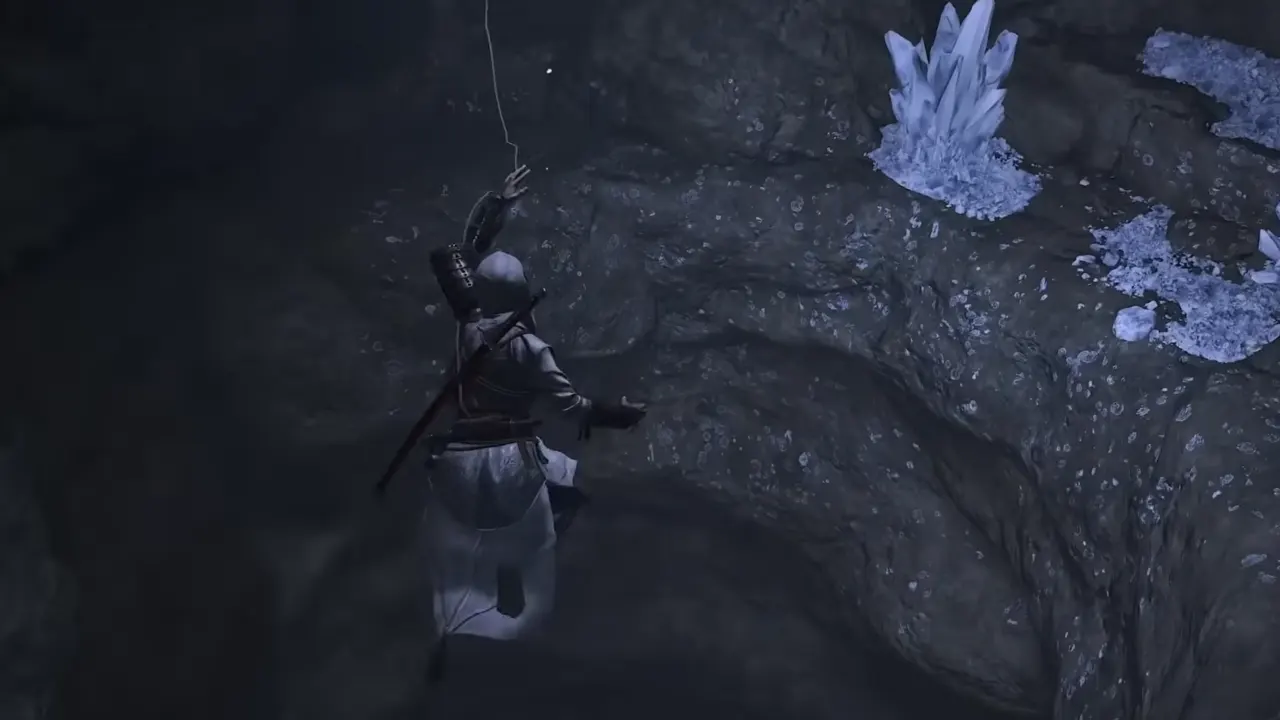
Next, grapple with the stalactite high above and drop into the opening at the bottom. Another chest sits in the lower recess of the next big chamber, which contains the Military Police Banner.
Collect it and move forward by jumping through the platforms until you find yourself in front of a platform high above with wooden beams on its right and a crystal wall under it. Jump onto the crystal’s wall, move left and then up by sticking to the crystals, and then jump onto the upper platform.
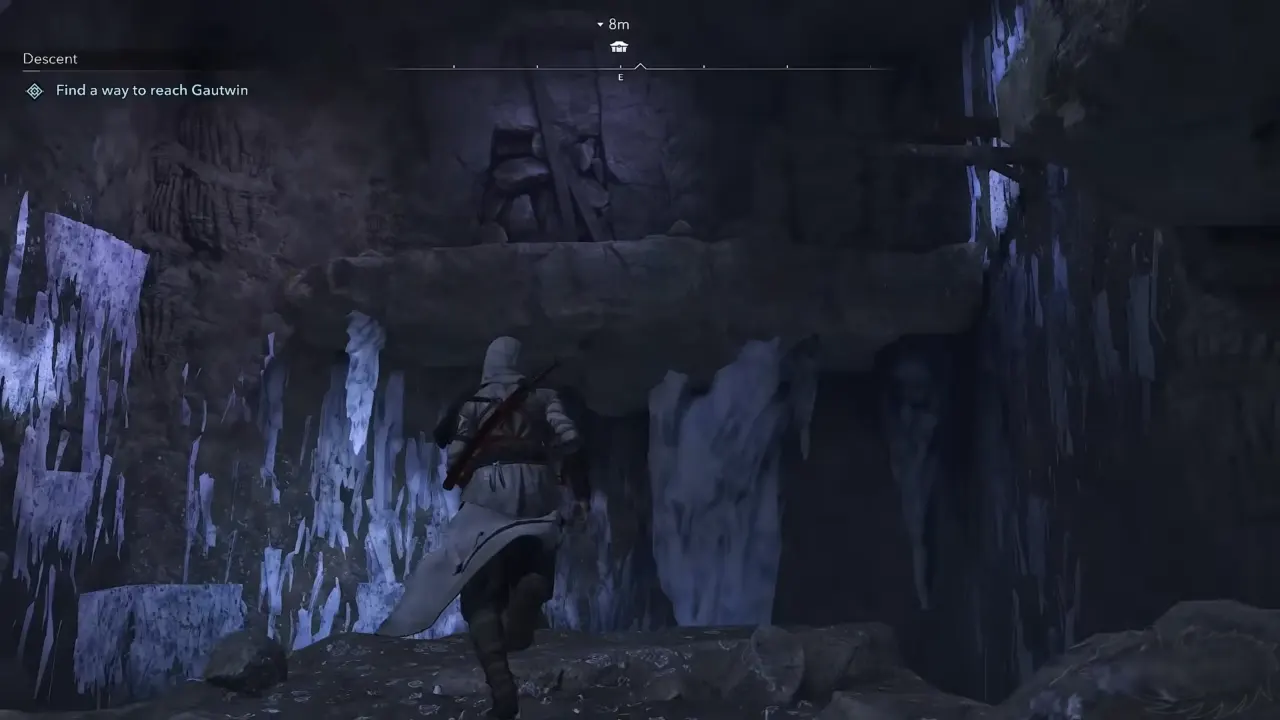
Next, jump the wooden beams and crawl through the small passage on the left, destroy another explosive jar through a small window. Return to the main platform in the same way and follow the newly opened path, which first drags you down a slight incline.
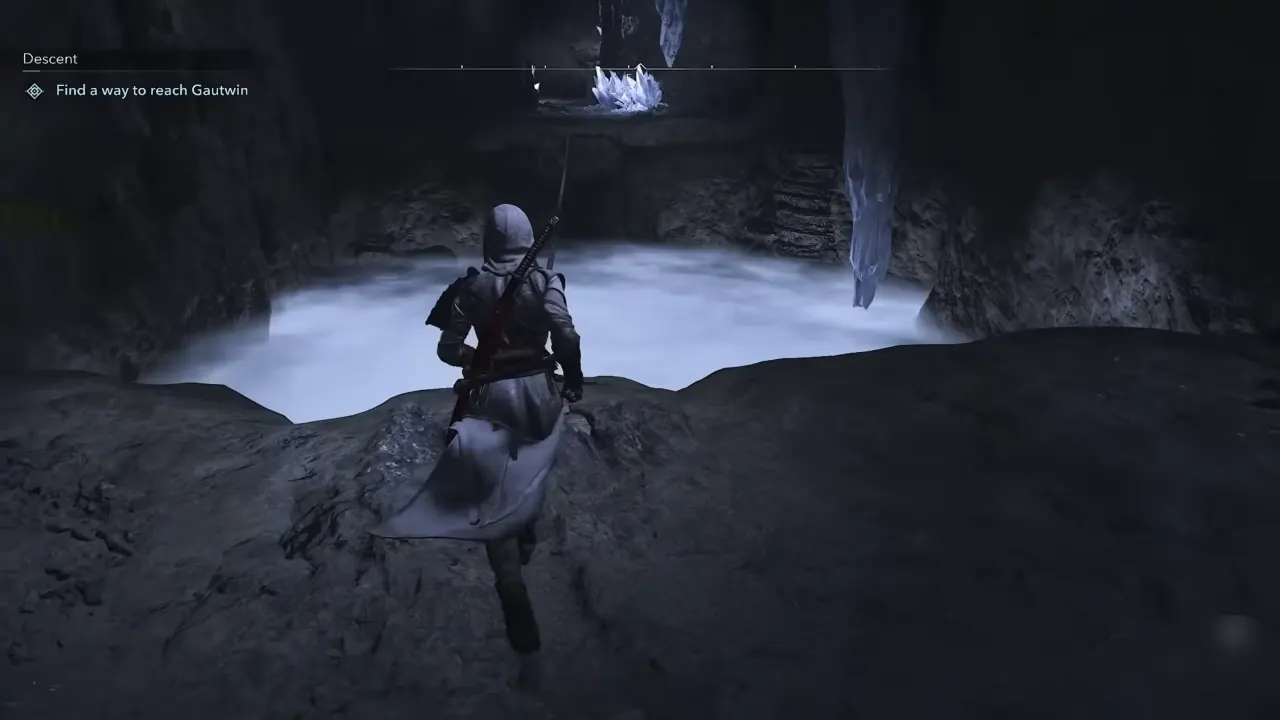
Walk through the rope to get to the other end, and be careful not to drop into the bottom fog. Follow the cave to the right that leads to a scene where you can hear Lord Albrecht and Ritter exchanging words in a conversation.
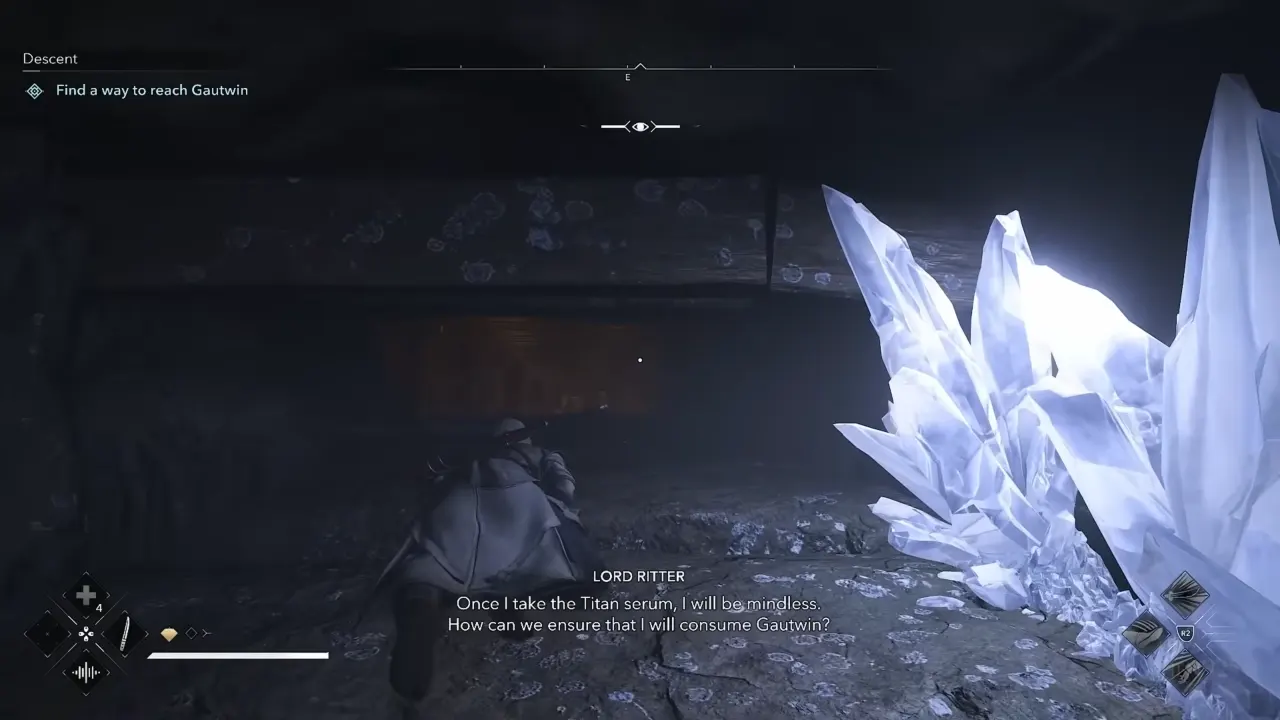
You will see a tight opening at the bottom, so crawl under the floorboards to stay hidden. Once on the other end, follow the cave, grapple on a stalactite to get to the next platform, jump to the crystal wall, and drop down the crystal face to reach another collectible chest to collect Garrison Banner.
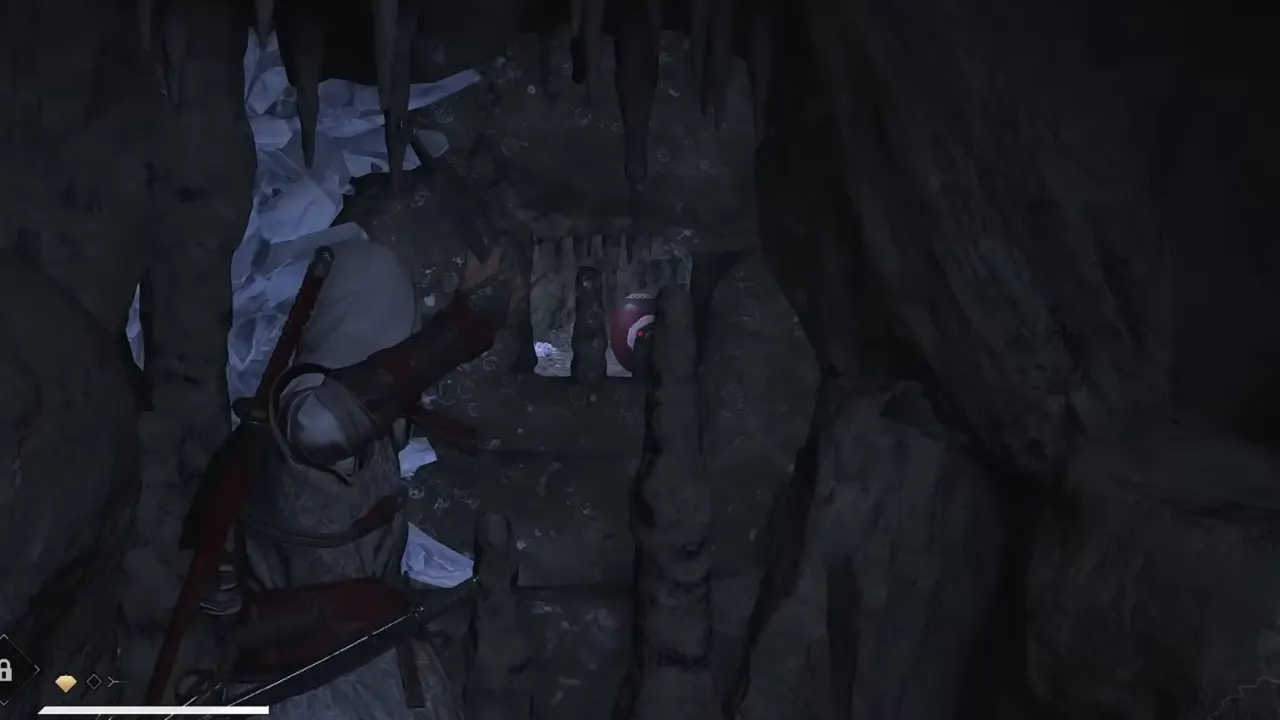
From here, climb back up to the platform and jump onto the next one. Climb the small ladder to continue forward and crawl through the narrow tunnel, break some crystals to continue, and drop down to reach another explosive jar in the far alcove. The jar is viewable from the small window to little right, which you might miss if you don’t look carefully. When you spot it, strike it with a shuriken to clear the next path.

Turn back and take the left to follow the tunnel to a dead operative holding Gautwin’s Death Note, then descend the slope and leap early to grab the crystal wall to avoid falling into the fog below.
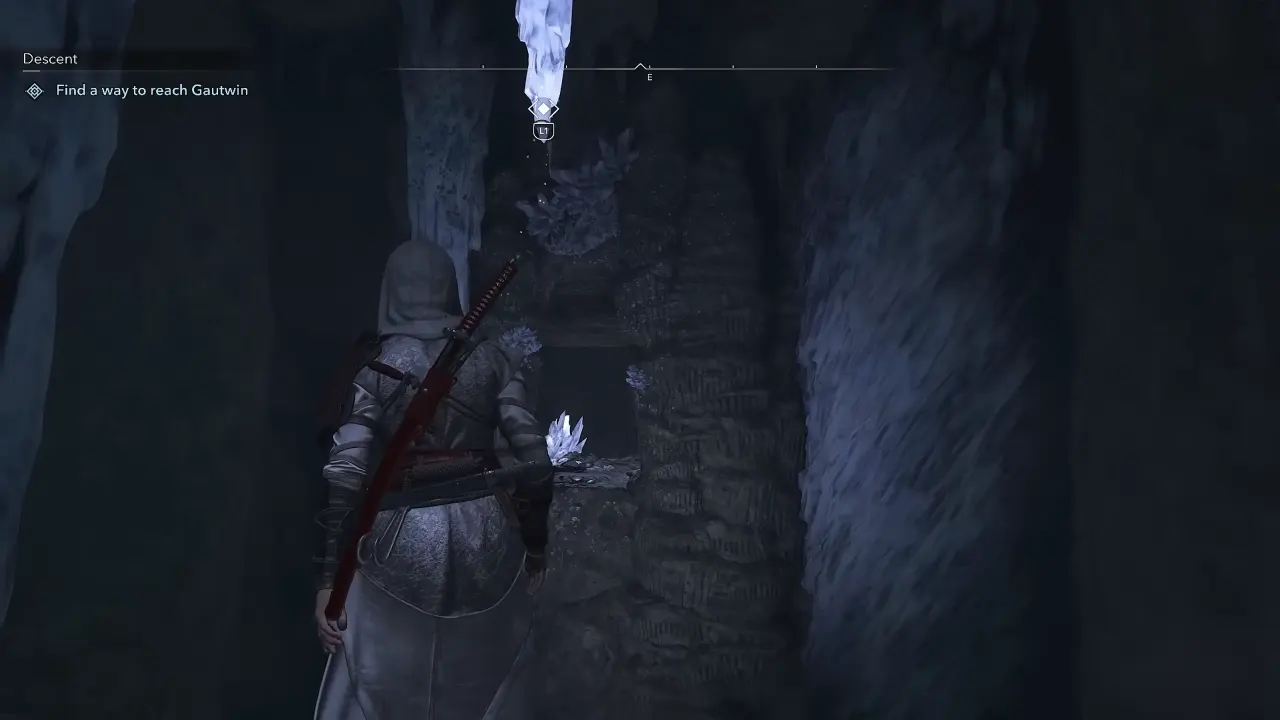
Move up through the wall towards the right to get to the top platform, then grapple to the next one using the stalactite, and then grapple again there to move down.
You will encounter Elitrasi Fanatics standing on the bottom platform. Use stealth kill ability to assassinate them and slip through the crack in the wall to move to the next phase.
Free Gautwin
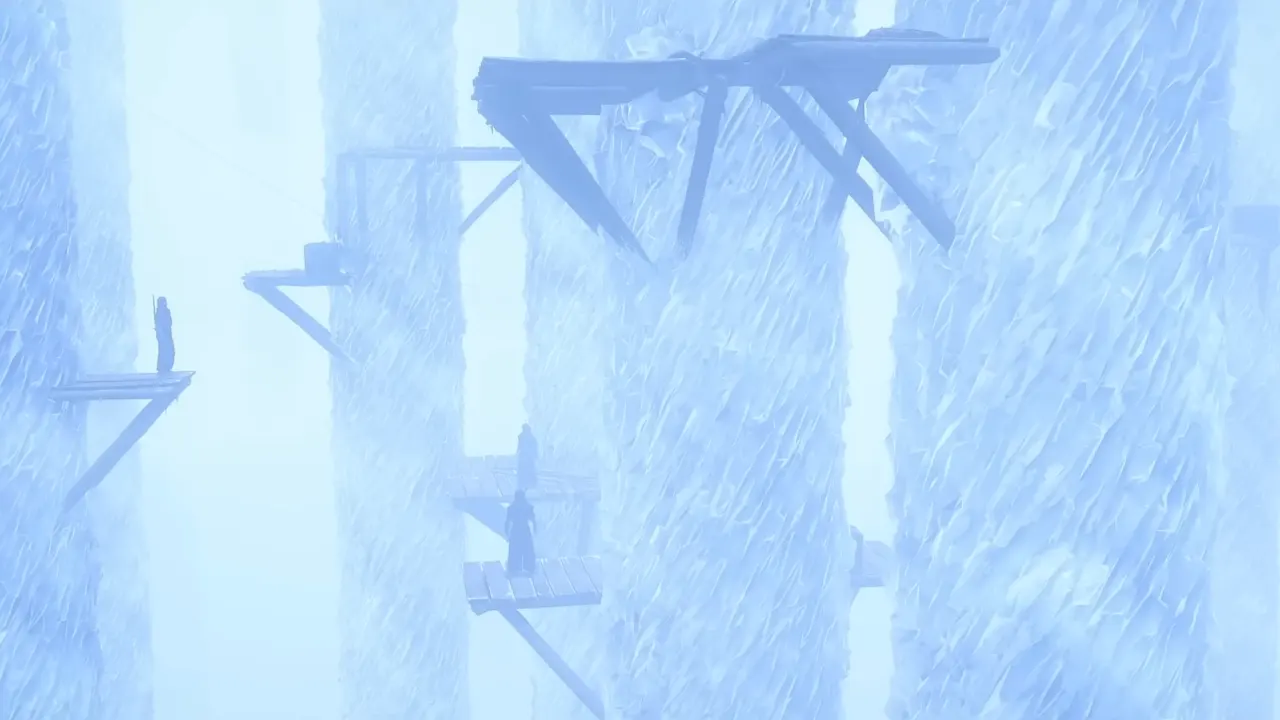
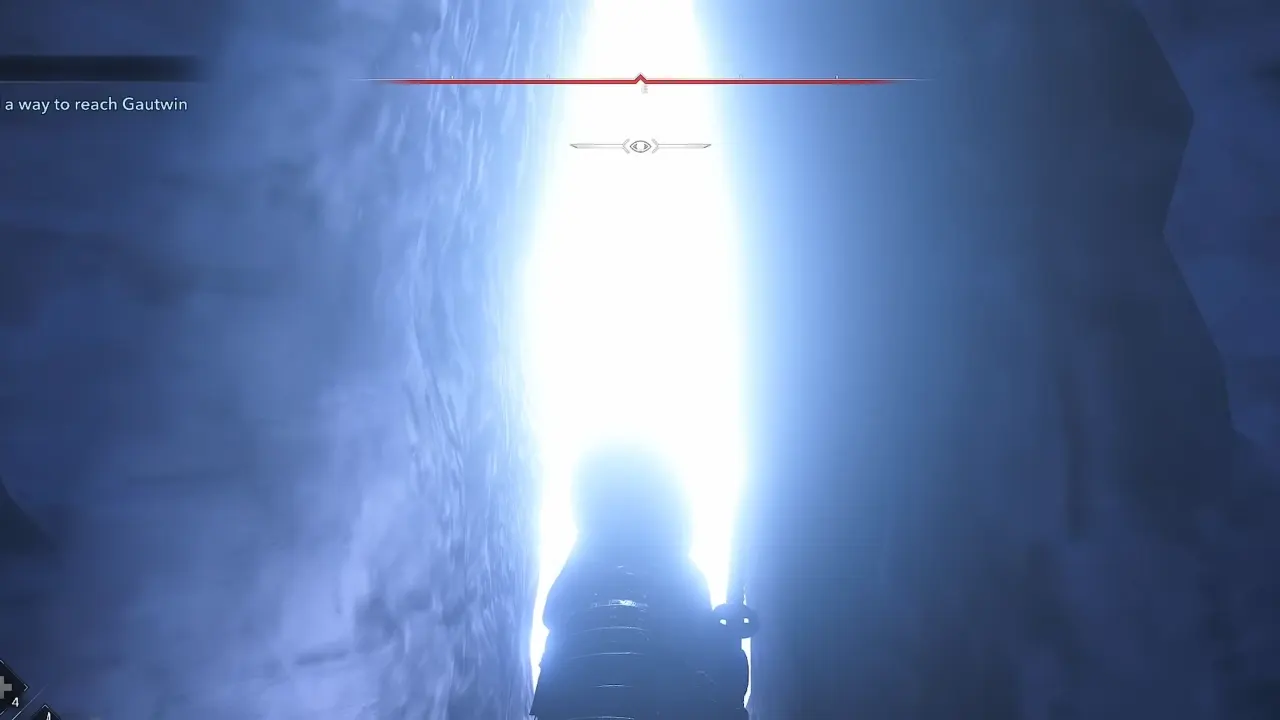
This entire icy section of Assassin’s Creed Shadows x Attack on Titan questline needs continuous platforming to move ahead: quick grapples, jumping across wooden beams, and rope crossings. Fnatic enemies stand on isolated platforms, so pick them off with kunai or shuriken at range or stealth kill before you grapple or jump across.
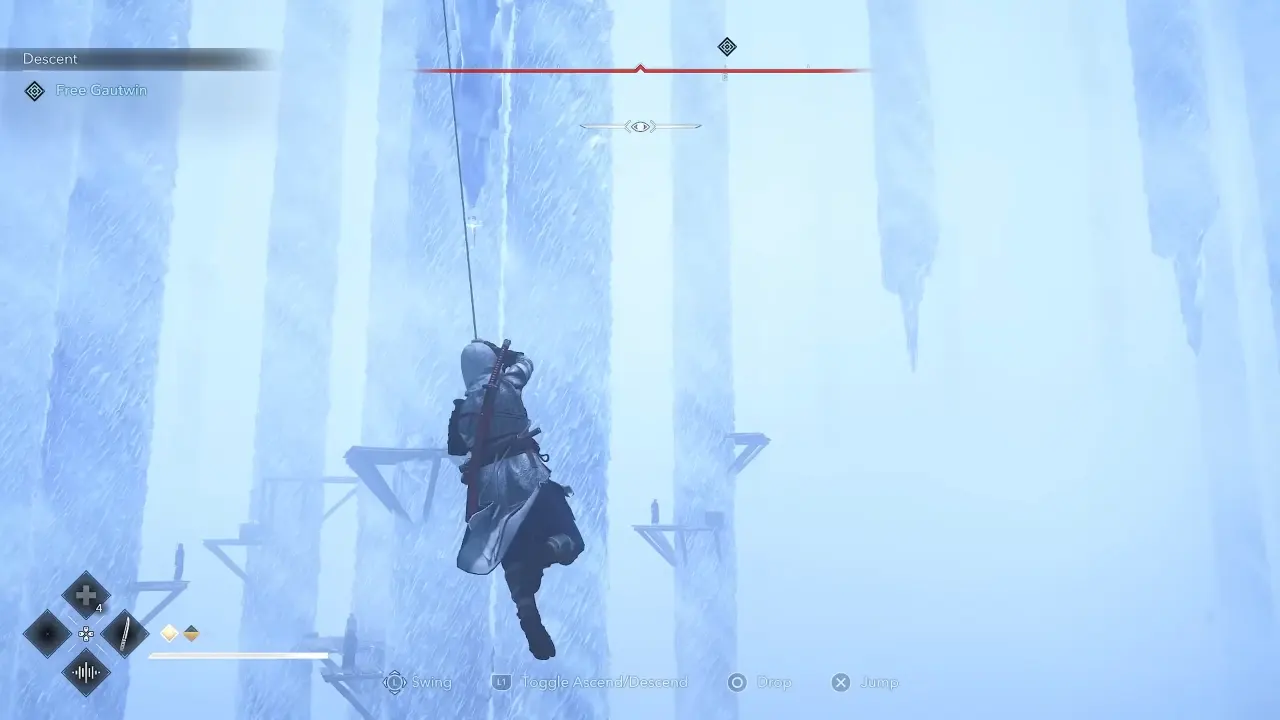
After three successive swings, you’ll land on a wooden platform with a plank and a haystack nearby. Next, perform a Leap of Faith into the hay. Explore the lower level; climb the wooden braces, move through the crystals, and get to a chest to collect the Scout Regiment Banner. Use the stalactite ahead to swing back up to the main path.
Work your way across ropes, wooden walls, and crystal pillars. Kill all fanatics along the way to clear your path. You’ll eventually find another plank with hay beneath it, which is the way to the next optional but valuable collectible.
Get the Eren Yeager Crystal Statue
Leap down from the upper platform into the hay. Move toward the large crystal arena ahead, where Lord Ritter is overseeing defenses. Stealth-kill the first couple of guards if possible, but Ritter will spot you quickly and open fire.
It’s one of the more chaotic fights for Naoe. A Kusarigama is the best weapon because it keeps groups staggered and lets you yank targets off platforms. Deal with Ritter early, as his gunfire punishes you badly in cramped spaces. Once the arena is clear, open the chest beneath the Titan statue to unlock Eren Yeager Crystal Statue (outdoor decoration).
Climb the frames near the statue, grapple on the stalactite, and ride the long rope slide back up toward the main way to reach Gautwin.
The Albrecht Boss Fight
Swing toward Gautwin’s prison platform. But the last grapple can easily drop you to the ground floor if you aren’t careful, so release the rope just before the apex. Ada and Yasuke will join the party with Naoe, and a cut will play with their conversation with Gautwin. When they are about to release him and escape, Lord Albrecht arrives with his men. Naoe is busy rescuing Gautwin, and you take Yasuke’s role to fight Albrecht.
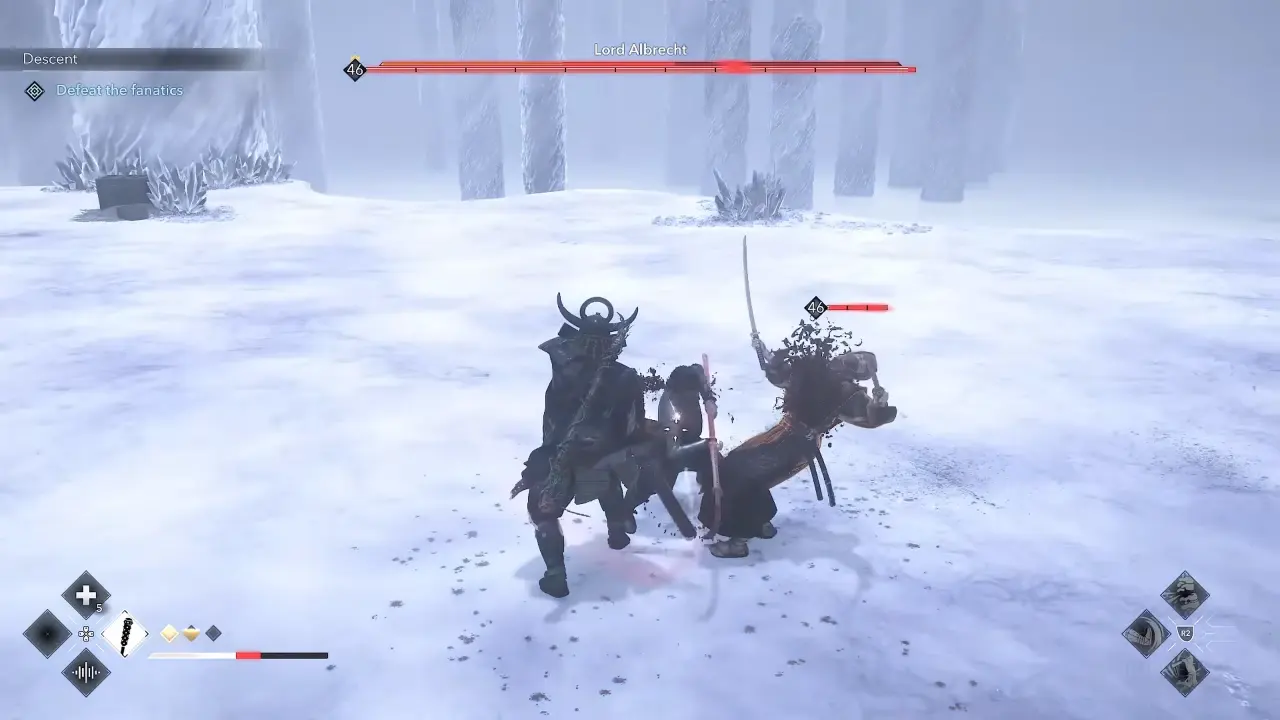
The first phase is a crowd-control fight. Albrecht’s soldiers attack with mixed gear, but the ones with firearms and explosives create the most disruption—kill them first to avoid posture breaks and stagger loops. With his underlings dead, Albrecht is easy to face. He swings long spear strings and wide sweeps, but his patterns are slow enough for Yasuke to parry. His armor drops quickly to arquebus shots, so fire whenever you have space. His only real threat is red thrusts, which must be dodged rather than challenged.
Titan Albrecht Chase

Once you break his guard, you’ll push him into a corner but Lord Albrecht doesn’t want to accept defeat, so he turns himself into a Titan by injecting serum. Titan Albrecht behaves like an Abnormal from AoT—fast, unpredictable, and extremely aggressive. You can’t kill his titan form, so your only way is to run and run.
Titan Albrecht catches ground every time you hesitate, so keep running, sprint nonstop, jump any gaps without hesitation, smash through crystal walls with Yasuke’s shoulder charge, and cling to the ledge sections quickly because getting caught anywhere in this chase means instant death. Once Yasuke bursts through the final crystal wall, the cavern collapses behind him, and the chase ends.
The World Outside Walkthrough
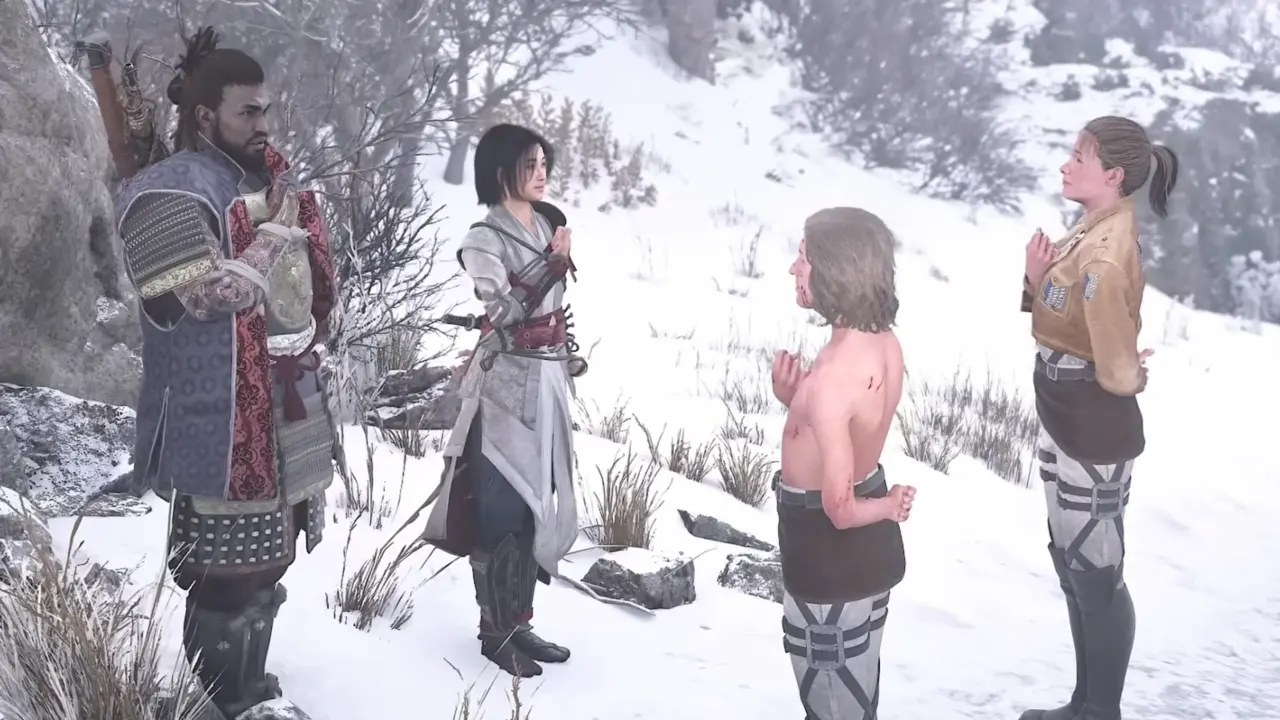
After the escape, the group meets outside the cavern, and Yasuke later joins them after a successful escape. Gautwin’s chains are off, but he’s left with the final choice he has been avoiding, which is whether to return to Paradis and fulfil his oath, or run away with Ada and live out his remaining 5 years in hiding.
Should You Let Gautwin Return Home or Go Elsewhere?

Narratively, sending him back home is the better choice. Yasuke mentions that Gautwin’s only mistake was that he trusted the wrong person and now should keep his oath to honor his personality. The king, he swore to serve deserves the truth, not a runaway. Gautwin admits he is tired and doesn’t want to run anymore. Ada backs the choice, referencing the same resolve expected of the Survey Corps.
Ada and Gautwin salute the group with the iconic “dedicate your heart” gesture before they part ways. Completing the Assassin’s Creed Shadows X Attack on Titan questline rewards:
- Cavern Shard (Legendary Katana)
- Reactive Shell engraving
- 3000 XP
The Cavern Shard adds a crystalline hardening effect to your character’s arm and upper body. It’s purely cosmetic, but it’s one of the most unique visuals in AC Shadows.


