


In Dragon’s Dogma 2, The Regentkin’s Resolve is a crucial part of the post-game content as one of the five evacuation quests and is a part of the main quest, Halls of the First Dawn. Your mission is to help Sven, the new Regent, evacuate the people of Vernworth before everything goes up in flames. Our walkthrough will guide you through every step to complete The Regentkin’s Resolve in DD2.
Dragon’s Dogma 2: The Regentkin’s Resolve Quest Walkthrough
After beginning the Halls of the First Dawn, head over to Vernworth and talk to Captain Brant in The Stardrop Inn. Brant has the latest information on what’s happening in Vernworth, especially about Sven, who has taken over as the Regent. During your conversation, Brant will fill you in on the situation.
Meet Sven
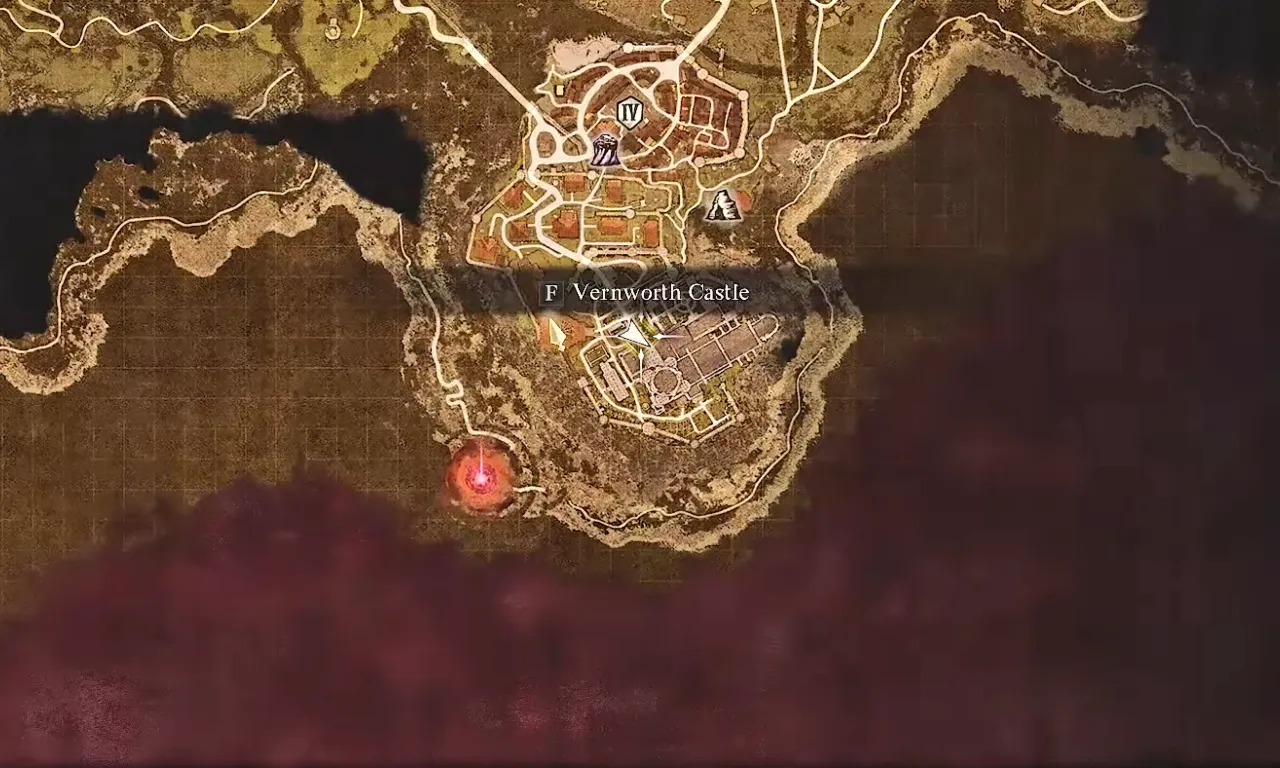
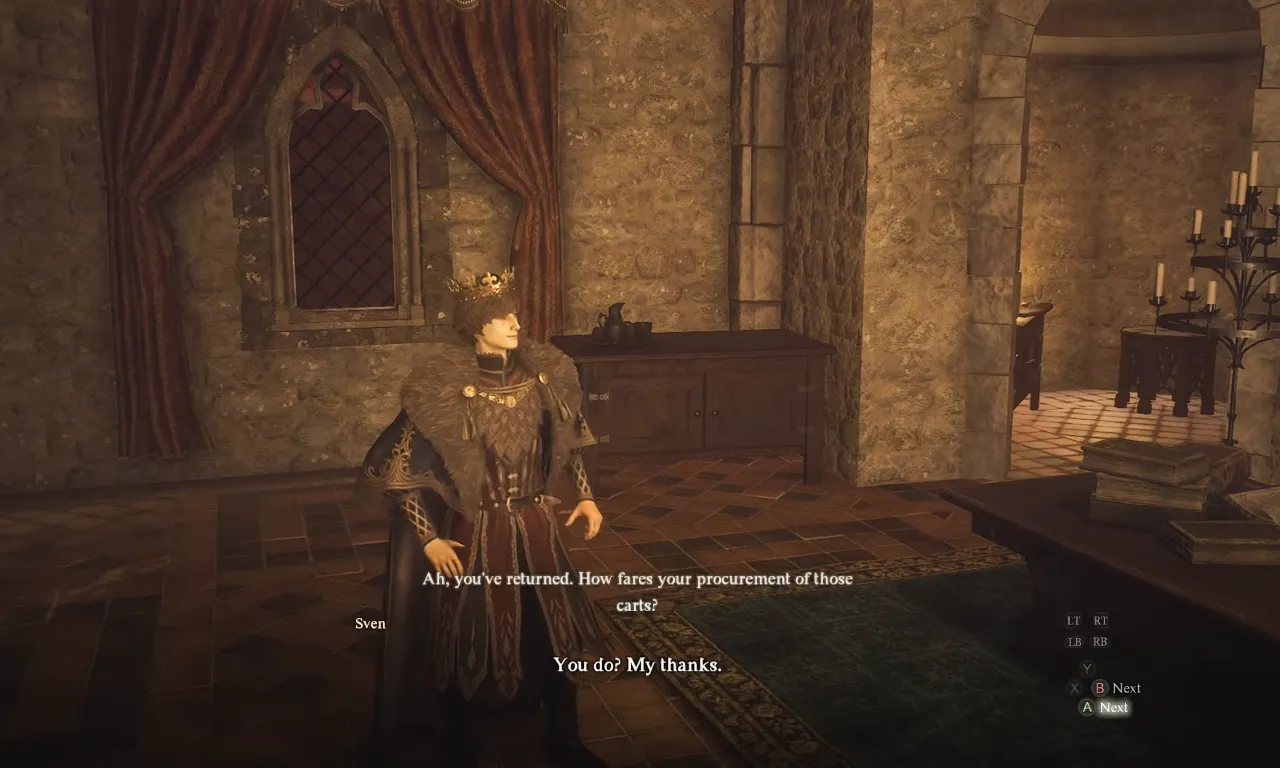
Head over to Vernworth Castle and make your way to Sven’s quarters. Once you find him, he’ll tell you about the evacuation plan, but he has hit a couple of roadblocks: his mother, Disa, doesn’t agree with the evacuation so you need to convince her, and he needs the oxcarts to transport everyone safely.
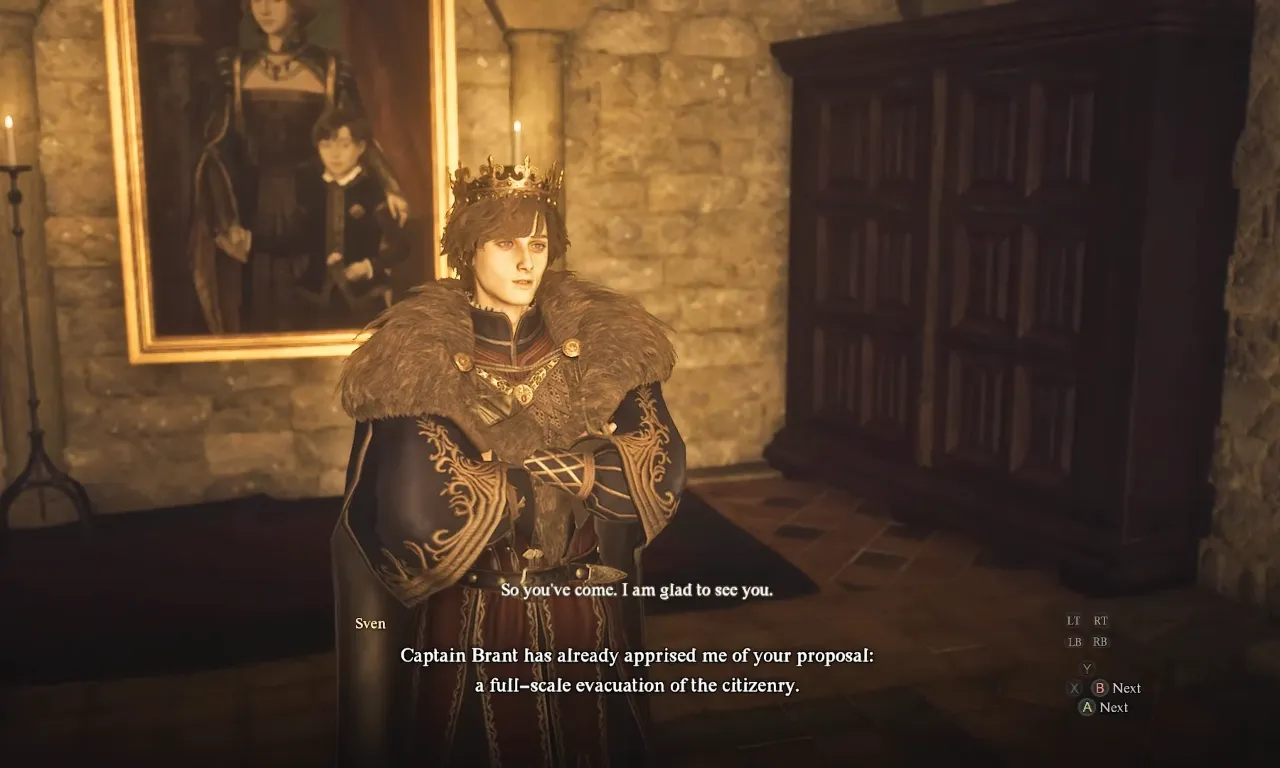
He tells you that his mother is not happy to leave and has confined herself in the chambers. But as a Regentkin of Vernworth, he says he should first consider the well-being of common folks and then inform you about the need for oxcarts to successfully let everyone leave the town.
Convince Disa or Bring her to Sven

After your talk with Sven, visit Disa’s chamber; there will be a maid standing at the front door of Disa’s chamber. She will say something, but ignore her and enter the room. You have a few options there:
- Go to Disa’s room just down the hall from Sven’s chamber. When you get there, pick her up and carry her to Sven’s room. She will put up a fight, and you might have to pick her up a couple of times if she wriggles free but keep at it. Once you get her to son, he’ll handle the rest.
- In Disa’s room, you’ll find an Ornate Box on her desk. Grab it and take it to Sven; there is a letter from Disa inside, which Sven will read. This letter helps him understand his mother’s perspective and gives him the courage he needs to convince her to go along with the evacuation.
- Simply attack Disa until she’s no longer a problem. Be warned, though—Sven won’t be too happy about it, and it might affect how he reacts to you later.
Whatever way you use and bring Disa to his son’s room, he will thank you for this and ask you to leave them alone for a talk. Next, you need to look for the oxcarts.
Get the Oxcarts for Evacuation
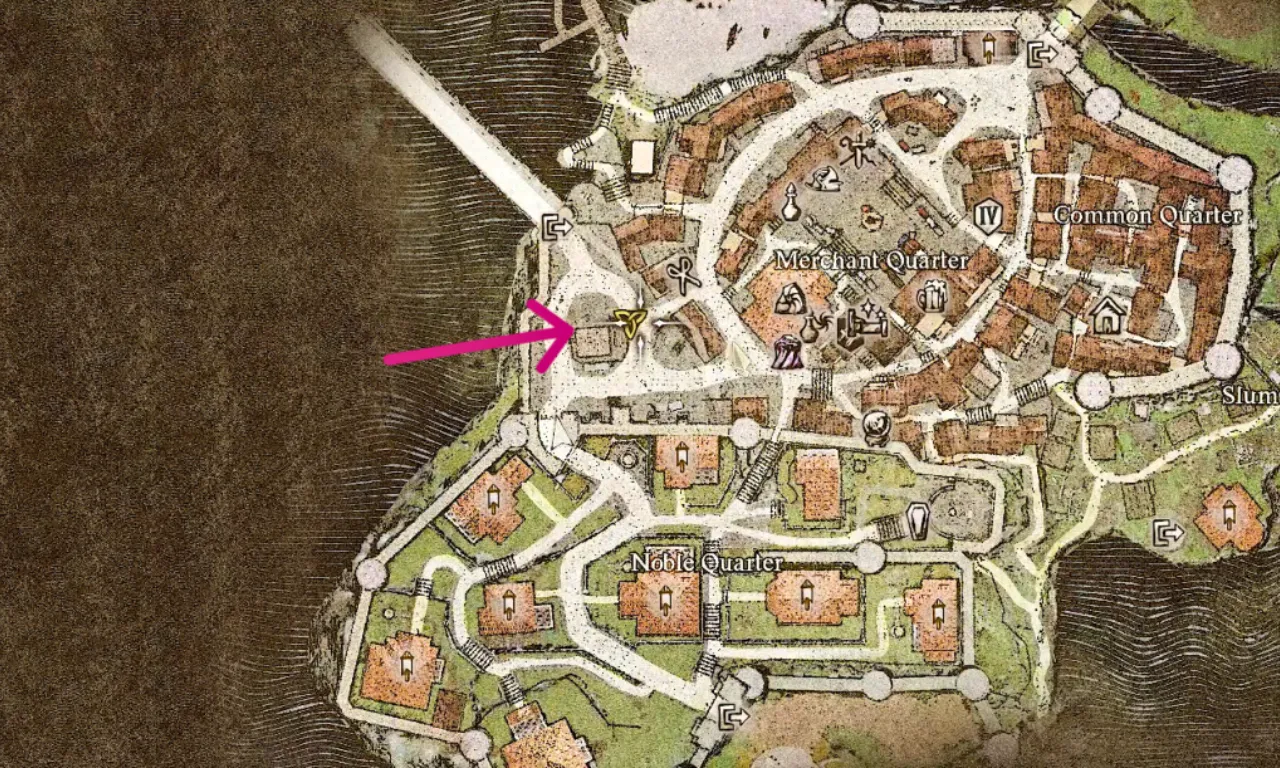
Once you are done with Disa’s dealing, head over to the west side of Vernworth, where you’ll find the Oxcart Station. The oxcarts are currently in the possession of a noble named Allard, who’s using them to transport his riches.
If you haven’t completed the Every Rose Has Its Thorn quest, you’ll need to confront Allard directly. Approach him and give him a scare by drawing your weapons, or you can do this by grabbing and holding him down for a moment. You don’t have to hurt him but only make Allard understand that you mean business. After being scared, he’ll run off, leaving the oxcarts for you.
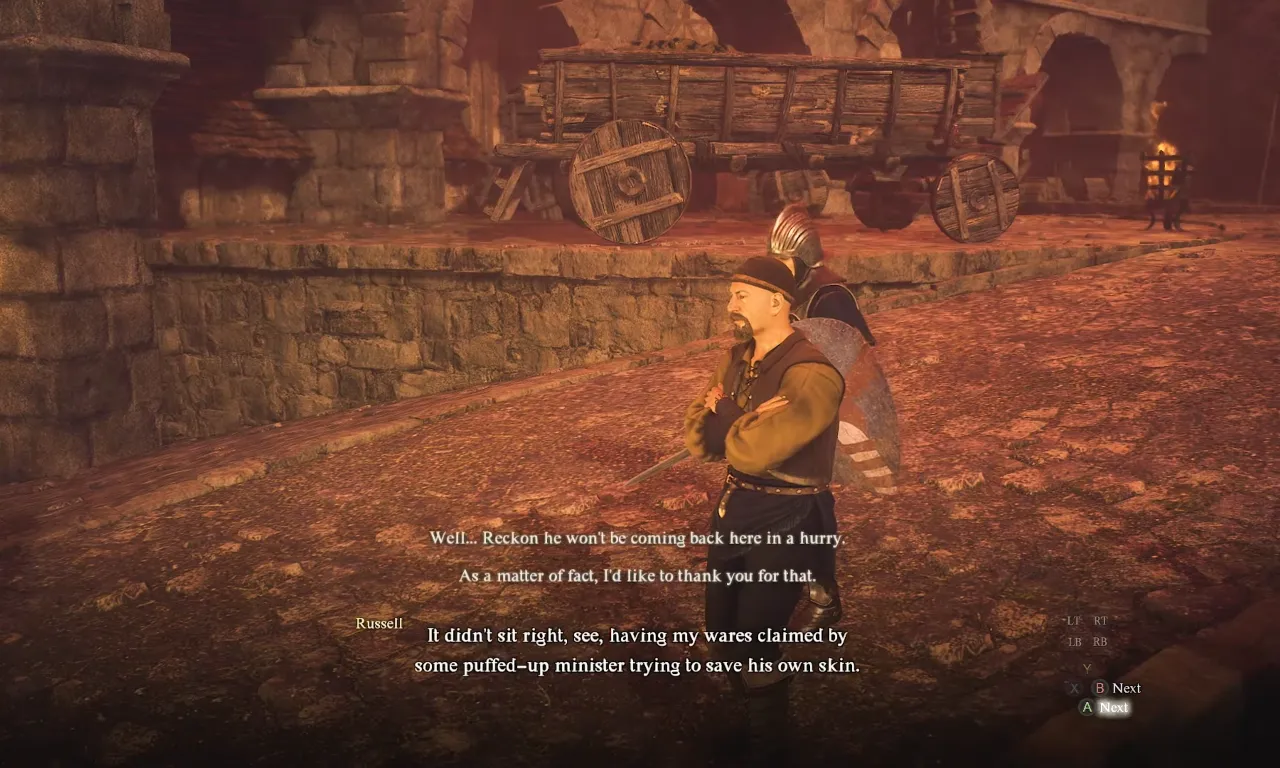
In case you have already finished the quest, Allard will have already met his end so you won’t need to deal with him this time. Go straight to the oxcart merchant, Russell, and tell him you need the carts. Since the minister is out of the picture, Russell will hand them over without fuss.
Once you’ve taken care of both Queen Disa and the oxcarts, report back to Sven. Head back to his quarters in Vernworth Castle and let him know that you have done what needs to be done. Sven will be relieved and grateful for your help. It completes The Regentkin’s Resolve quest, and these are the rewards you get from the quest:
- 25,000 Gold
- 20,000 XP
- 35 Wyrmslife Crystals


