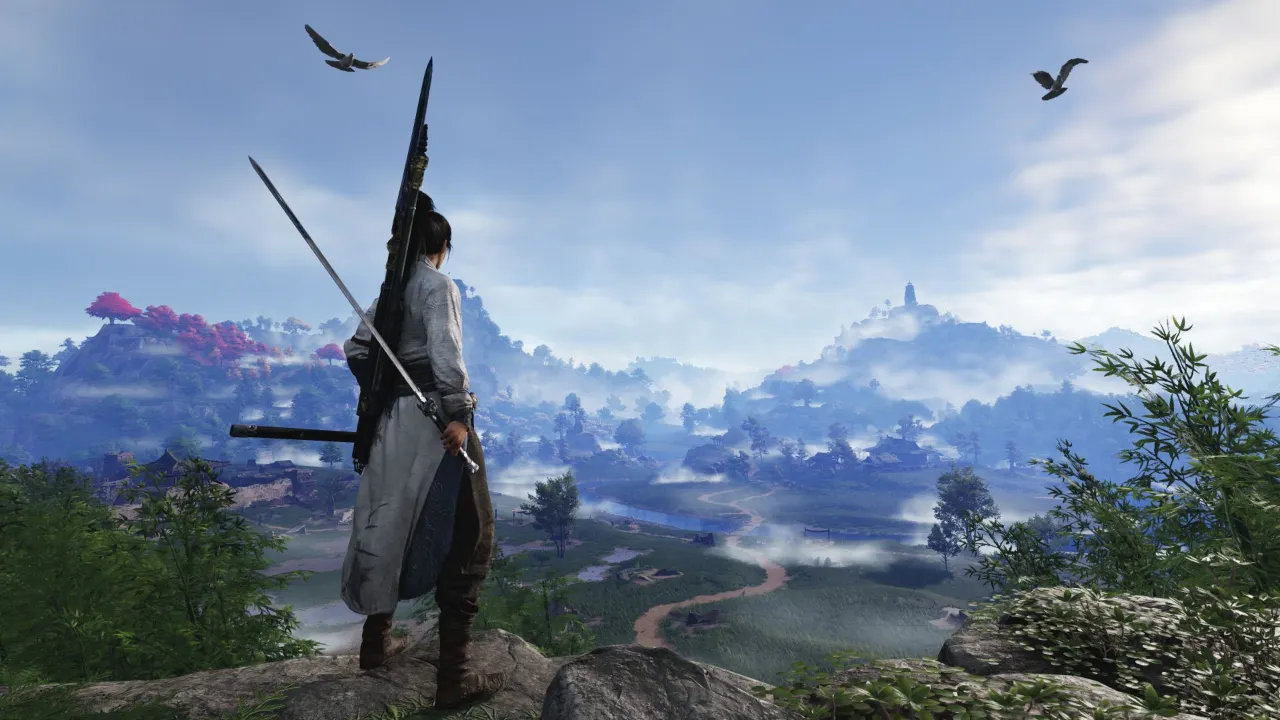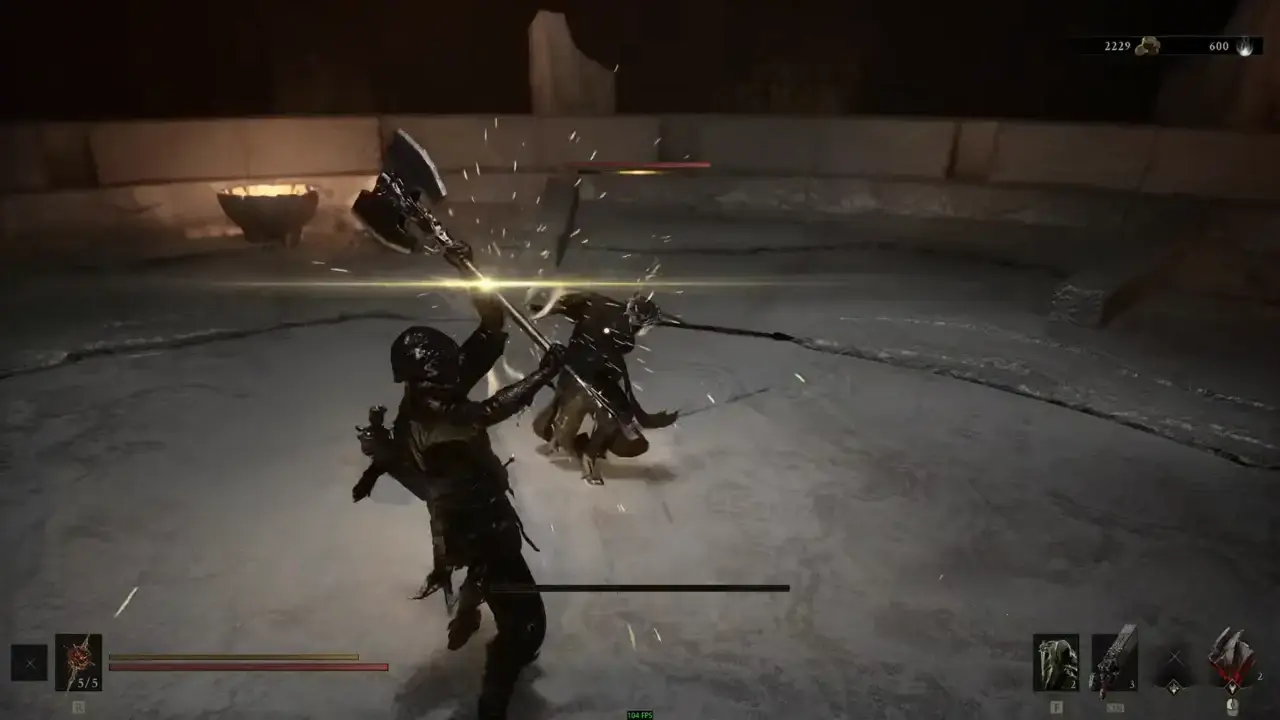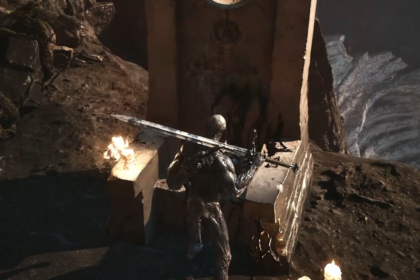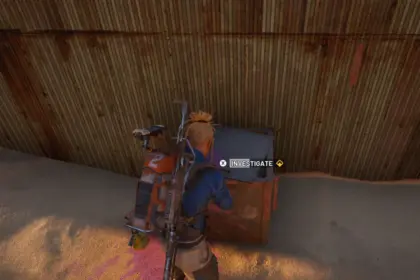
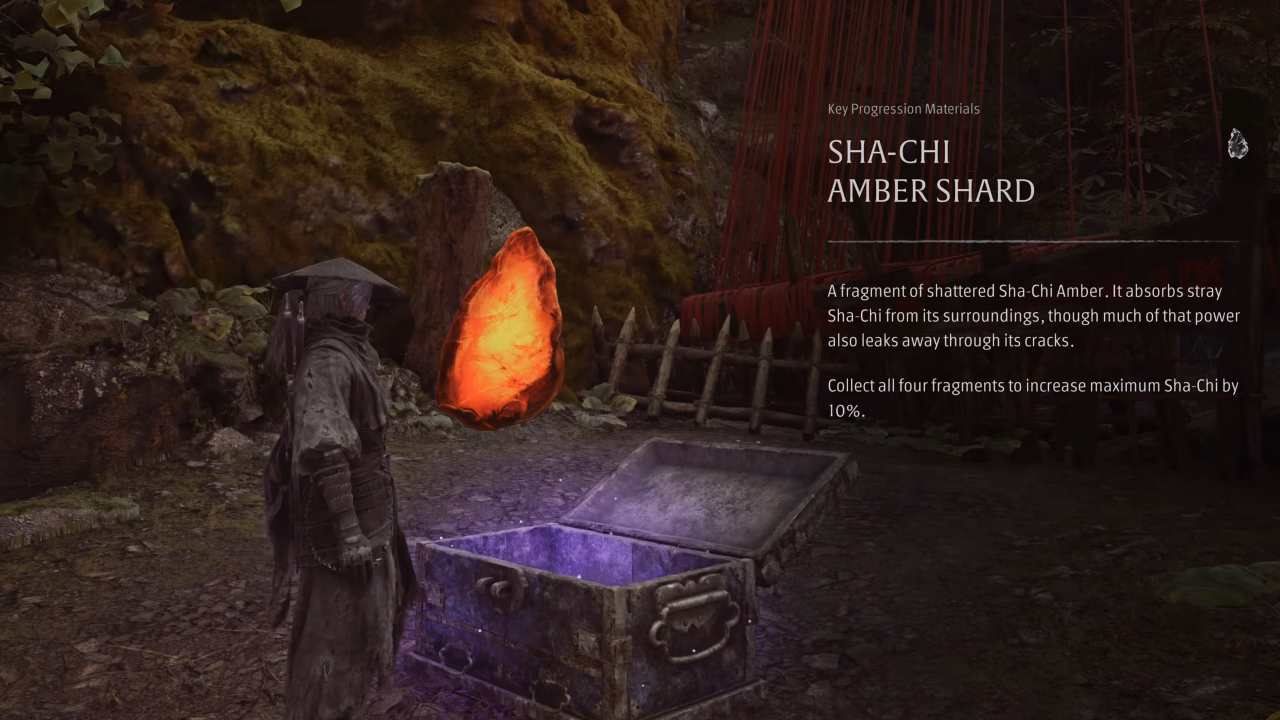
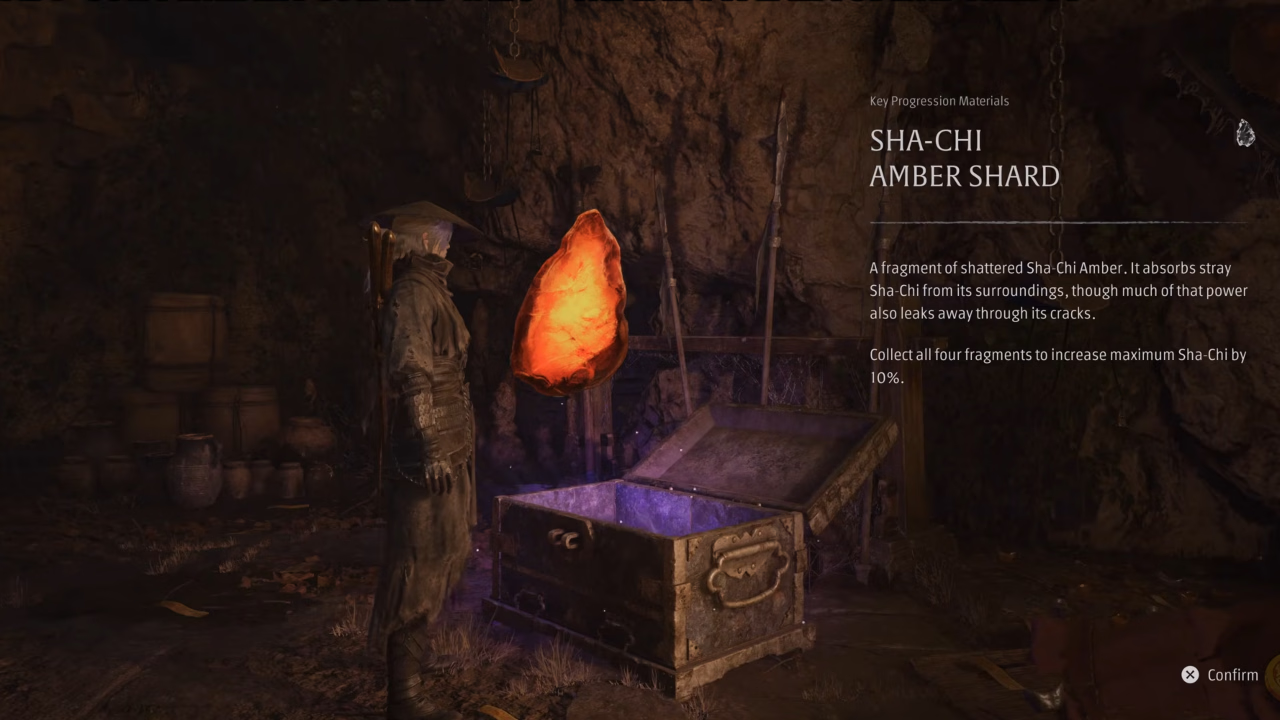
Sha-Chi is the main tactical energy pool for Soul in Phantom Blade Zero, running your weapon skills, Phantom Edge moves, and heavy deflections. You’ll need to keep your Sha-Chi meter fully charged to make it through the later fights that can happen with Sha-Chi Fragments. There are a total of 40 Sha-Chi Amber Shards you can find throughout the map. Collecting four shards fuses them into a complete Sha-Chi Amber that permanently increases Soul’s maximum Sha-Chi meter by 10%. So, if you’re looking for all Sha-Chi Ambers in Phantom Blade Zero, here are all the locations to get your hands on them in Phantom Blade Zero.
Weeping Creek Valley Sha-Chi Amber Locations
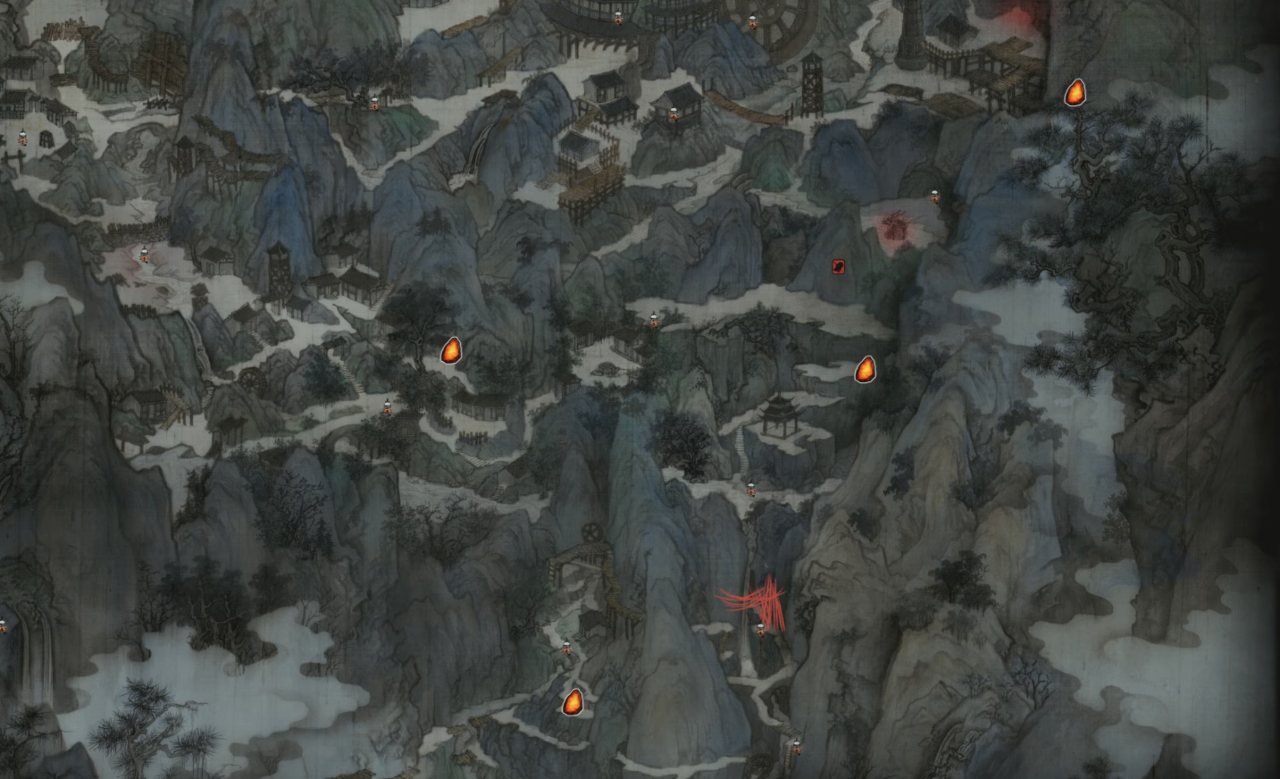
Sha-Chi Amber Shard #1 – Broken Puppet Valley
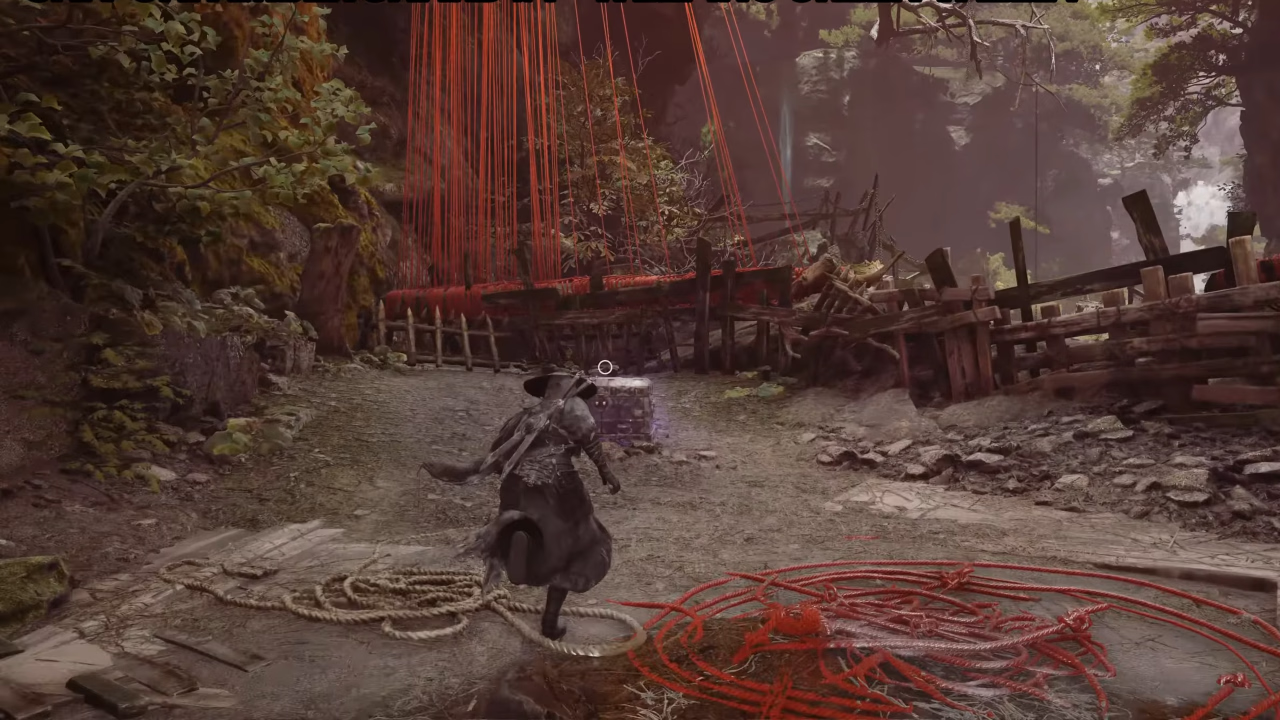
- Nearest Bell: Broken Puppet Valley Bell
- Requirement: None
From the bell, follow the road heading south down into the ravine. You will run into an enemy cluster led by a headless shield-bearer. Take down the puppet enemy to remove the red threads blocking the path, then open the purple glowing chest in the area near the threads to collect the first Sha-Chi Amber.
Sha-Chi Amber Shard #2 – Rustblade Pavilion
- Nearest Bell: Rustblade Pavilion Bell
- Requirement: None
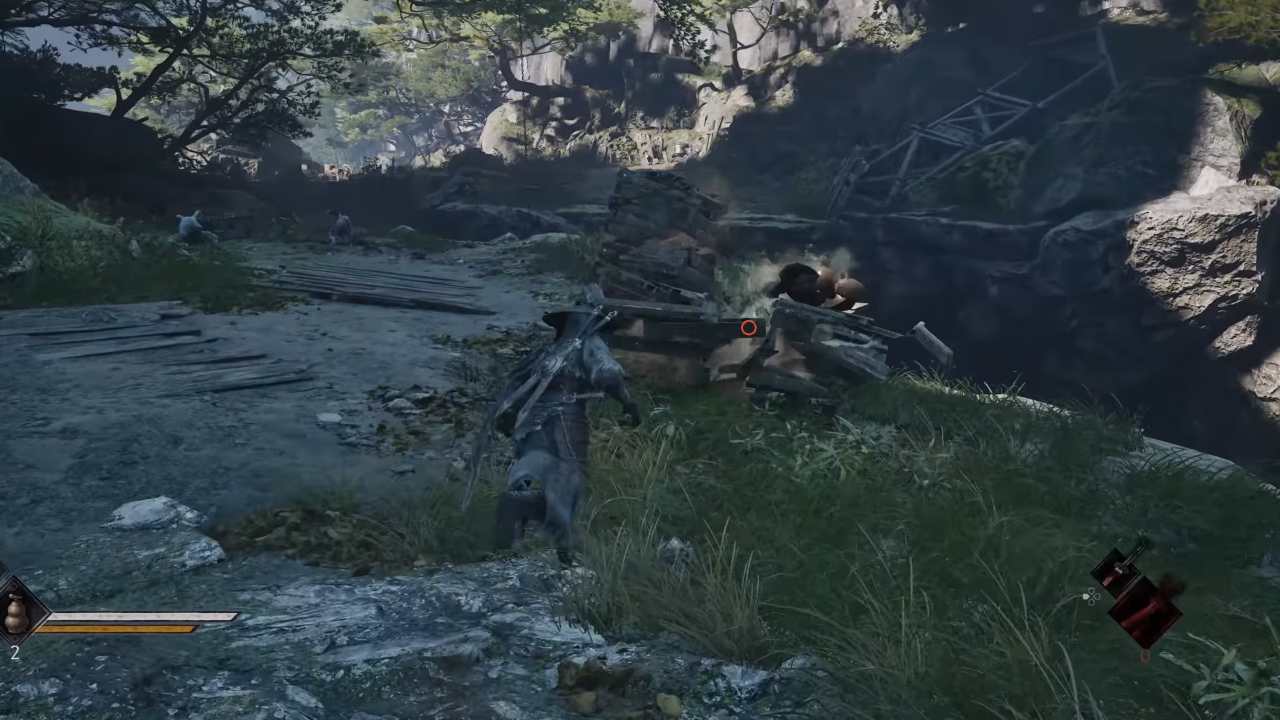
Head northeast along the main path up the staircases. Follow the trail past the wooden scaffolding and climb up the scratched rock ledges. Continue through the clearing until a group of masked Maskwalker ghouls ambushes you near stacked crates. Defeat the enemies to receive Sha-Chi Amber.
Sha-Chi Amber Shard #3 – Outpost
- Nearest Bell: Outpost Bell
- Requirement: Dread Axe Phantom Edge (obtained by defeating Peng Meng, the Axemaster)
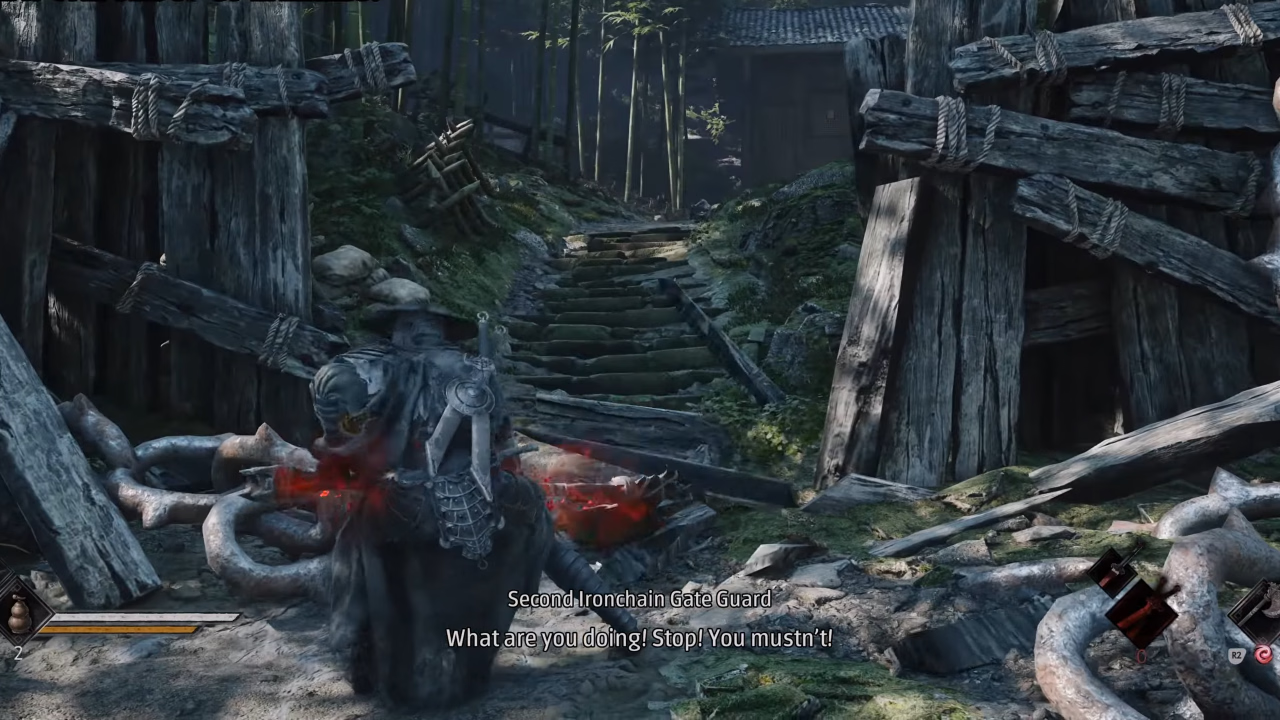
Head north from the bell to find a heavy wooden gate bound by massive iron chains. Use the Dread Axe to destroy the chain barrier to open the barricade. Walk inside and engage the Ironchain Gate Guards. Slay every enemy in the camp to receive the item from the final guard.
Sha-Chi Amber Shard #4 – Valley Sha-Chi Tower / Long Pillar Overlook
- Nearest Bell: Long Pillar Overlook Bell
- Requirement: Rusted Loong Key (found during the “Deep in the Valley” questline at the tower summit)
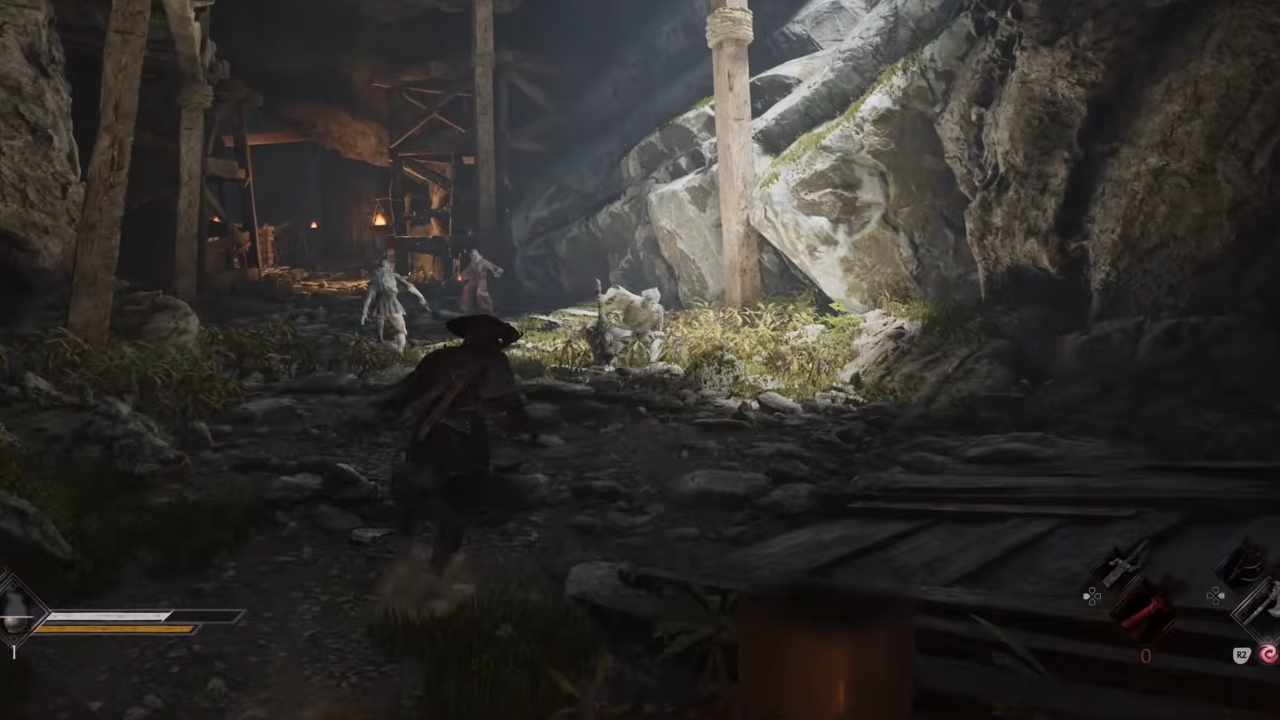
Cross the hanging bridge extending from the Long Pillar Overlook Bell and follow the mountain trail on the right. Wall-run across the gap along the rock face and continue ahead until you reach a locked iron door set into the cliff. Unlock it with the Rusted Loong Key and enter the mine caverns. Clear out the pack of ghouls lurking inside; the shard drops upon killing the last enemy.
Crimson Forest Sha-Chi Amber Locations
Sha-Chi Amber Shard #5 – Outlaw Trap
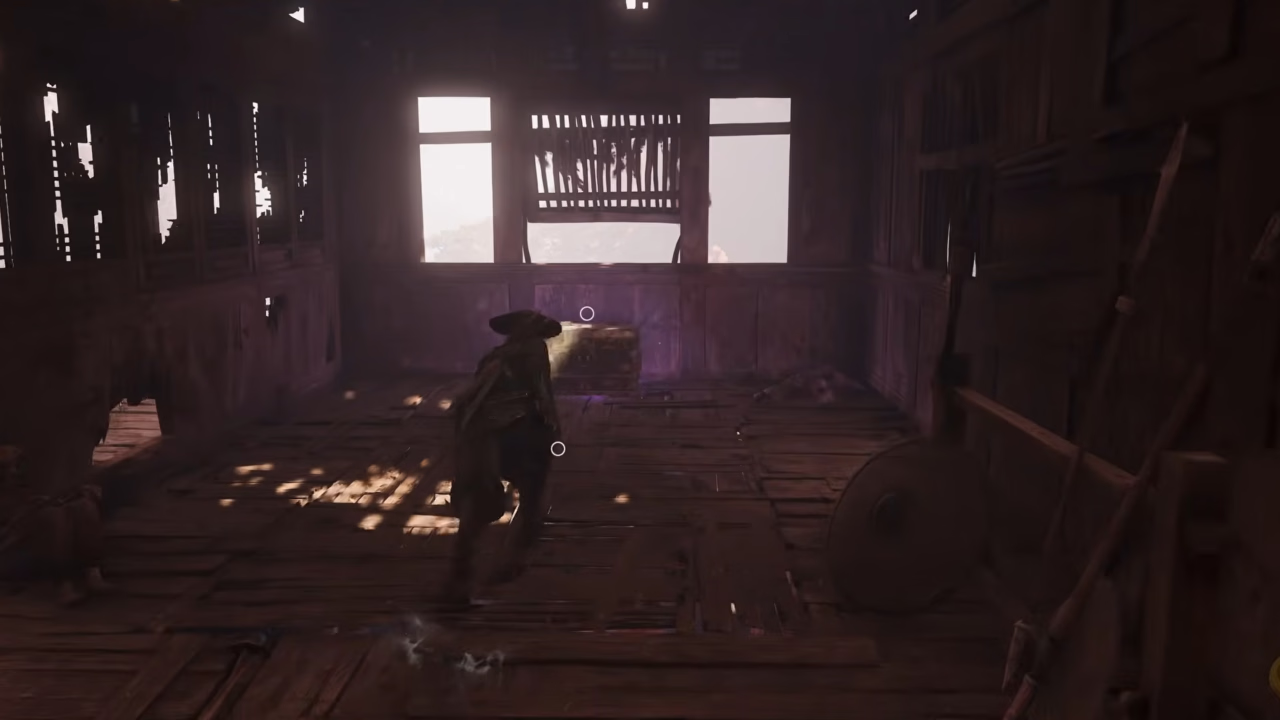
- Nearest Bell: Outlaw Trap Bell
- Requirement: None
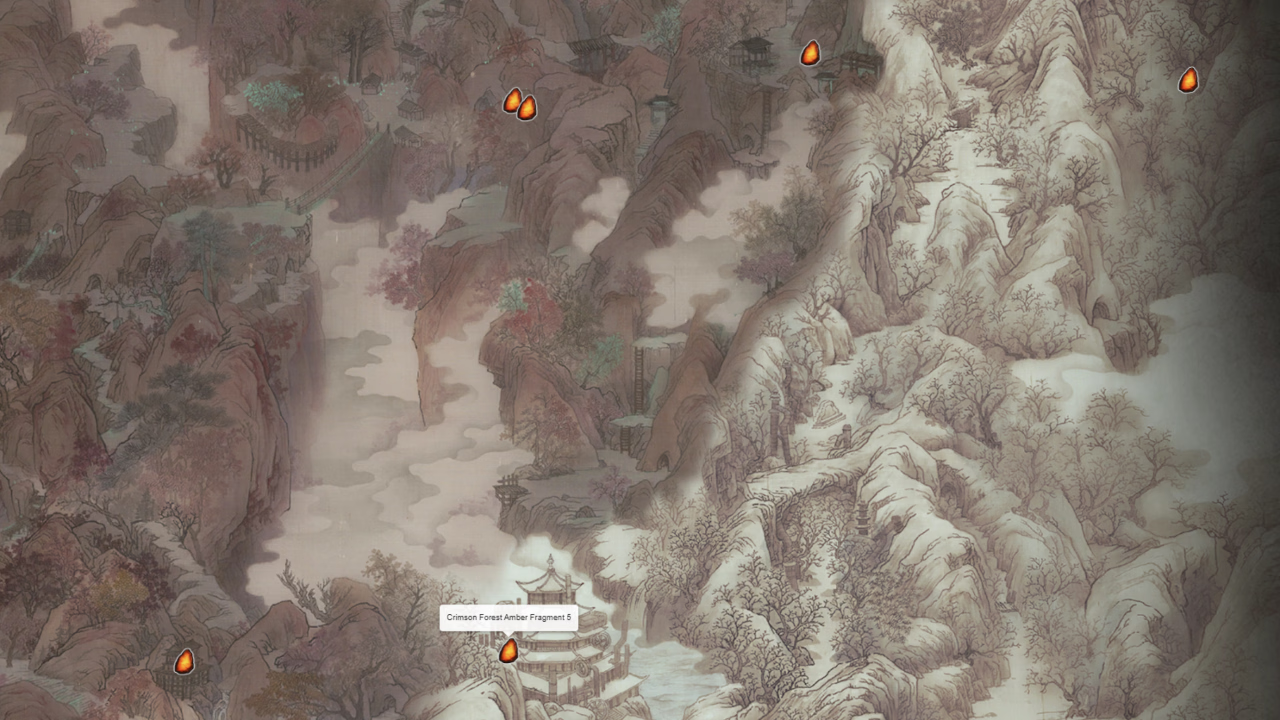
From the bell, head toward the wooden structure and drop down the opening into the tunnel below. Follow the underground path that leads to the left of the ladder until you end up in a small, abandoned building. Open the metal chest in the back right corner of the room to loot Sha-Chi Amber.
Sha-Chi Amber Shard #6 – Cliffside Lodge (Cellar)
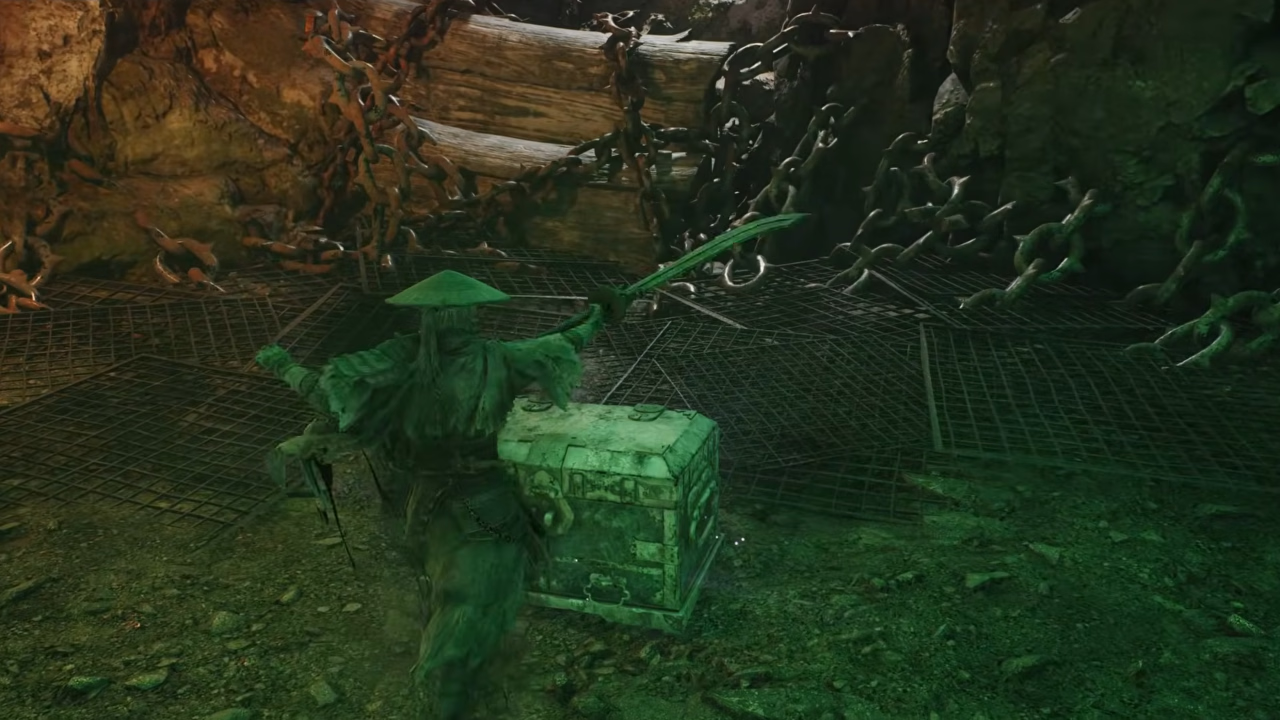
- Nearest Bell: Cliffside Lodge Bell
- Requirement: Crimson Forest Cellar Crank
At the Cliffside Lodge Bell, climb the ladder attached to the exterior of the cabin. Smash through the weak wooden wall on the upper deck to collect the Crimson Forest Cellar Crank from a glowing alcove. Drop down to the ground floor, slot the crank into the winch, and turn it to open the floor hatch into the cellar. Head into the basement, wade through the corridor filled with green poison fog to the far end, and open the chest. You’ll have to beat down a strong enemy first.
Sha-Chi Amber Shard #7 – Thieves’ Camp (Lower Level)
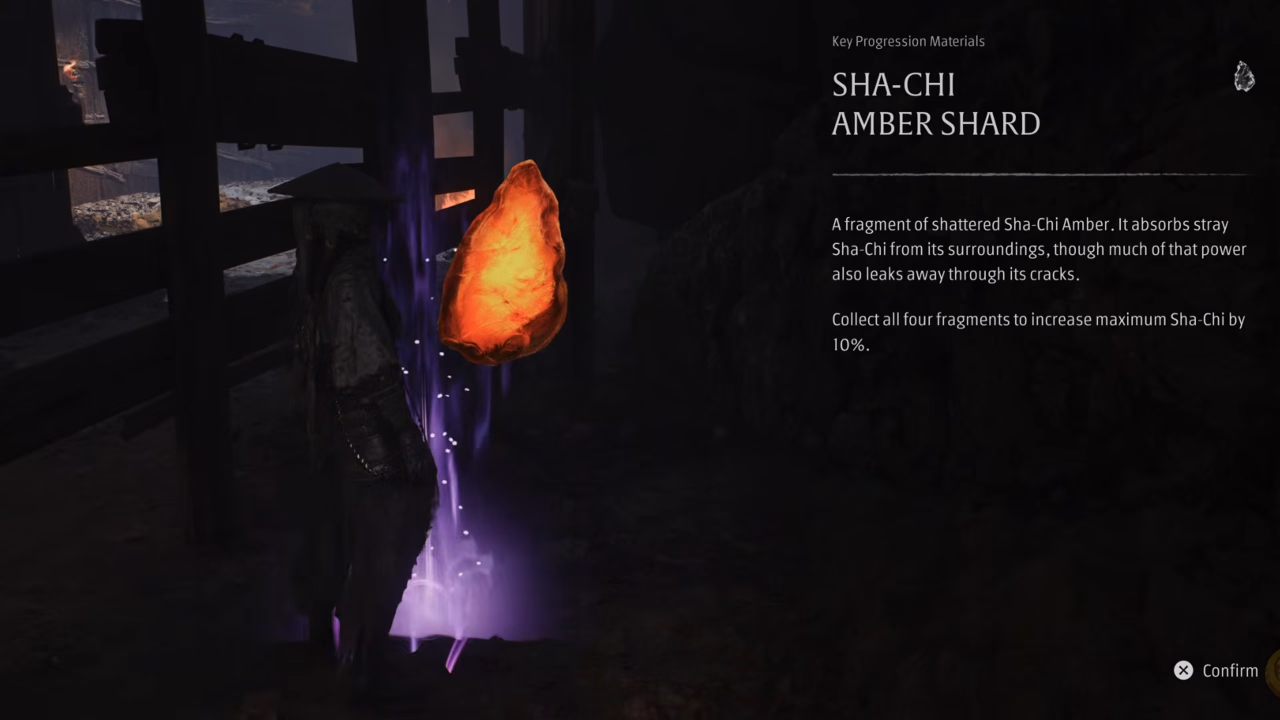
- Nearest Bell: Thieves’ Camp Bell
- Requirement: Thieves’ Camp Dungeon Key (looted from the upper wooden beams inside the Cliffside Lodge cellar)
Once you retrieve the Thieves’ Camp Dungeon Key from the Cliffside Lodge cellar, fast travel to the Thieves’ Camp. Head into the underground dungeon at the far end of the settlement. Walk down the stairs toward the campfire on the lower level and check behind the wooden palisade wall to collect the shard from the glowing purple rift.
Sha-Chi Amber Shard #8 – Thieves’ Camp (Prison Cell)
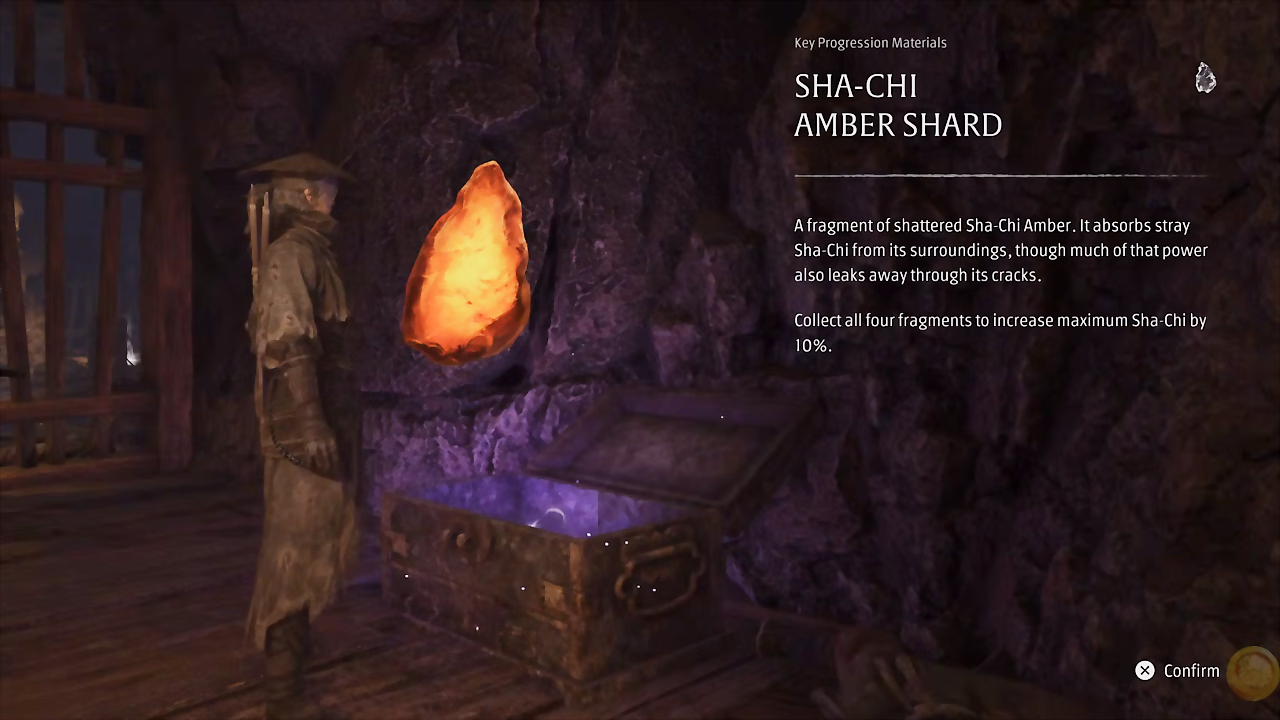
- Nearest Bell: Thieves’ Camp Bell
- Requirement: Cave Prison Key
Remain inside the Thieves’ Camp dungeon where you found Shard #7. Drop all the way down to the ground and defeat the gang of bandits and their heavy brute. The last enemy drops the Cave Prison Key. Climb the ladder back up to the elevated catwalk where two locked iron-bar cells are found. Use the Cave Prison Key to unlock the cell to the left and loot the chest inside for another piece of shard.
Sha-Chi Amber Shard #9 – Mirrorwood Depths (Snow Variant)
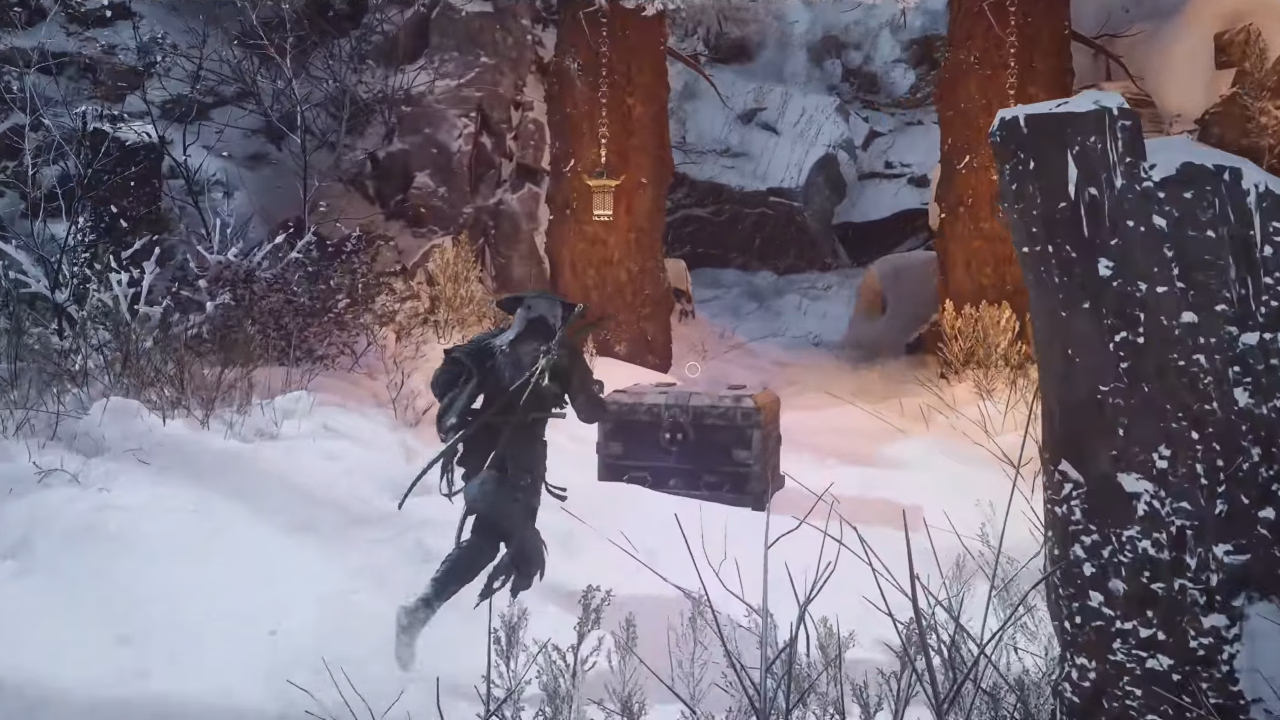
- Nearest Bell: Mirrorwood Depths Bell
- Requirement: Requires reaching Mount Soulrend (seasonal shift very late in the game when snow falls over the map)
This shard spawns only after winter arrives in Mirrorwood later in the campaign. Fast travel to the Mirrorwood Depths Bell and sprint north down the icy forest path. You’ll find the chest near two lanterns hanging from bare trees at the end of the trail.
Sha-Chi Amber Shard #10 – Crimson Forest Sha-Chi Tower Gate (Snow Variant)
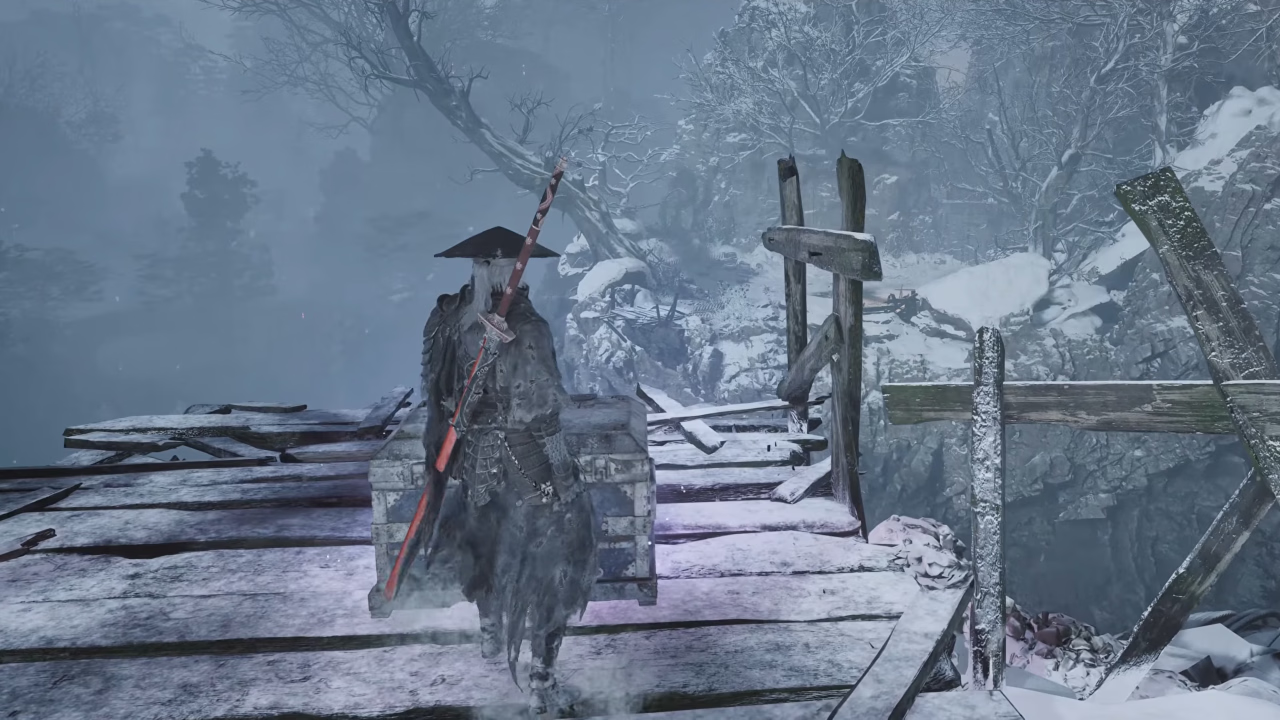
- Nearest Bell: Crimson Forest Sha-Chi Tower Gate Bell
- Requirement: Requires being in the late game when snow falls
Go to the right corridor from the tower gate bell past the pagoda gatehouse. Run across the red beam walkway and wall run the cliff to the outer broken bridge. At the dead end of this pier, open the chest to claim the Sha-Chi Amber fragment.
Village of Lu Sha-Chi Amber Locations
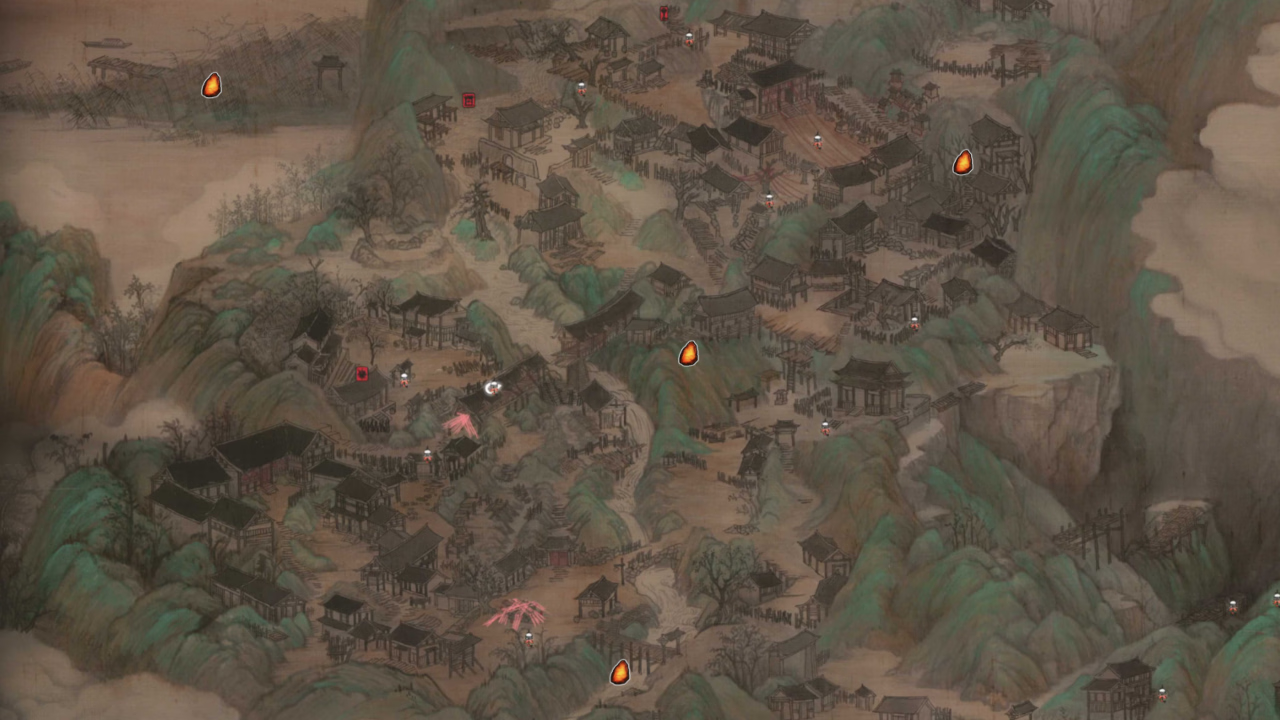
Sha-Chi Amber Shard #11 – Well of the Three Puppets
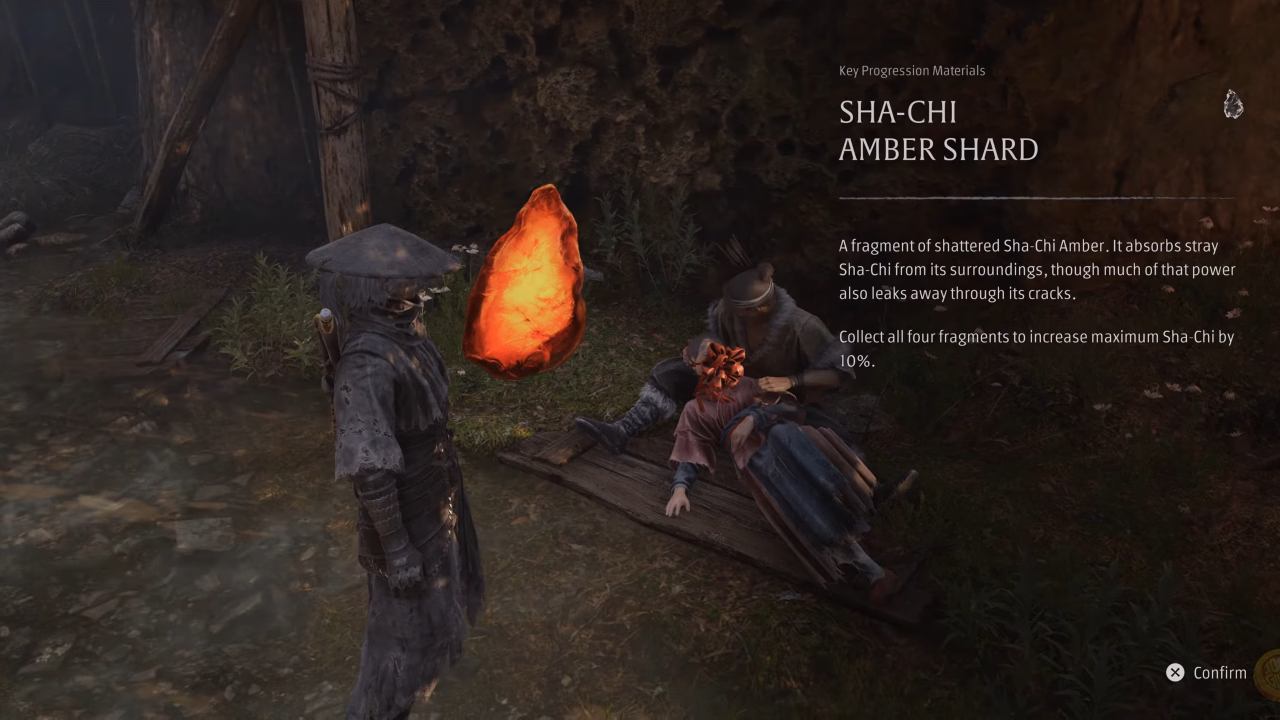
- Nearest Bell: Well of the Three Puppets Bell
- Requirement: Pick up the “Lovers’ Reunion” Memory Flower
From the bell, head down into the dried riverbed and follow the creek east. Take out the enemies in the water, grab the blue Memory Flower (“Lovers’ Reunion”), and keep going downstream until you find a man holding his dying wife. Talk to him and deliver the flower. After exhausting the dialogue and moving far away briefly, the villager succumbs beside his wife, leaving the shard on the ground.
Sha-Chi Amber Shard #12 – Covered Bridge
- Nearest Bell: Covered Bridge Bell
- Requirement: Defeat the Village Auntie ghoul
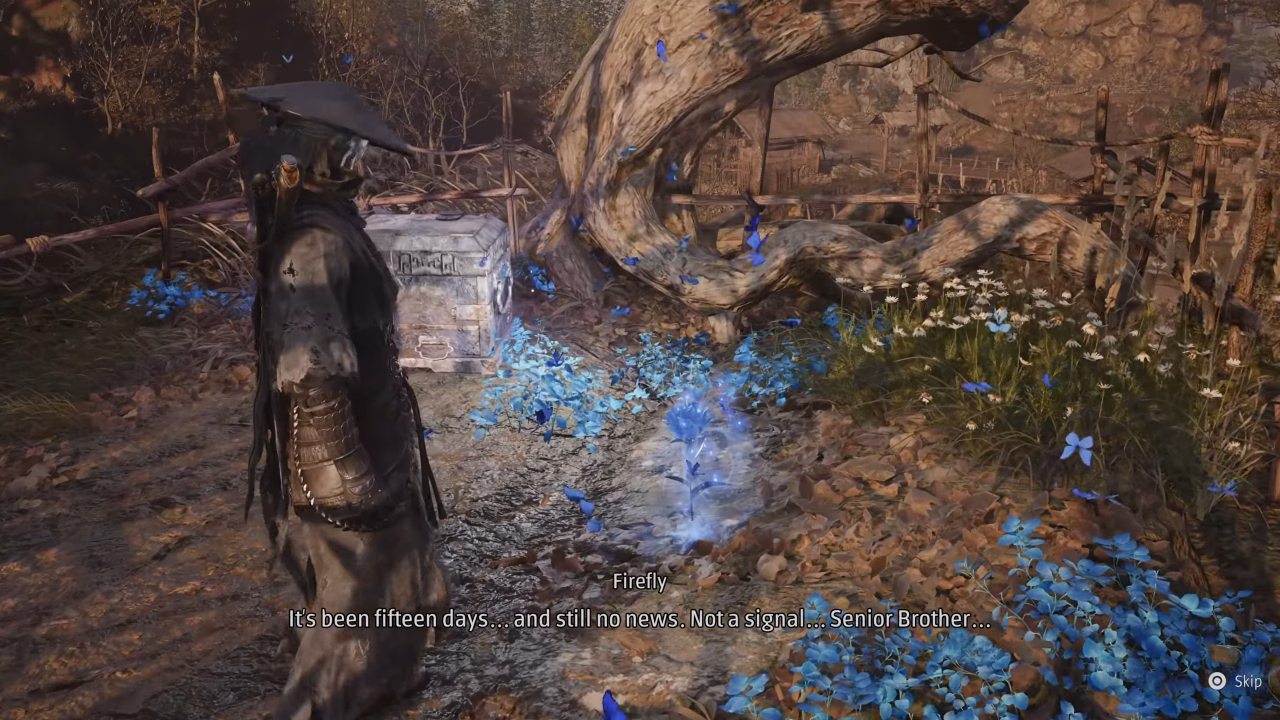
Sprint through the ruined bridge covered in red candles, drop off the right side of the wooden planks, and take the steps leading down into the garden courtyard under the bridge. Defeat the Village Auntie ghoul wandering the area. Check next to the twisted tree root surrounded by blue flowers to loot the chest for Sha-Chi Amber Shard.
Sha-Chi Amber Shard #13 – Survivor’s Courtyard
- Nearest Bell: Survivor’s Courtyard Bell
- Requirement: None
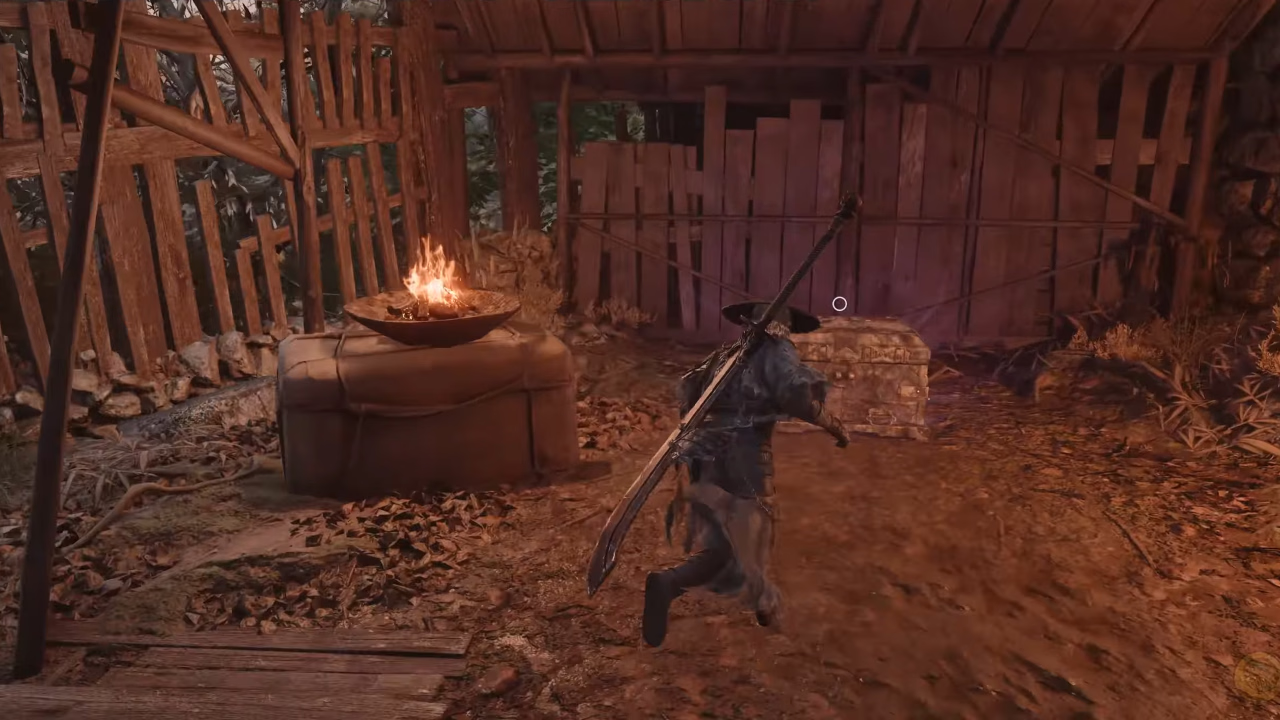
Exit the front gate of the Survivor’s Courtyard and head north up the path into the village outskirts. Follow the trail until you reach the farmhouses on the hillside. Climb the stairs of the main cabin and turn into the open storage shed on the side to find a chest next to a brazier.
Sha-Chi Amber Shard #14 – The Shallows (Missable)
- Nearest Bell: None (Post-Boss Arena)
- Requirement: Must be collected immediately after defeating Mu Xiaokui (Xiaoku)
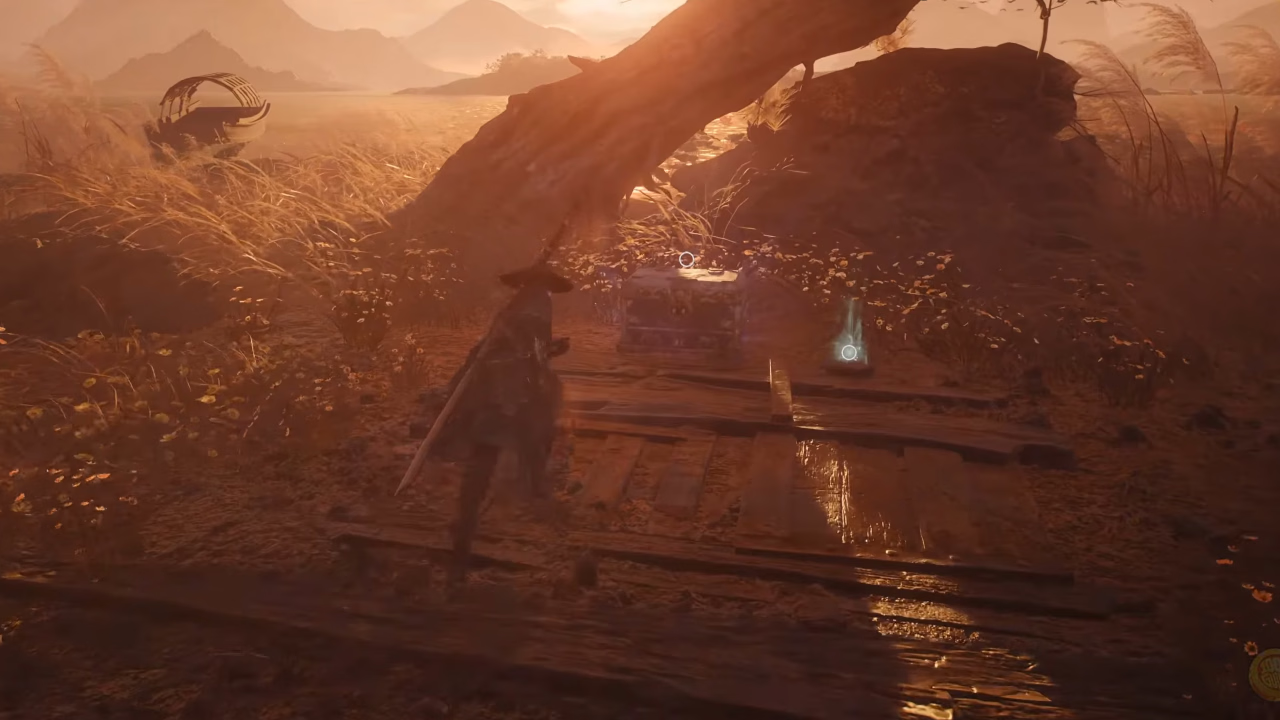
Warning: Highly Missable. This Sha-Chi Amber crystal can be found in the reed shallows where you fight Mu Xiaokui. Once you leave the arena and take the elevator back into the caverns, the lift collapses permanently and locks you out for the remainder of that playthrough. Before you exit, search near the leaning dead tree along the waterline to find the chest.
Pangzhen Sha-Chi Amber Locations
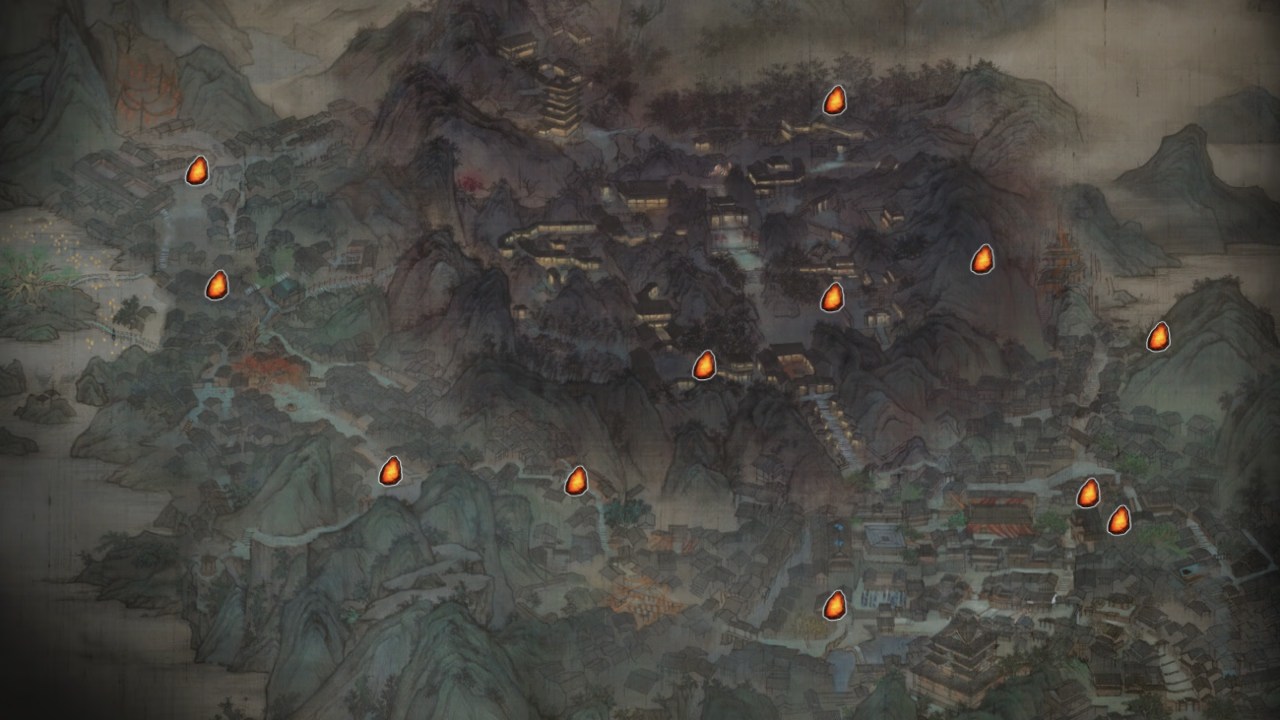
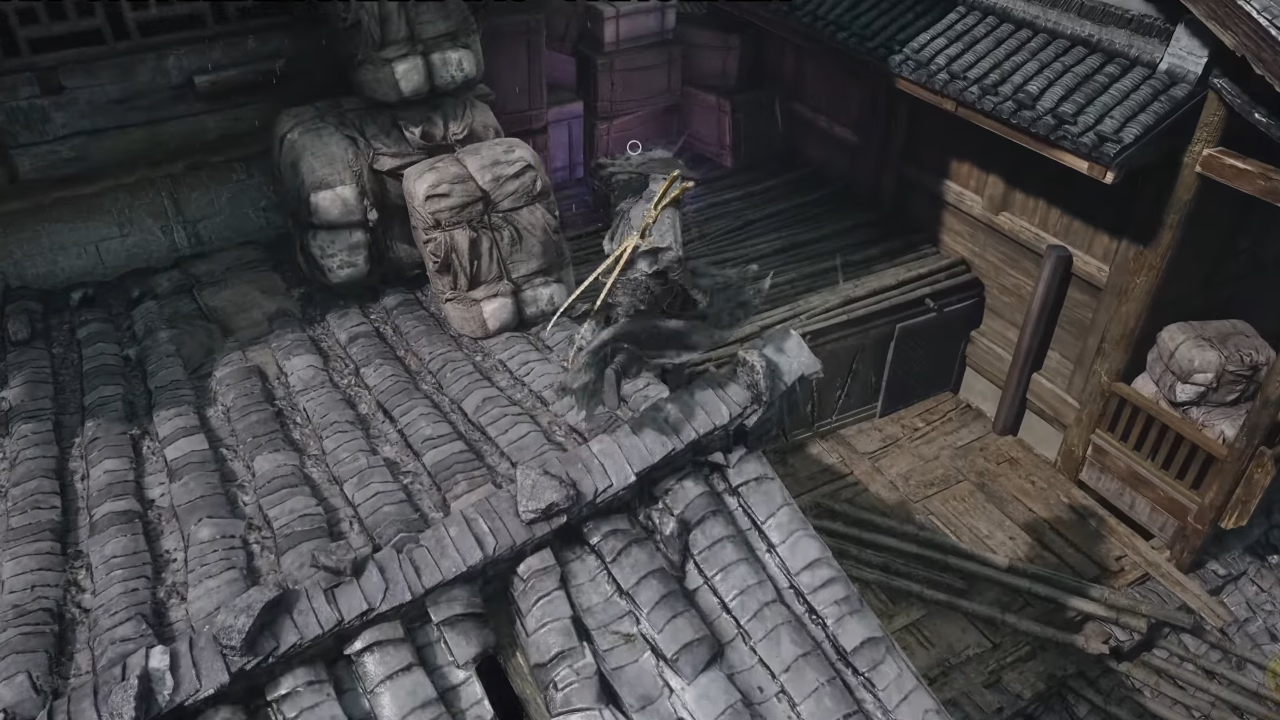
Sha-Chi Amber Shard #15 – Abandoned Wine Cellar Rooftops
- Nearest Bell: Abandoned Wine Cellar Bell
- Requirement: None
Head through the front archway and climb out the second-story window onto the tiled roof. Make your way left along the rooftop ridges until you can drop down to the covered awning below. You will find a chest in front of wooden crates.
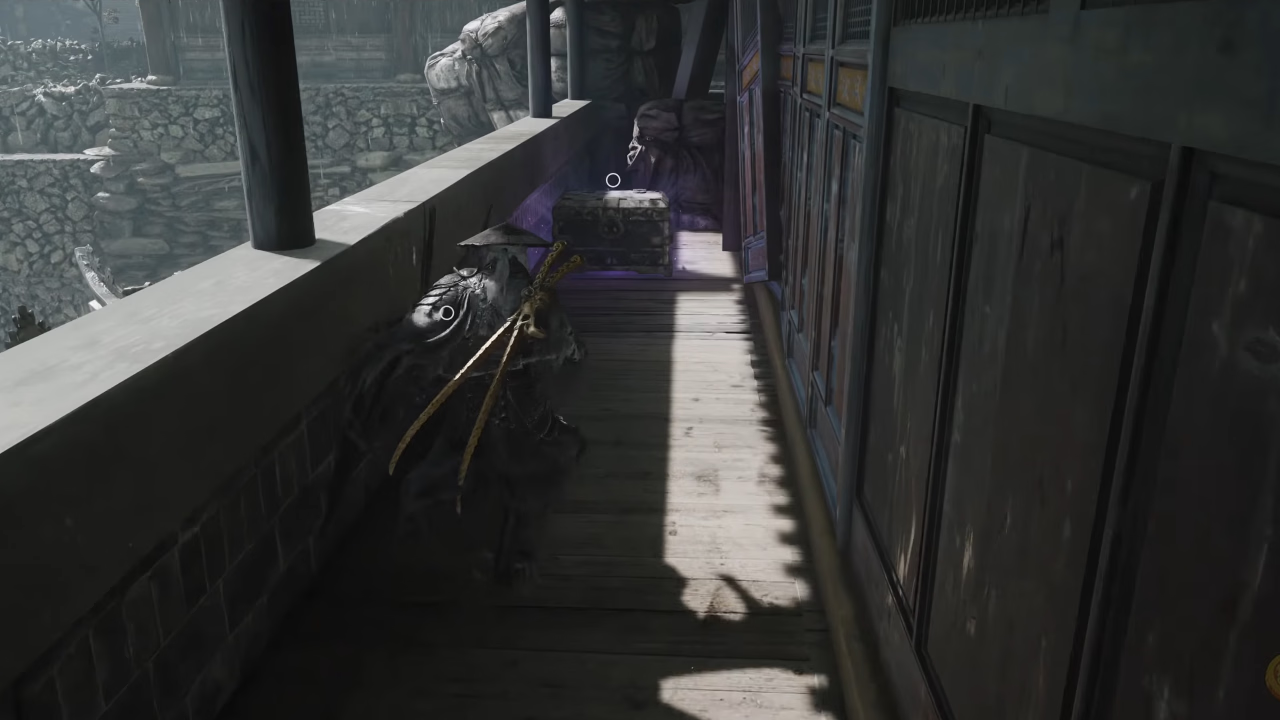
Sha-Chi Amber Shard #16 – Pavilion of Knowledge Crossroads
- Nearest Bell: Pavilion of Knowledge Crossroads Bell
- Requirement: None
From the bell, go up the large stairs lined with paper lanterns. Take a right down the corridor and look for the wooden stairs outside wrapped around the pagoda wall. Head to the second floor balcony to loot the chest by the railing.
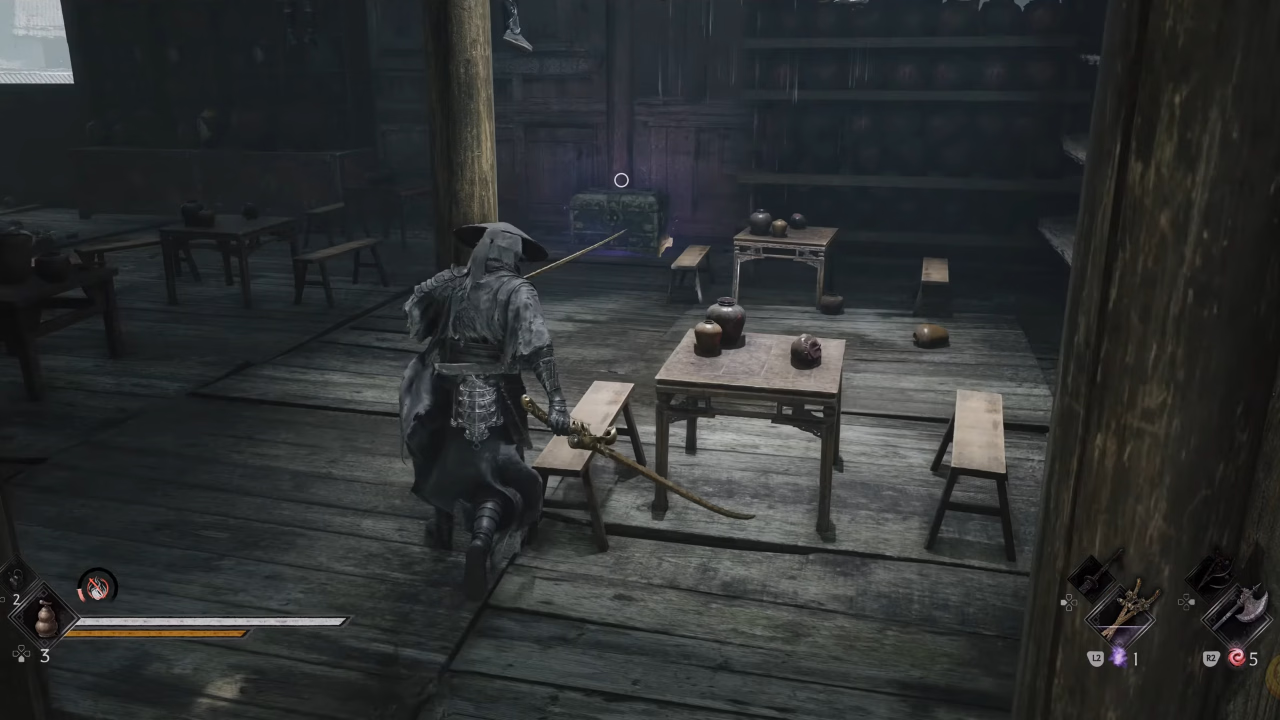
Sha-Chi Amber Shard #17 – Myst’s Tavern Rooftops
- Nearest Bell: Myst’s Tavern Bell
- Requirement: None
Move out from the back storage room of the tavern, past the clay wine jugs, and step onto the rear elevated veranda. Jump across the gap onto the roofs and drop down through the broken ceiling hole into a derelict two story building. Dispatch the thugs inside and open the chest by the back wall.
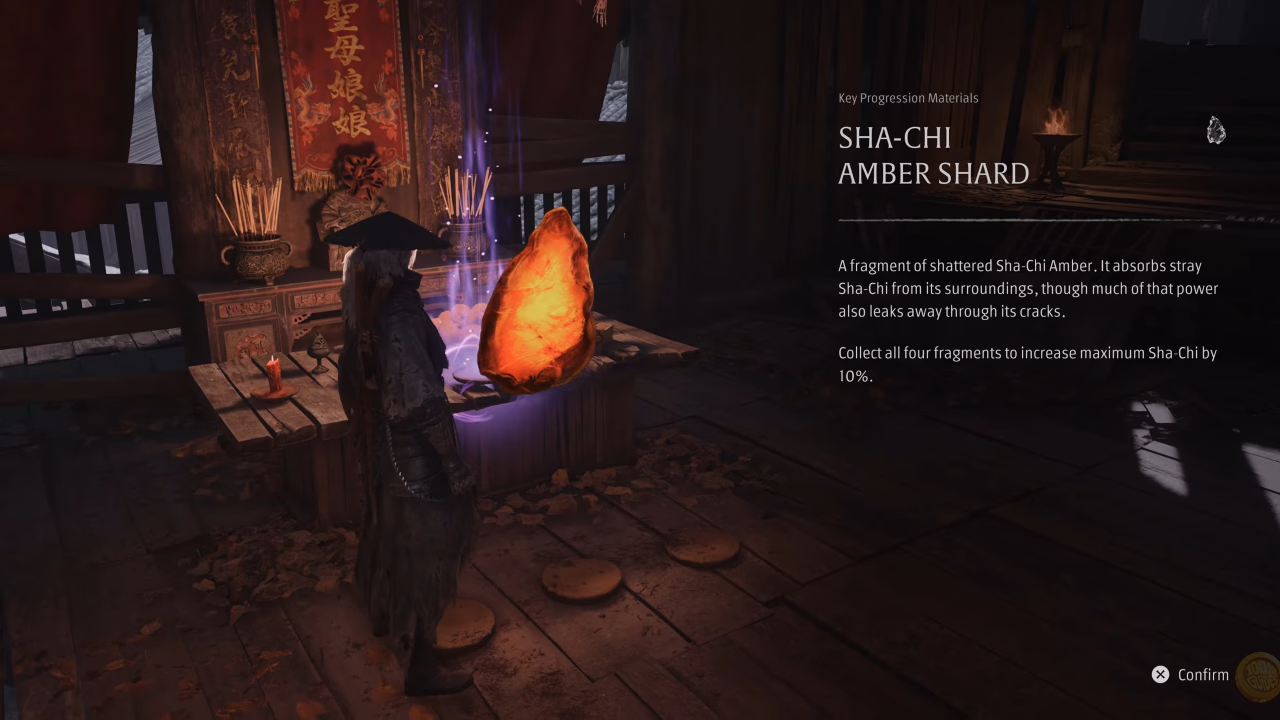
Sha-Chi Amber Shard #18 – Backstreet Rest Shrine
- Nearest Bell: Backstreet Rest Bell
- Requirement: None
Follow the main steps leading into the upper slum quarter and enter the building on the left. Slay the guards, climb the ladder to the loft, and you will spot the purple shard atop an altar table underneath a framed decorative scroll.
Sha-Chi Amber Shard #19 – Narrow Alley Residence 2nd Floor
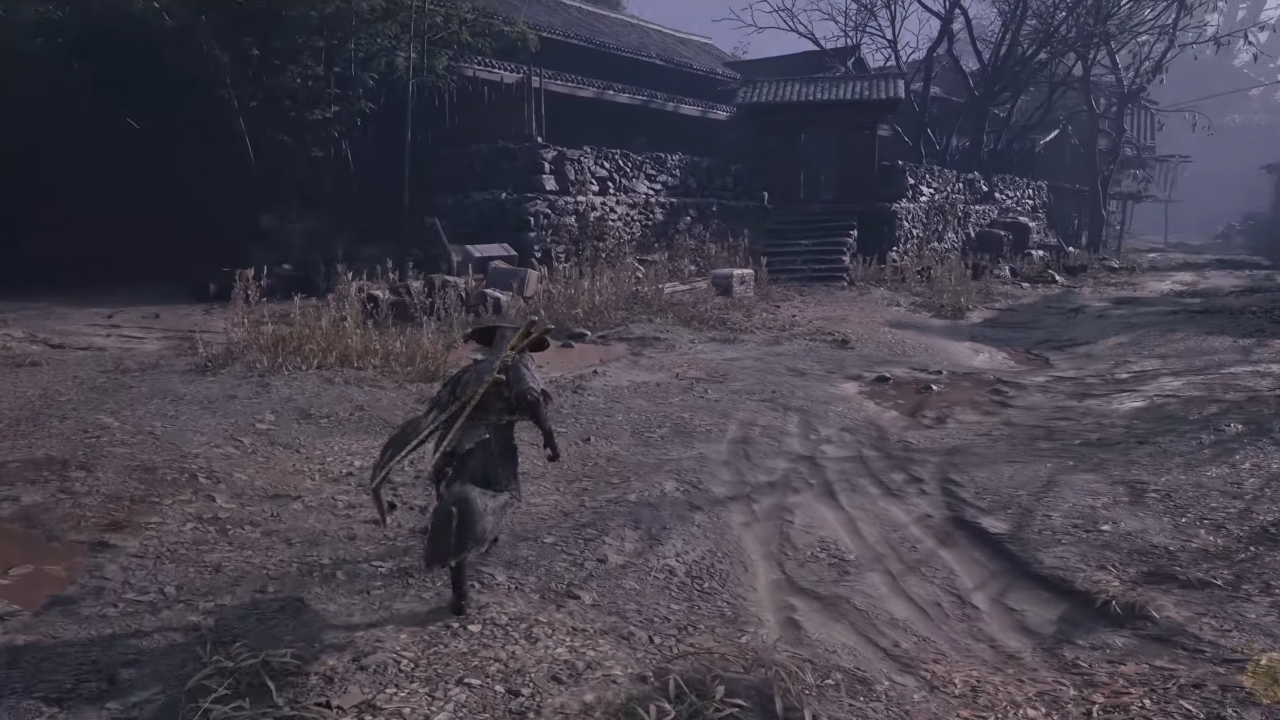
- Nearest Bell: Narrow Alley Residence 2nd Floor Bell
- Requirement: None
Leave the bell room and move out to the cliff platform. Take the zipline to slide across the gorge into the lower district street. When you land, you’ll find the chest in front beside the stone retaining walls and just before the stairs.
Sha-Chi Amber Shard #20 – Green Serpent House Banquet Hall
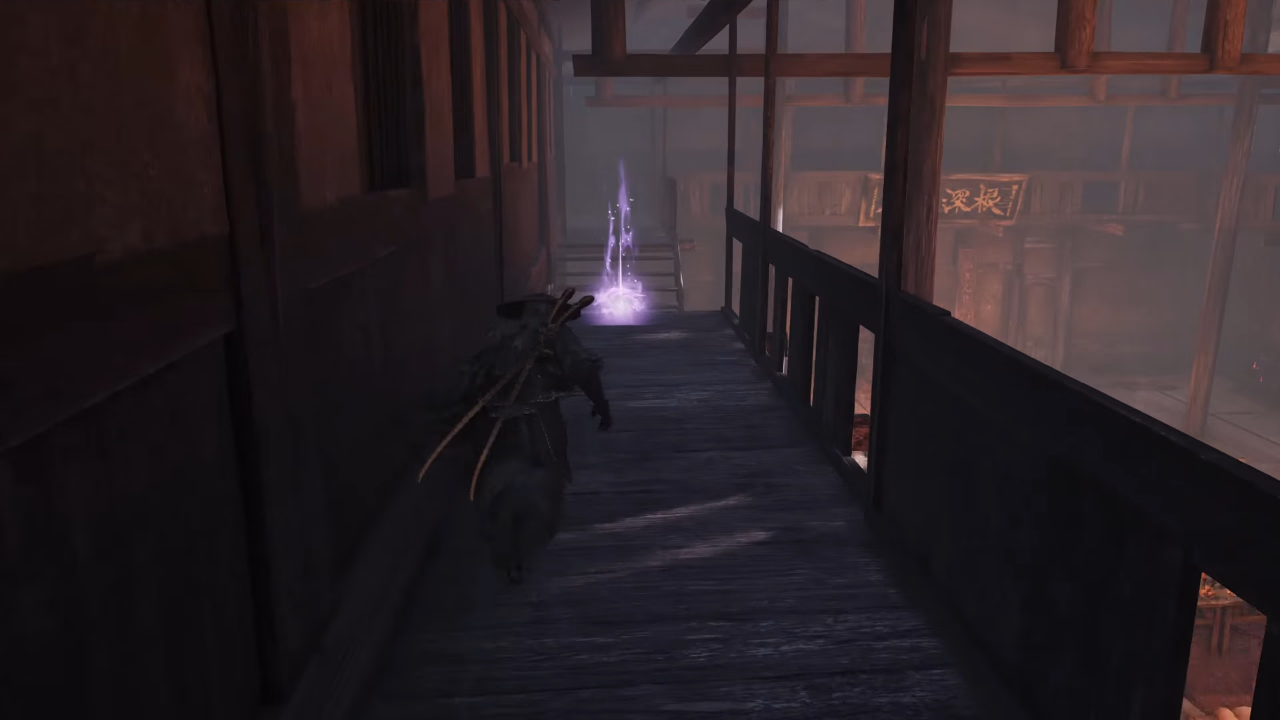
- Nearest Bell: Green Serpent House Bell
- Requirement: None
Move forward from the bell and enter the front doors of the massive banquet hall. Proceed through the dining tables and take the stairs up to the second-story walkway. Run along the upper banister toward the back of the mezzanine to collect the floating shard.
Sha-Chi Amber Shard #21 – Lion Dance Hall Depths
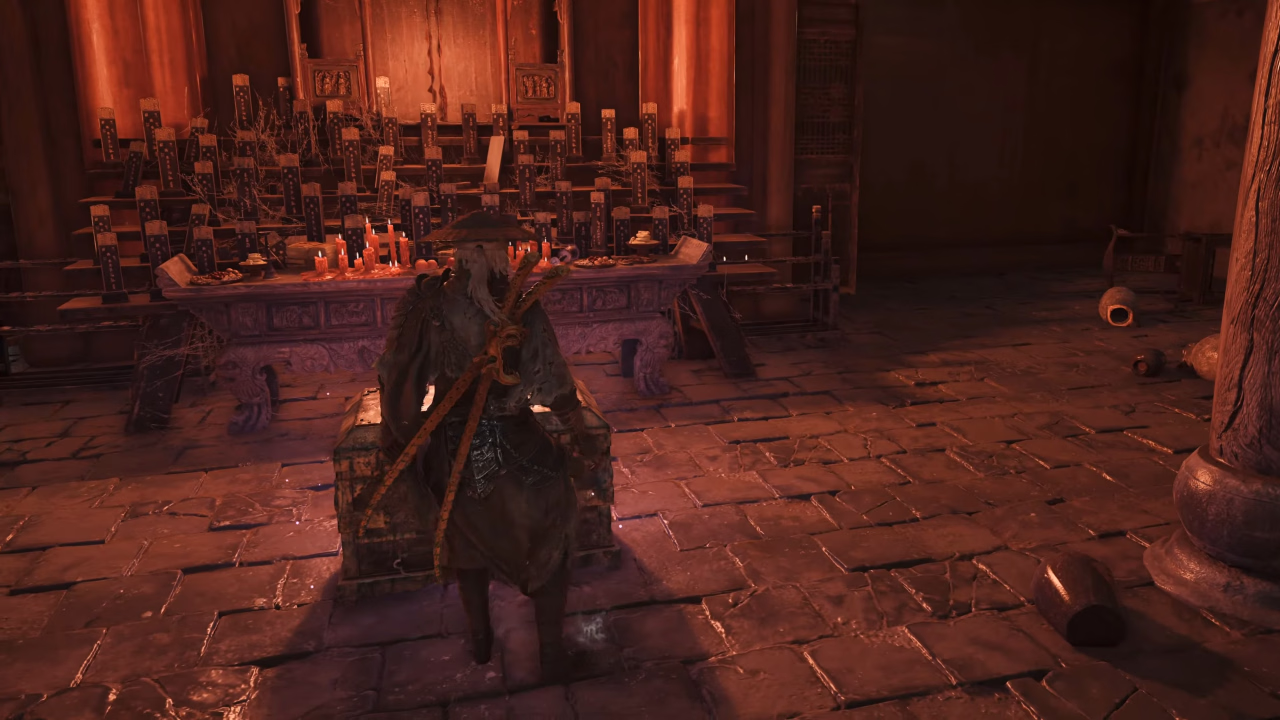
- Nearest Bell: Lion Dance Hall Depths Bell
- Requirement: Heavy Lion Gate Key (obtained through main story progression)
Unlock the large temple doors using the Heavy Lion Gate Key. Enter the temple covered in fog and move toward the main ancestral shrine at the back of the hall. The chest is found on the floor directly in front of the altar.
Sha-Chi Amber Shard #22 – Pangzhen Docks
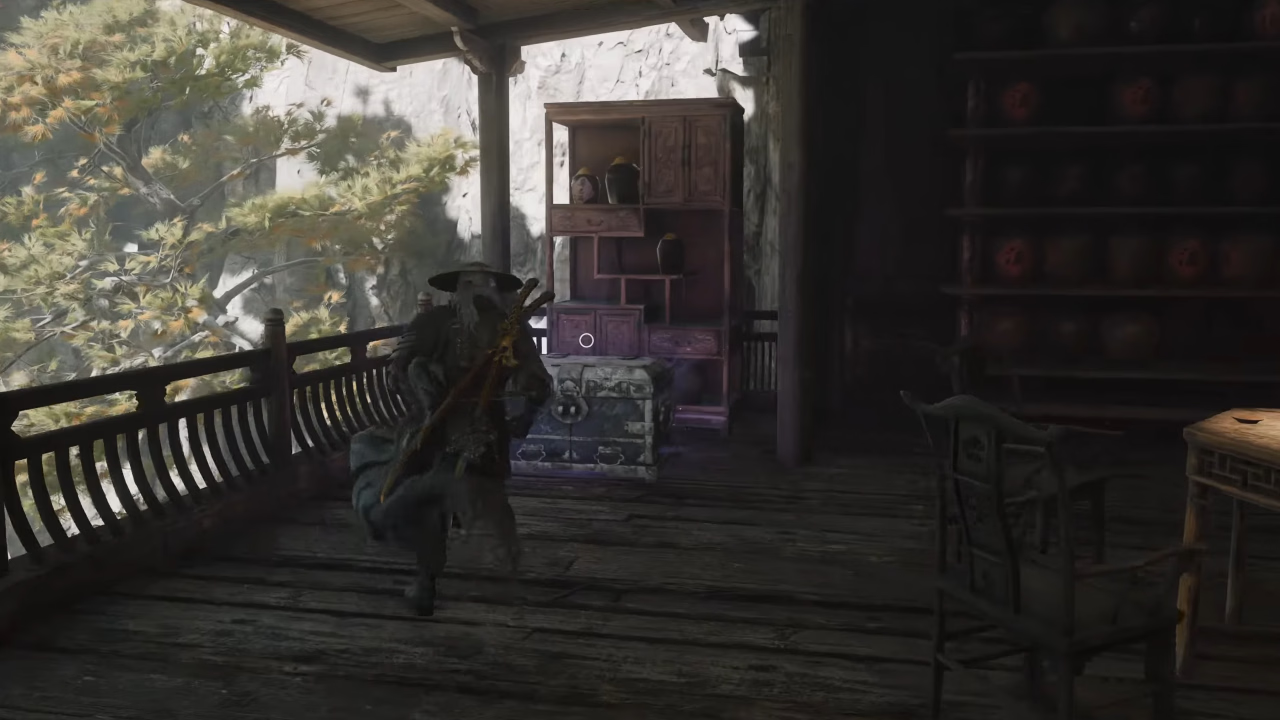
- Nearest Bell: Pangzhen Docks Bell
- Requirement: None
Follow the wide stairs away from the water and into the large multi-level tea house. Go inside and go upstairs to the breezy veranda on the second floor overlooking the water. The chest is placed near a tall wooden shelf and the balcony railing.
Meigu Lake Sha-Chi Amber Locations
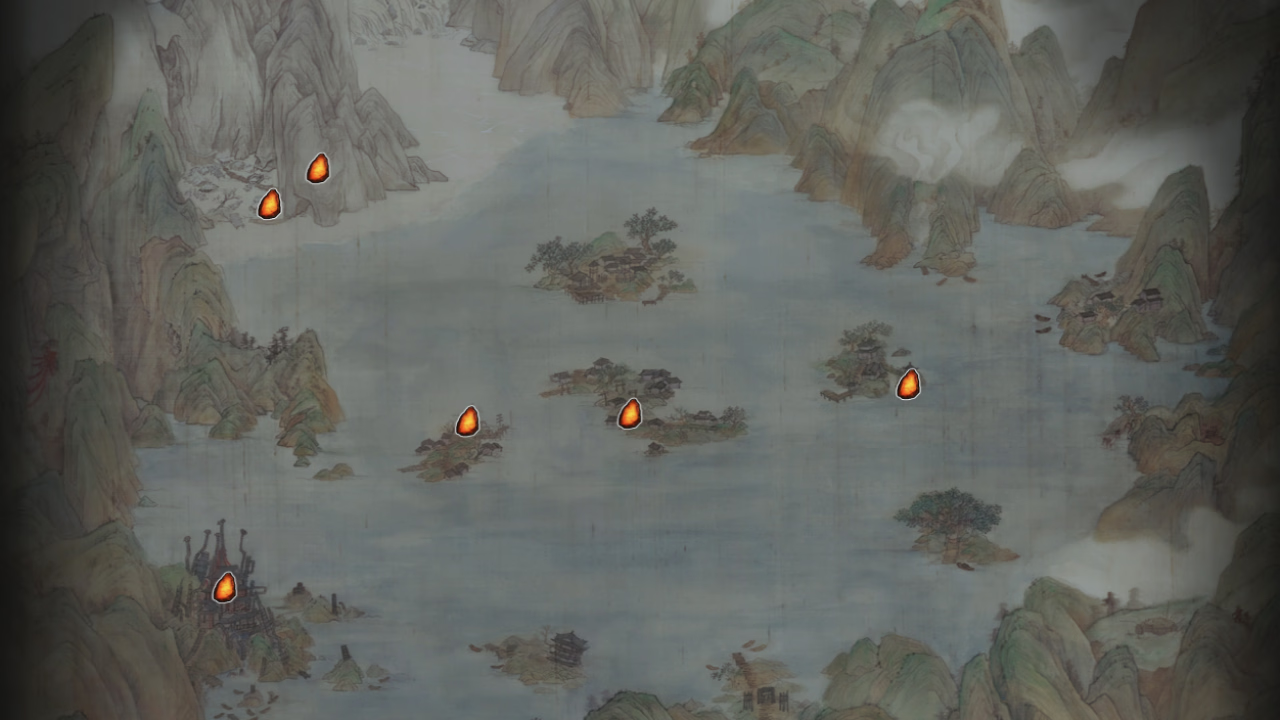
Sha-Chi Amber Shard #23 – White Serpent House Dock
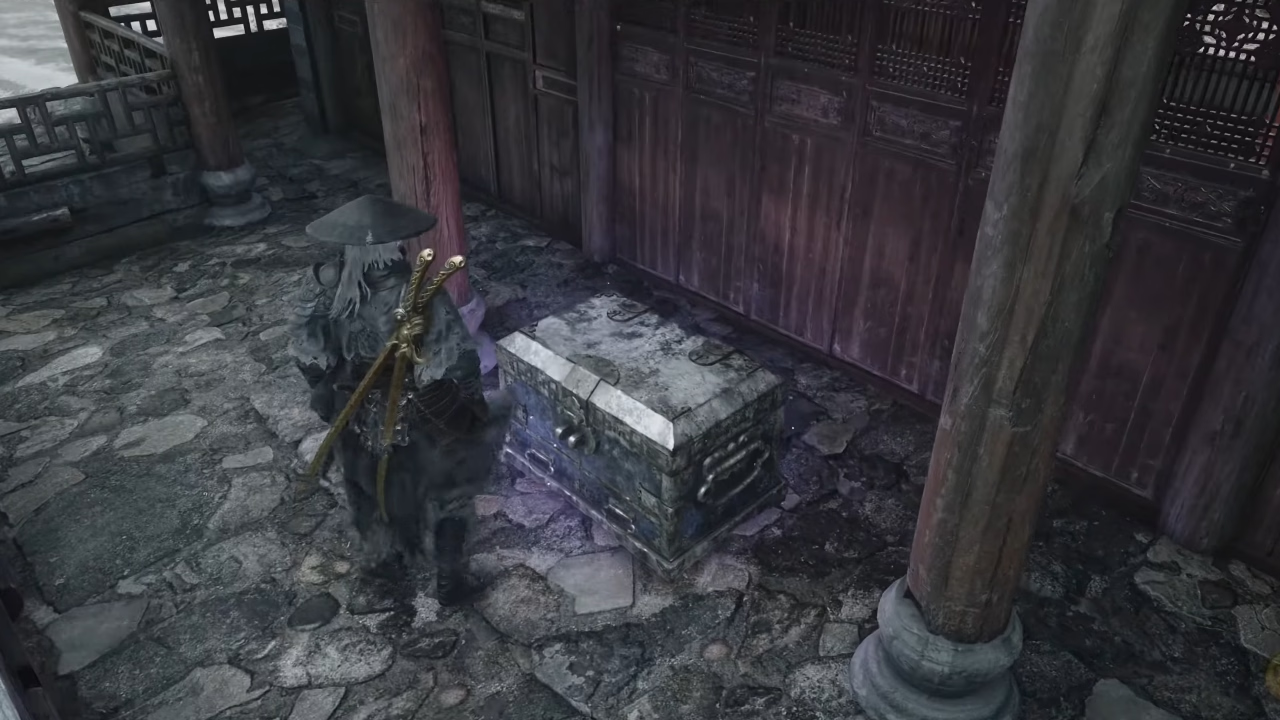
- Nearest Bell: White Serpent House Dock Bell
- Requirement: None
Walk through the front gateway into the bamboo garden and approach the main pavilion hall. Instead of going inside, circle around the deck to the left of the building to find the chest beside the wall.
Sha-Chi Amber Shard #24 – Meigu Village East Dock
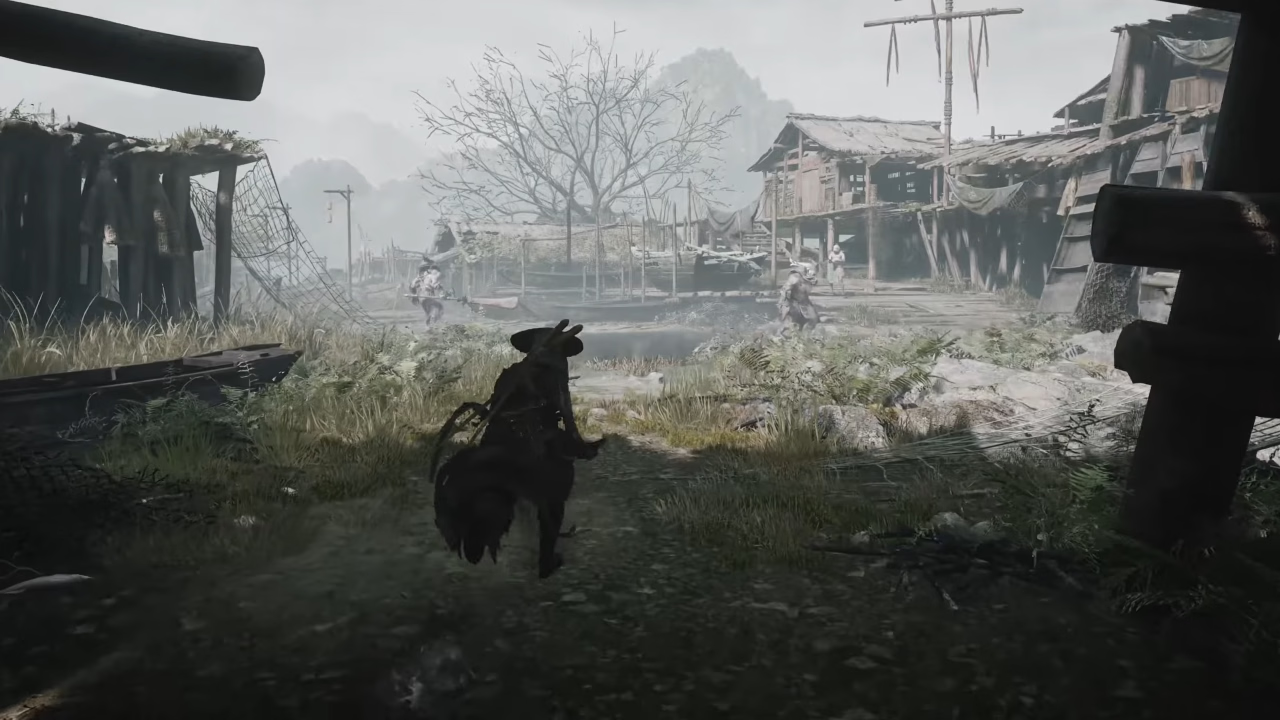
- Nearest Bell: Meigu Village East Dock Bell
- Requirement: None
Head inland from the dock piers, past the fishing shacks into the muddy clearing. A few Blackwater fishfolk enemies will be patrolling around the water and shacks. Defeat all, and the last enemy drops Sha-Chi Amber upon death.
Sha-Chi Amber Shard #25 – Zhang’s Hideout
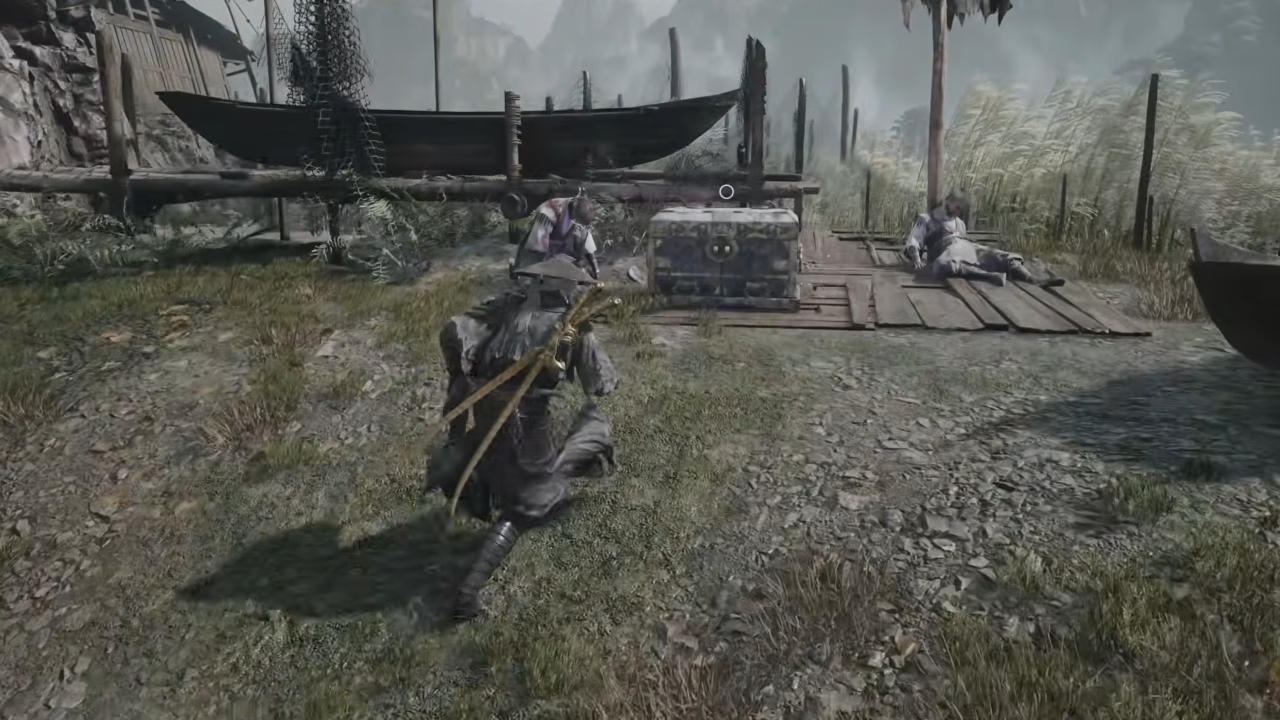
- Nearest Bell: Zhang’s Hideout (Meigu Village) Bell
- Requirement: None
Head across the wooden walkway to the beach where fishing boats are placed on shore. The chest is on the ground near the boats and a couple of dead bodies.
Sha-Chi Amber Shard #26 – Pangzhen Sha-Chi Tower Upper Level
- Nearest Bell: Pangzhen Sha-Chi Tower Upper Level Bell
- Requirement: None
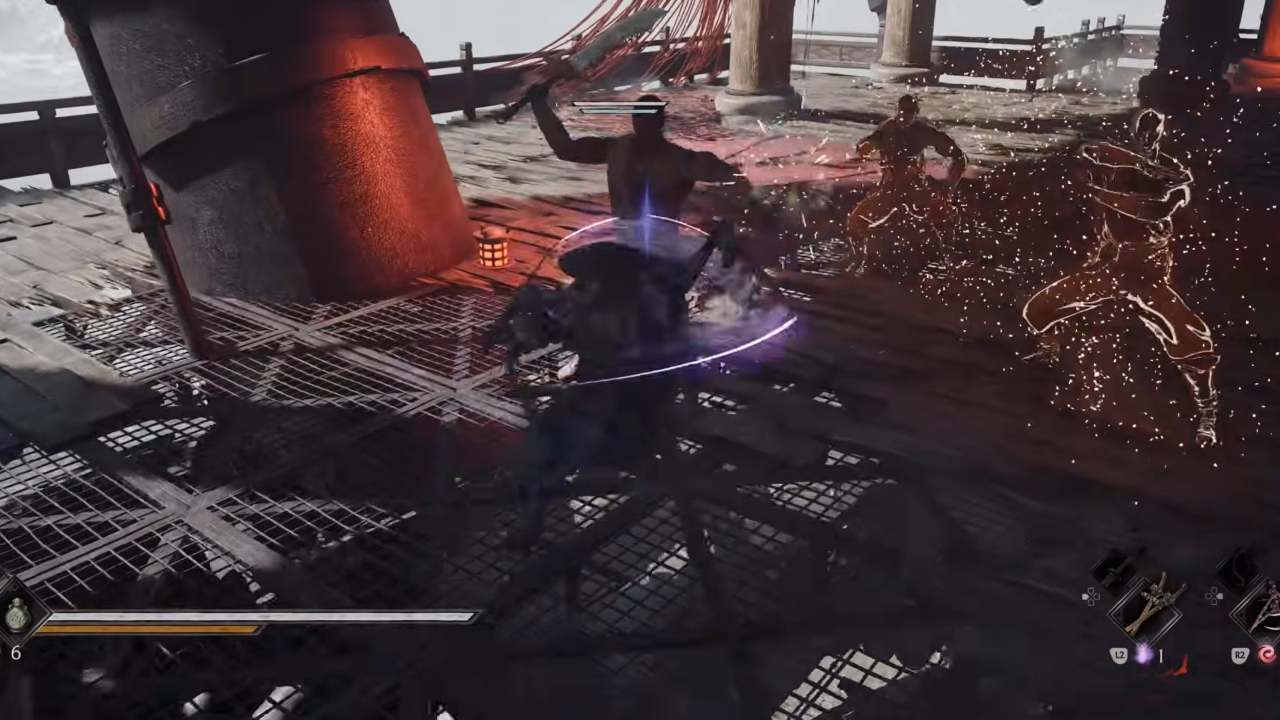
Cross the long suspension bridge leading to the large pagoda tower. Enter the tower base and take the stairs all the way up to the upper roof level. Three elite Bronze Men monks will attack. Defeat all the monks to earn Sha-Chi Amber.
Sha-Chi Amber Shard #27 – Four Guardians Mirror (Discordance Realm Fishing Village)
- Nearest Bell: Four Guardians Mirror Bell
- Requirement: Collect the four Acolyte Masks from the “Secrets at the Heart of the Lake” questline to enter the mirror
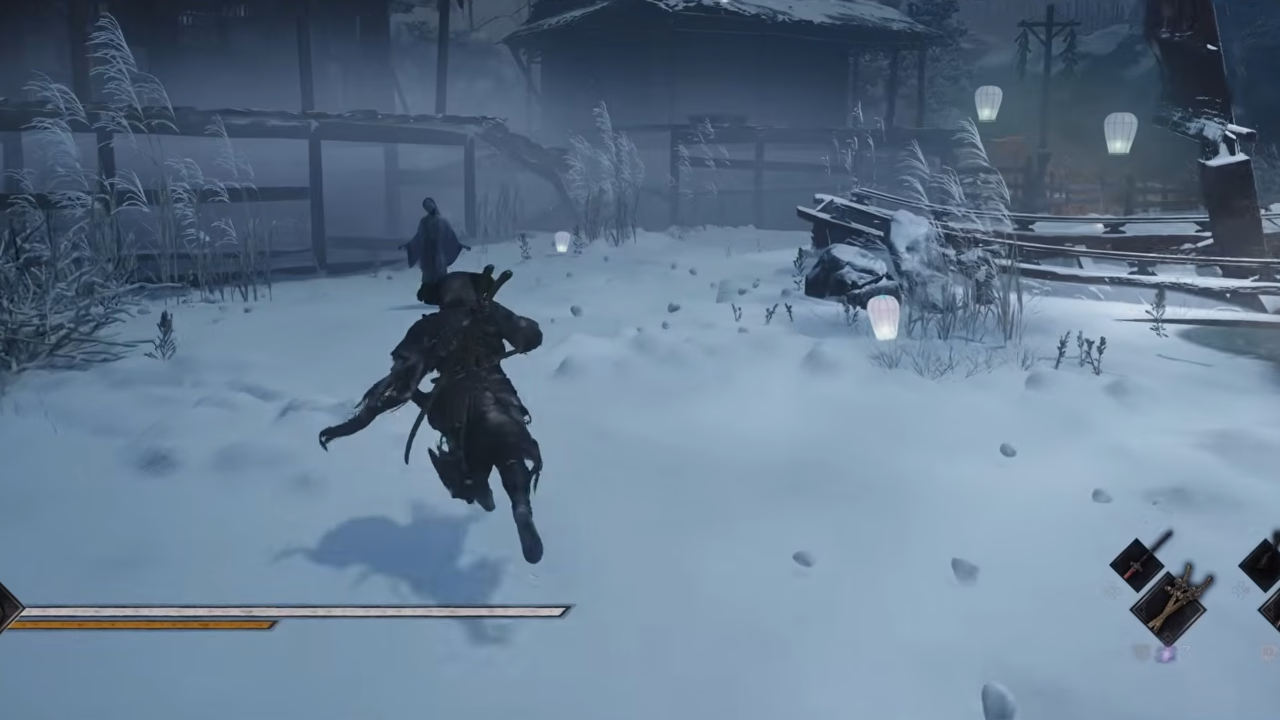
Head over to the western edge of Meigu Lake and interact with the broken mirror to teleport to the Discordance realm. From there, trudge through the snow and climb the rocky cliffs. You will need to jump across some floating platforms to reach the ruined fishing village. Defeat the phantom enemies patrolling the docks because the final one drops the Sha-Chi Amber Shard.
Sha-Chi Amber Shard #28 – Four Guardians Mirror (Discordance Realm Shipwreck)
- Nearest Bell: Four Guardians Mirror Bell
- Requirement: None (Located further inside the Discordance Realm past Shard #27)
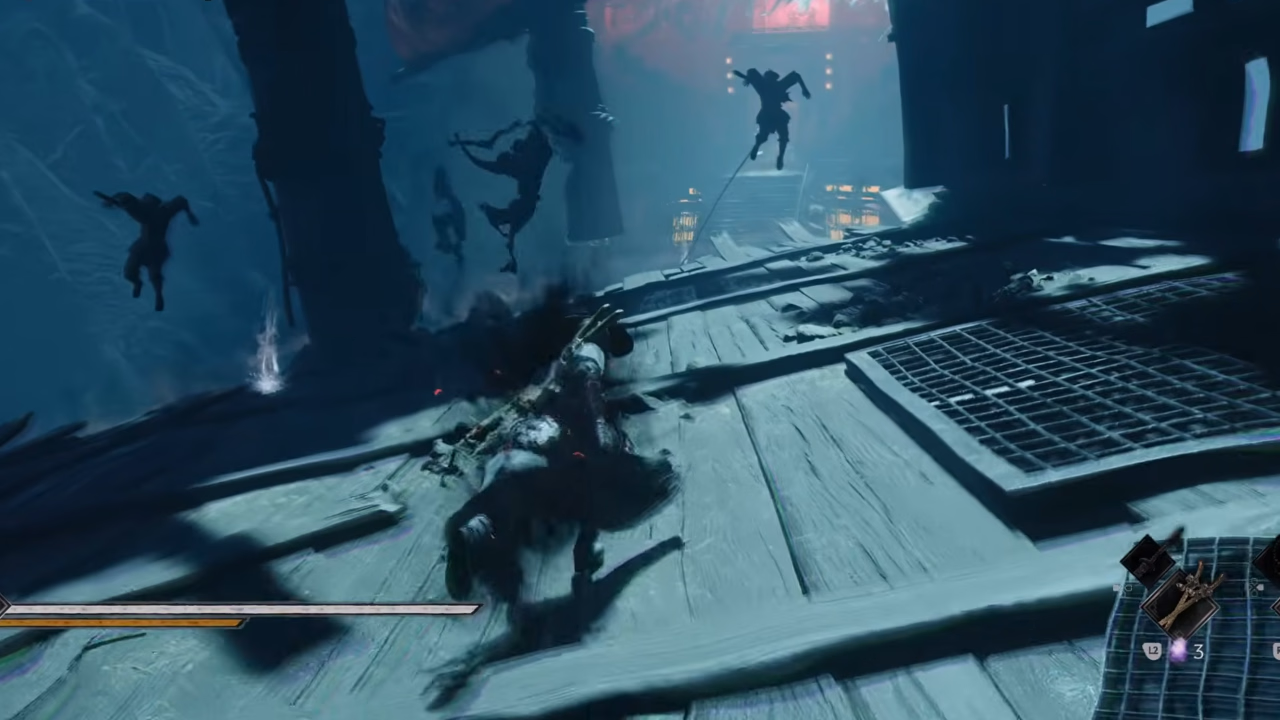
Advance further into the Discordance past the floating platforms until you come across the massive stranded galleon suspended over the void. Climb onto the main deck of the ship and defeat some flying and spectral enemies. The final enemy killed leaves behind the item.
Mandate Encampment Sha-Chi Amber Locations
Sha-Chi Amber Shard #29 – Sunset Path Barn
- Nearest Bell: Sunset Path Bell
- Requirement: Bashpole Phantom Edge
Go east down the path from the bell until you find an isolated wooden barn. Get inside to the center of the floorboards and use the Bashpole Phantom Edge to break the floor. Drop into the hidden subterranean below to access the chest.
Sha-Chi Amber Shard #30 – Dovecote
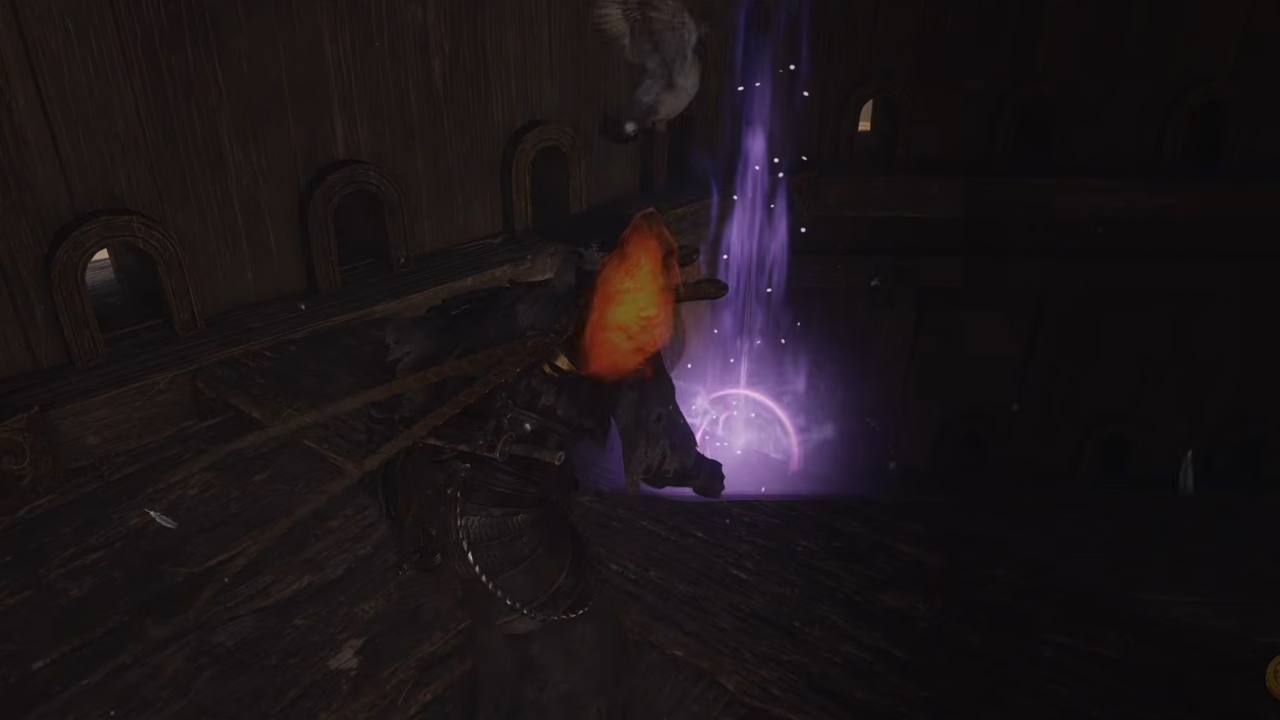
- Nearest Bell: Dovecote Bell
- Requirement: None
Enter the Dovecote tower and head up the ladder to the middle platform. Step through the door onto the exterior wooden rim and climb the next ladder. Squeeze through the opening into the top loft rafters to pick the floating purple shard.
Sha-Chi Amber Shard #31 – Path of the Baishan’s Fall
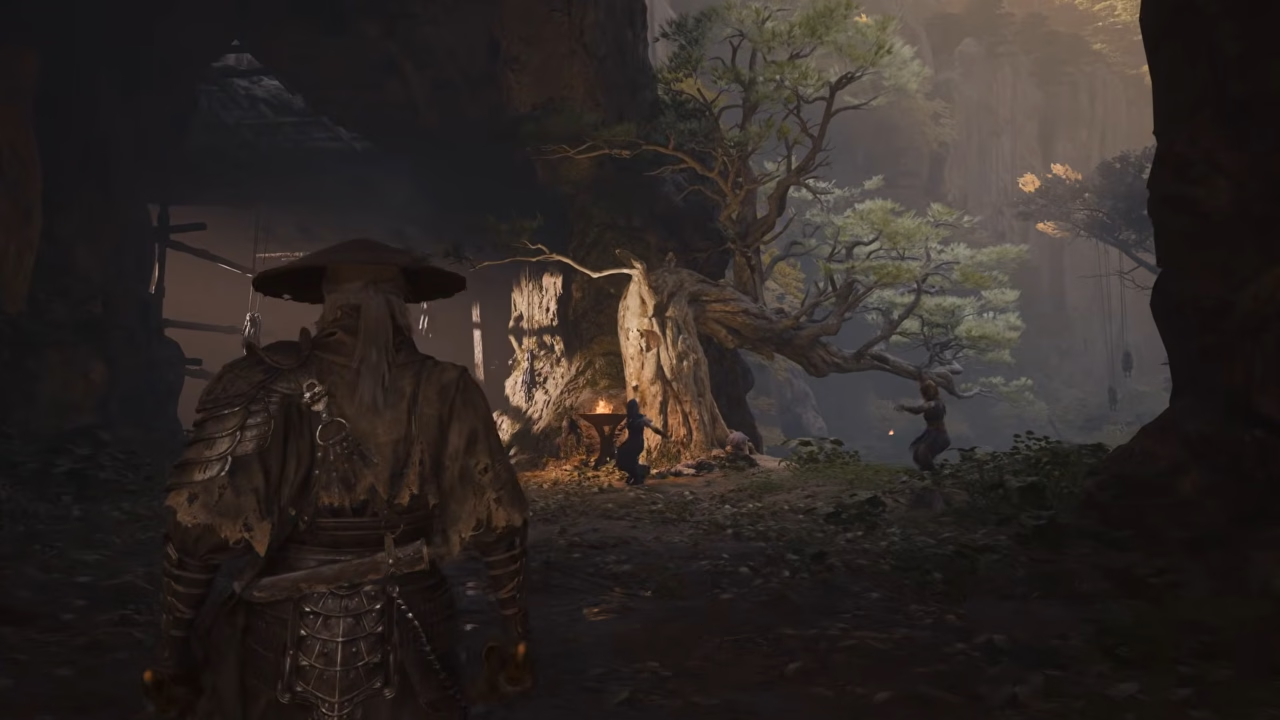
- Nearest Bell: Path of the Baishan’s Fall Bell
- Requirement: None
Follow the cave out into the mist-filled clearing under the large gnarled trees. Some Mandate soldiers will attack on sight. Eliminate the group, and they drop the item.
Sha-Chi Amber Shard #32 – Behind the Encampment Waterfall / Moji’s Backyard
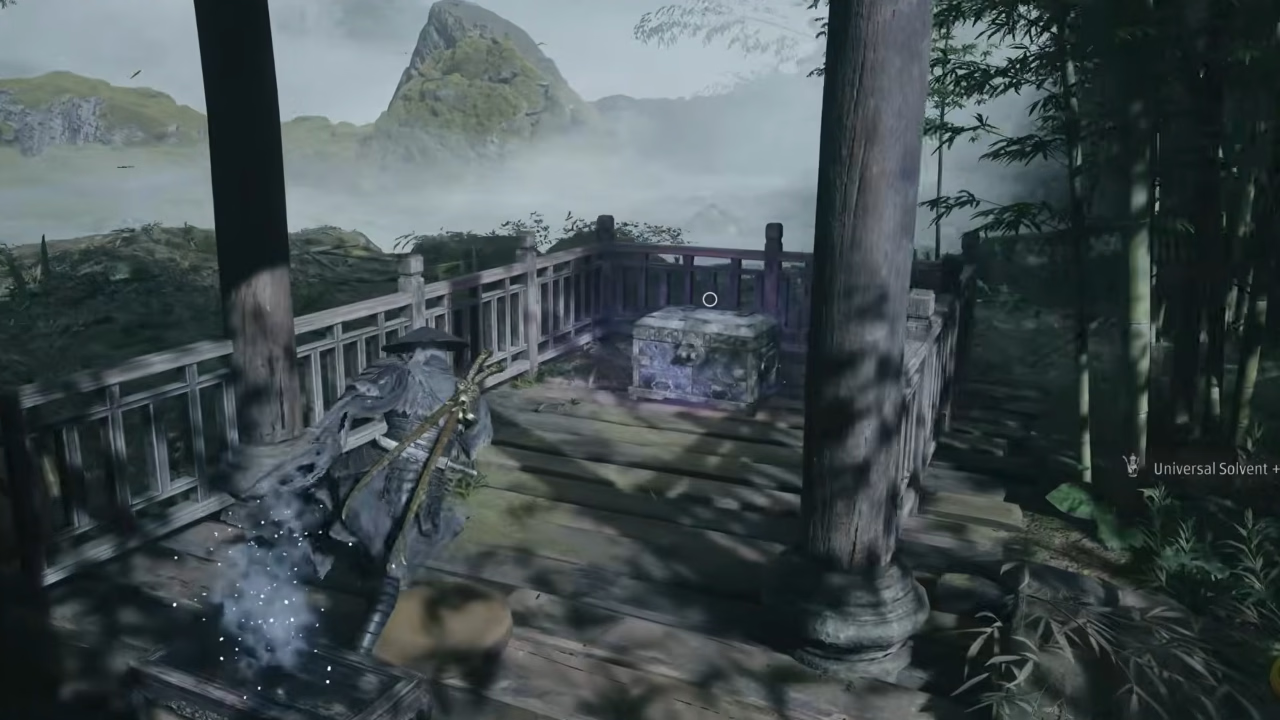
- Nearest Bell: Behind the Encampment Waterfall Bell
- Requirement: None
Walk across the rooftops of the encampment buildings and drop down into the bamboo path that leads behind Moji’s residence. Follow the catwalk past the bamboo groves to the pavilion deck overlooking the ravine. Open the chest by the railing to collect Phantom Blade Zero’s final Sha-Chi Amber Shard in Mandate Encampment.
Mountain of Imprisonment Sha-Chi Amber Locations
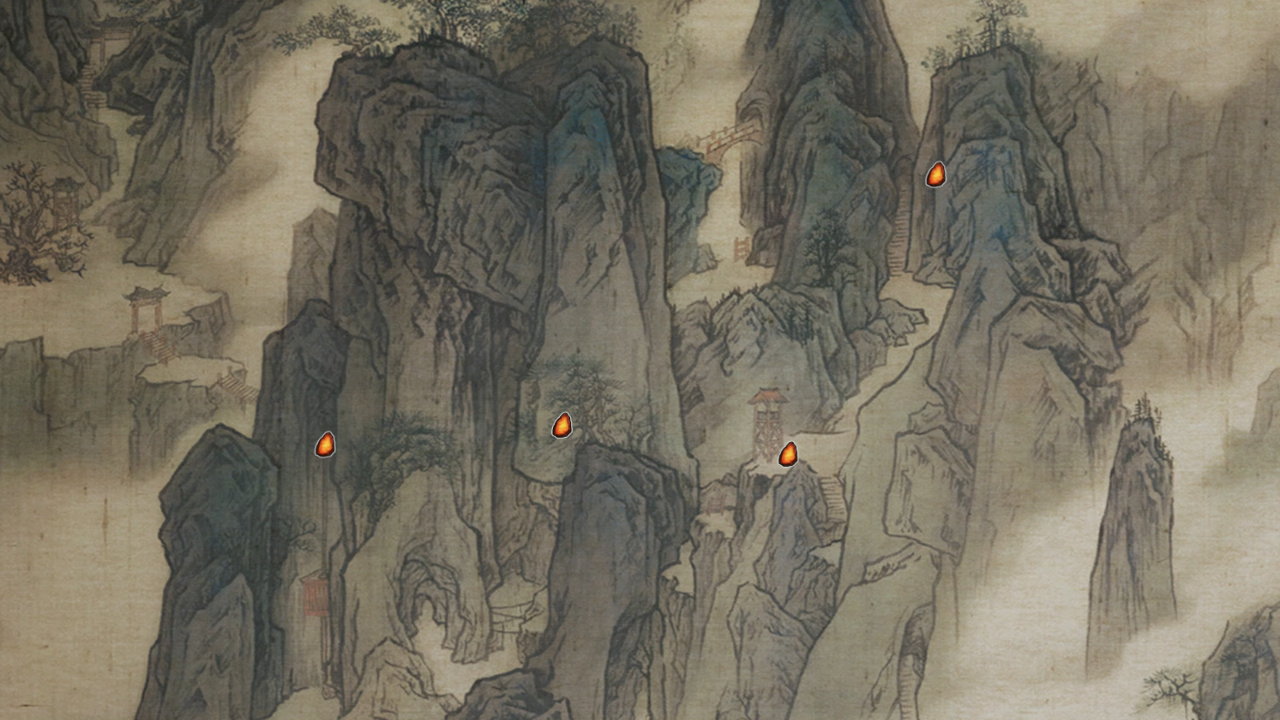
Sha-Chi Amber Shard #33 – Shrine Outer Gate Watchtower
- Nearest Bell: Shrine Outer Gate Bell
- Requirement: None
Take the steps through the dark cavern hallway until you exit on a high cliffside ledge with a guard watchtower. Climb the ladder to its top platform and open the chest there to claim Sha-Chi Amber.
Sha-Chi Amber Shard #34 – Shrine Outer Gate (Kui Yanyan Boss)
- Nearest Bell: Shrine Outer Gate Bell
- Requirement: Defeat Kui Yanyan, the Deranged
From the Shrine Outer Gate Bell, follow the stairs down into the rocky gorge basin. You’ll have a mini-boss battle against Kui Yanyan, the Deranged. Defeat her to receive both the shard and the Missing Lift Crank.
Sha-Chi Amber Shard #35 – Cavern Passage Elevator
- Nearest Bell: Cavern Passage Bell
- Requirement: Missing Lift Crank (dropped by Kui Yanyan in Shard #34 place)
Head to the broken elevator winch on the cliff edge. Insert the Missing Lift Crank into the pedestal to restore power to the lift. Take the elevator to the upper tunnel, then leave it and find the floating purple shard in the corridor leading toward the shortcut door.
Sha-Chi Amber Shard #36 – Shrine Outer Gate (“Ledger of Atonement” Quest)
- Nearest Bell: Shrine Outer Gate Bell
- Requirement: Complete “Hero’s Lament” quest to acquire Moji’s Relic, then finish “Ledger of Atonement”
Speak with the Agonized Ironmask and the Female Puppet near the mountain. After retrieving Moji’s Relic, talk to the Ironmask again to trigger the search for his ledger in the lower caves. Retrieve the ledger, return to him, and choose the dialogue option: “Forget it, it’s none of your business!” The Ironmask turns hostile, then defeat him to receive the shard, along with the Bloodstained Necklace and Backstreet Courtyard Key.
Pangzhen (Mirage Estate) Sha-Chi Amber Locations
Sha-Chi Amber Shard #37 – Shaded Bamboo Path
- Nearest Bell: Shaded Bamboo Path Bell
- Requirement: None
Climb the stairs covered in snow through the gatehouse into the lantern-lit bamboo forest courtyard. Near the stone’s edge clearing, next to a pile of demon mask props, open the chest for the fragment, which also gives the Nuo Mask Fragment: Sorrow.
Sha-Chi Amber Shard #38 – Opera House
- Nearest Bell: Opera House Bell
- Requirement: None
From the Opera House Bell, run across the pond stepping stones and pass through the front gate. Follow the wide staircases up to the central outdoor shrine pavilion, where you’ll need to eliminate the puppet guards near the altar and open the chest on the porch.
Sha-Chi Amber Shard #39 – Training Grounds
- Nearest Bell: Training Grounds Bell
- Requirement: Defeat Yuding the Crescent Blade Puppet
After defeating the boss Yuding the Crescent Blade Puppet, proceed through the burning training fields. Follow the walkway to unlock the large double gate that loops back toward the Opera House. The chest can be found in the corner right beside this gate.
Sha-Chi Amber Shard #40 – Leng Fu’s Study / Willow Pavilion
- Nearest Bell: Leng Fu’s Study Bell
- Requirement: None
From the study, head south into the red-hued courtyard toward the glowing immunity pillar. Destroy the tethered puppets in the yard, then step past the guardian statues into the rear alcove to open the final chest and collect the last piece of Sha-Chi Amber Shard in Phantom Blade Zero.
That’s all from our side on where to find all Sha-Chi Ambers in Phantom Blade Zero. Expand your build by tracking down all Phantom Edge secondary armaments and unlocking every main weapon to burn your Sha-Chi meter. Or you can put your upgraded defense to the test across the campaign against all 61 boss encounters throughout the Wulin.