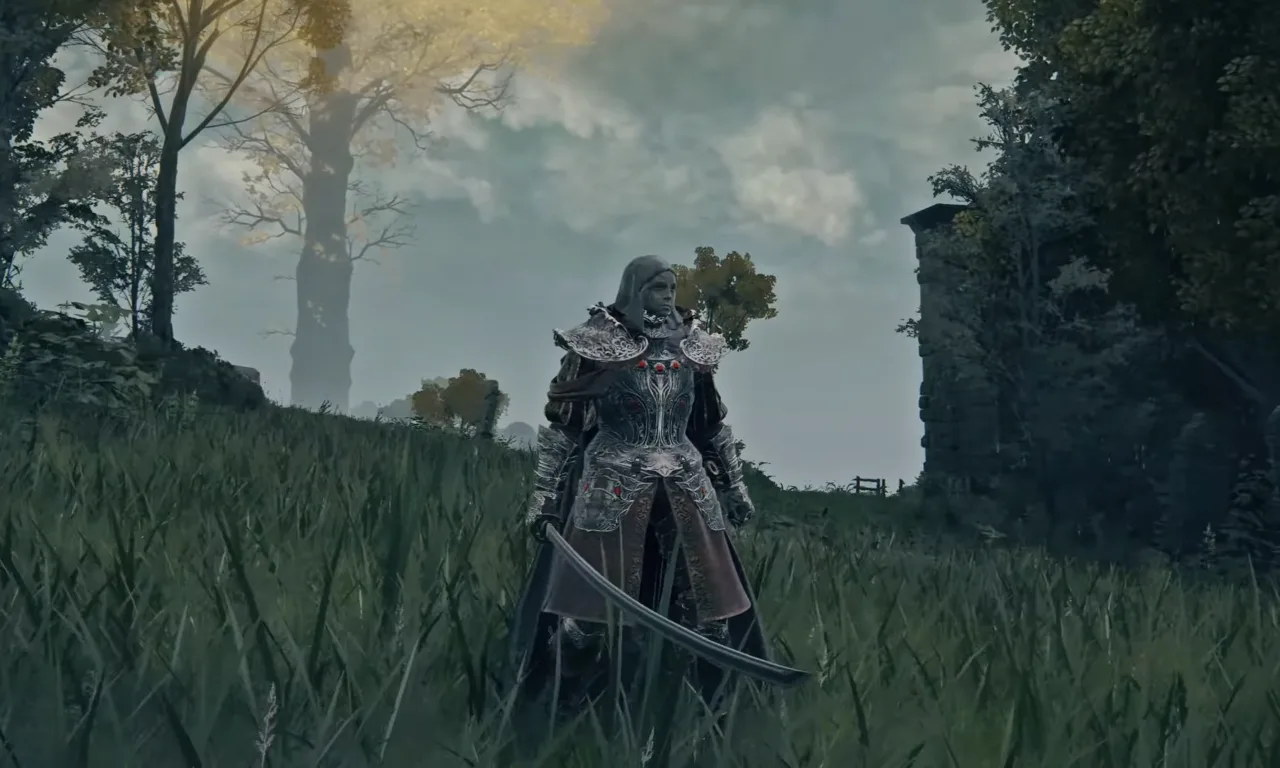
The Nagakiba Katana in Elden Ring is an absolute beast of a weapon to get early in the game. It’s a long katana slicing through the air, dealing tons of blood loss damage, and its reach is fantastic! Moreover, you can infuse it with Ash of War which lets you unleash a wicked slash attack. If you’re eyeing this weapon for your arsenal, you’ve got a couple of paths to get it.
First off, you could go the direct route and challenge the NPC who’s got the Nagakiba. It’s a showdown, and if you win, the katana is yours. But then, there’s the more diplomatic approach – this NPC has a questline, and if you see it through to the end, the Nagakiba Katana will be given to you as a reward. So, which will it be? The quick but confrontational method, or the longer, quest-filled route? Each has its perks and quirks, but that’s what makes it fun, right?
Killing Yura, Hunter of Bloody Fingers
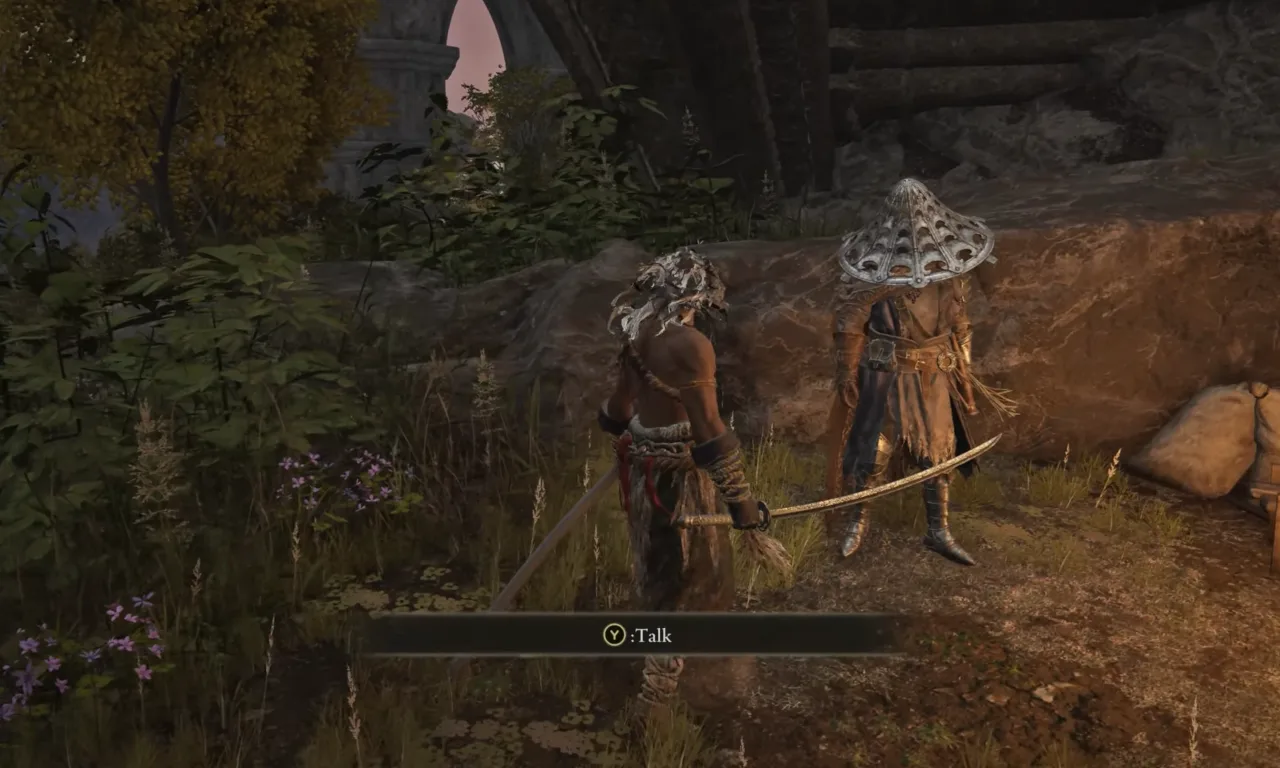
Want to grab the Nagakiba katana in Elden Ring quickly? You can do it by taking on an NPC named Yura. He’s the one carrying that awesome katana. You’ll find Yura standing under the bridge at Murkwater Cave, which isn’t too far from the Seaside Ruins Site of Grace in Limgrave – you can head there right from the start of the game.
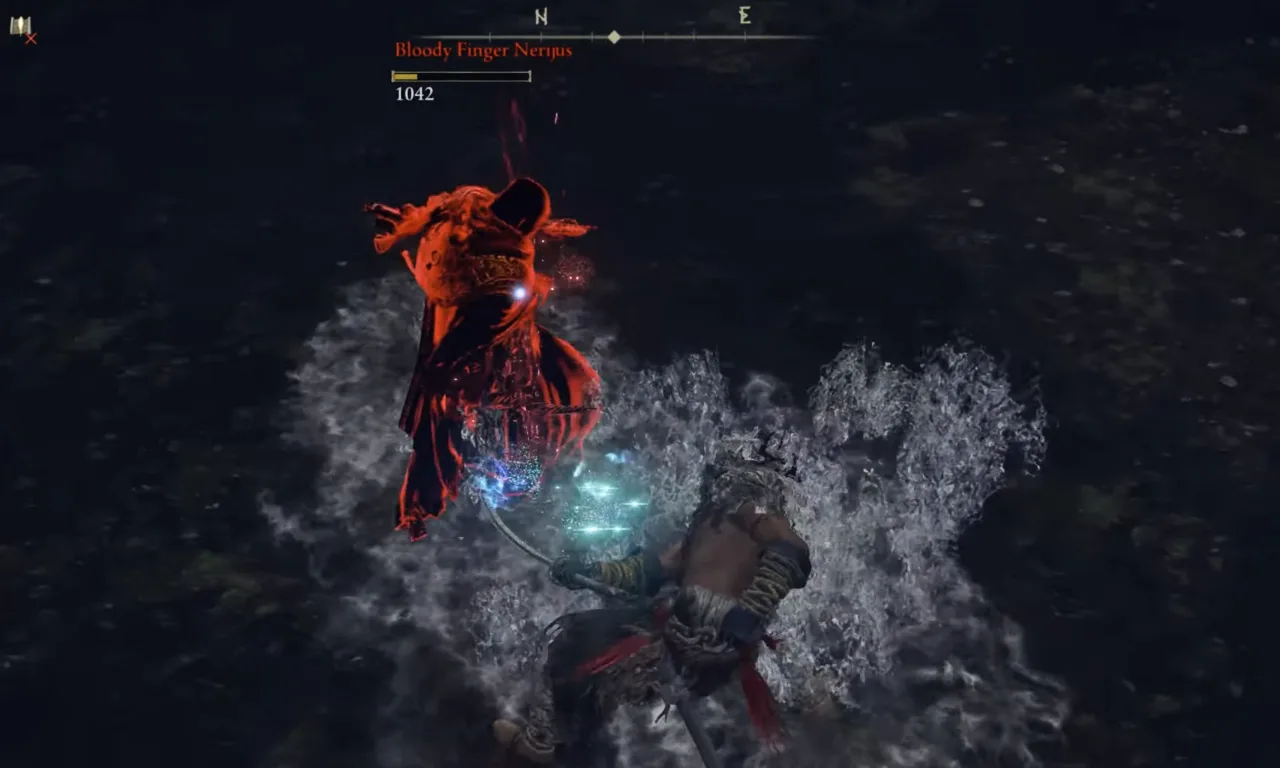
Make your way to Murkwater Cave and then follow the river toward the center. Look out for a ruined archway with some rubble underneath. Once you’re there, be prepared to have a showdown with Bloody Finger Nerijus. Take that challenger down, and then make your way toward the bridge at the river’s northern end. That’s Yura’s hangout spot, standing there all cool-like. You can have a chat with him, but if you’re itching to get your hands on the Nagakiba straight away, you’ll have to fight him for it.
Yura is no pushover – the enemy’s quick, dodgy, and packs a punch with his katana. Further, he’s got a tricky Ash of War: Raptor of the Mists move that lets him dash and slash, making him a tough boss to face. Be ready to dodge a lot and hit him when he’s off-guard. It might be a good idea to rest at the Murkwater Cave Site of Grace before you dive in, just so you’ve got a nearby respawn point. Once you beat Yura, you can pick his dropped Nagakiba katana in Elden Ring, along with some Runes. But, keep in mind, taking him down means you’ll miss out on his questline and some additional rewards.
How to Complete Yura Questline and Obtain Nagakiba Katana in Elden Ring
If you don’t want to kill Yura, you can also get the Nagakiba Katana by completing his questline. Yura is part of the Bloody Fingers faction, which is a group of assassins who hunt down the Tarnished. He will offer you a deal: if you help him kill some targets who are Bloody Fingers, he will give you the Nagakiba and some other rewards in the end.
Yura’s questline in Elden Ring is indeed a journey. It stretches into the mid-game and weaves through various locations, each step unfolding more of the narrative. As you follow Yura’s instructions, you’ll rendezvous with him at predetermined spots scattered throughout the Lands Between. But it’s not just about showing up; you’ll face decisions along the way that don’t just influence the trajectory of your quest. Here are the main steps of his questline:
Meeting Yura in Murkwater Cave, Limgrave
The journey with Yura kicks off with a confrontation against Bloody Finger Nerijus, who’s got a knack for showing up uninvited near the Murkwater Cave. Taking down Nerijus is your first step into the thick of things. Once you’ve managed that, it’s time to meet up with Yura, who’s also hanging around the same area. When you meet Yura at Murkwater Cave, he’s got a task for you. Say yes to helping him out, and he’ll hand over Bloody Finger Rune that lets you see his enemies highlighted with a red aura.
Meeting Yura in Ray Lucaria, Liurnia of the Lakes
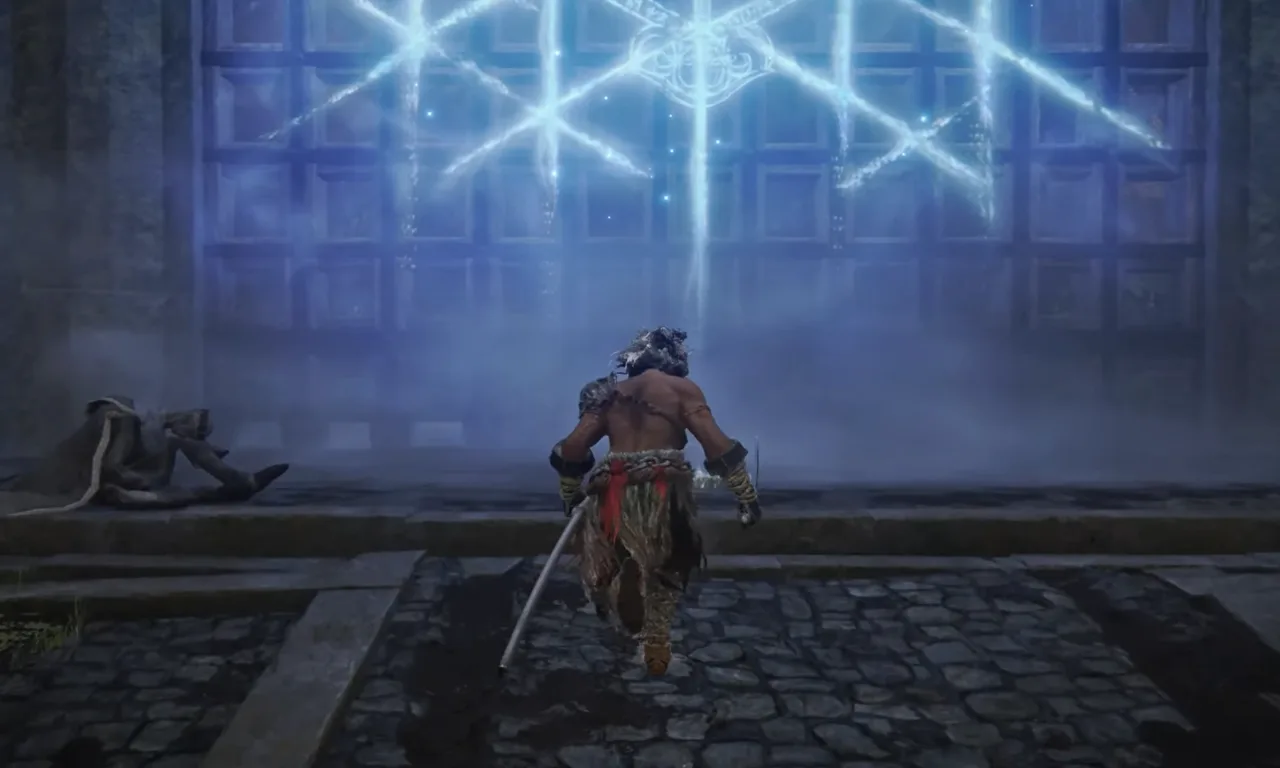
Next up, you need to get the Glintstone Key, which is placed in Liurnia of the Lakes. But a dragon is keeping an eye on it, just north of the Temple Quarter Site of Grace. Once you’ve got the key, your next visit area is the Main Academy Gate Site of Grace. Around there, you’ll spot a blue color barrier – go ahead and pass through it. After entering it, keep your eyes peeled for Yura’s Red summon sign along the pathway.
Summon into his world, and you’re in for a fight. Pull through, win the battle against the Bloody Finger Ravenmount Assassin, and you’ll be rewarded with the Rune Arc and Ash of War: Raptor of the Mists. After returning to the world from where you were summoned, you will find the Yura standing behind you, go to him for conversation, and exhaust all the dialogues.
Meeting Yura in the Second Church of Marika, Altus Plateau
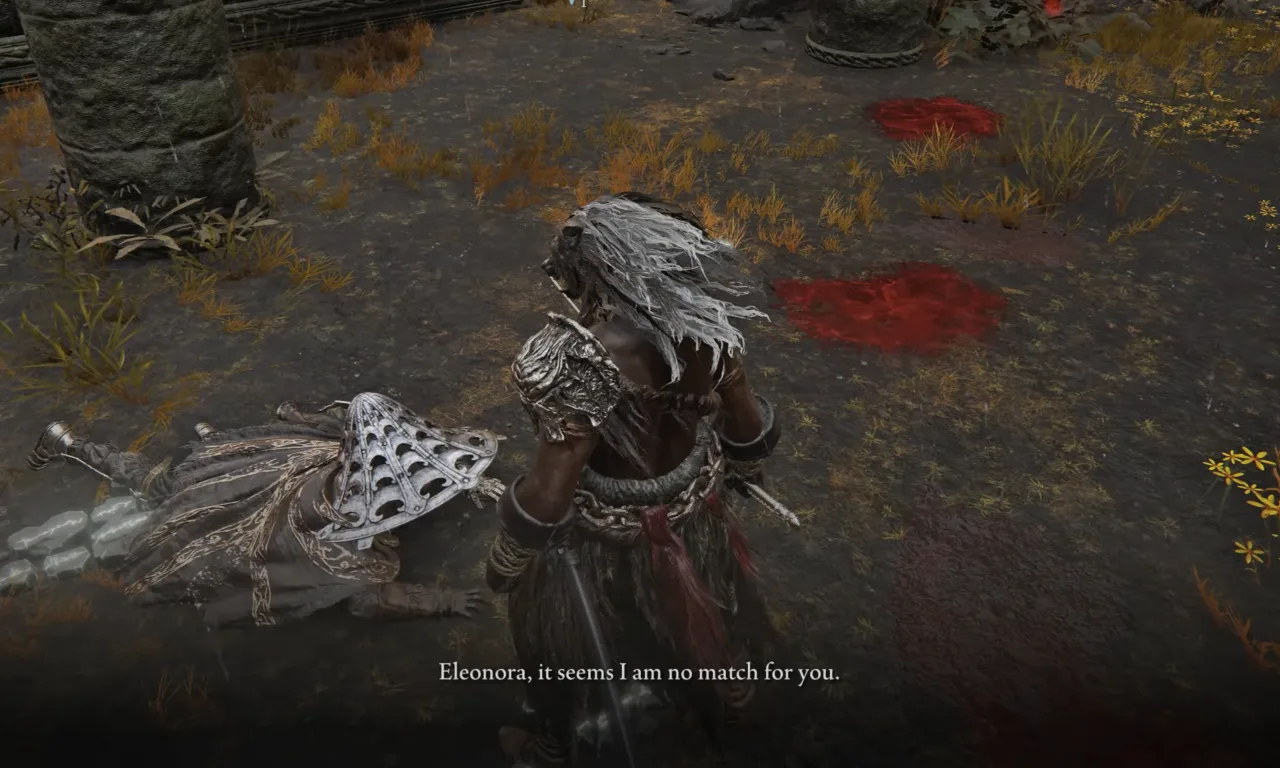
Head on over to the Second Church of Marika in the Altus Plateau, and you’ll come across Yura in a bit of a rough spot – he’s seriously wounded by Bloody Finger Eleonora and near his death. When you chat with him, he’ll have one last request: to kill Eleonora. Right after he asks this of you, he’ll pass away, and then you can collect Nagakiba Katana from his corpse after defeating the boss.
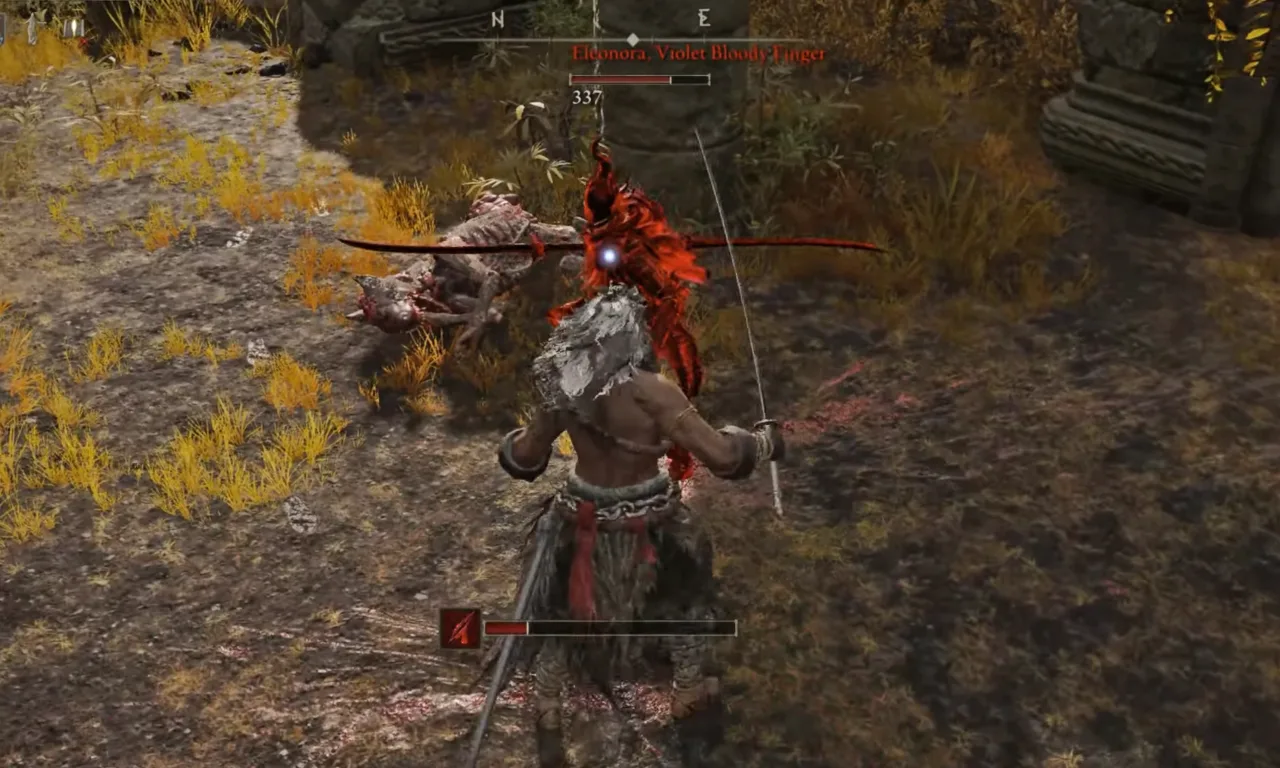
After that, Eleonora decides to attack. Take her on and emerge victorious, and you’ll be rewarded with not just any loot, but the Purifying Crystal Tear and Eleonora’s Poleblade. It’s a tough fight, but the rewards are well worth the effort. And just like that, you’ve reached a poignant conclusion to Yura’s questline, armed with his katana and some pretty epic loot from Eleonora.
Final Meetup with Yura in the Mountaintops of the Giants
Yura’s story doesn’t end with his passing but there’s still some ongoing tale: after Yura dies, his body gets taken over or in other words, gets controlled by an unhinged character named Shabriri – it’s quite the turn of events. As you continue your journey, you’ll eventually find yourself at the Zamor Ruins. It’s there, right next to the Site of Grace, that you’ll run into Yura again, or rather, Shabriri wearing Yura like a suit.
Shabriri, now in control, has a task for you. He wants you to venture beneath the Capital to get the Frenzied Flame. It’s a hefty ask, and you’ve got options on how to handle it. You could follow through with his request, or, if you’re feeling confrontational, you can choose to attack him instead. If you decide to defeat him, you’ll be able to obtain Yura’s armor set. It’s a neat way to remember the journey you’ve had with Yura, from the moment you met to the eerie conclusion of his tale with Shabriri.

