

A new dragon-shaped flying island will show up in the skies once you solve the electric garb task. This island is a part of Thunderhead Isles in Zelda: Tears of the Kingdom which you can reach at its end. It’s the final step towards locating the Find the Fifth Sage and finishing the Secret of the Ring Ruins quest. As the name suggests, this place is storm central. So, before you venture in, make sure you’re decked out in your armor and gear but don’t bring any metal items.
Thunderhead Isles in Zelda TOTK – these archipelagoes are floating high atop the Faron region. Initially, you’ll notice a crazy storm appearing around them. Although making it past this hurricane is technically possible, I’d seriously advise against it. It’s much better to clear out the storm before you think about wandering this island. And that’s why we have compiled this guide to help you.
How to Clear the Thunderhead Isles in Zelda: Tears of the Kingdom
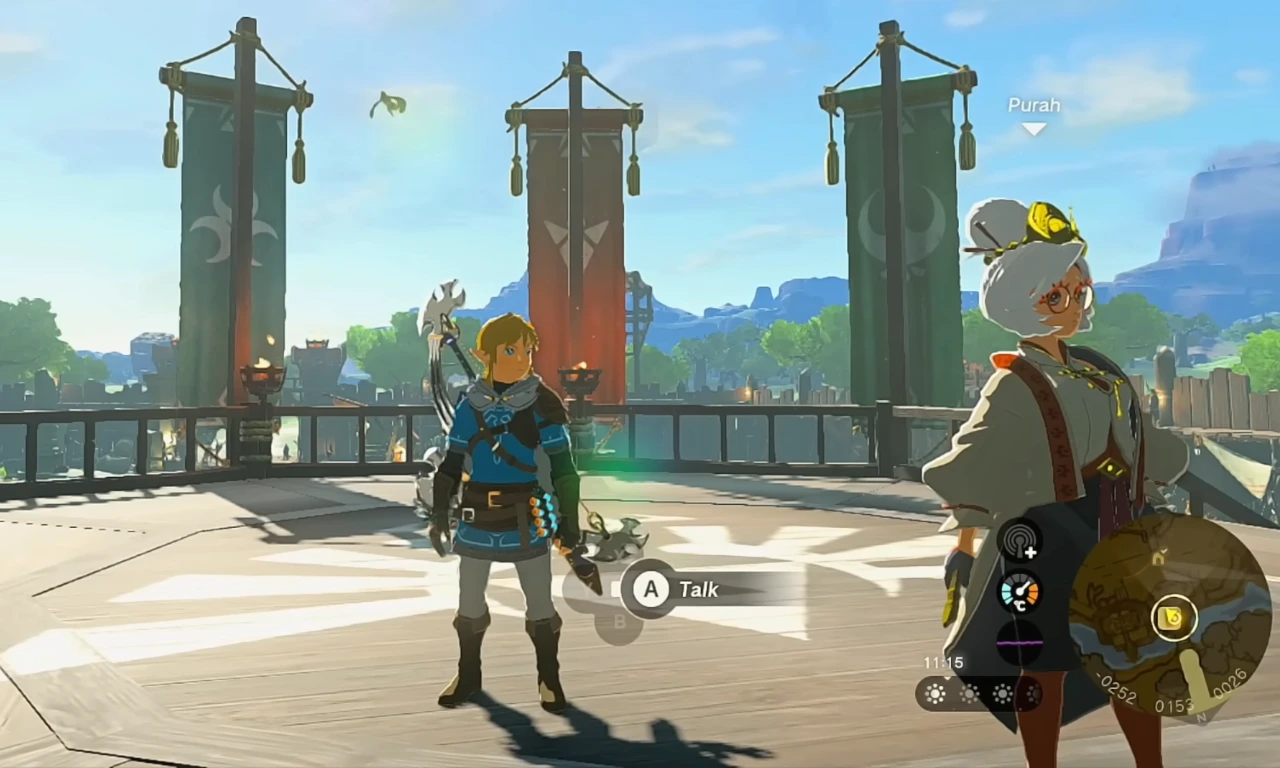
So you’re looking to clear the storm on the Thunderhead Isles? The first thing you need to know is that your journey starts with the main quest, the Regional Phenomena. After getting the Lookout Landing Skyview Tower up and running, you’ll kick off this quest when you chat with Purah. That’s no small feat, though, as it involves lending a hand to Rito, Zora, Goron, and Gerudo. Quite a big task, right? But no one ever said being a hero would be easy.

Once you’ve done your good deeds and helped all four races, you’ll come back to Purah. The NPC will have something new for you, a task tied in with The Legend of Zelda: Tears of the Kingdom Crysis at Hyrule Castle quest. As soon as you’ve completed the mission, Purah will offer you another task. This one’s called “Find the Fifth Sage” and it’s your ticket to getting closer to clearing that storm.
But the journey’s not over yet. The quest of finding the fifth sage opens up another objective, “Secret of the Ring Ruins.” Follow the requirements in this challenge, and you’ll find yourself at Dracozu Lake. Here’s where things get a bit riddle! You’ll need to don your “electric garb” and give a Zonai Charge to an altar. Solve this problem, and the storm on the Thunderhead Isles will be gone.
How to Reach the End of Thunderhead Isles in Zelda TOTK
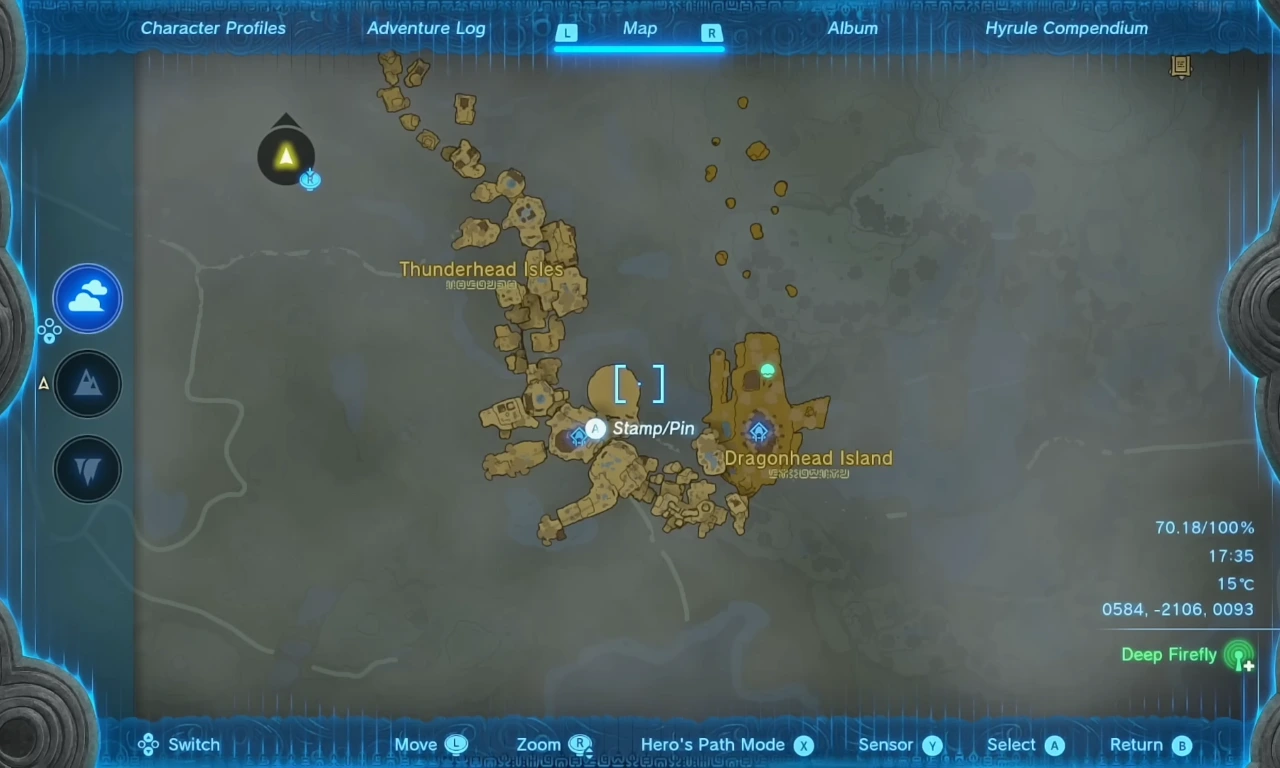
First, you’ll need to stock up on lots of food and elixirs with Slip Resistance. Why? Because Thunderhead Isles is a rainy, slippery place, and climbing its steep walls is pretty much impossible without them. And remember, do not carry metal weapons or shields – they’re like lightning magnets. Your goal is to make it to the final island of Thunderhead Isles, named Dragonhead Island, because of its close resemblance to a dragon’s head which is close to the Joku-u shrine.
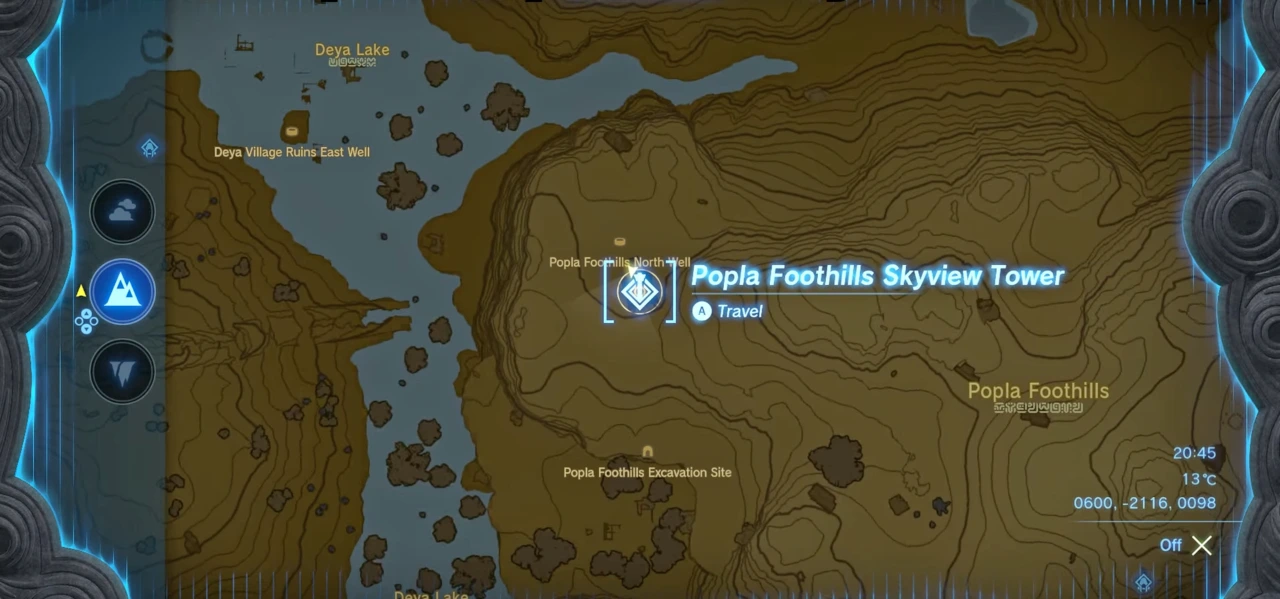
Make your way back to Popla Foothills Skyview Tower and launch yourself into the sky. You can then make your way to the top of the altar, where the isles begin. You can now use Ascend to get to the second Thunderhead Isles area from the previous one. After that, you must use your gliding and climbing abilities to make your way to the platform housing the lightning rod.
On this spot, you’ll notice a push block that has the potential to send things flying. Here’s the fun part – stand in front of it, wait for a while until the lightning rod collects the necessary electric power from the storm, and then, it’ll send the block (and you with it) flying to the next platform. If you don’t keep track of your location, you could find yourself far from the Thunderhead Isles. If you can’t stand to wait, you can shoot some Electric Chu Chu Jelly at the lightning rod with a wooden arrow or employ Riju’s skill. After that, you can expect the situation to move along more quickly.
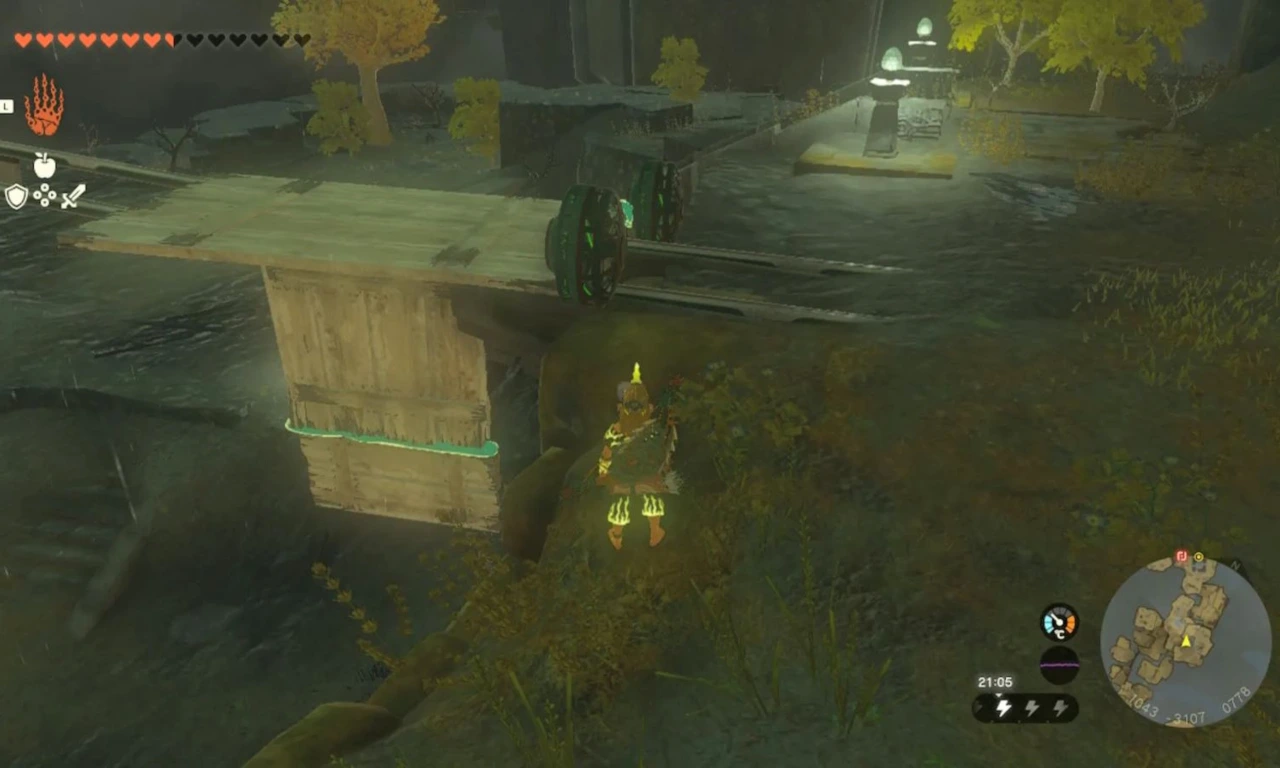
Keep gliding and using Ascend unless you land on a platform with a quaint little pond right in the center alongside some handy wooden planks and crates. Your path lies southeast from here. But, before we move on, there’s a bit of construction work to do – a ramp is required here to get to the next destination.
Once your ramp is ready, carry on heading south, and let the lanterns guide you on your journey. Very soon, you’ll stumble upon a pair of mine cart tracks. You’ll notice two metal planks connected to the damaged way, but you don’t have any concerns with this. Instead, you need to put those planks to good use and create a T-shaped structure. The reason? You should avoid any unwanted lightning blows as you progress along the track.
Here’s what you need to do next. Affix a couple of fans to the back of your wooden T-shaped gadget and give it a good whack once you’re going to sail on. Upon reaching the next platform, you’ll want to use Ascend to get higher. Then, make a left turn towards the platform where you will come across a mini-boss Flux Construct. You can either kill it or just ignore the fight, it’s your call. You’ll then spot another set of mine cart tracks.
Simply place your wooden contraption on the tracks, attach the fans, and you’re off! But remember, you don’t have to head over all the way to the end. By seeing above the track, you’ll notice a large building containing a shrine in it and that’s your target. Just jump in blindly, turn down the fans halfway through, then use Ascend to float inside the building housing the shrine.
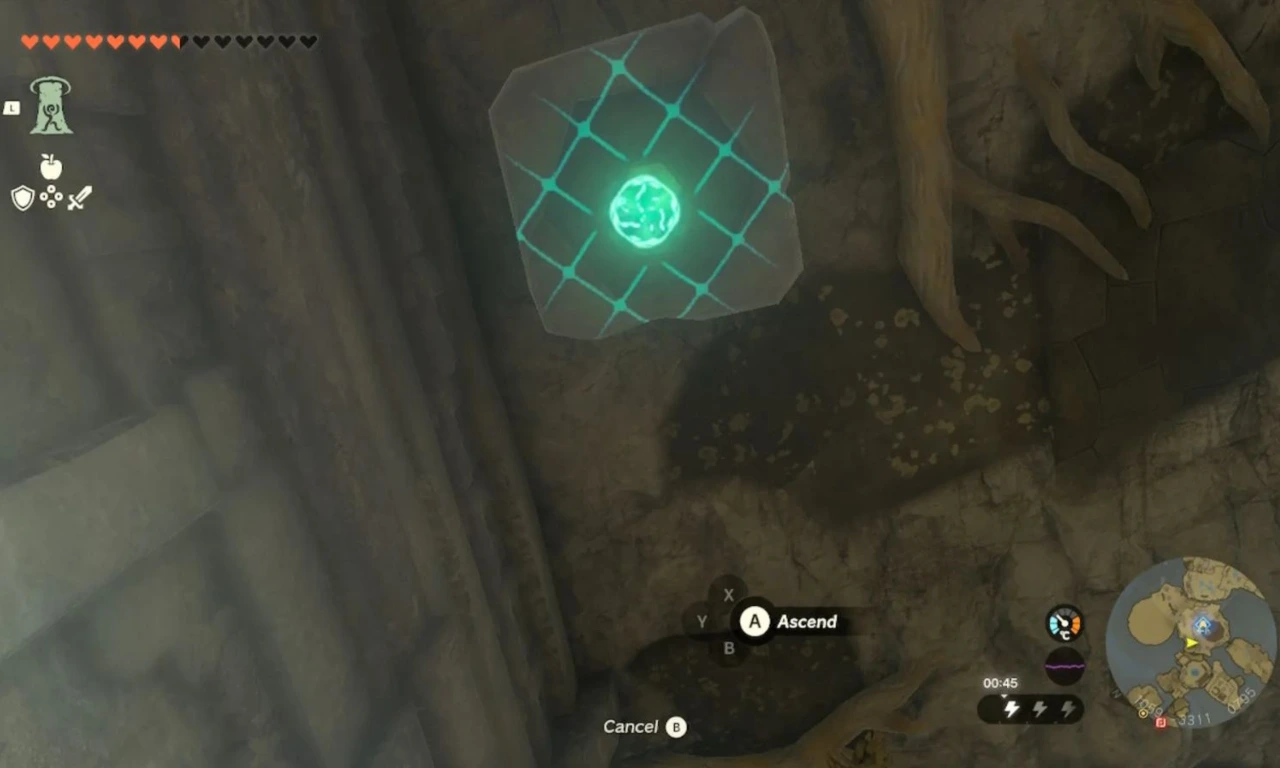
Inside, you’ll find the Joku-usin Shrine. Grab it, as it makes a pretty decent quick travel point for future visits. If you need a break from the Thunderhead Islands in TOTK, now is a good time. Now, notice those stairs in the room? Use them to go to the upper area, you’ll see an Ascend pillar that’s been deliberately positioned for climbing. In your line of sight is a wheel-shaped structure topped with a lightning rod. Enter its bottom and utilize Ascend to reach the top. Beware though, it’s home to three nasty Like Likes.
But don’t fret, they’re not too hard to deal with. Covered by metal blocks, all you need to do is unleash Riju’s ability, Electric Chu Chu Jelly, or Shock Fruit onto the blocks. The Like Likes will be stunned several times, making them ineffective. As a bonus, you’ll be able to obtain four treasure boxes in this room once they’re defeated – it’s worth the fight! After your work is finished there, use Ascend to exit the room.
You’re nearly there! There is an additional metal push block and lightning rod above. To reach the southern platform, you ought to carry out your previous maneuver. There are additional wooden boards and mine cart trails on this one.
Remember the T-shaped contraption you’ve used before? Well, we’re going to need another one. Use two wooden planks and place this handy device on the broken rail. Next, construct another contraption, link the fan with it, and position it on the far-off, intact fence. Got any extra planks of wood or tree logs lying around? Put them into action by constructing a link between the two contraptions. Once you reach the second contraption, remove the bridge, give the fan a good smack, and you’re off to the next platform.
Now, let me warn you, the upcoming spot is not your cup of tea. Soldier Constructs are scattered around and let’s just say, they aren’t the welcoming kind. They’d be more than happy to put Link on a wild ride. Your route is a bit of a maze – left, right, and then down where the other Soldier Construct enemy is waiting for you. Eliminate this foe and proceed. Once you move ahead, you can climb to level up to the next area. Be prepared though, another Soldier Construct awaits to again put your fighting skills into action.
See that metal push block and lightning rod over there in the east? You’ll need to head over there to get catapulted up to another level. Get high with the Ascend pillar and float across to the landing zone. You’ve done this before, just stand on the metal push block, face straight ahead, and wait for the lightning rod to charge. Before you know it, you’ll be soaring through the air, heading straight to the next platform. And what’s that? A chest! Inside you’ll find the Shock Emitter Zonai Devices, which trust me, will be very useful in your future adventure.
Go to the Dragonhead Island in Zelda TotK
Alright, take a breather and then push ahead. Take a leap of faith off the ledge you come across. If all goes well, you’ll land gracefully at the desired Dragonhead Island by reaching the end of Zelda TOTK Thunderhead Isles. Don’t forget to grab the Joku-u Shrine. It’s a neat little fast-travel spot for future use. Throw some Fire Fruit at the bush obstructing the doorway once you’re ready to leave the chamber.
Once you’ve completed this blessing shrine, you need to head for the exit to get out of it. Look to the North, and there’s your gate. But you should have a minimum of 10 spare heart containers in your inventory to unlock this gate. Once you’re through, you’ll see a Zonai terminal begging to be noticed. Give it a look – a neat little cutscene will roll as a reward for your curiosity. And there you have it, you’ve officially wrapped up the ‘Secret of the Ring Ruins’ quest.
Now, the next room holds a bit of a surprise. You’ll come across a shrine housing a curious widget. Go ahead and interact with it. You’ll be rewarded with the ancient Zonai Relic. Obtain that relic and let it guide you by following its light, which will lead you straight to the fifth sage. With that, you’ve successfully navigated your way through the Thunderhead Isles. This triggers the start of your new challenge, the ‘Guidance from Ages Past’ quest. Ready for the next chapter of your adventure? I thought so!
More on Zelda: Tears of the Kingdom
- Where to Find Dinraal the Fire Dragon in The Legend of Zelda: Tears of the Kingdom
- How to Get the Tunic of Memories in Zelda: Tears of the Kingdom
- How to Get Raw or Farm Gourmet Meat in Zelda Tears of the Kingdom
- The Legends of Zelda: Tears of the Kingdom Kadaunar Shrine Walkthrough
- How to Get the Master Sword in Zelda: Tears of the Kingdom


