


Assassin’s Creed Mirage Judge and Executioner is part of the Al Bahamut Investigation quest. By the end of this, you’ll know how to find Muhammad but also how to sweet-talk a judge with some bribes.
AC Mirage Judge and Executioner Walkthrough
To chase down Muhammad Ibn Tahir, head over to the Investigation tab and look for the Mazalim Court lead. Once you’ve tracked that, you will see a new quest marker on the Round City’s northeast edge. It’s where you should need to go.
Visiting the Mazalim Court
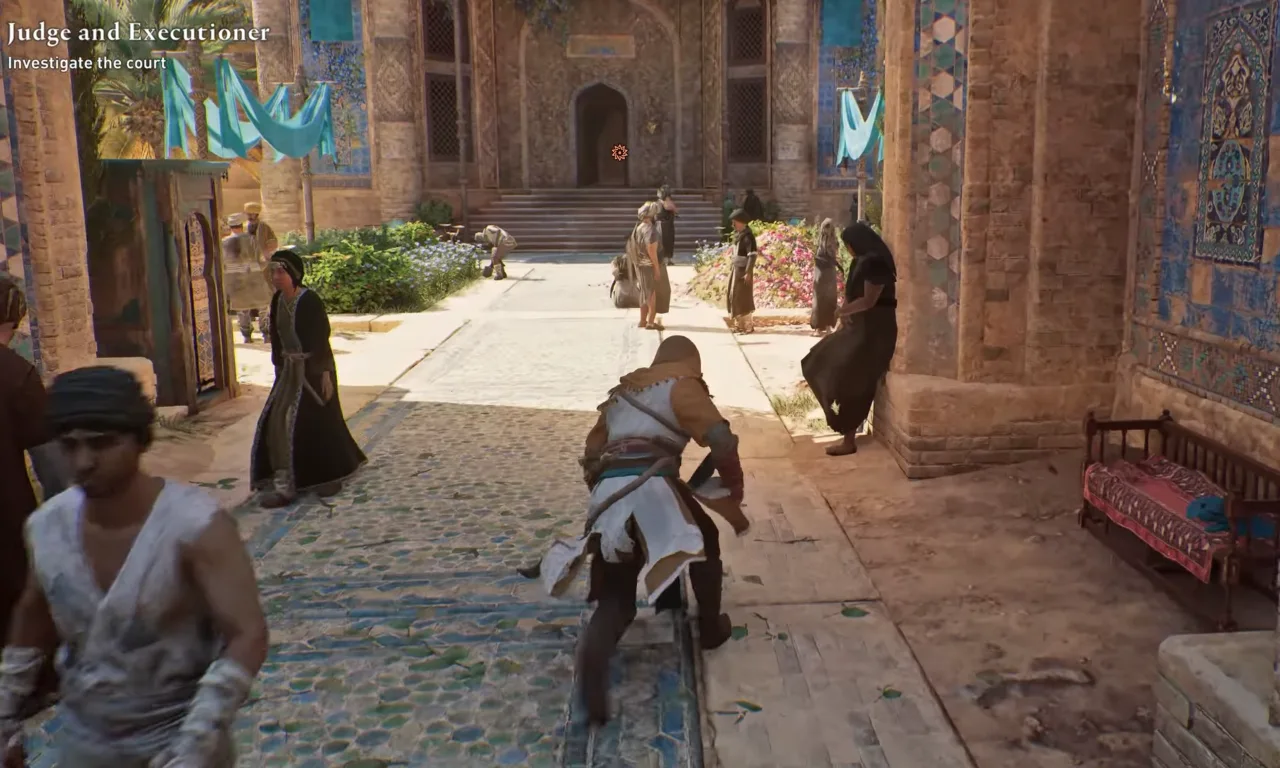
Once you roll up to the Mazalim Court, head over to the southeastern end of the court. You can only go through the lower ground floor as the outer walls of the court are restricted.
You need to find the location of the judge to meet him, the best way is to use the Eagle Vision. By enabling this vision feature, you will see him in an office just to the opposite of the court’s plaza entry point. Once you spot the office, move over there and chat with Mr. Judge. He’s going to play hard to get.
Bribing the Judge

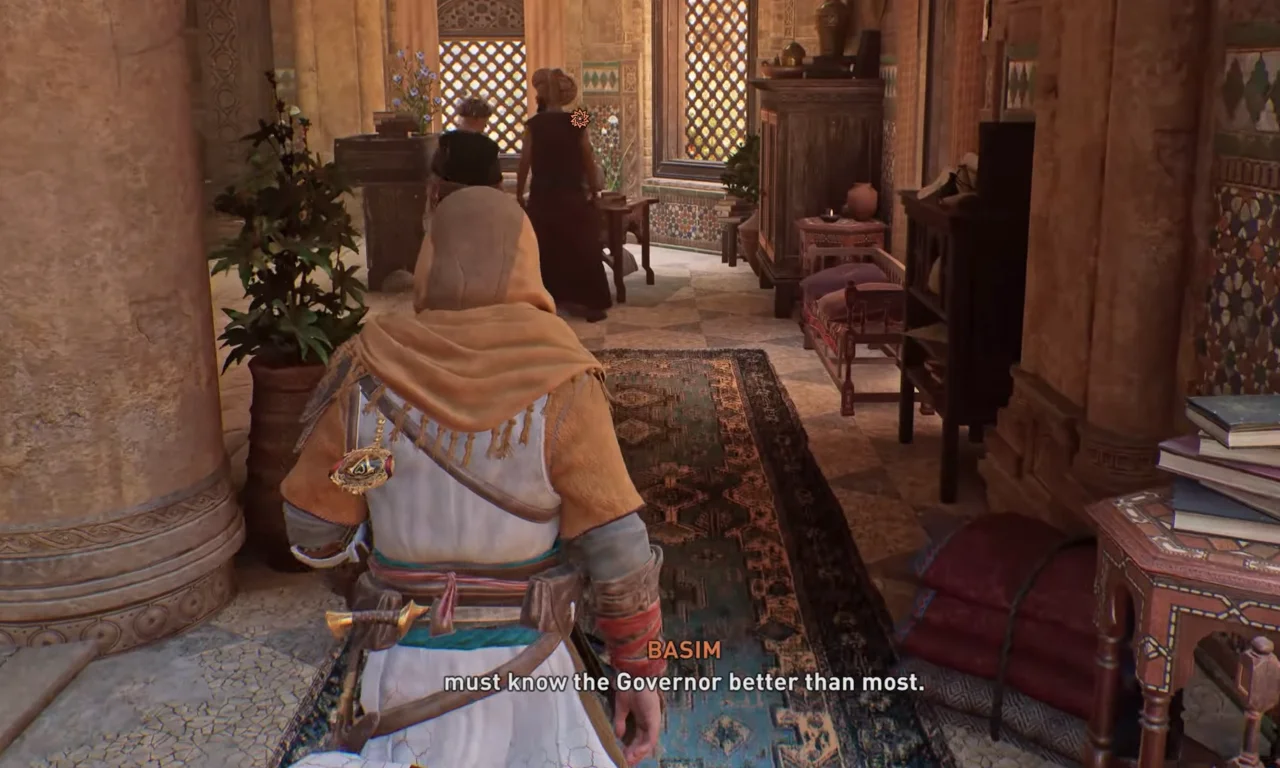
This guy isn’t just gonna spill the beans simply, you have to bribe him to get the information. Hand over a Scholar Favour Token to him but he’s is a greedy person and doesn’t satisfy with only single. Yes, he wants more. But, being the resourceful player you are, it may not be a bad deal for you to spend one more token as the return reward for that investment is the information about Muhammad’s whereabouts.
With the second token in his pocket, he will become nice and friendly with you. He tells you that Muhammad Ibn Tahir has a sneaky spy who passes him information daily at noon.
Observing the Spy
Exit the judge’s room and you’ll find the bench there. It’s hinted on your map for convenience, so no guessing games here. Unless there is impeccable timing and it’s already noon, you have to play the waiting game. When sitting on the bench, hold TRIANGLE or Y, and time flies with that. Keep the peepers peeled for our mysterious message carrier. He’ll strut his stuff right in front of you, you will spot him immediately as soon as he appears because of a handy marker hovering over his head.
Stay cool, calm, and collected as jumping up too soon and getting spotted is a rookie move at the moment. Instead, play it nice and shadow him, using the pillars and the environment to your advantage. It’s time to use the stealth element of Assassin’s Creed Mirage and you will have a lead.
As you head out of the building, swing a right and sneak into the nearby flowers; you’re blending in with the tulips for a second. Keep an eye on spy ahead. When Mr. Spy walks under the huge archway, shimmy up the building on the right.
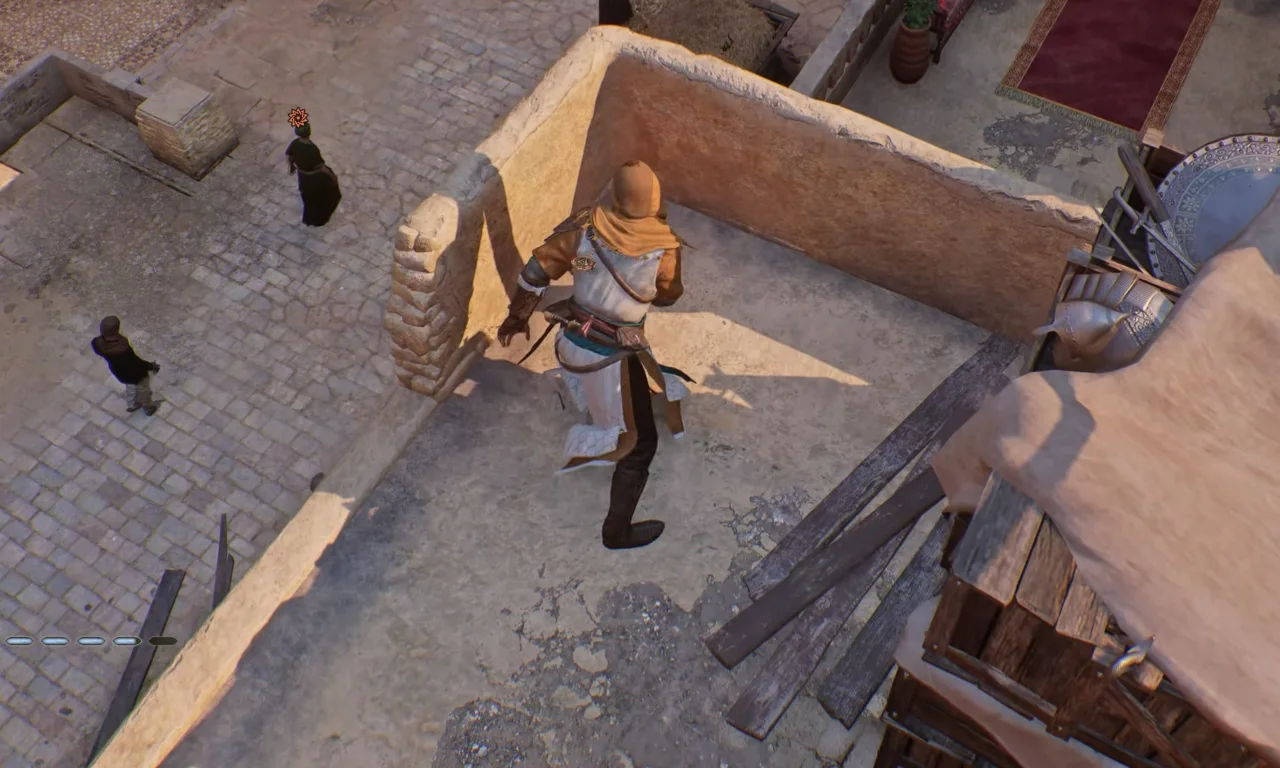
Tag along as he strolls through the city sneaks down the sneaky companions, and finally, to the Shurta. Stay high in the sky (means rooftops) as much as you can. Only hit the ground unless it’s required to prevent yourself from spotting.
If Basim gets caught or loses track of the spy, you will be hitting the rewind button to the beginning. Stick to the rooftops – by being sneaky up high, you’ll soon see him meet up with his boss. Once you roll up to the Shurta, that task will wrap up.
The Shurta Compound
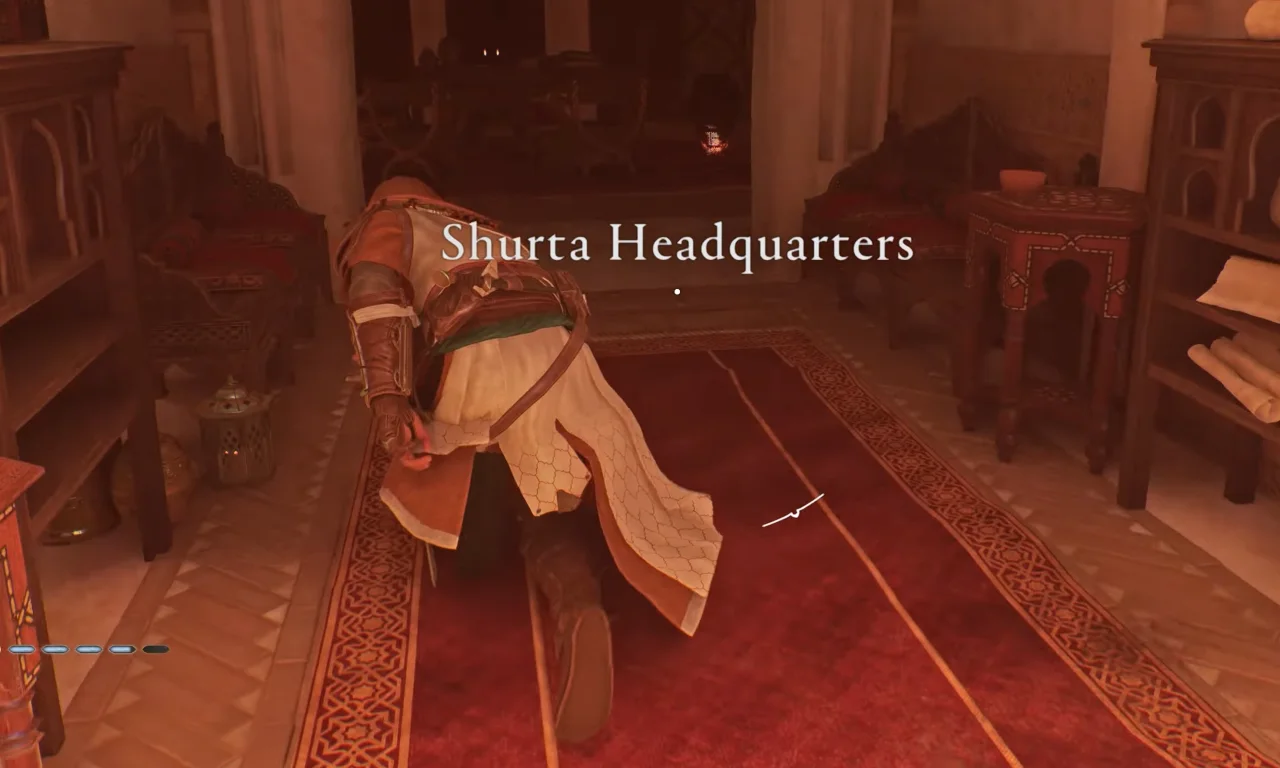
After tailing, you’ll end up at the Shurta compound and it confirms that the Muhummad is hiding somewhere inside. You have to find him in the building. The place has guards everywhere, and eyes sharp as eagles because it’s a police station.
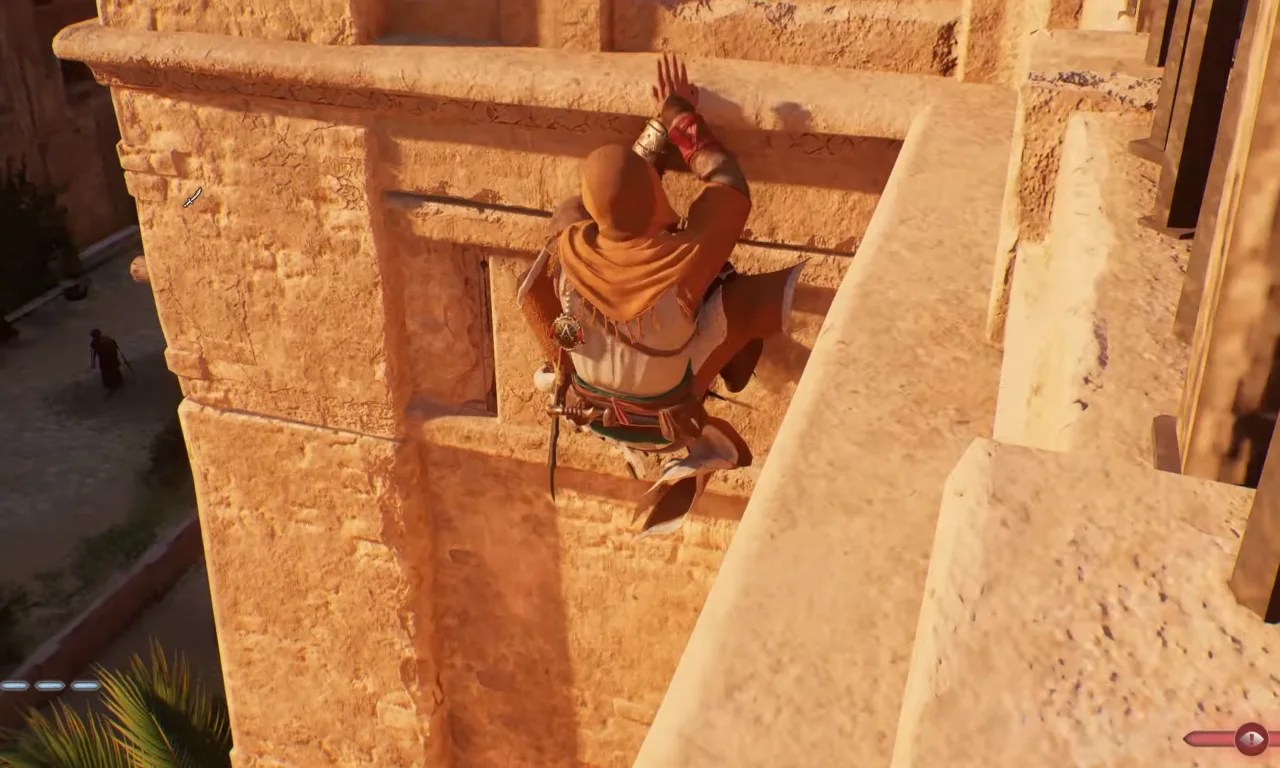
Instead of getting straight into the lion’s den through the front – which can be your one-way ticket to ‘game over’ land, sneak around the back. Go to the back of the Shutra and climb up the balcony, tiptoe inside, and you’re in the heart of the compound.
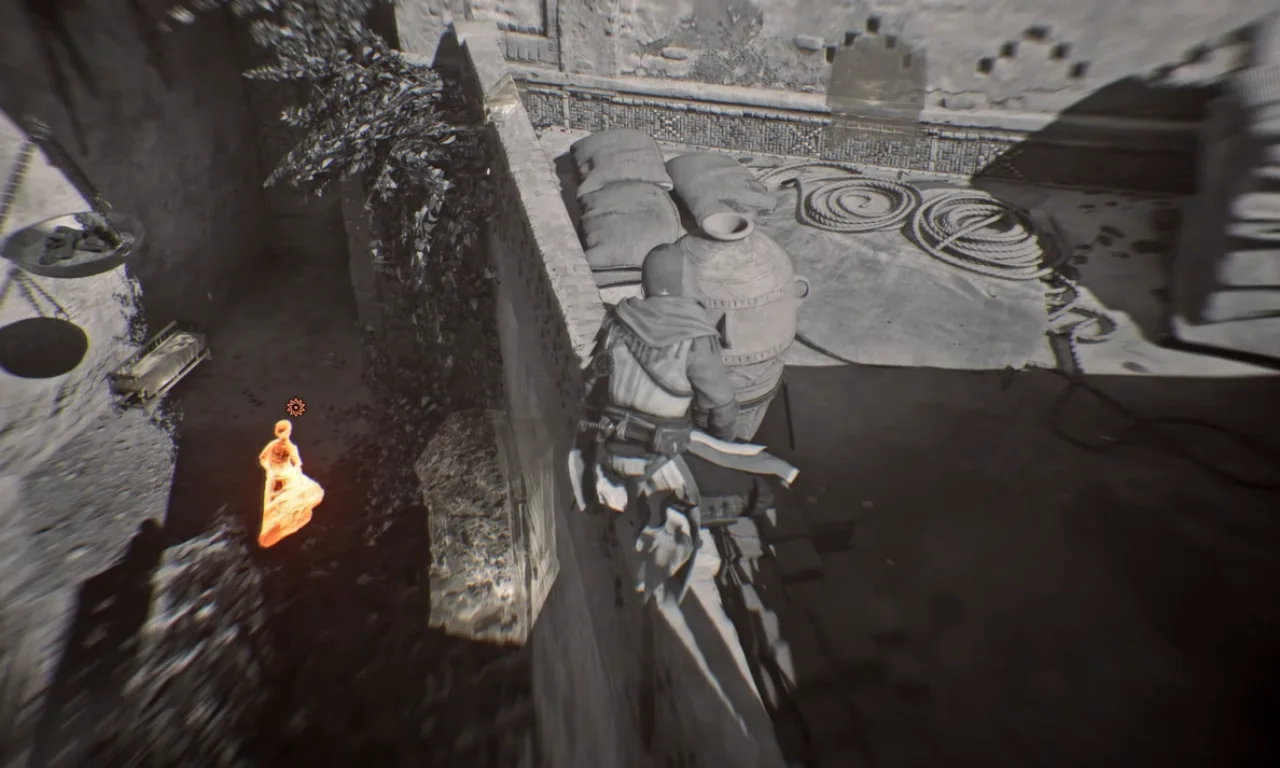
The main mission is to locate Muhammad’s office without ringing any alarm bells. Deal with the guard there and there’s a locked door leading to the office. But where’s the key? By enabling Eagle Vision, you will find the key with one of the four guards standing and talking below.
Wait until they finish their conversation because one guard will leave after that. From here, you’ve got options – go full ninja mode with some smoke bombs, or maybe cause a ruckus with a Berserker Blow Dart. Whatever you choose, make it snappy, get that key, and sneak into the office for some clue-hunting.
Inside Muhammad’s Office
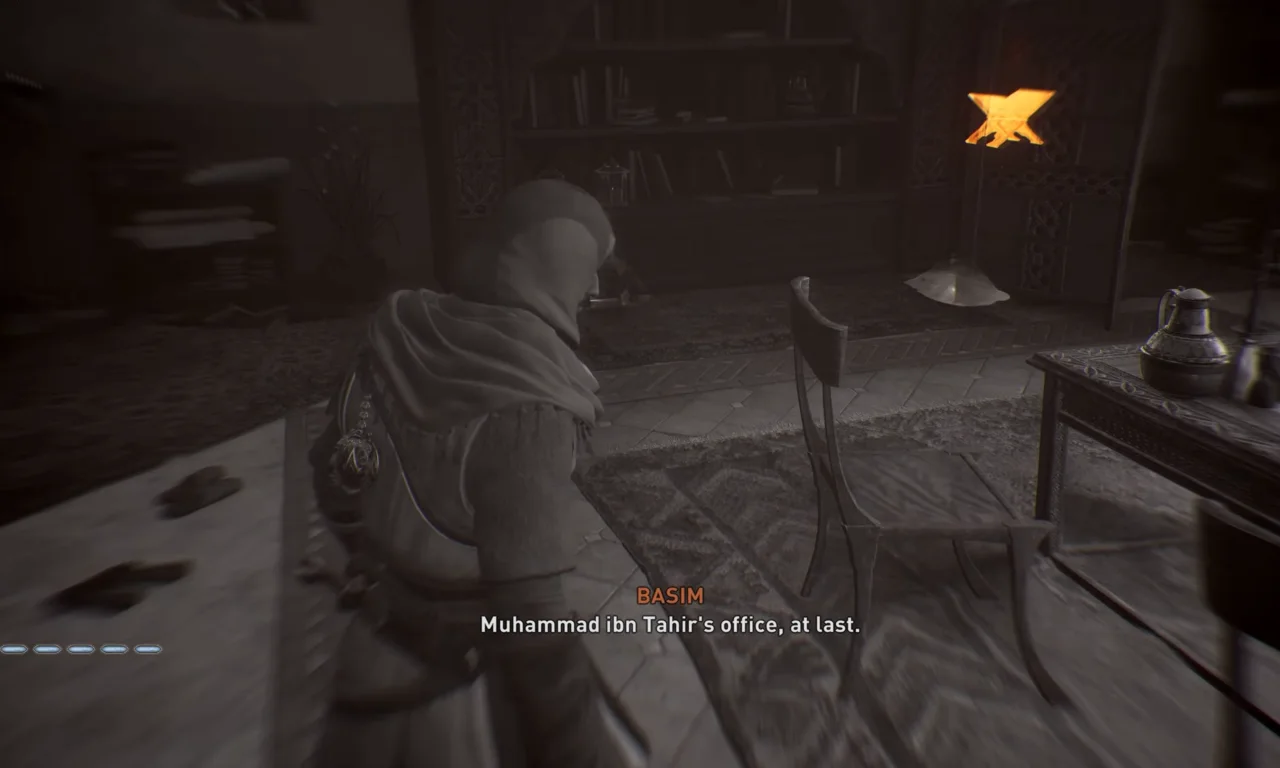
After all the shenanigans, you’re finally standing in Muhammad’s office. Dimly lit, slightly ominous, and filling with mystery – there are four secret clues scattered around:
- A map is available in the back-right corner.
- A book is placed on the table.
- Another book is towards the left on the rear end.
- Lastly, a page on the right of the entry from where you came.
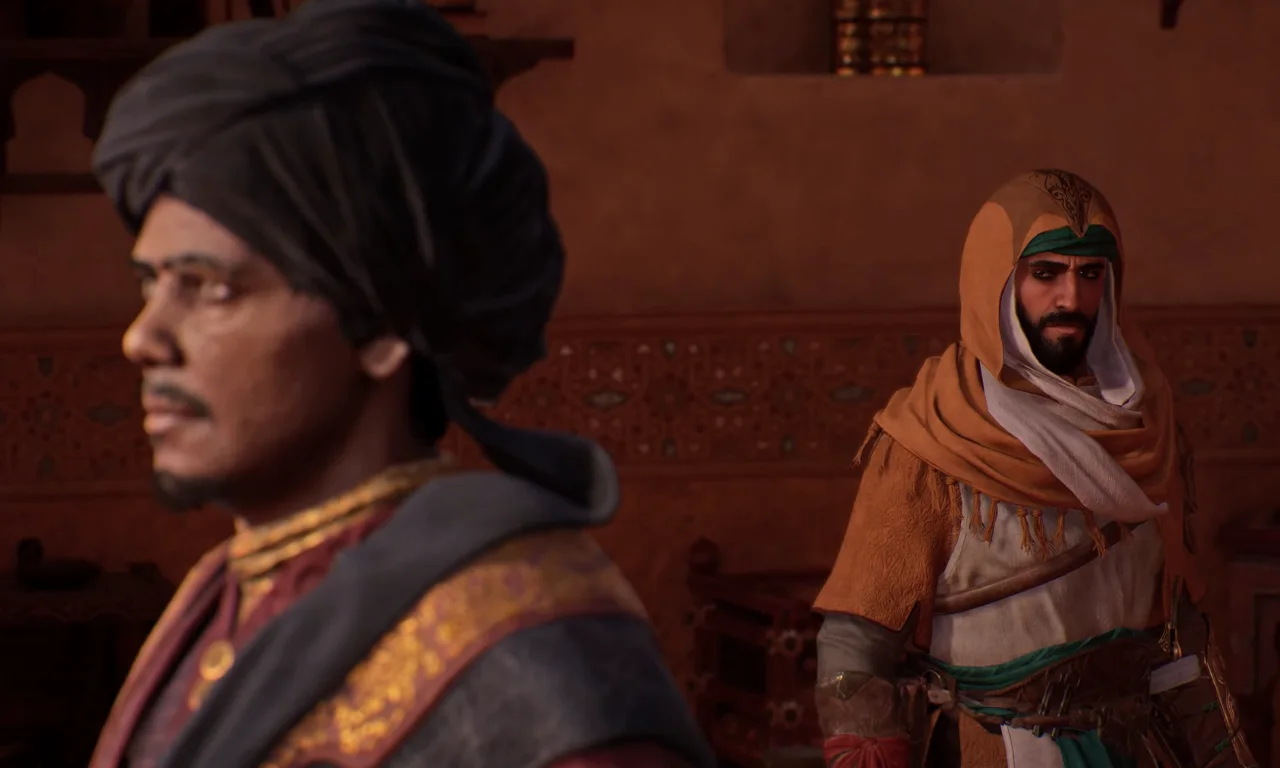
If you thought things were too quiet, you’re in for a treat. A cutscene rolls, and – Muhammad Ibn Tahir appears for a face-off with Basim. But, plot twists keep us on our toes. Right after completing the dialogues, he will call off the guards to attack you. Unbar the door, leap onto the balcony, and make a dive into the below haybale.
Escaping the Shurta
As soon as you land in that haybale, the escape scene is about to kick off.
Lift your head and assess the scene, stealth is the best choice, but a sprinkle of speed won’t hurt either. Dart from cover to cover, blending in when you can, and using every trick up your assassin sleeve. And if things get too serious, there’s no shame in a smoke bomb exit.
Aim to go far away from the Shurta, ducking into alleyways and running through bazaars. The further you are, the safer you’ll be, and remember, it’s better to lay low. Sometimes, it’s not about how fast you run, but how well you hide. Once the coast is finally clear, take a moment to get yourself on the back. You’ve escaped the Shurta one step closer to completing Basim’s mission. That concludes this investigation mission and you have done your detective work on the three Order members.
Read Next:
- Assassin’s Creed Mirage Left Behind Enigma Guide: Location, Solution & Reward
- How to Find Dervis’ Artifacts in Assassin’s Creed Mirage
- How to Solve Assassin’s Creed Mirage Book Puzzle
- Best Assassin’s Creed Mirage Stealth Gear to Stay Invisible
- All Assassin’s Creed Mirage Outfits & Costume Locations
- Assassin’s Creed Mirage Trophy and Achievement Guide


